Leaderboard
-
MikeTheThinker
FREEDOM20Points8,481Posts -
AnnoyingPentium
FREEDOM16Points5,646Posts -
Breezy_Pete
Sponsor12Points24,187Posts -

mac11irl
FREEDOM10Points16,636Posts


Popular Content
Showing content with the highest reputation on 25/11/21 in Posts
-
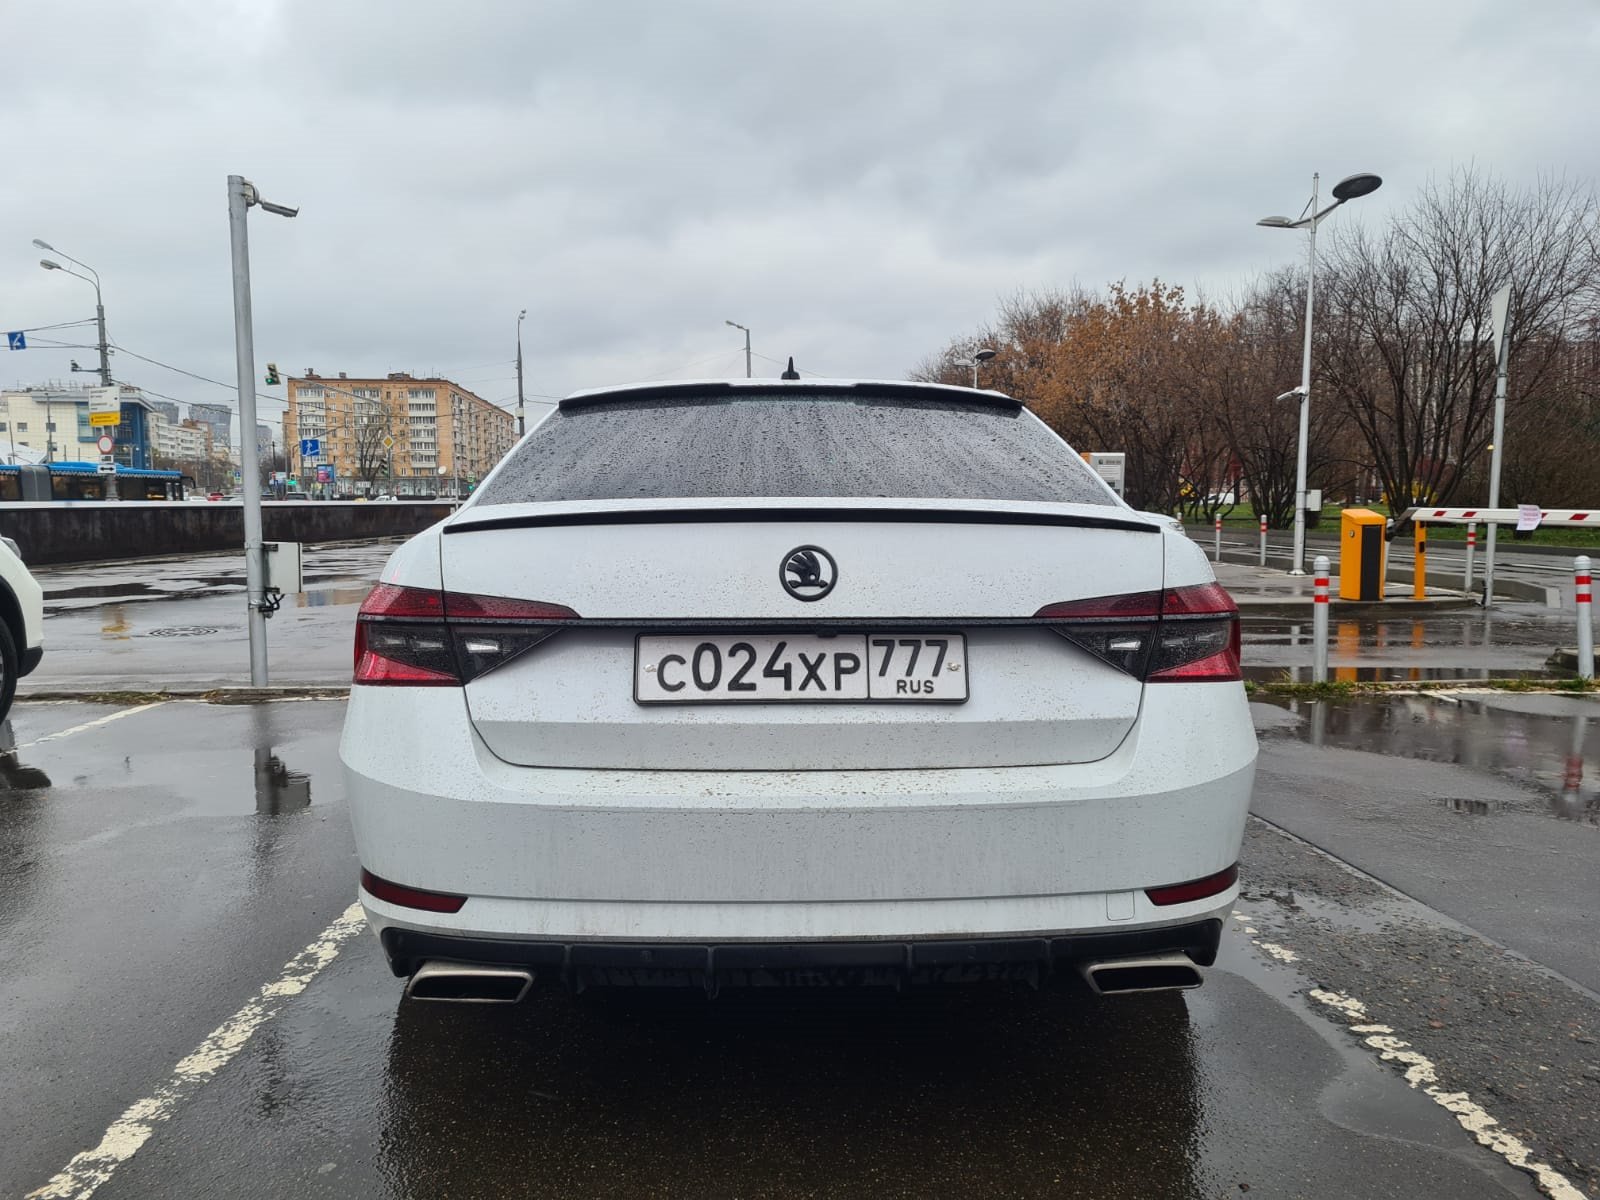
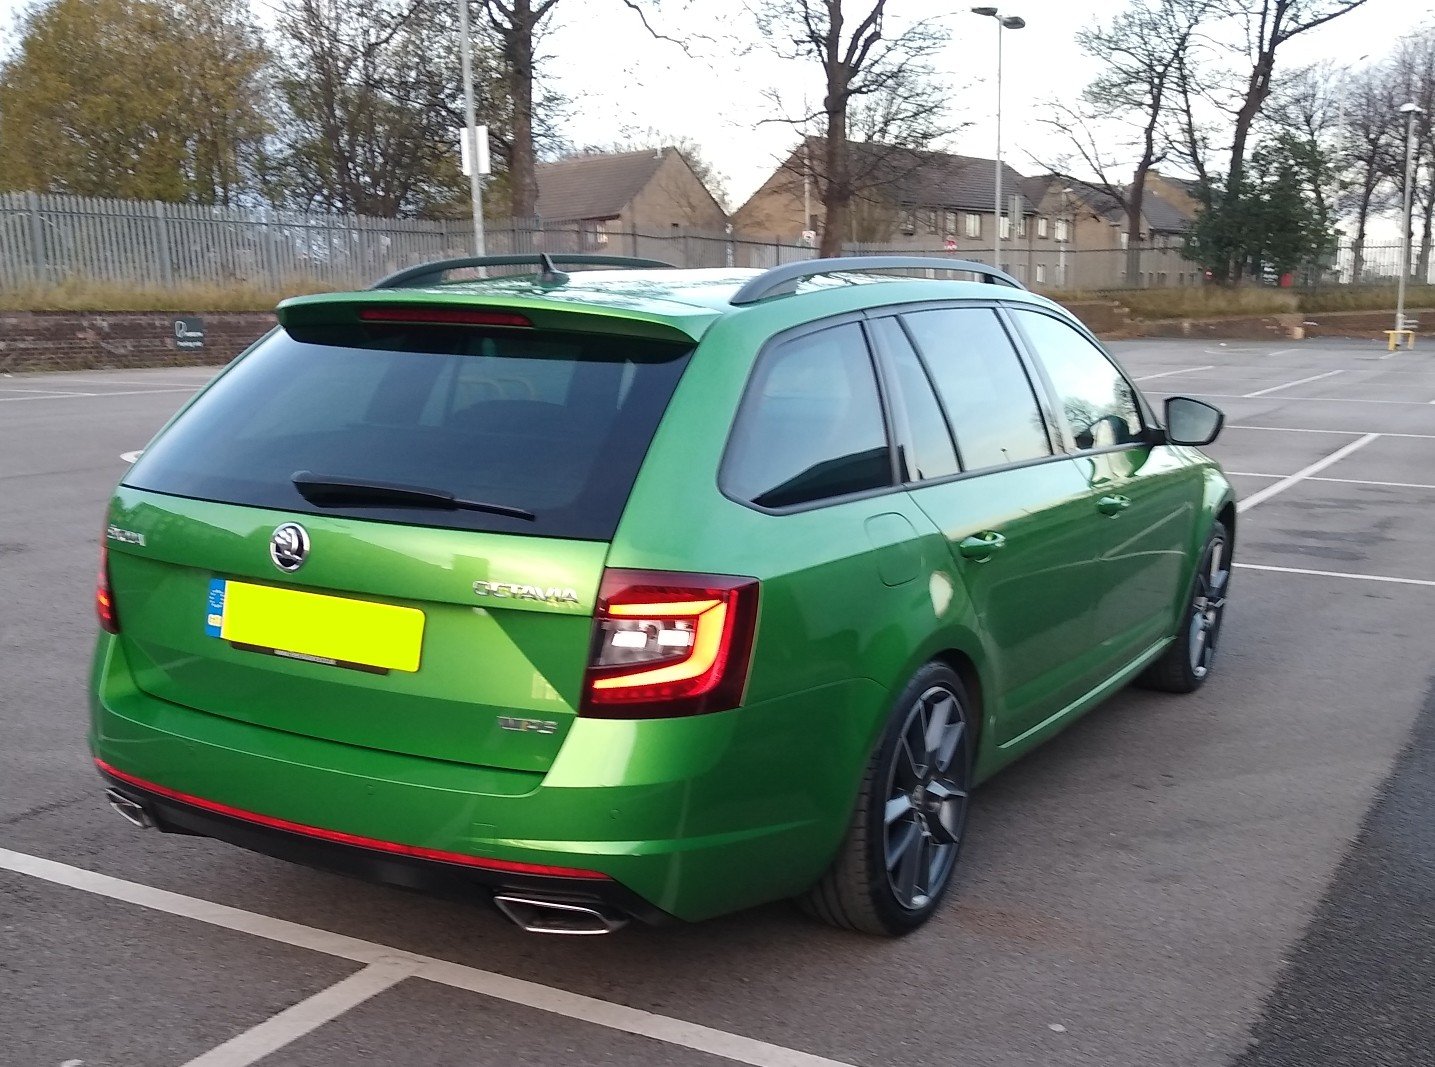
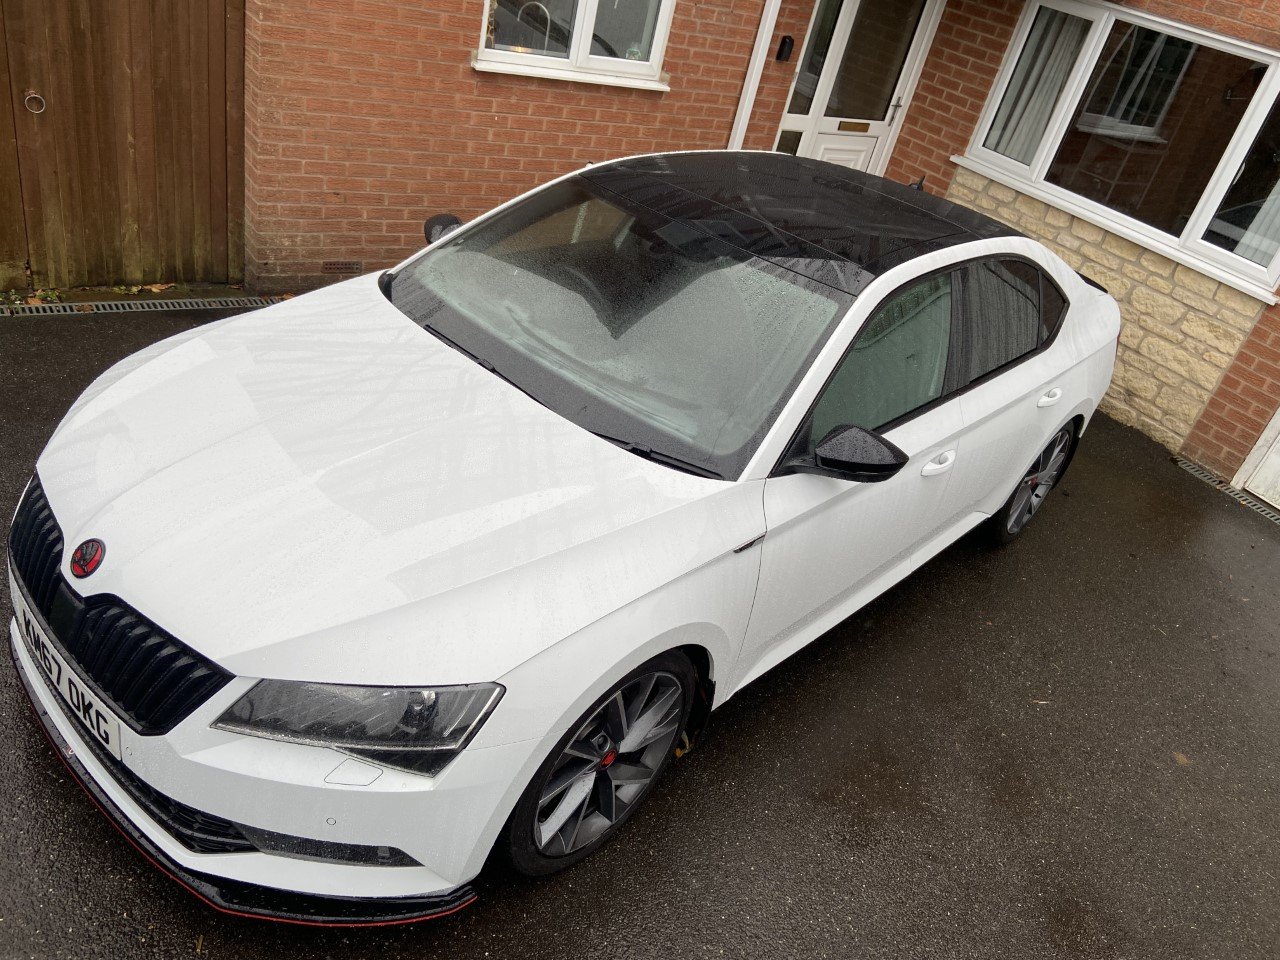
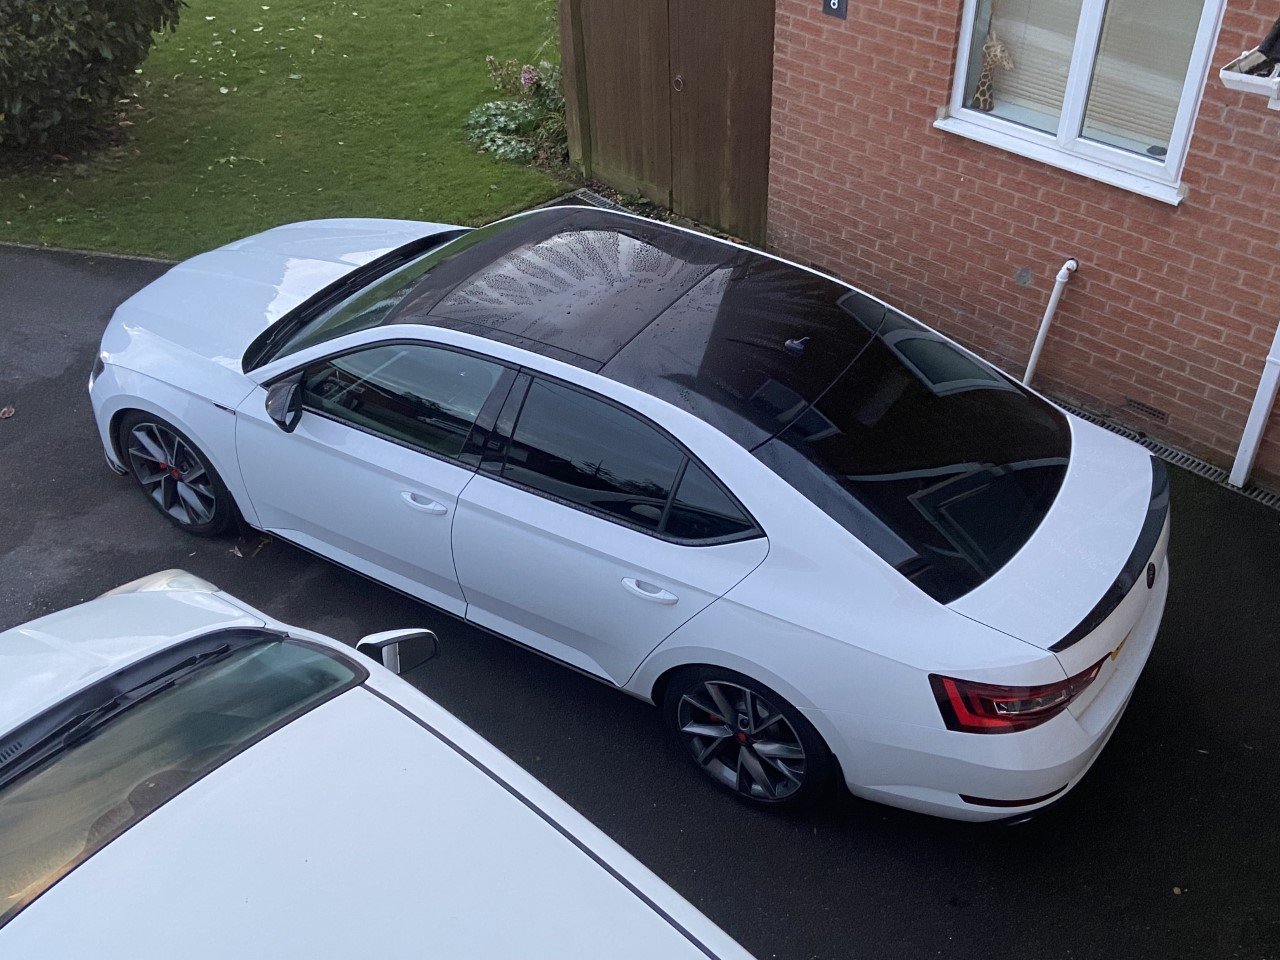
5 pointsHad the green VRS before so went for something a bit plain this time. Picked Moon White. Only issue is it's a bit bad to keep clean, but very happy with the colour. The black gloss is contrasted well with the Moon White


 5 points
 -
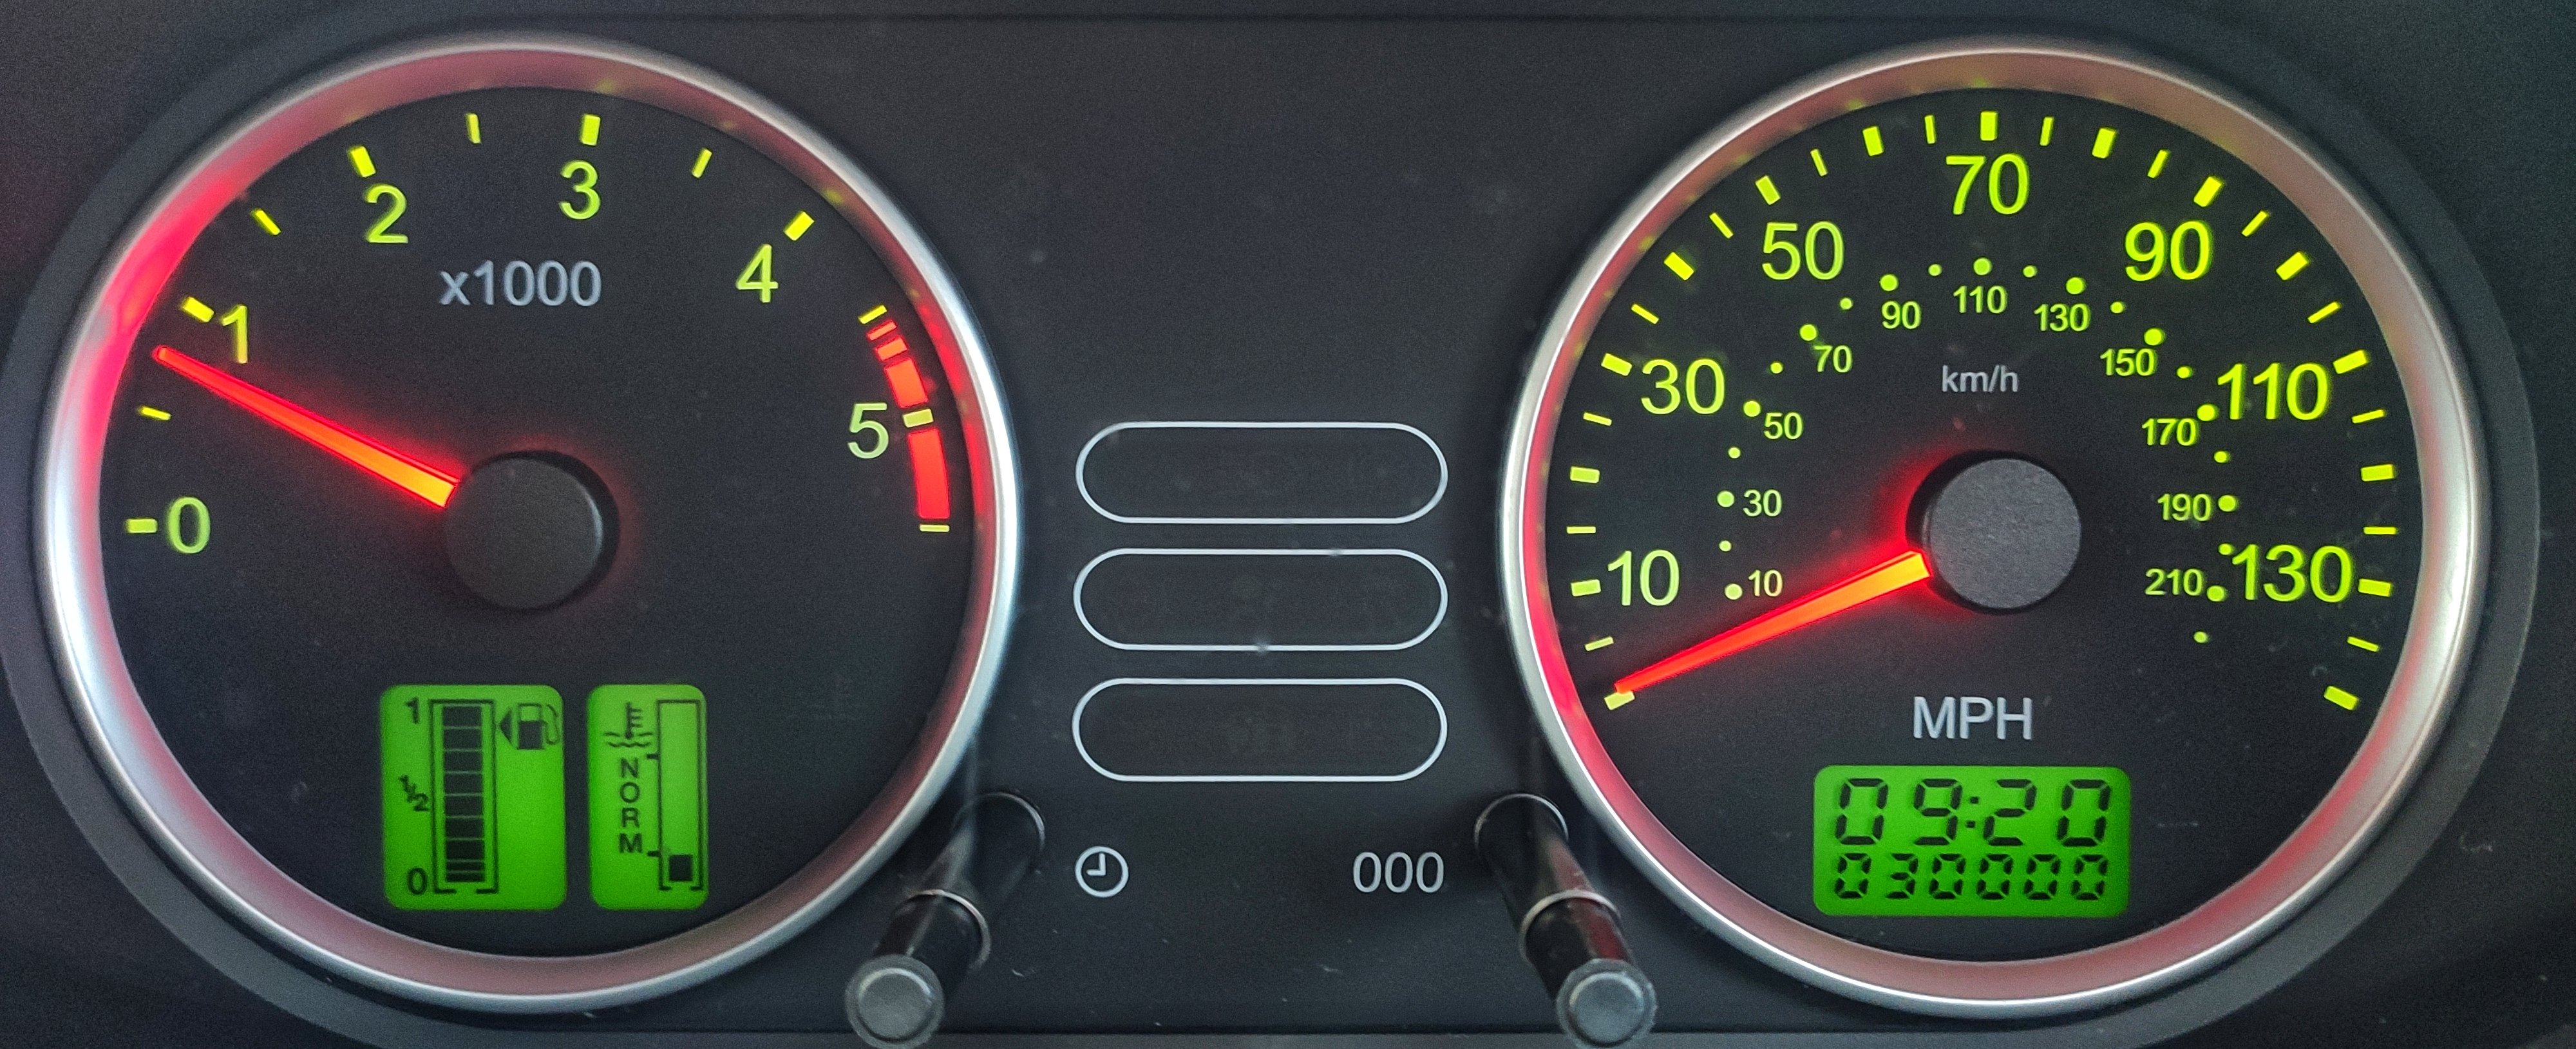
4 pointsGot a message today from my dealer. Car arrives my country next week. RS with canton and dcc ordered in the end of April. Can't believe it's happening4 points
-
4 pointsAll changed and the little furbie is once again running as should be thanks again all4 points
-
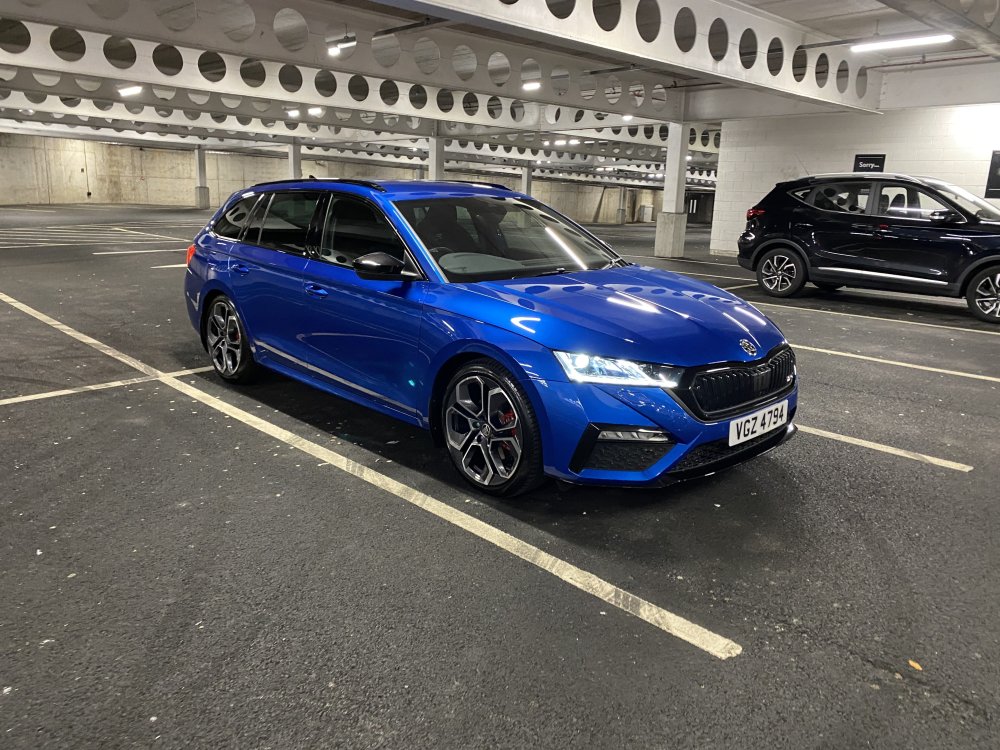
3 pointsThanks for all your help folks, it has really assisted. Placed an order this evening for the estate in Race Blue (with a couple of options 😉 ). Now just got to settle in for the looooong wait.3 points
-
3 pointsIf your second set has all season Goodyear tyres why would you change them in the summer? I could understand if the second set had dedicated winter tyres but to swap between summer and all seasons seems pointless.3 points
-
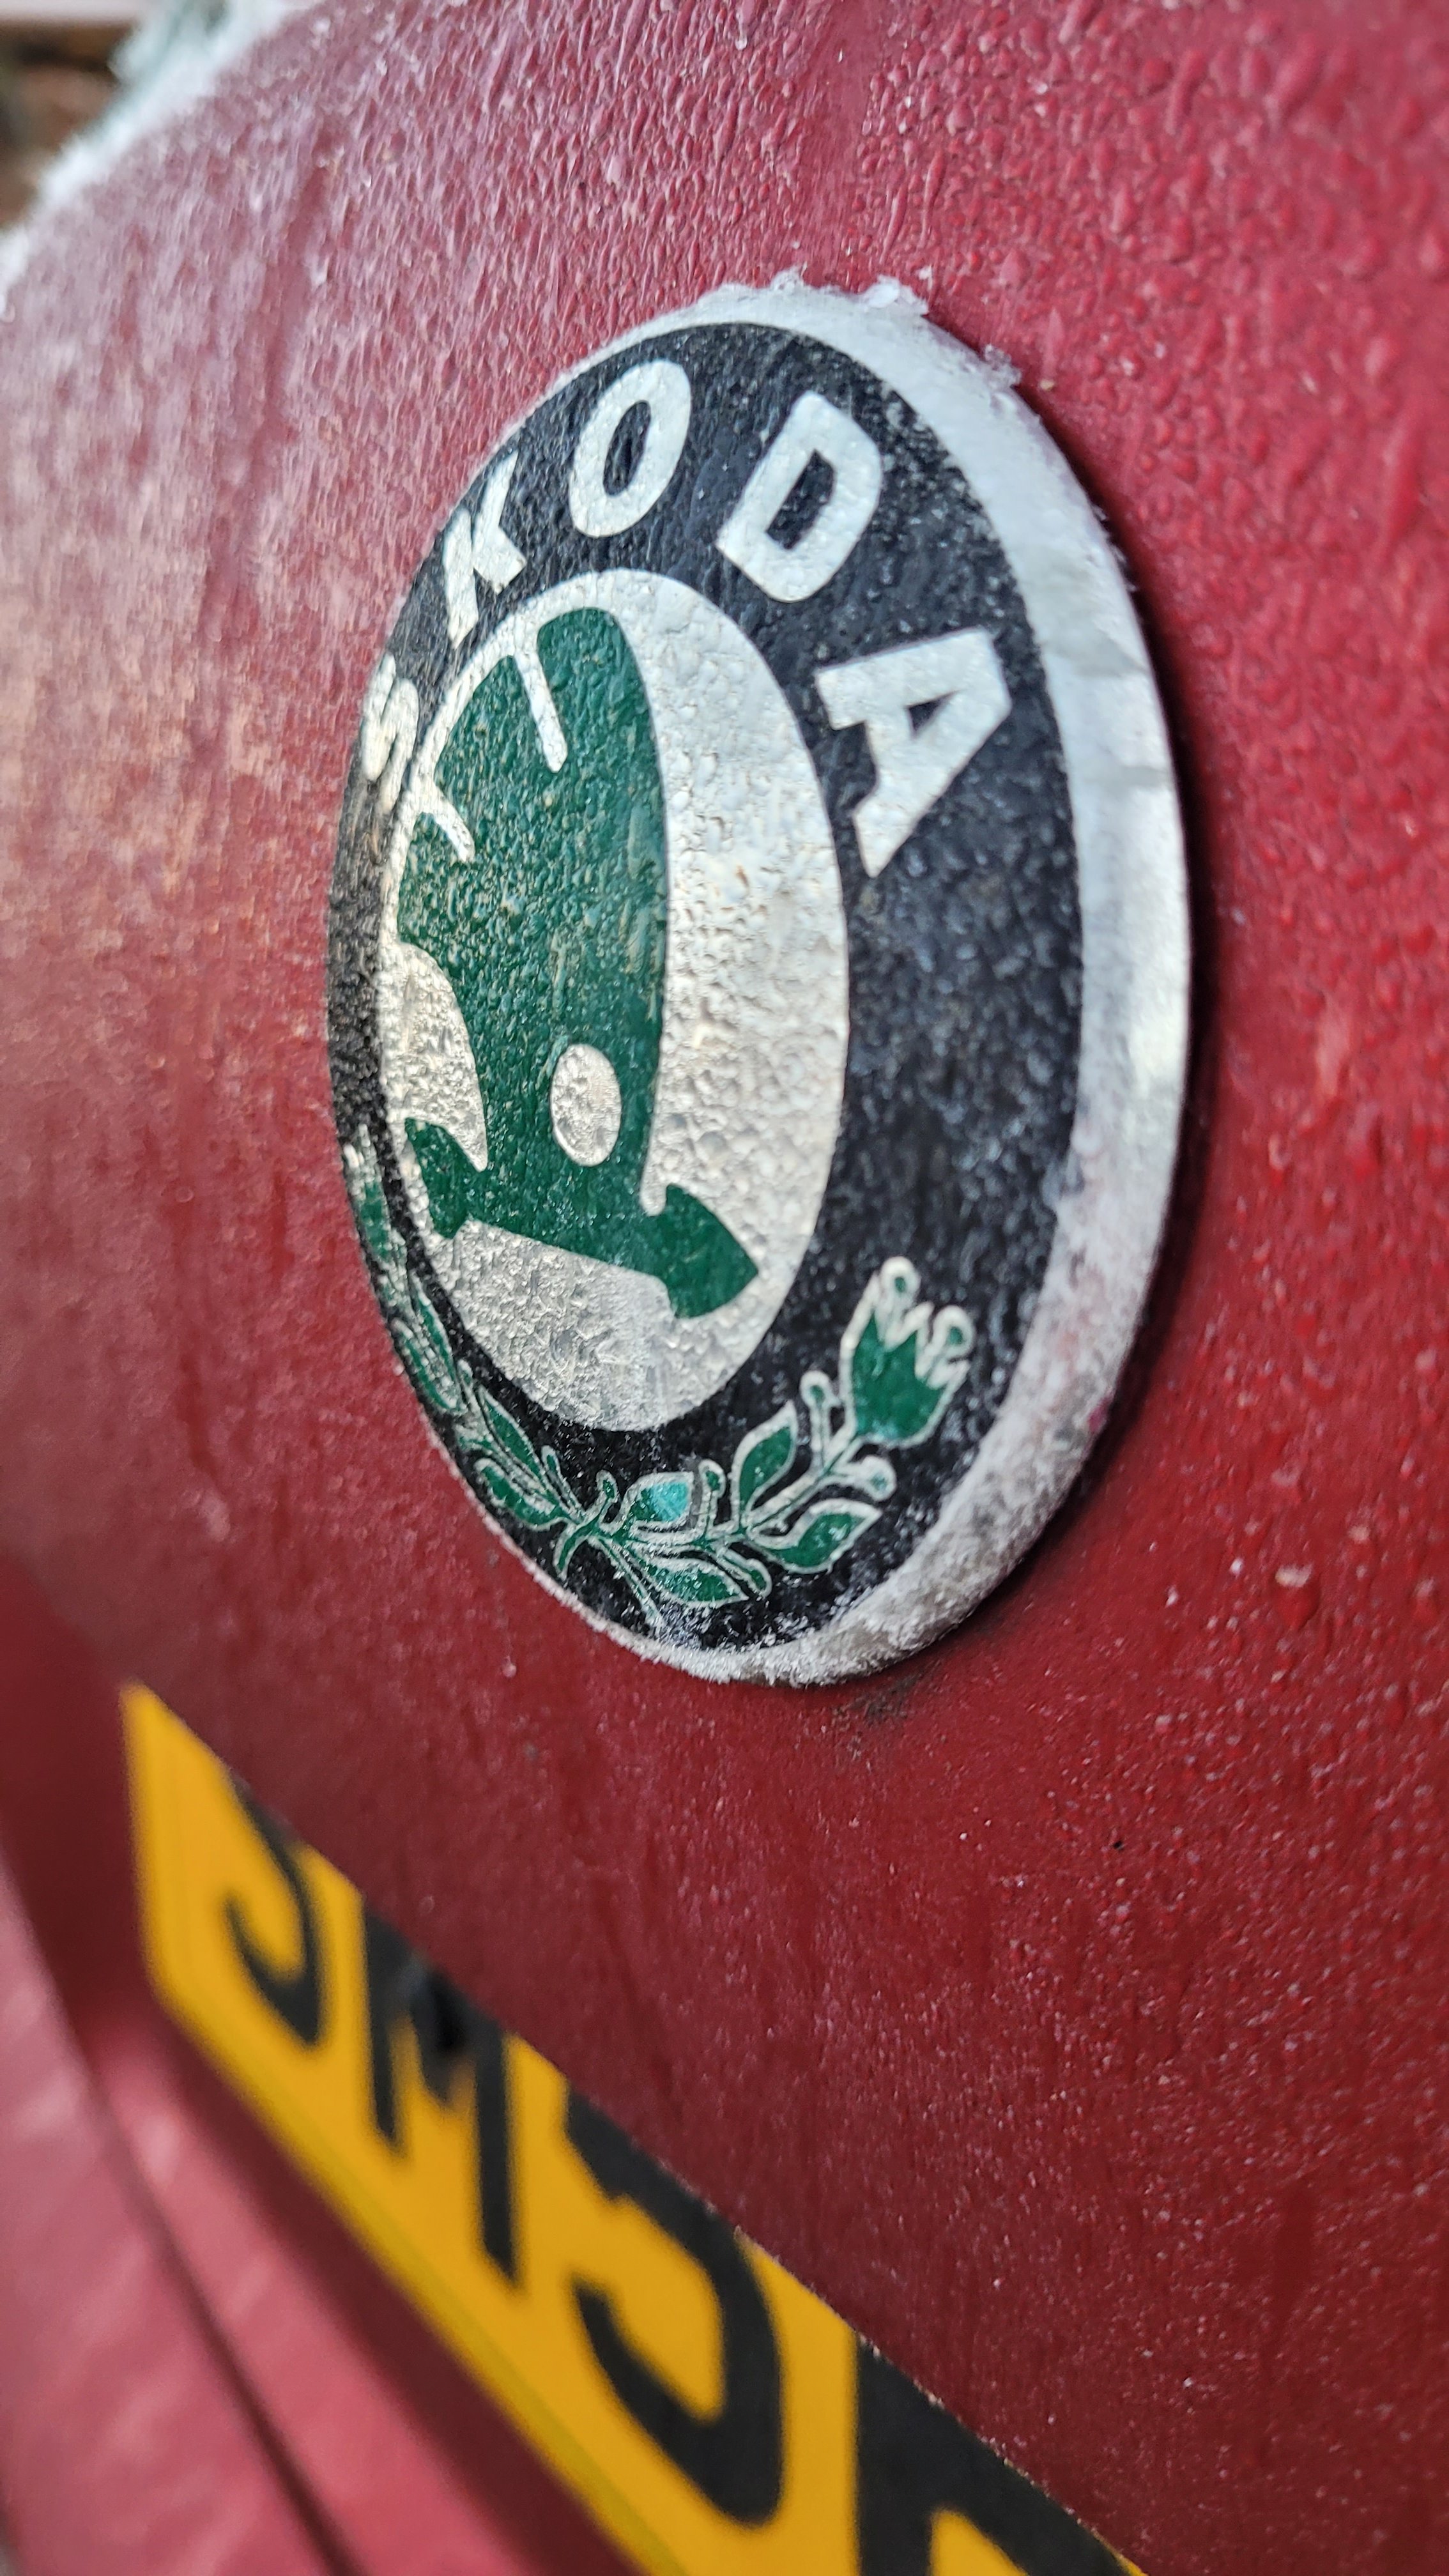
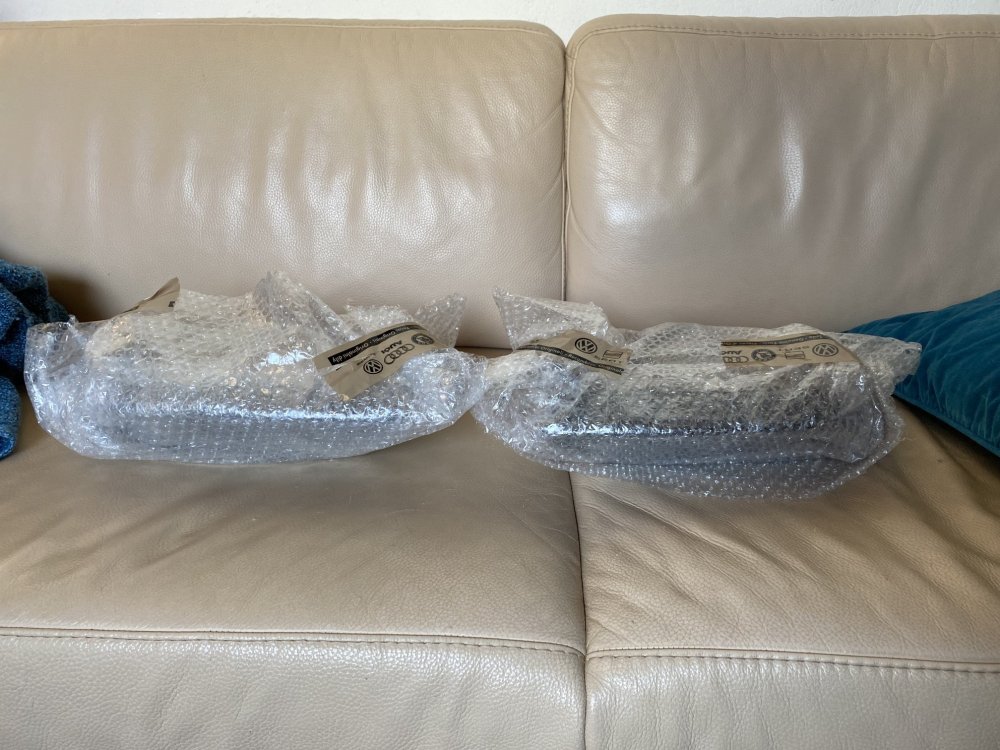
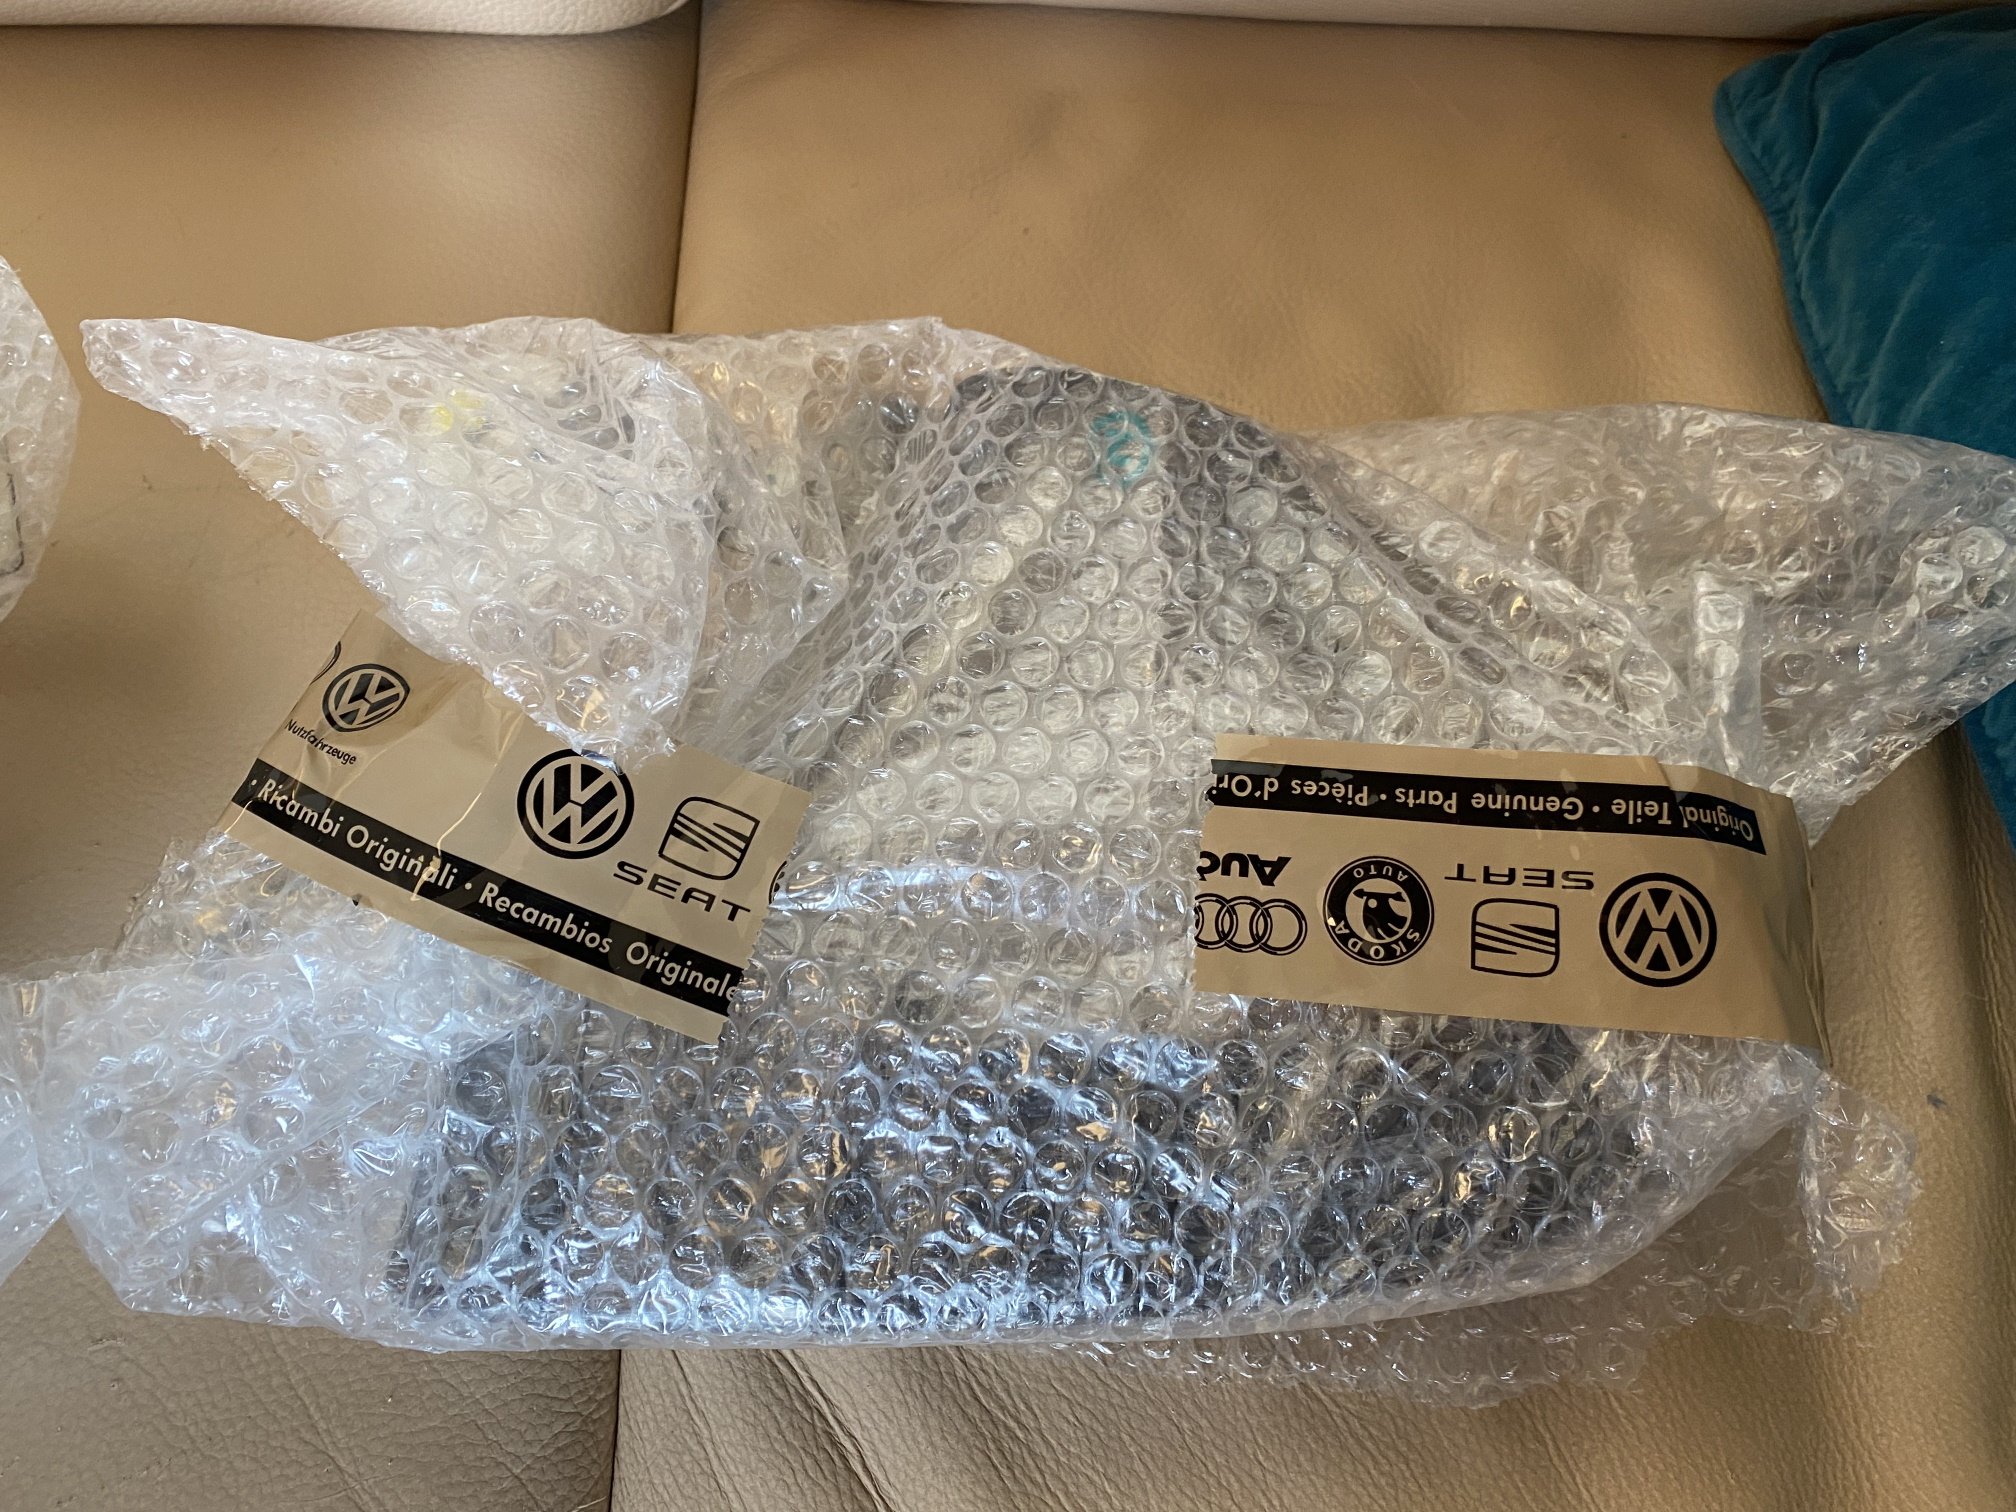
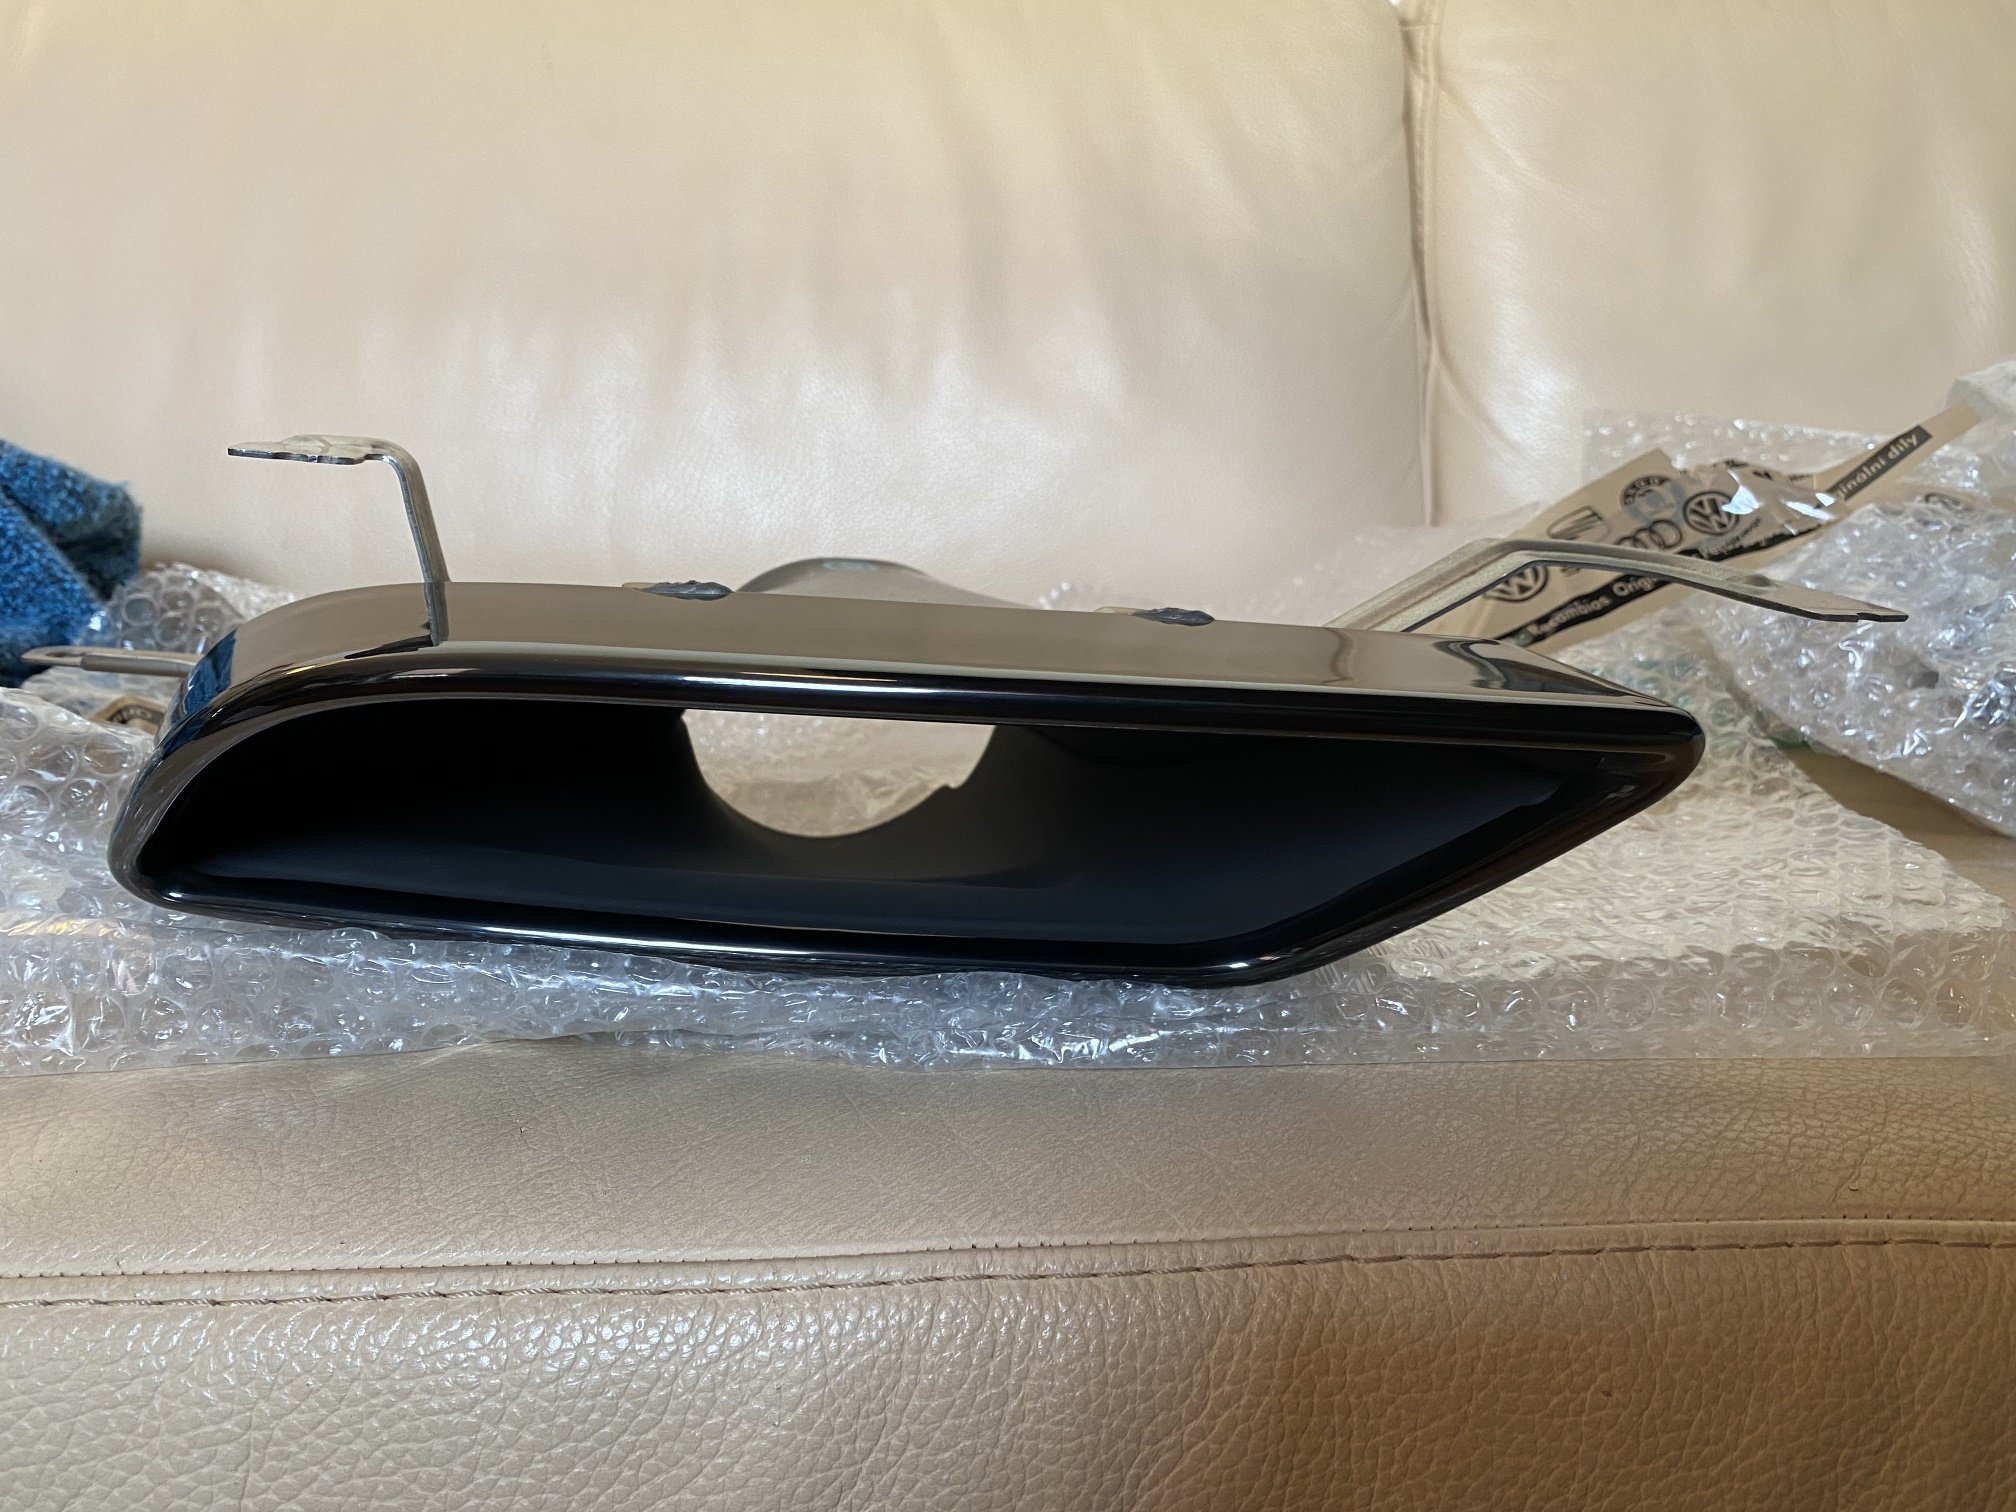
3 pointsTo bring back the topic a bit. 😄 Something new came yesterday. Will be installed sometime in the near future. 120 Years of Skoda Motorsport exhaust tips.


 3 points
 -
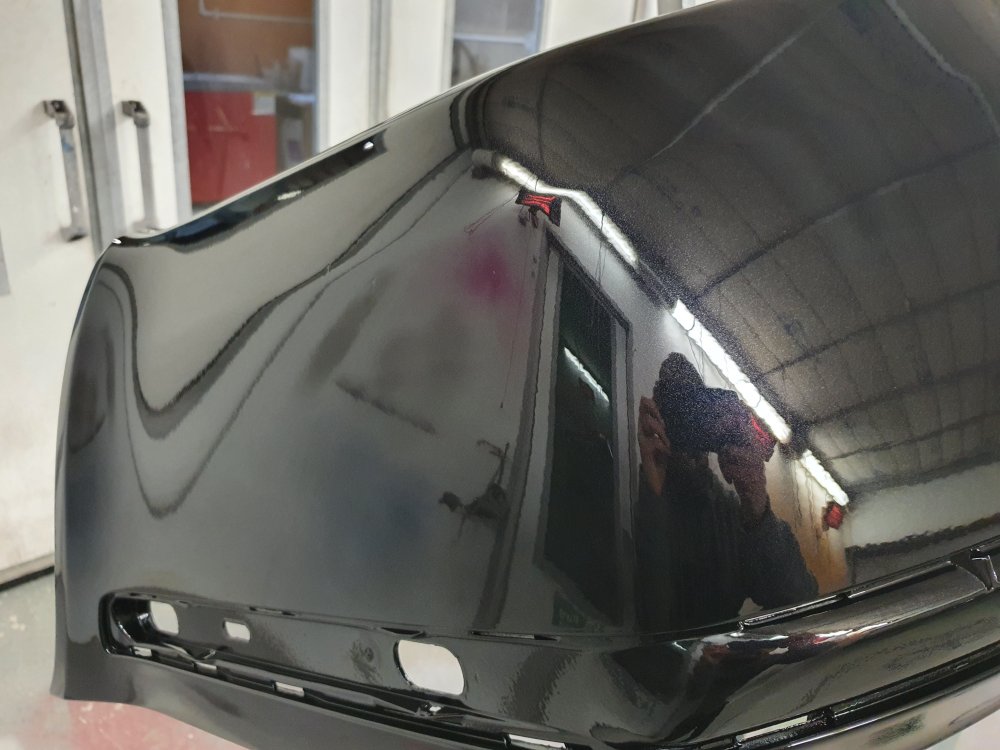
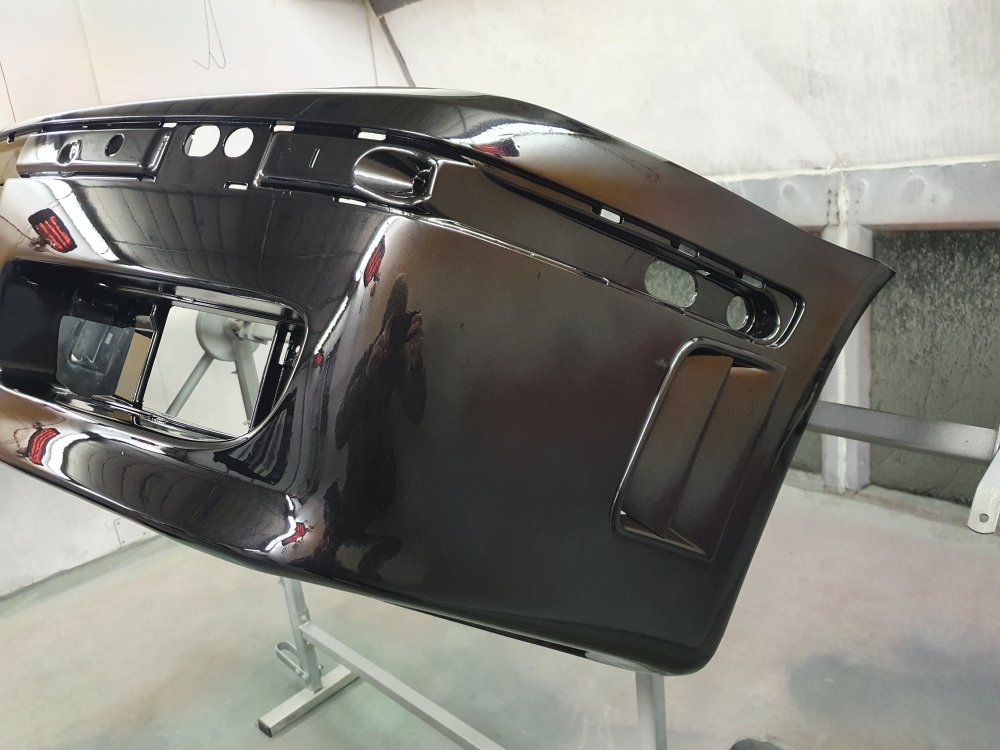
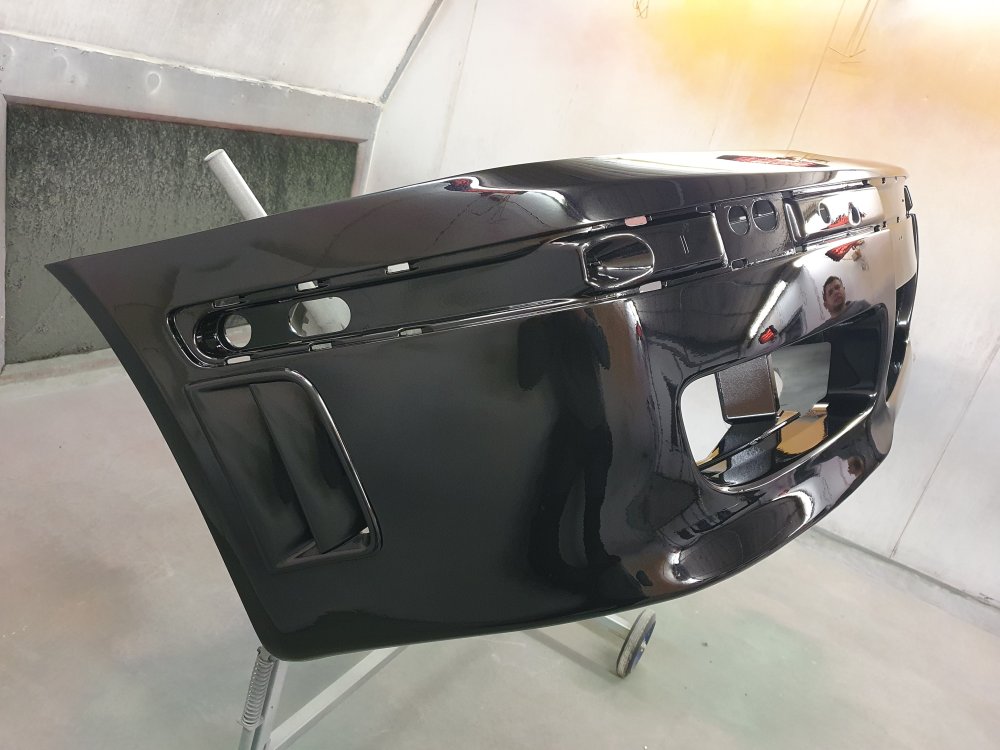
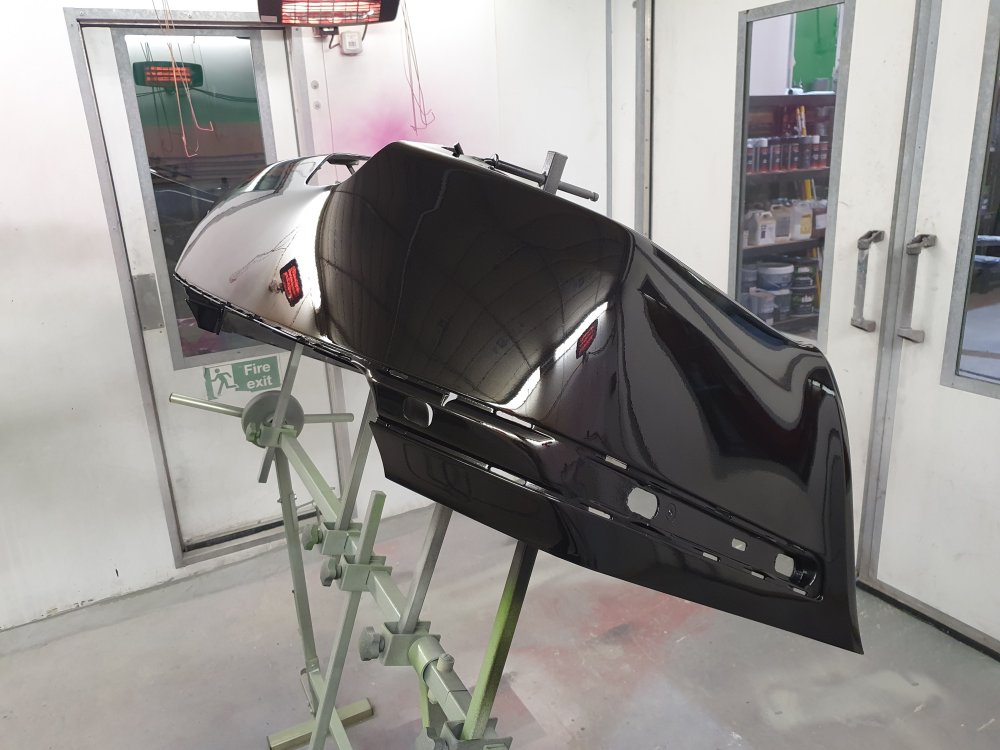
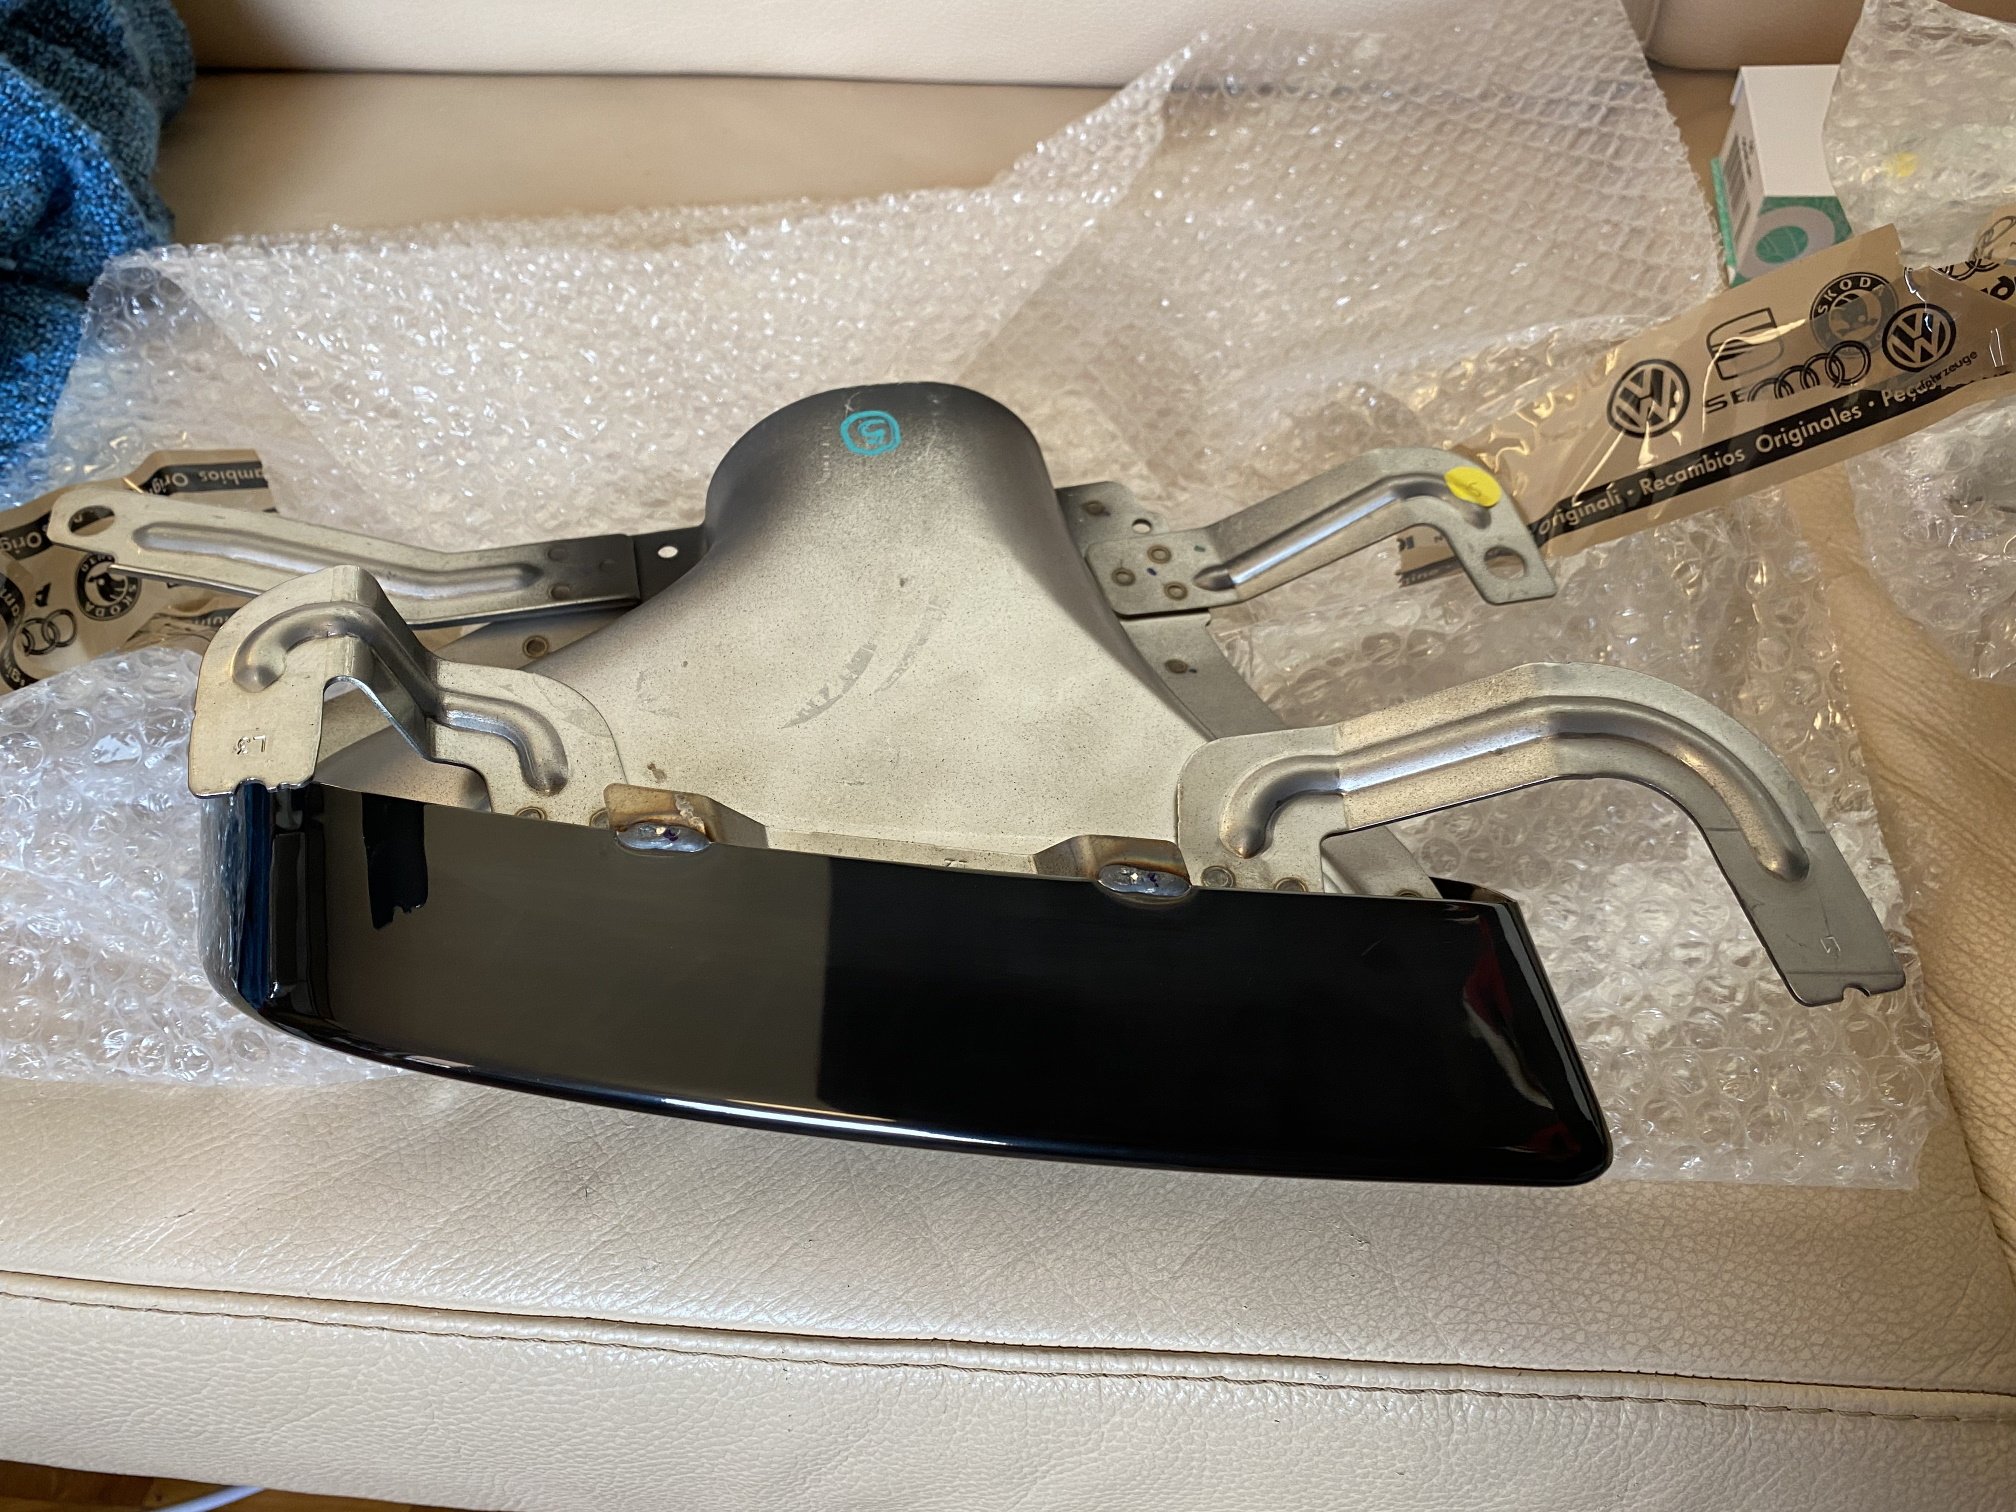
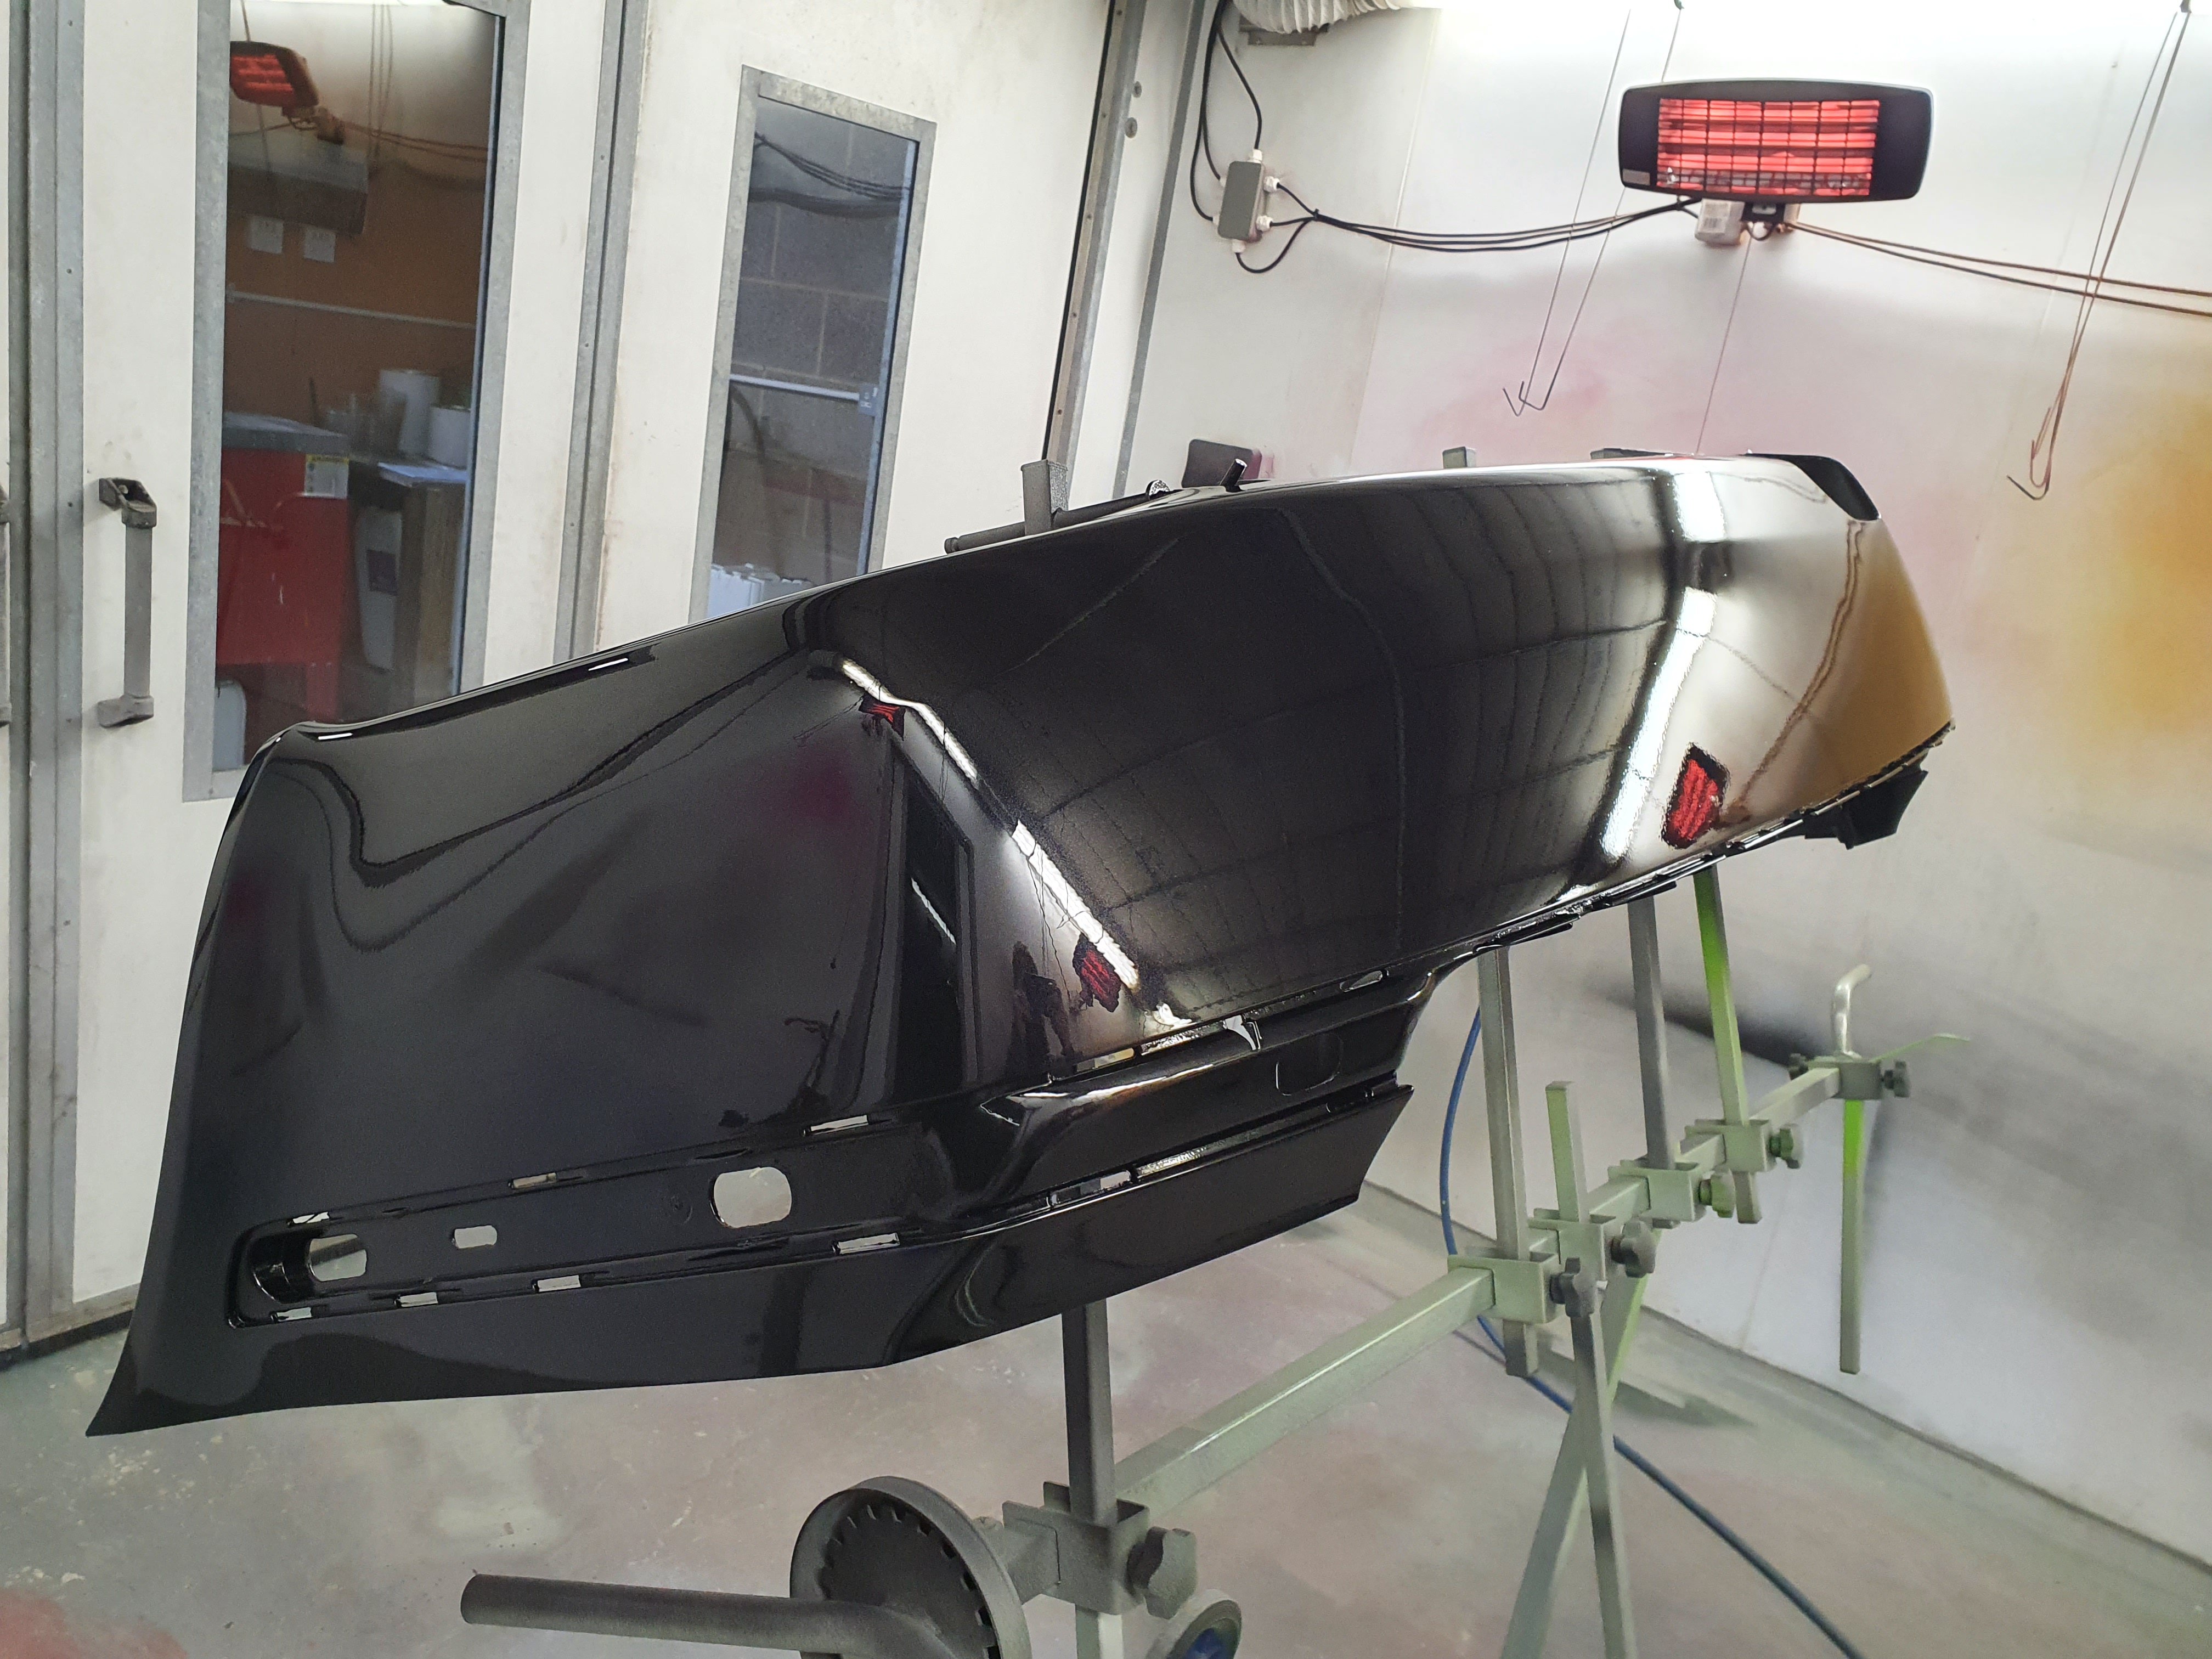
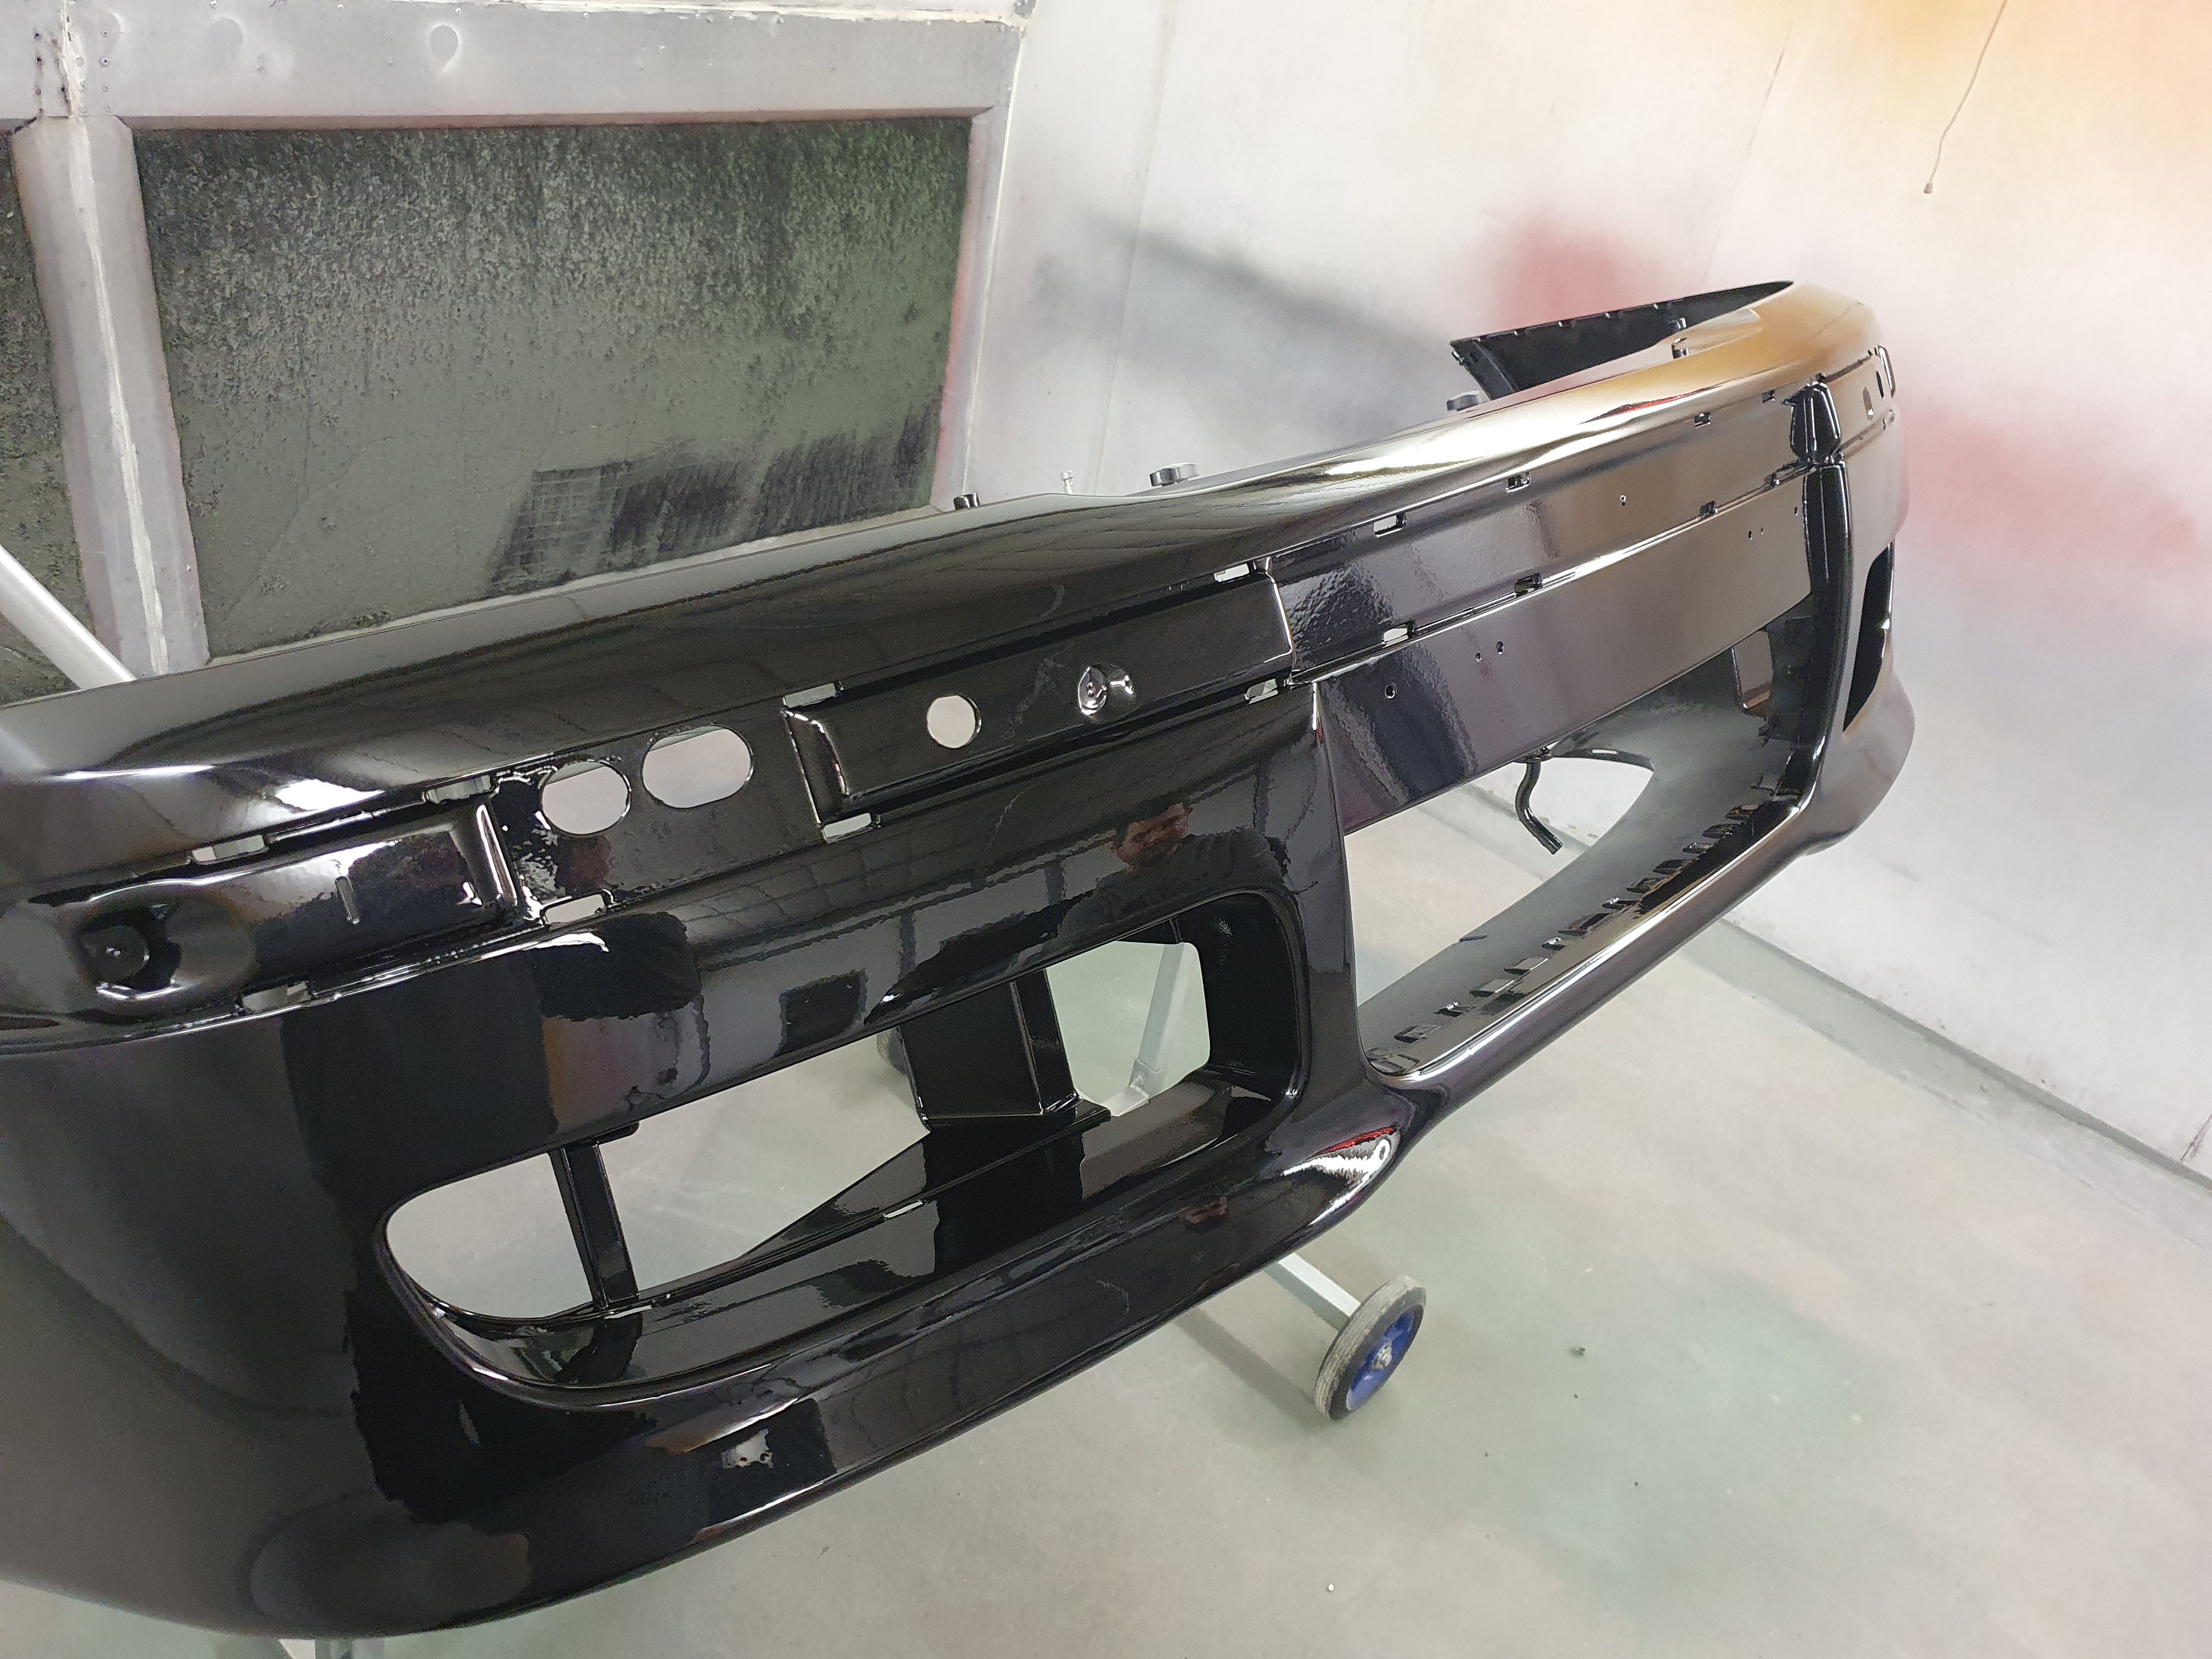
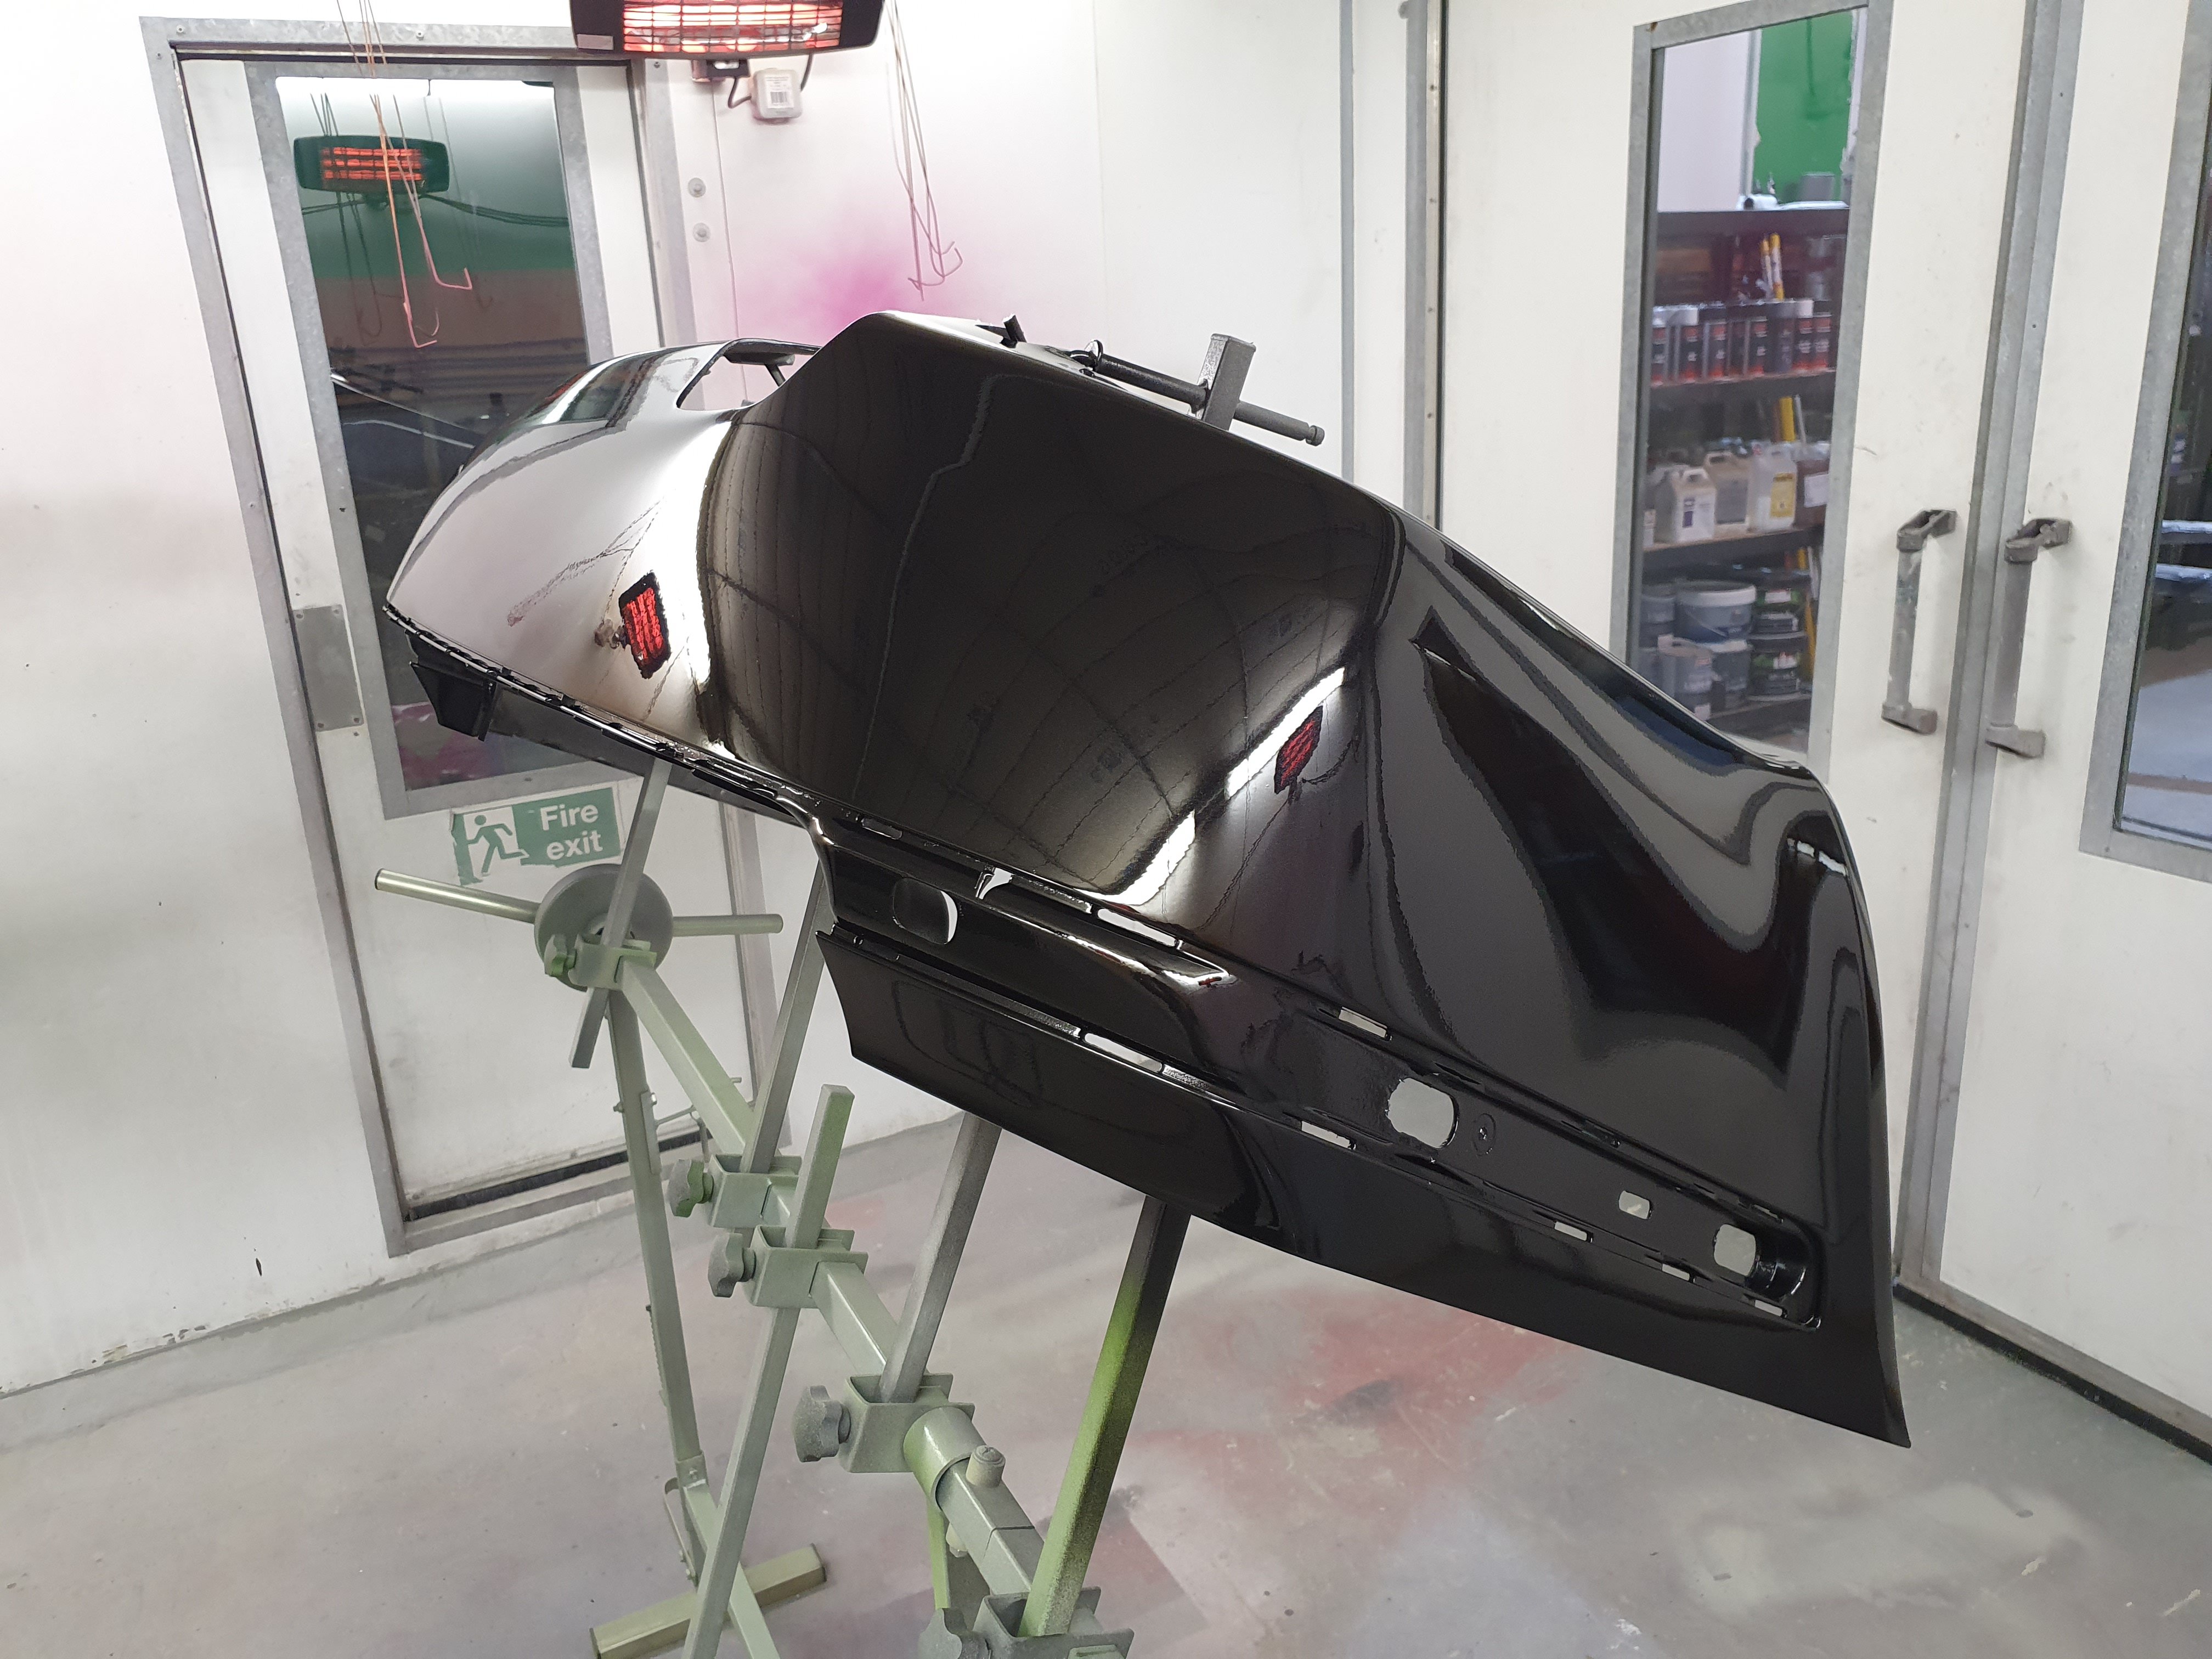
3 pointsSlow progress, but here's a few photos of the first bits to be painted! Both the front and rear bumpers took quite a while to bring back to a respectable condition, but I'm really pleased with how they've turned out. The front bumper now sporting the Milotec vents which I really think suits the Mk1 perfectly. Seeing the painted bumpers has really lifted my mood as all the prep work and looking at a stripped car covered in dust, including the interior! Is a little demoralising... Whilst the interior has been stripped I've also been busy improving the audio. 17cm Hertz components for the front, 6x4 Hertz coaxial for the rear. Connected to a Alpine headunit with an inline Alpine amp for the speakers. A Subwoofer will follow but that can wait until everything is back together! I also picked up a Forge front mount intercooler secondhand, which I was chuffed with as they get good reviews, but unfortunately no longer avaliable brand new. This will get fitted whilst the front bumper is off. There's other bits and pieces I've ordered and will be fitting/replacing whilst all this is going on, but I will update as I go. Finally when it gets back on the road it will be getting a new timing belt, and water pump so it's all ready for next year!


 3 points
 -
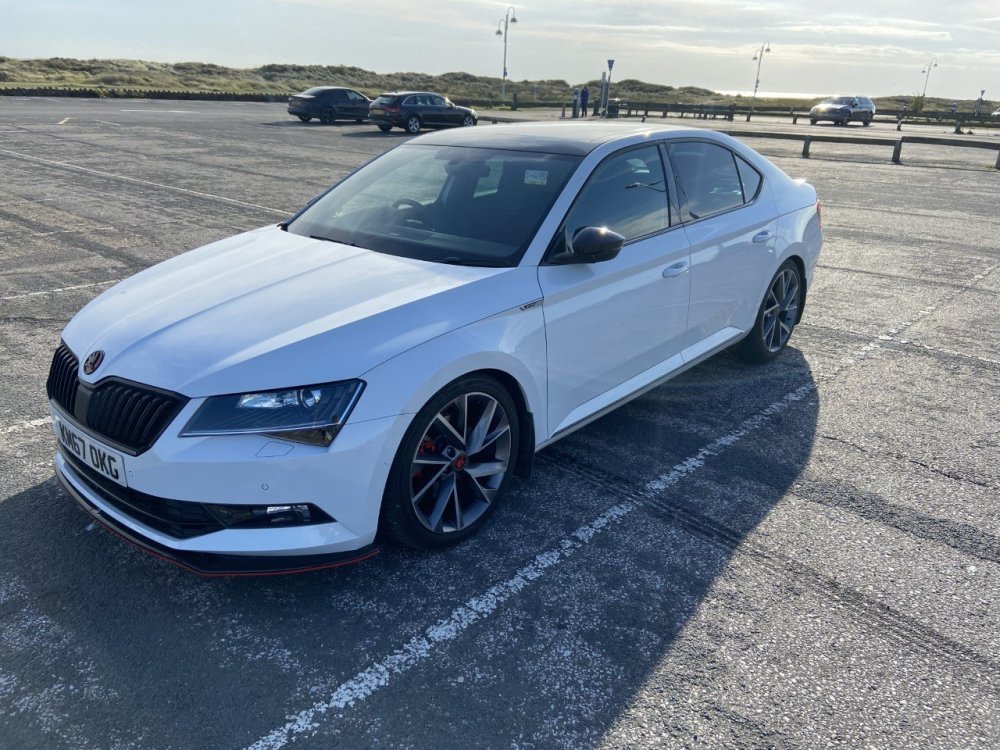
So, this hasn’t turned into an 80 page epic like the Octy thread for all sorts of reasons but after 8 months and 12k miles, the Superb has gone. It’s being picked up next week once the windscreen is swapped and then I’m allegedly off to the world of VW as all being well I’m due to collect a Golf GTE Advance. I’ll report back on how that goes once it’s here. Thanks for everything guys, this place truly is the best.3 points
-
2 pointsHas anyone else been renting out their EV on Turo.com? I have had a Nissan Leaf on there for a while and have a Tesla model 3 on order. @roottoot introduced me to this forum--I had the pleasure of meeting him at an EV charging point today.2 points
-
2 points
-
2 pointsSaw a black one of these this morning - it looked 'better' but only because the black paint and the front number plate went some way towards hiding the gaping snout 👍2 points
-
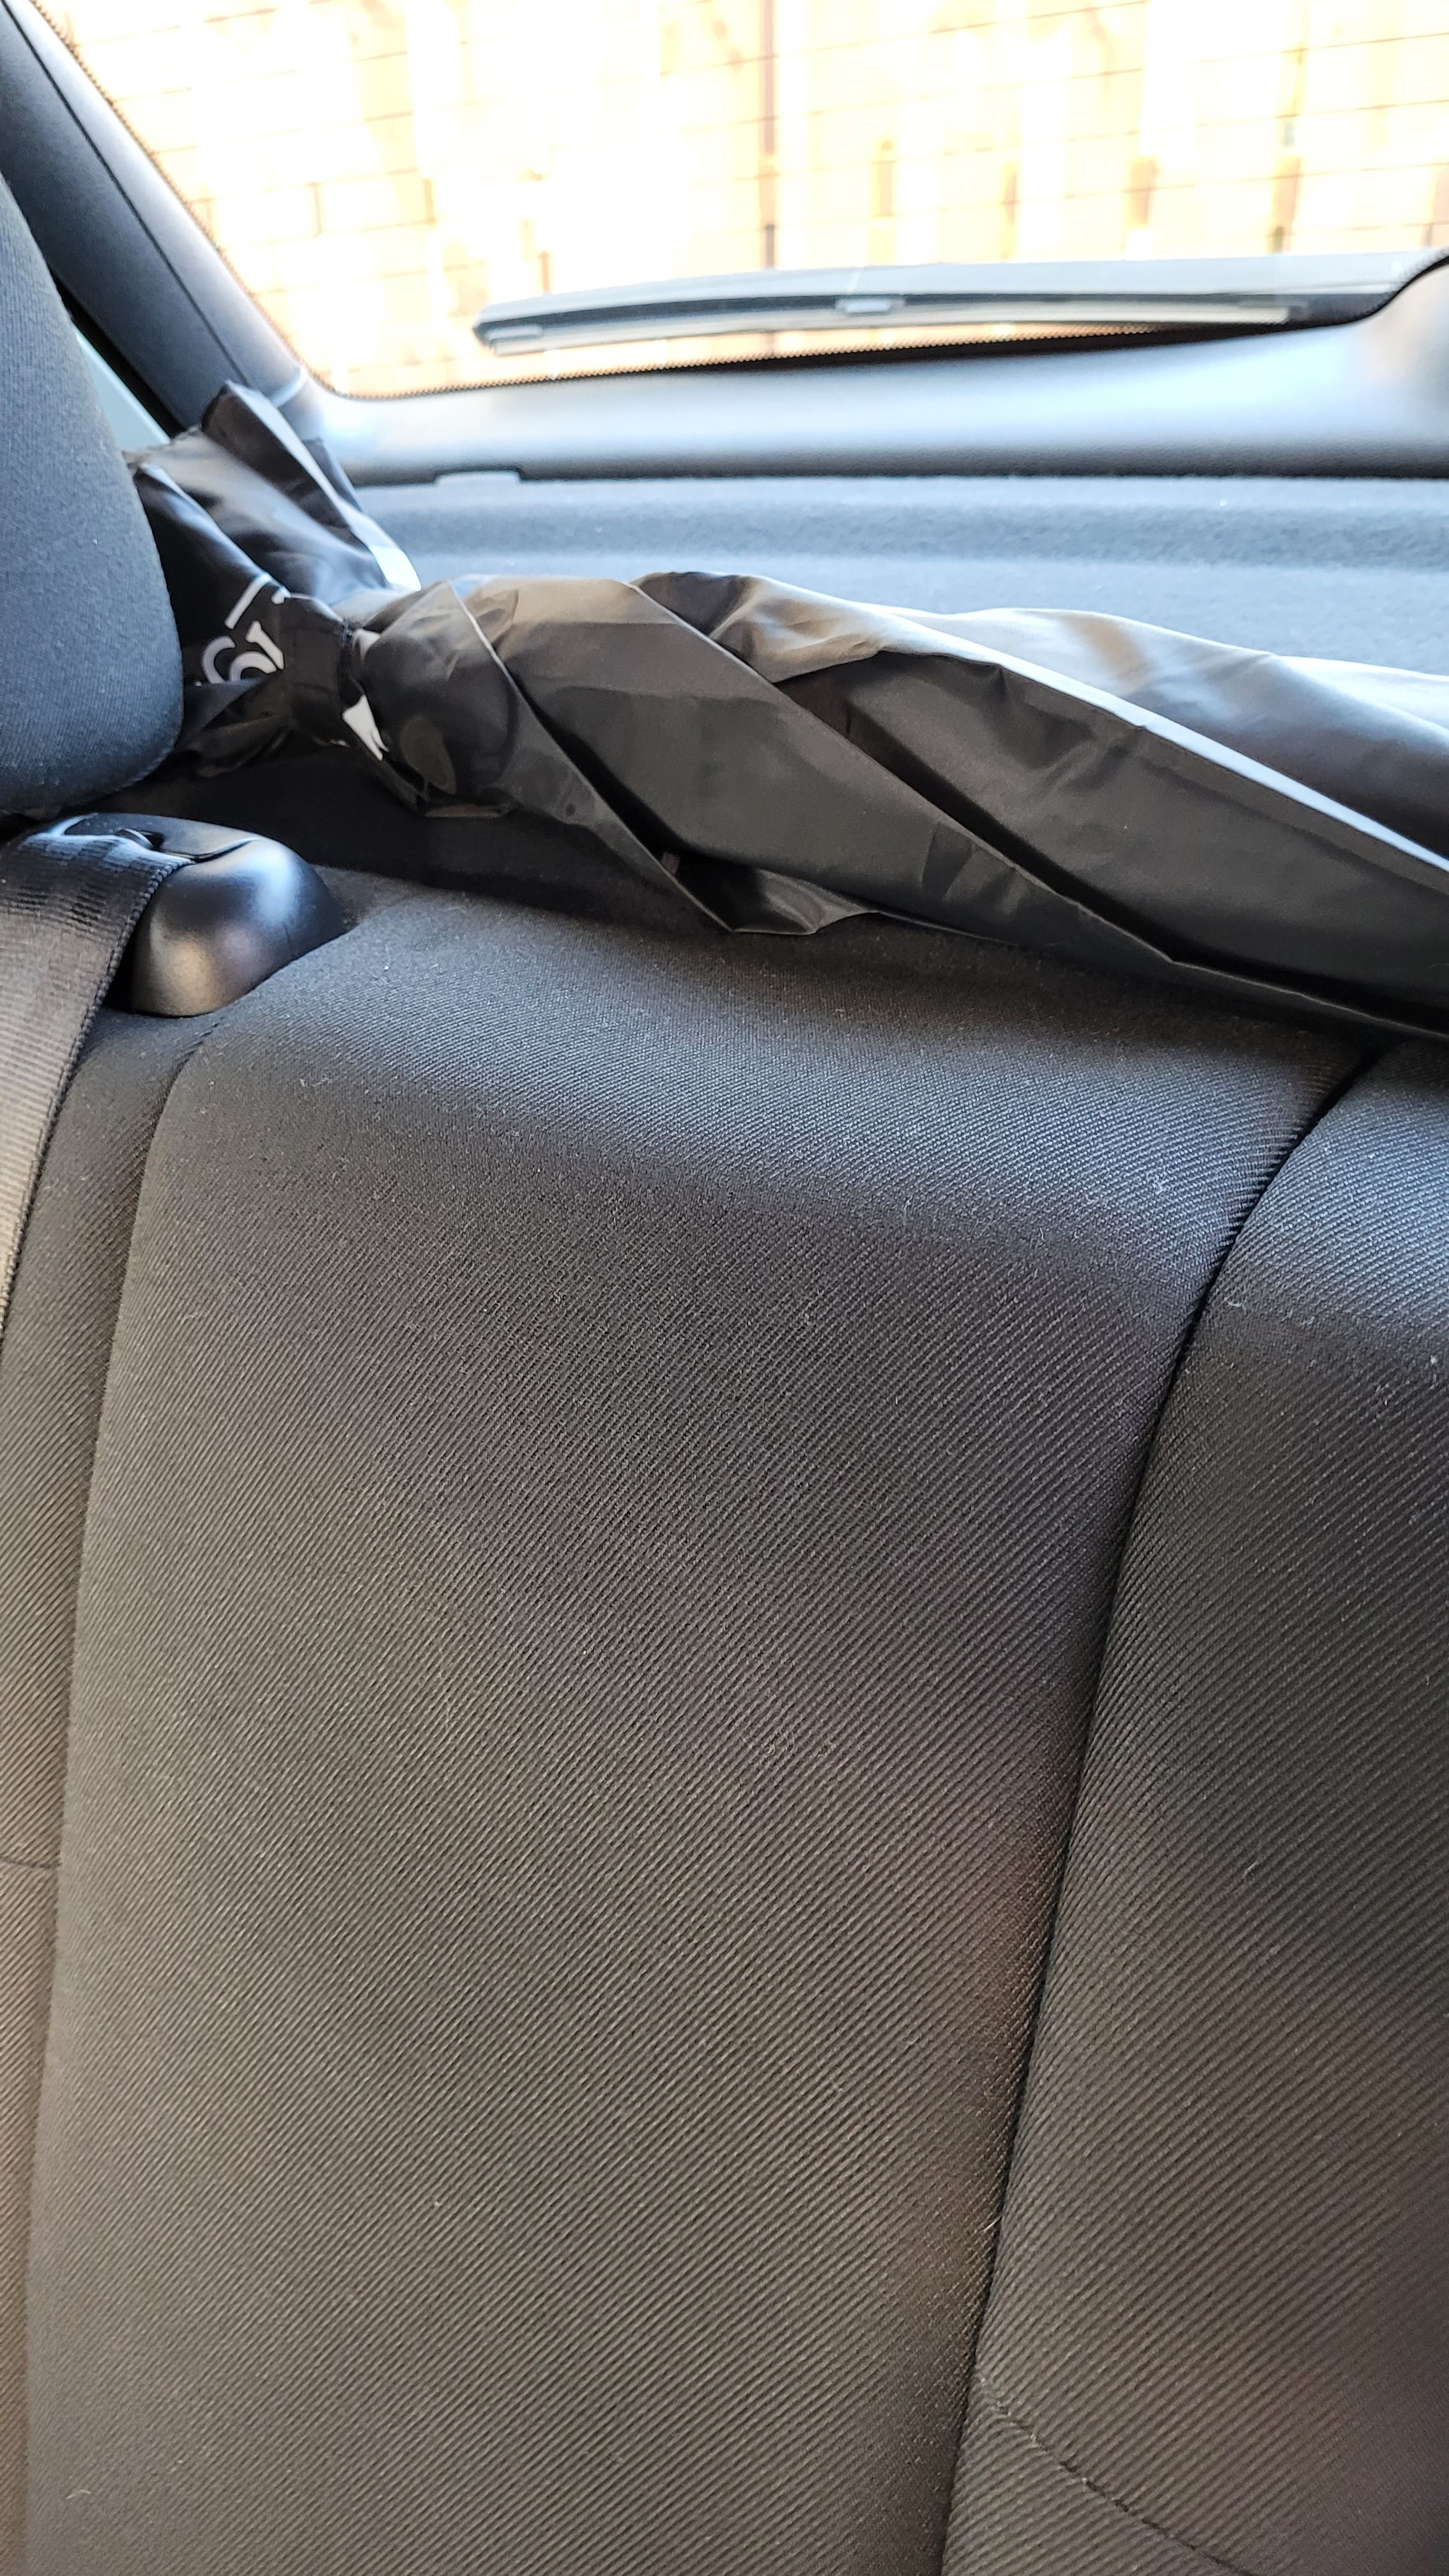
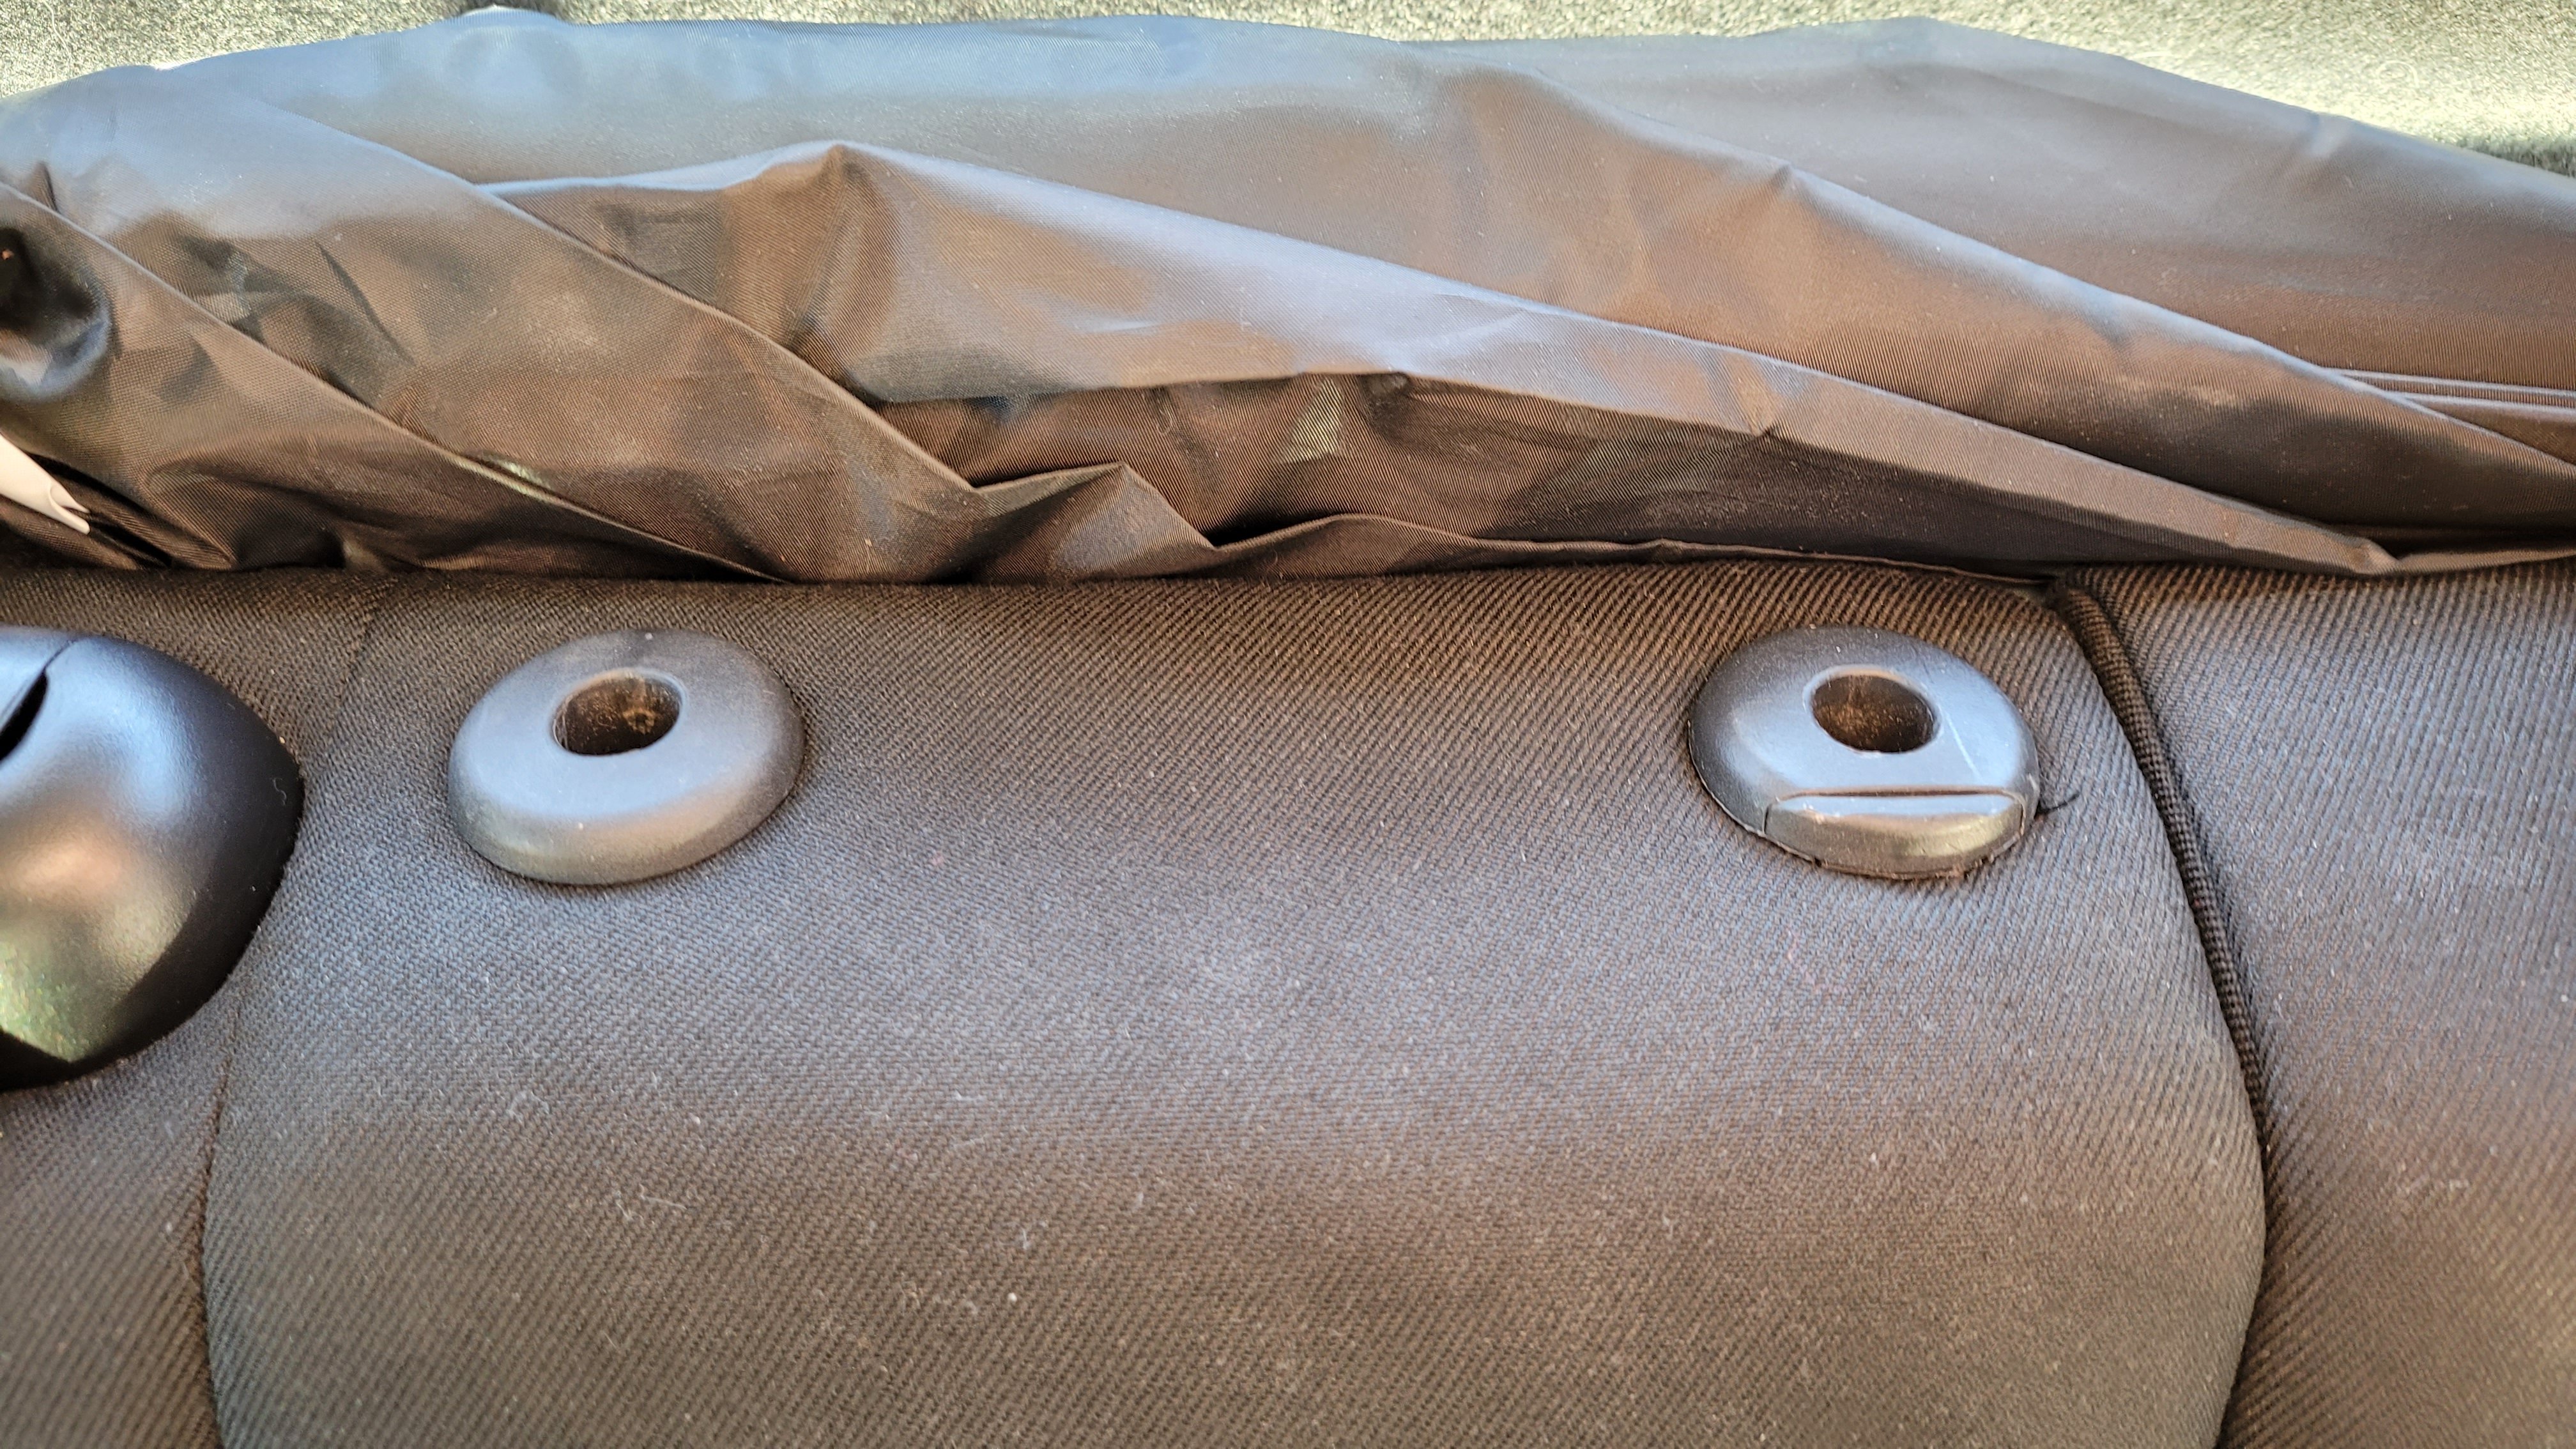
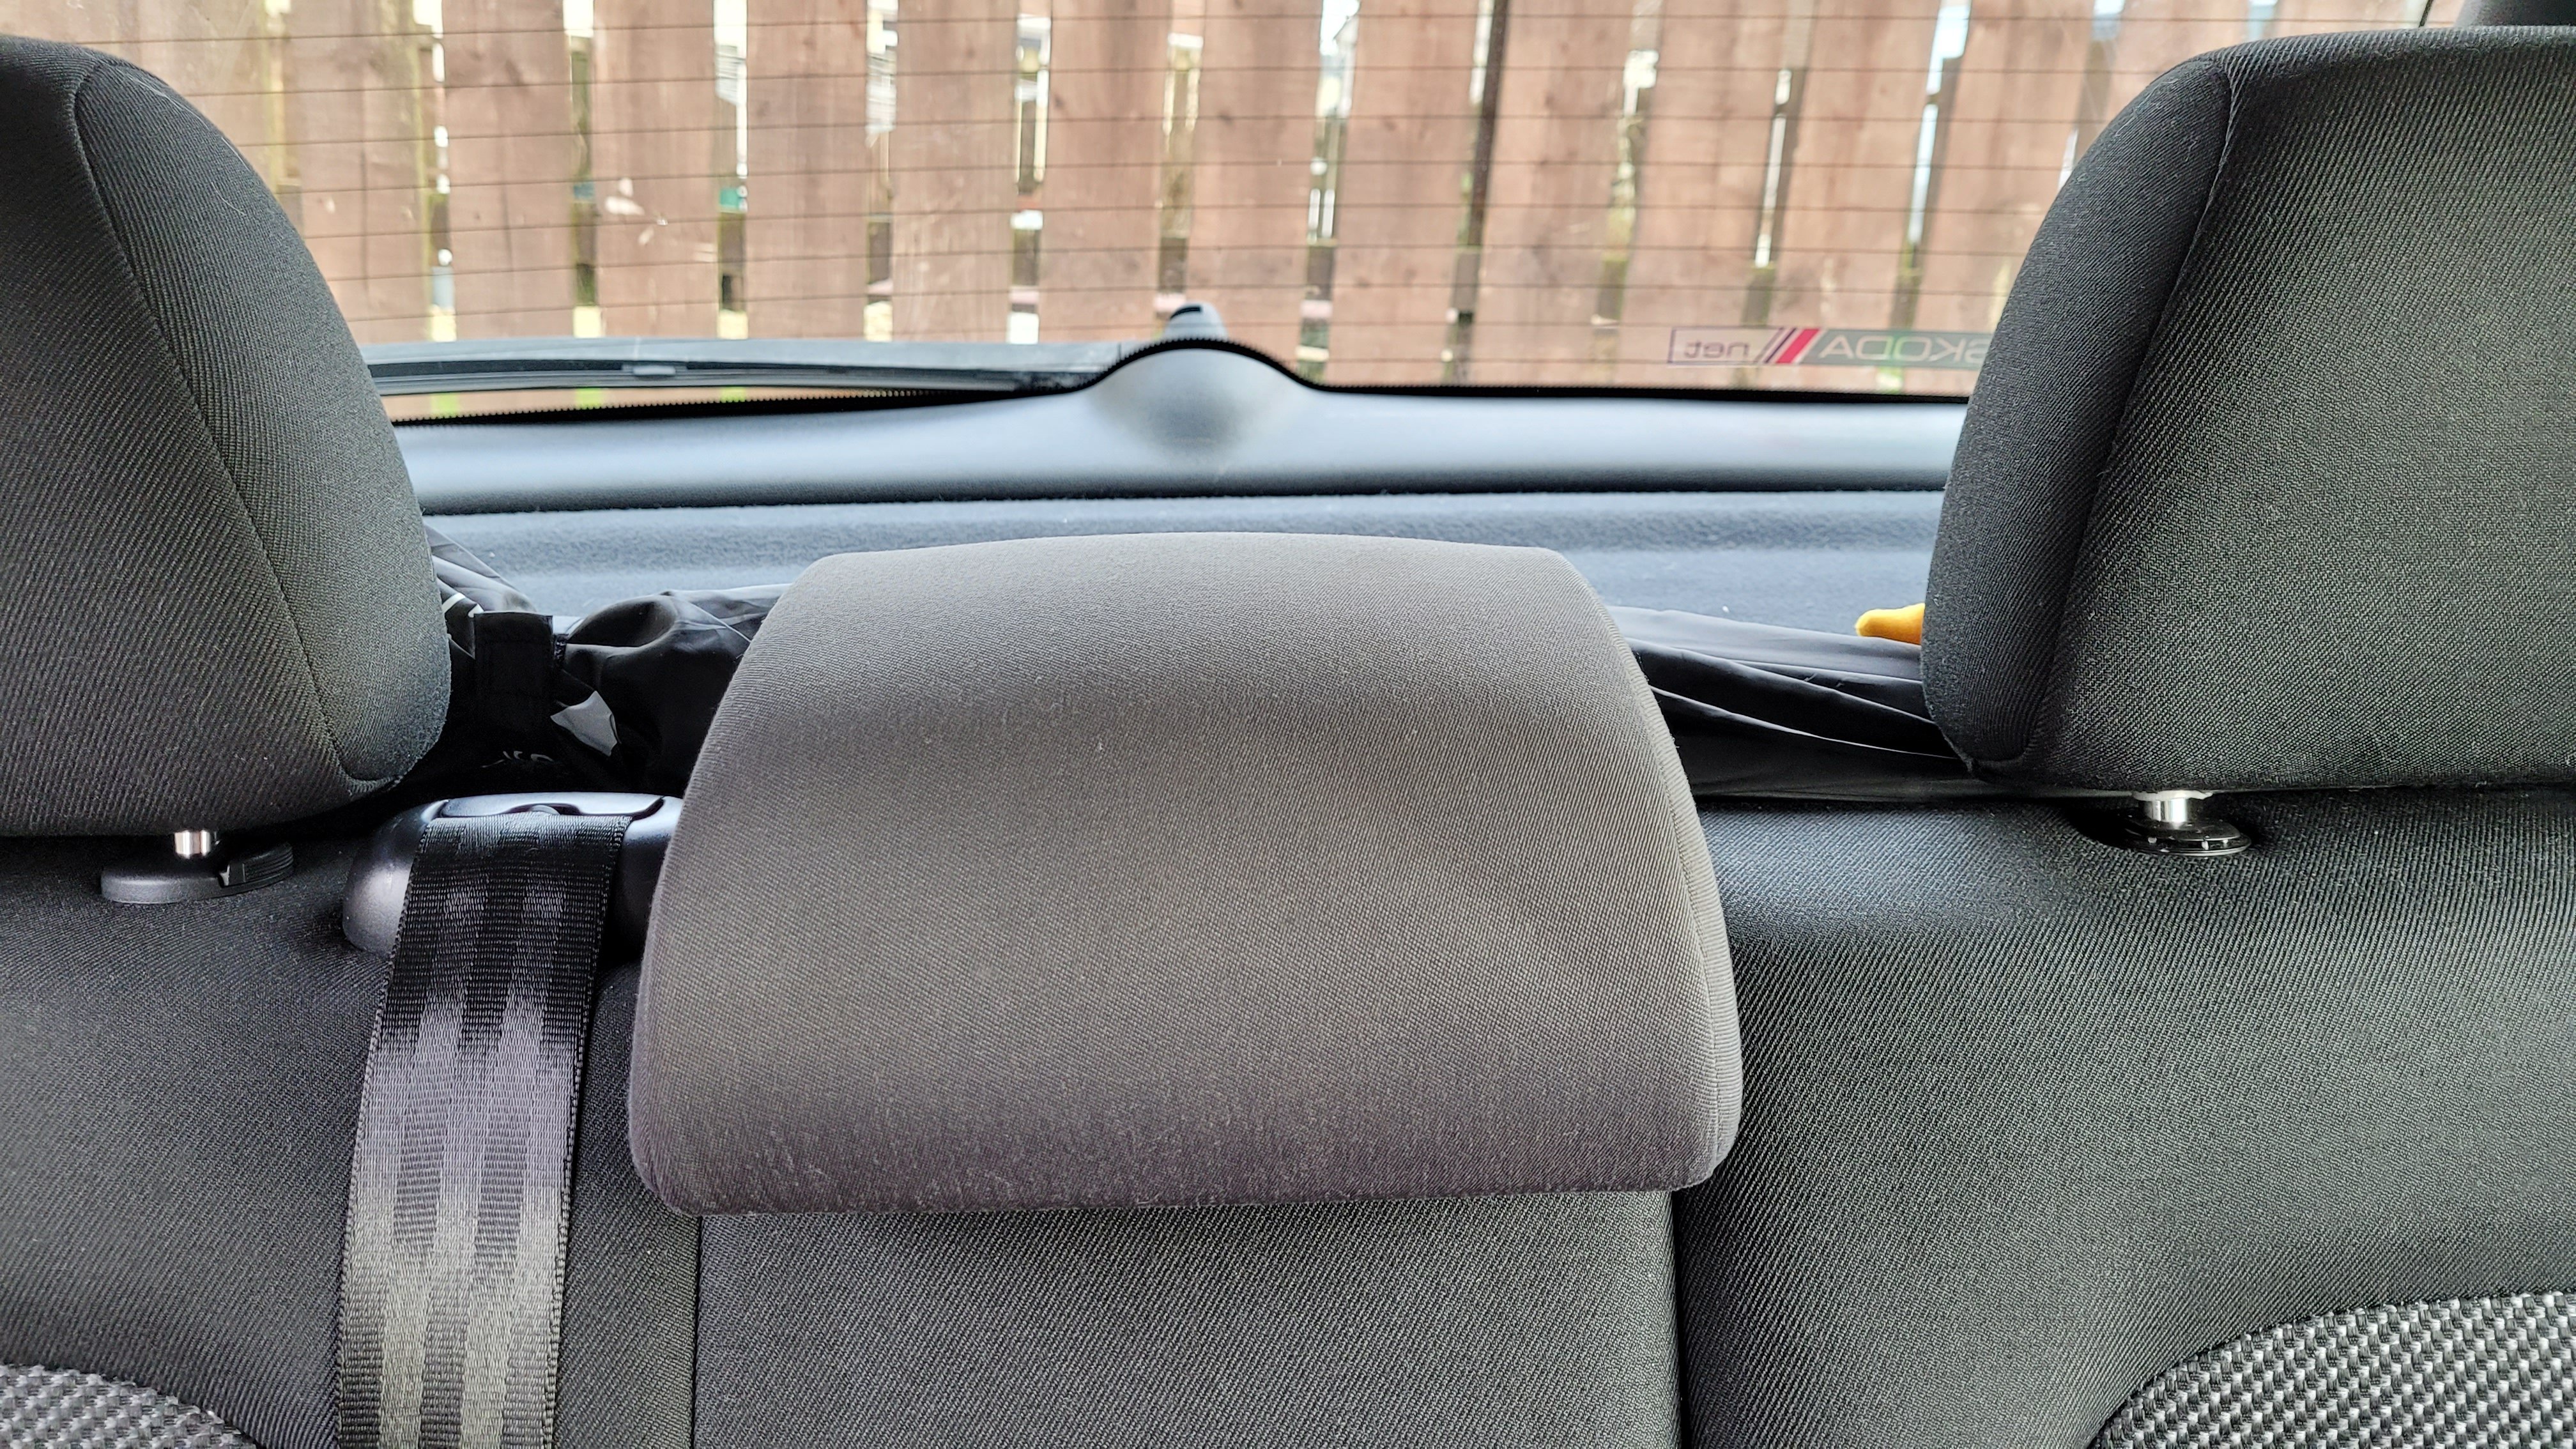
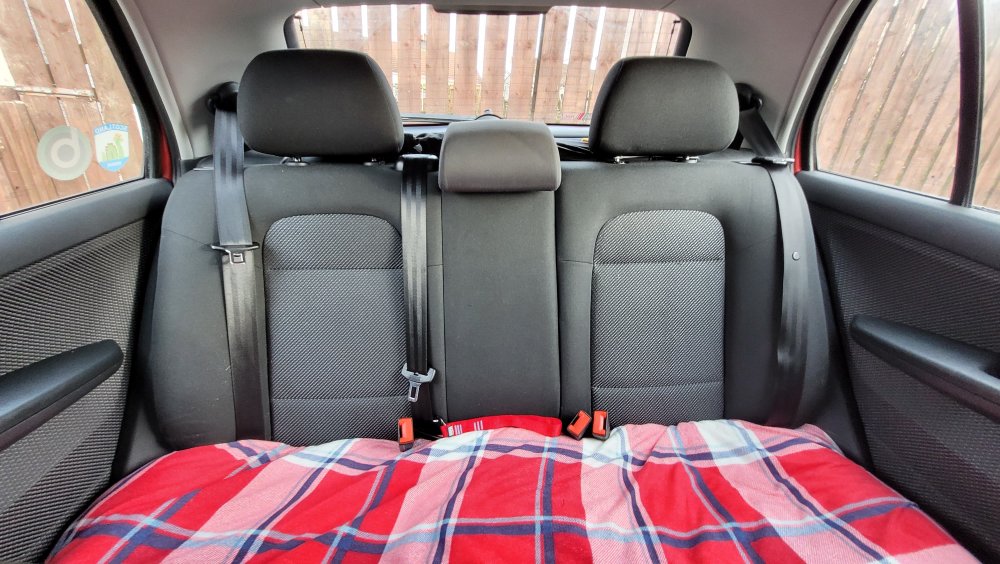
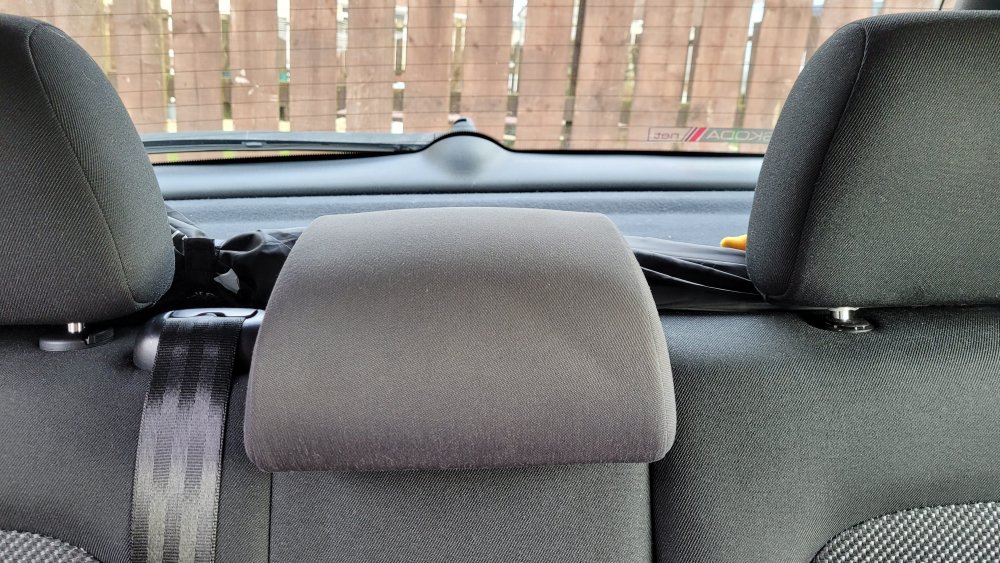
Another step in modernising my Fabia for the 2020s... a middle rear headrest. Considerations for future modernisations or luxuries: Double DIN head unit with DAB, Bluetooth and all the other fancy gizmos. Leather covered steering wheel Rear interior map lights Sunglasses holder Better seats (potluck to see if I can get something local AND cheap!) Accent interior parts with a wee drop of silver... So anyway, that's all for now.
 2 points
 -
2 pointsFinally got some good news this week after weeks of nothing. It's been built and is in transit...... but it's still anybody's guess as to when it'll reach these shores, let alone the dealership. (but at least it's moving)2 points
-
The Fiesta hit 30K Tuesday morning and has done some miles since as roads are filthy and I changed discs and pads at front so need bedding in. Slimer I just moved down the side of the house as roof getting de-mossed today (at some point), swapped the mats out for the winter ones too as I will be using it for back to work as of tomorrow and it's STILL on......

 2 points
 -
2 pointsIf you are driving it, you aren't having to look at it. Win Win Btw this isn't a garage queen, it's going to be used for work as much as anything2 points
-
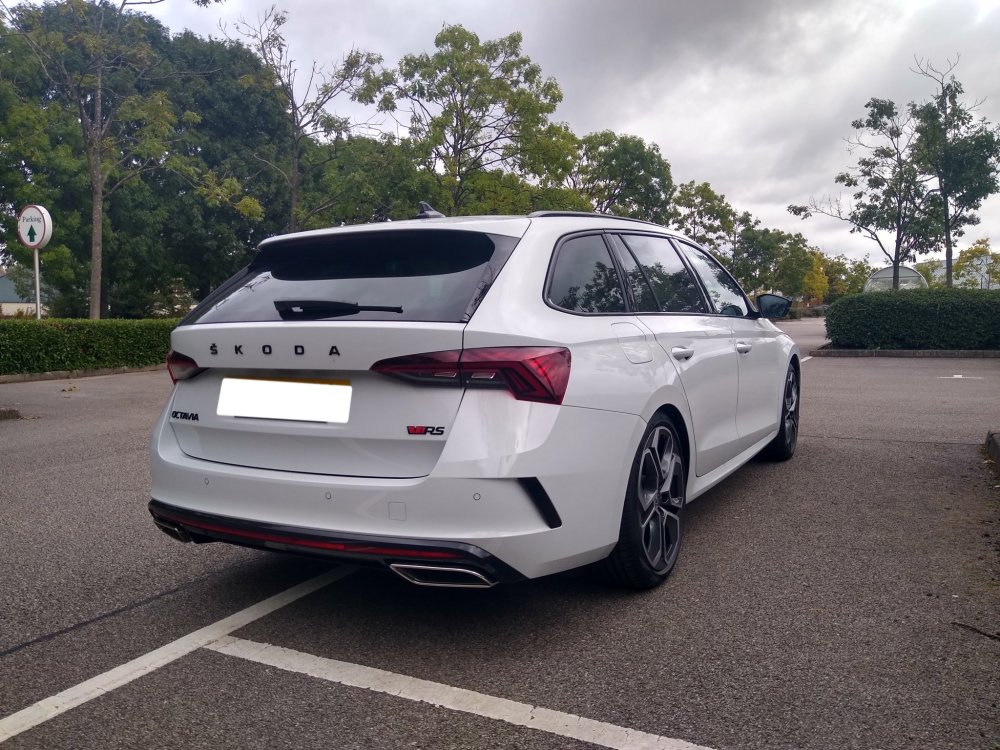
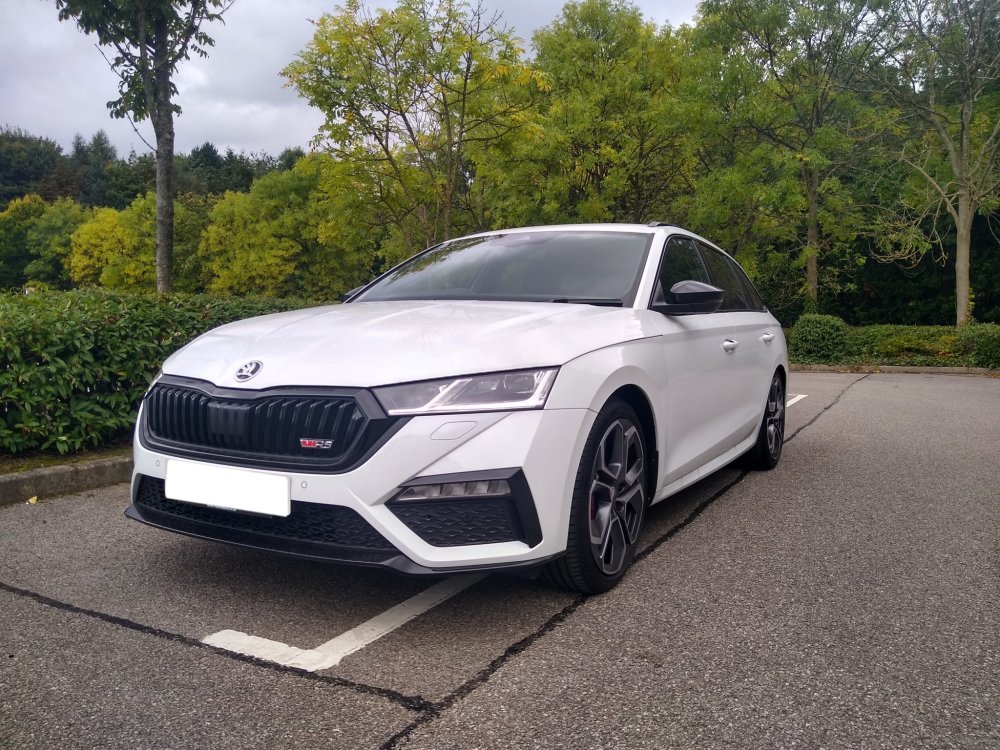
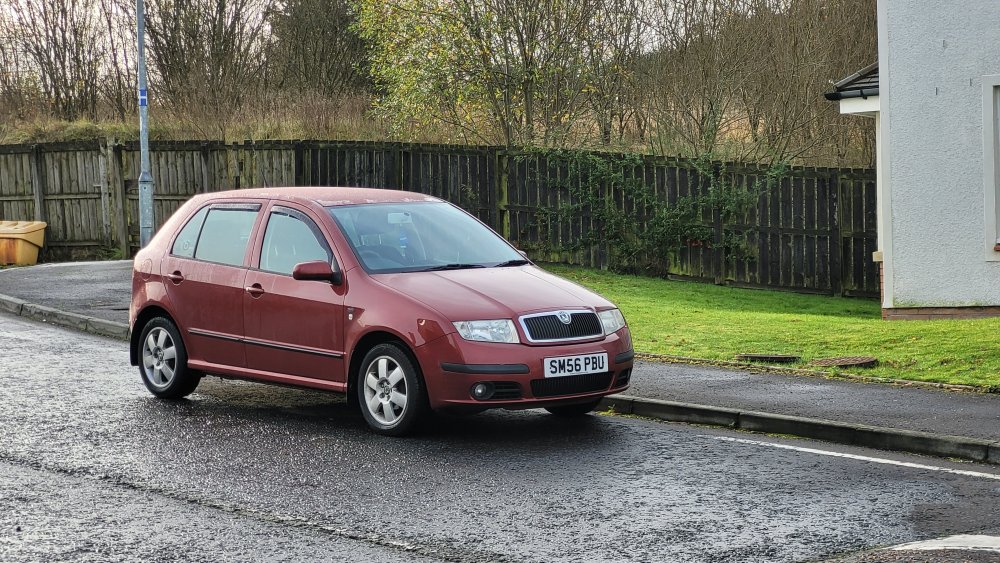
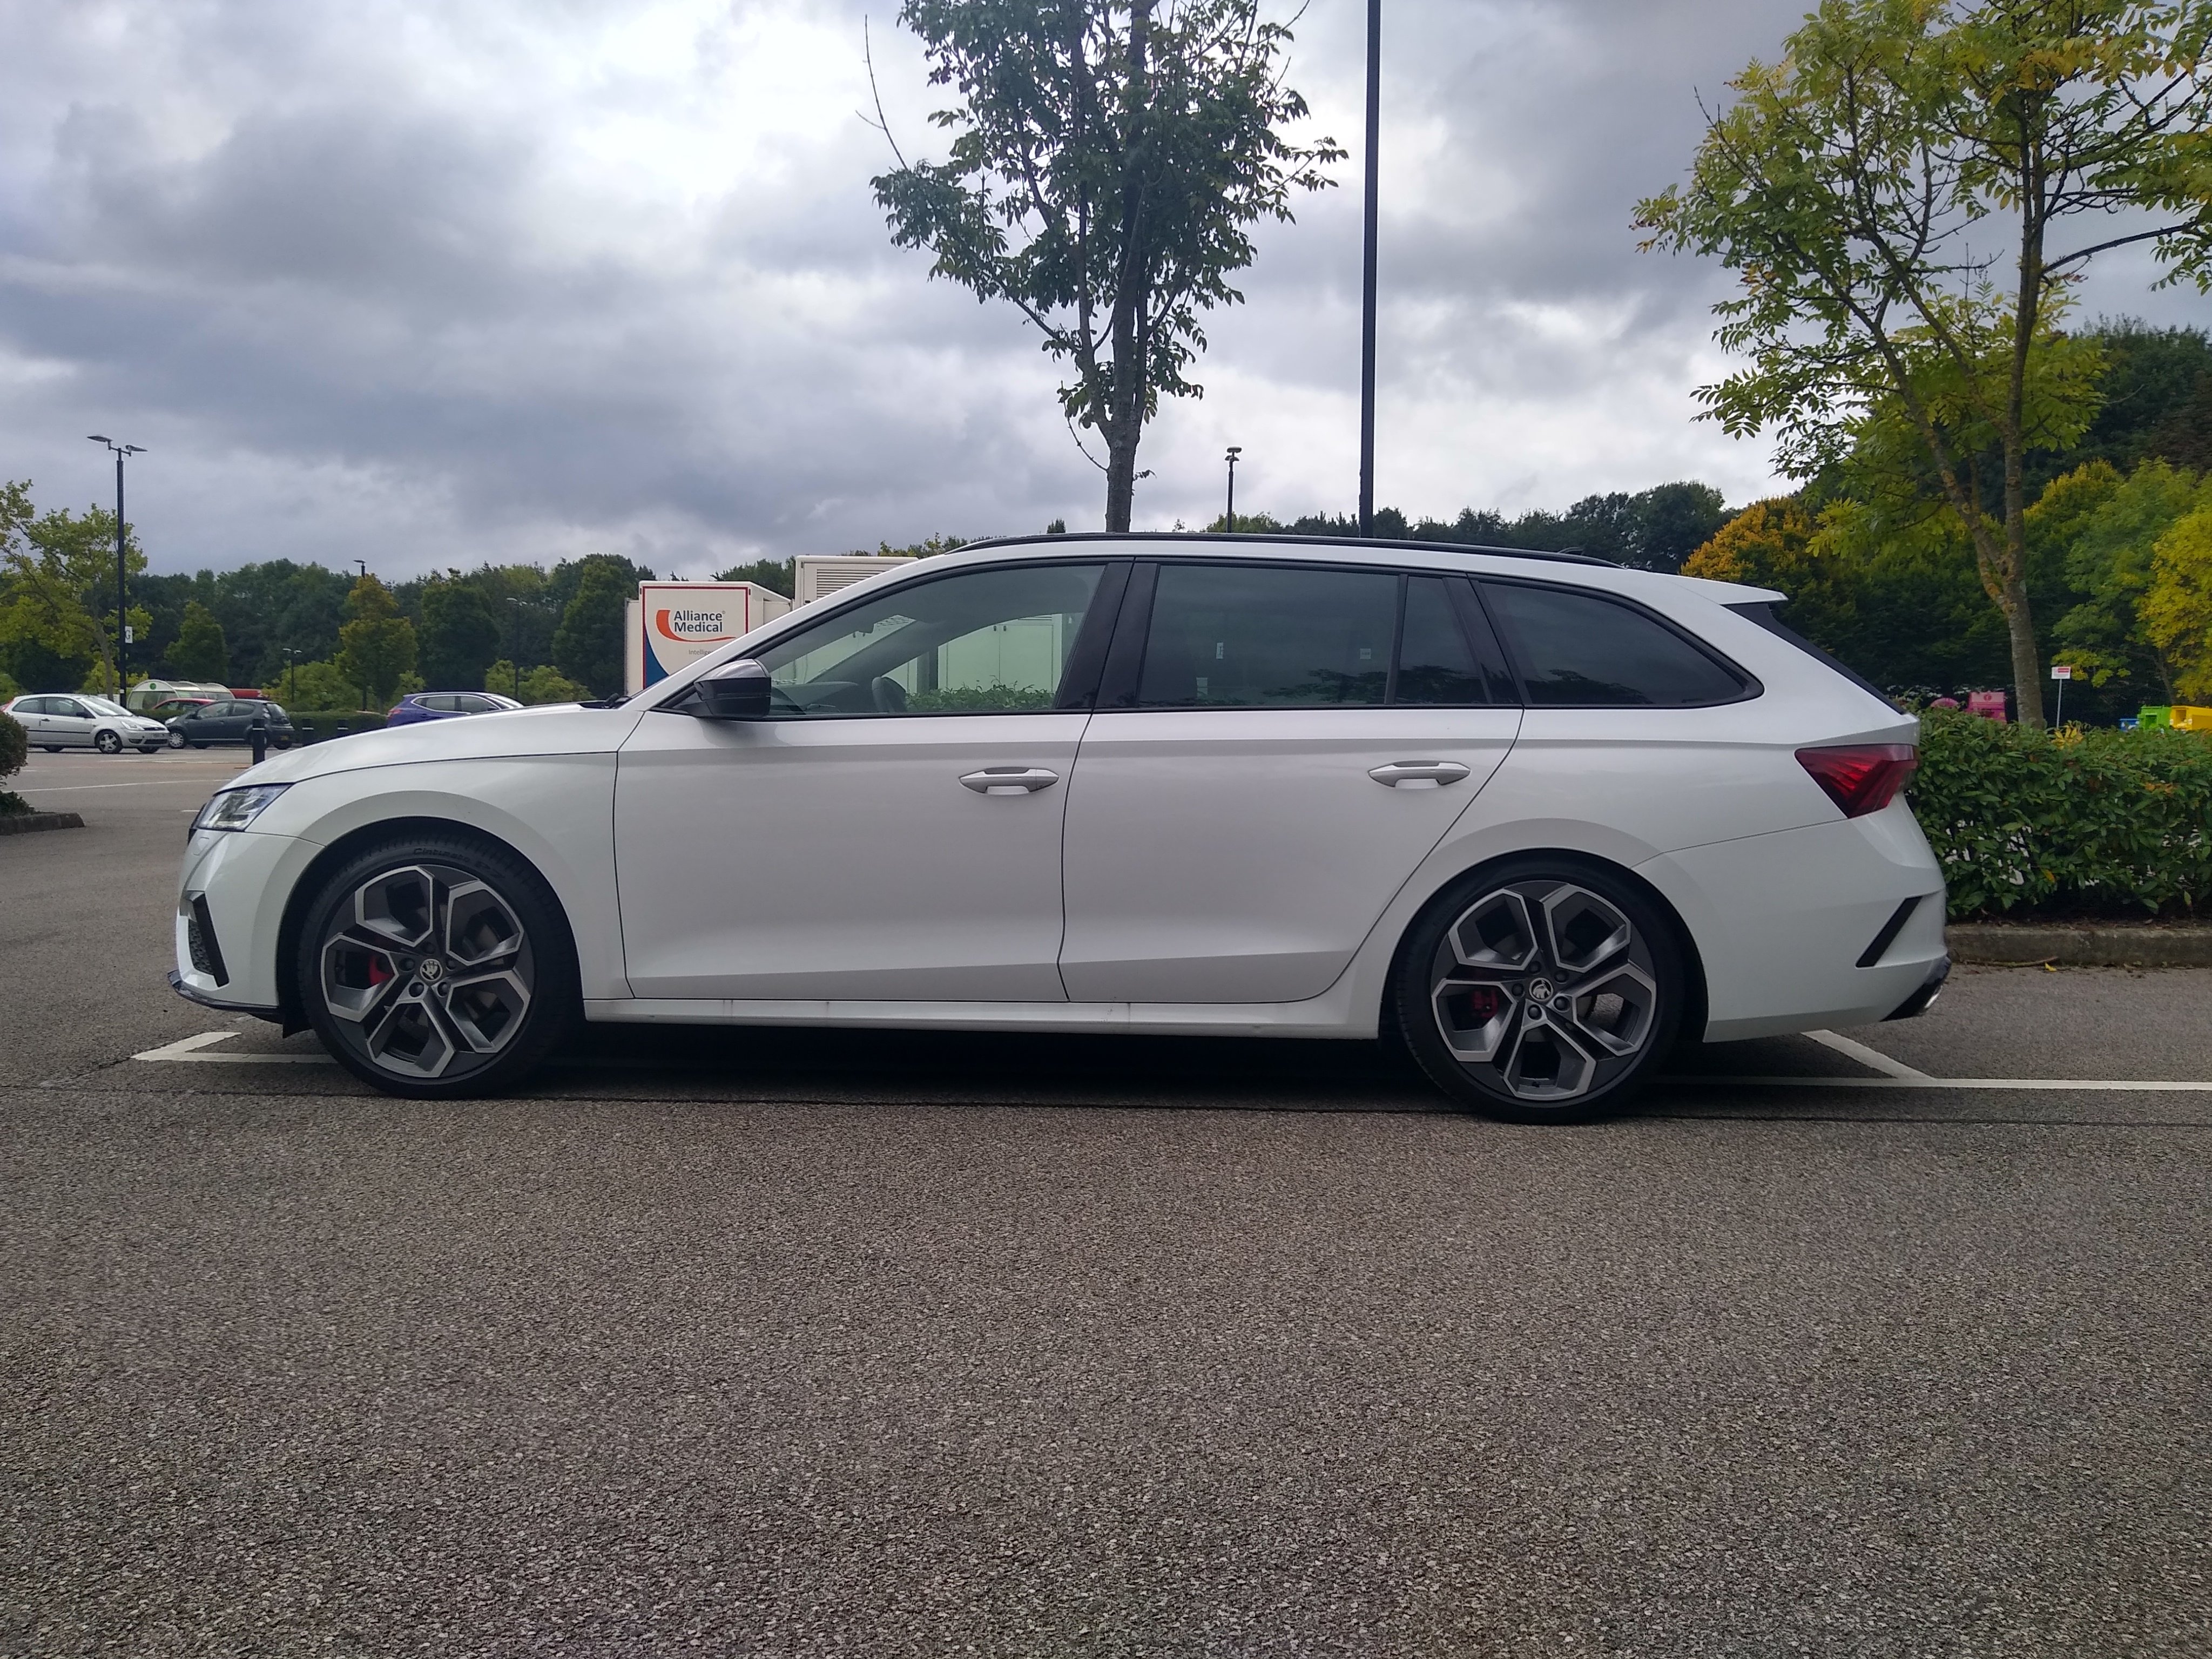
2 pointsRace blue for me. Red and white where the other colours I’d considered.
 2 points
 -
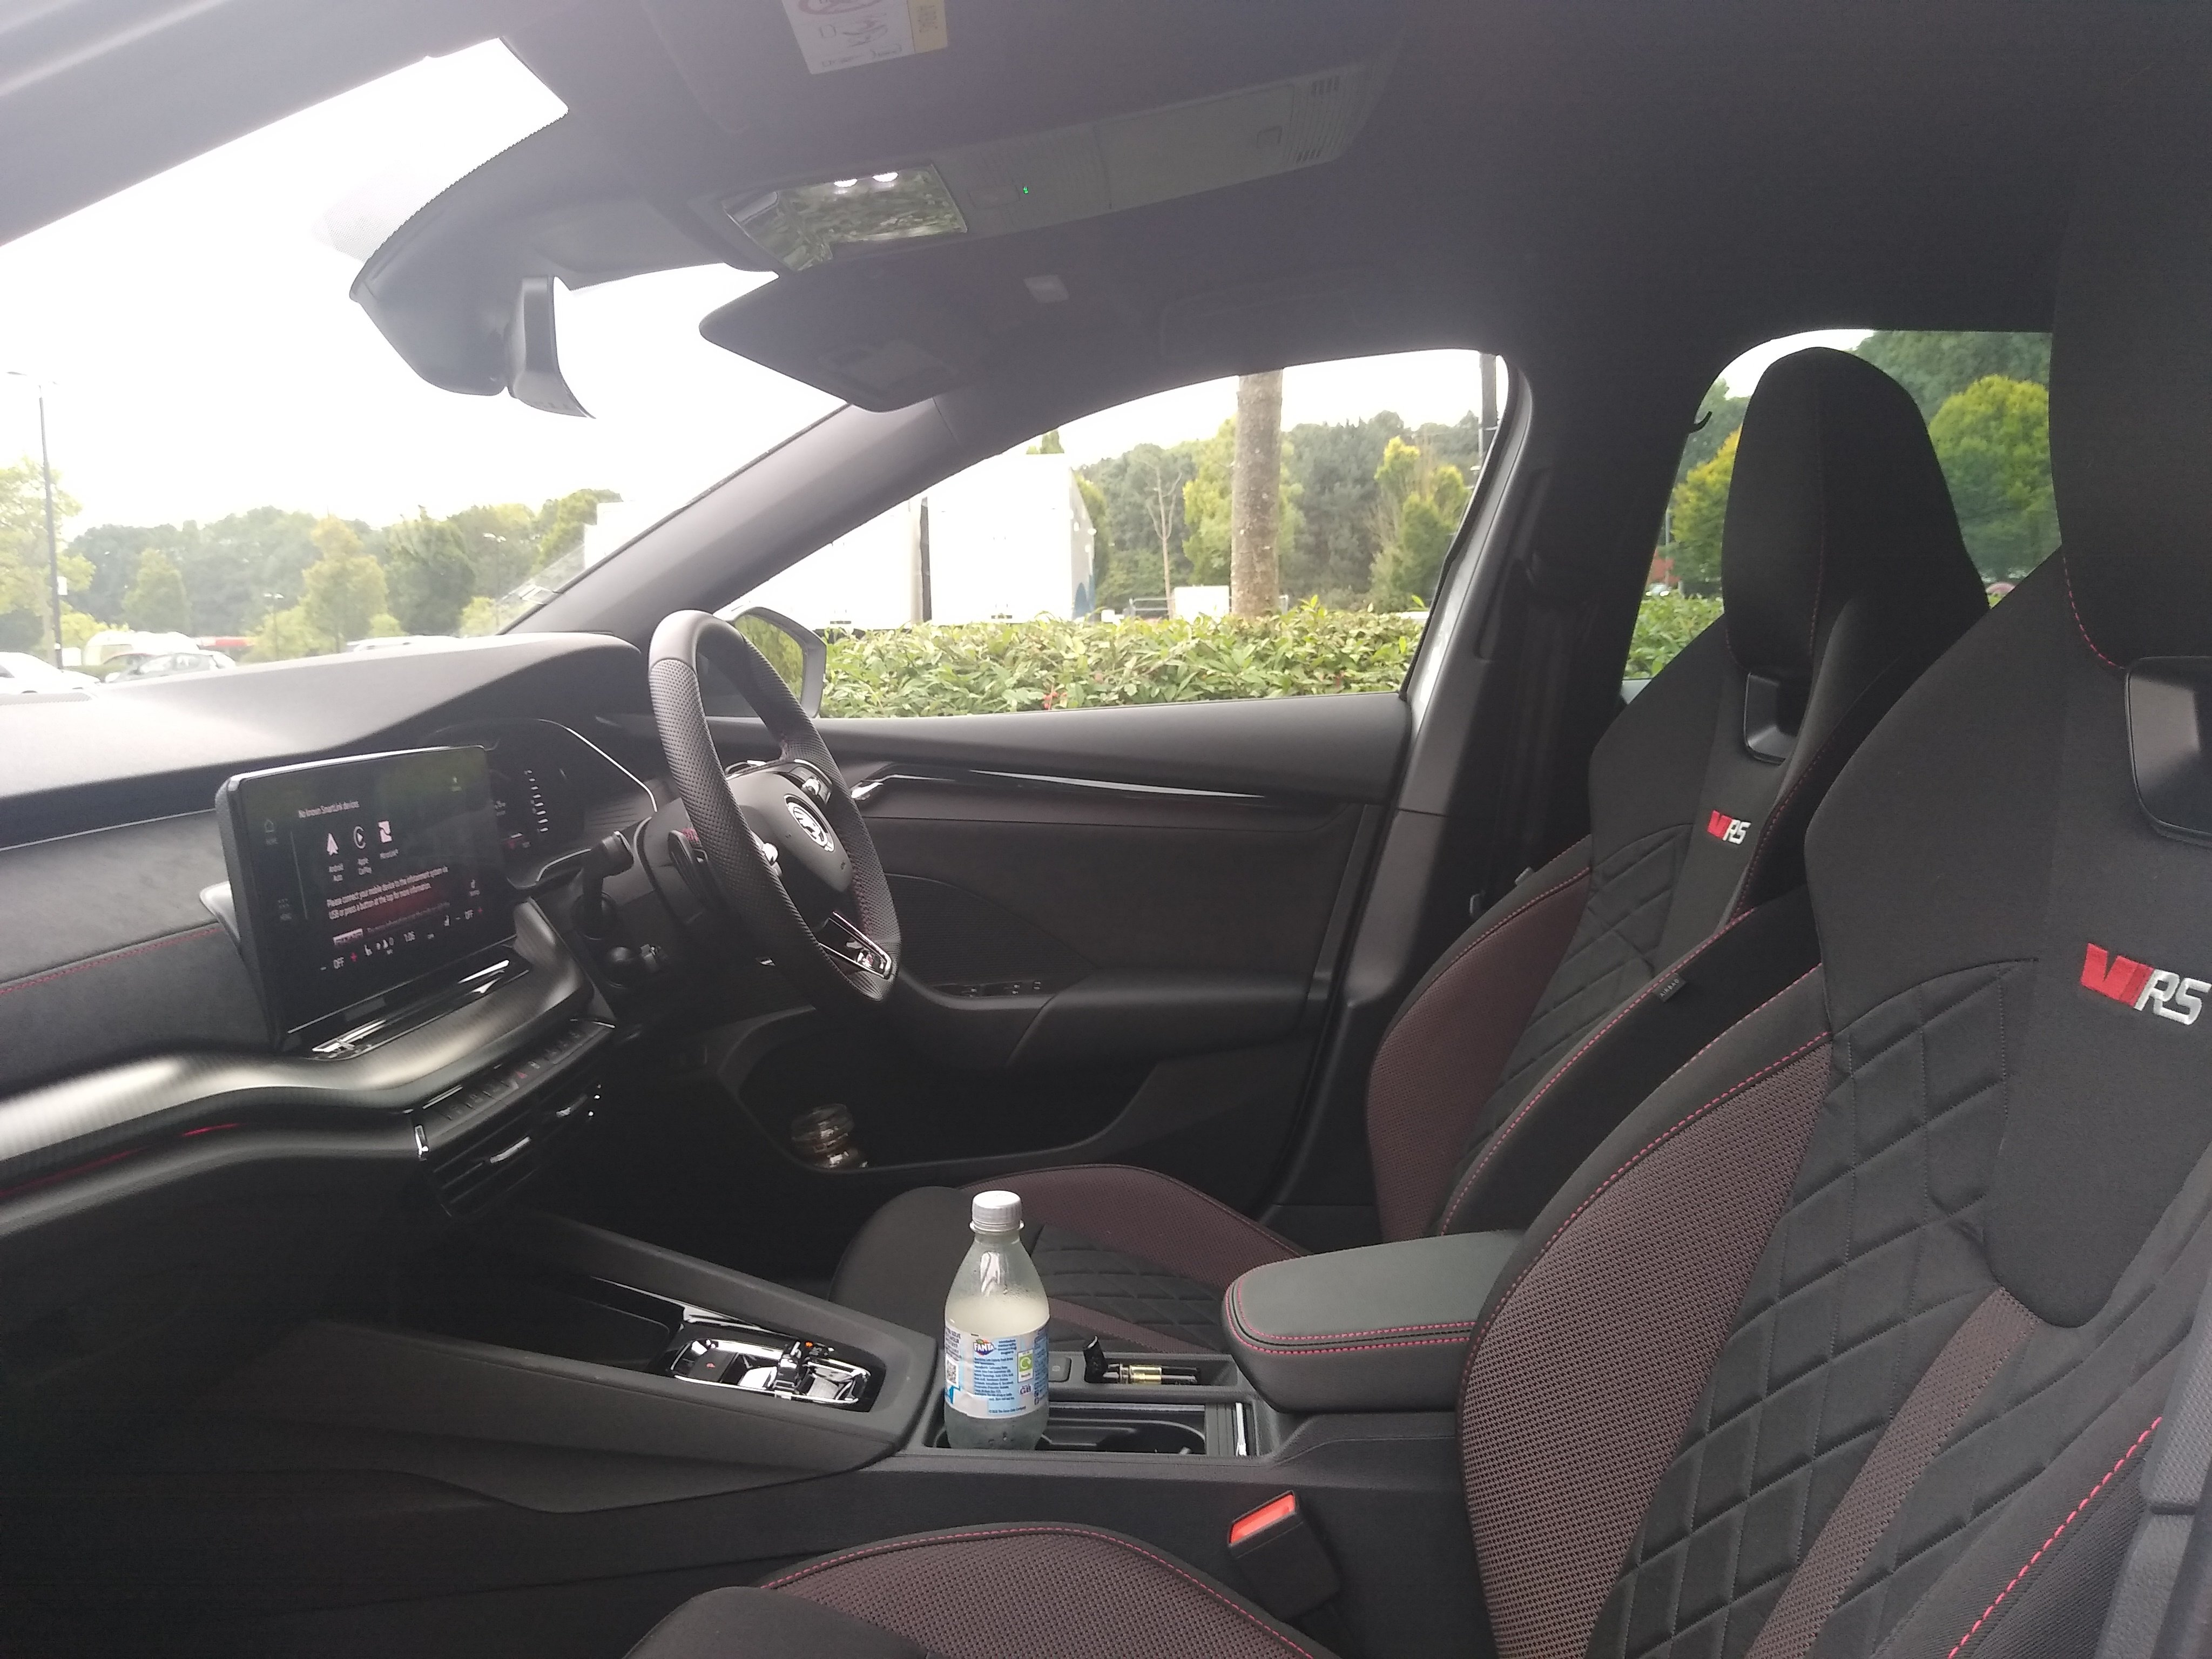
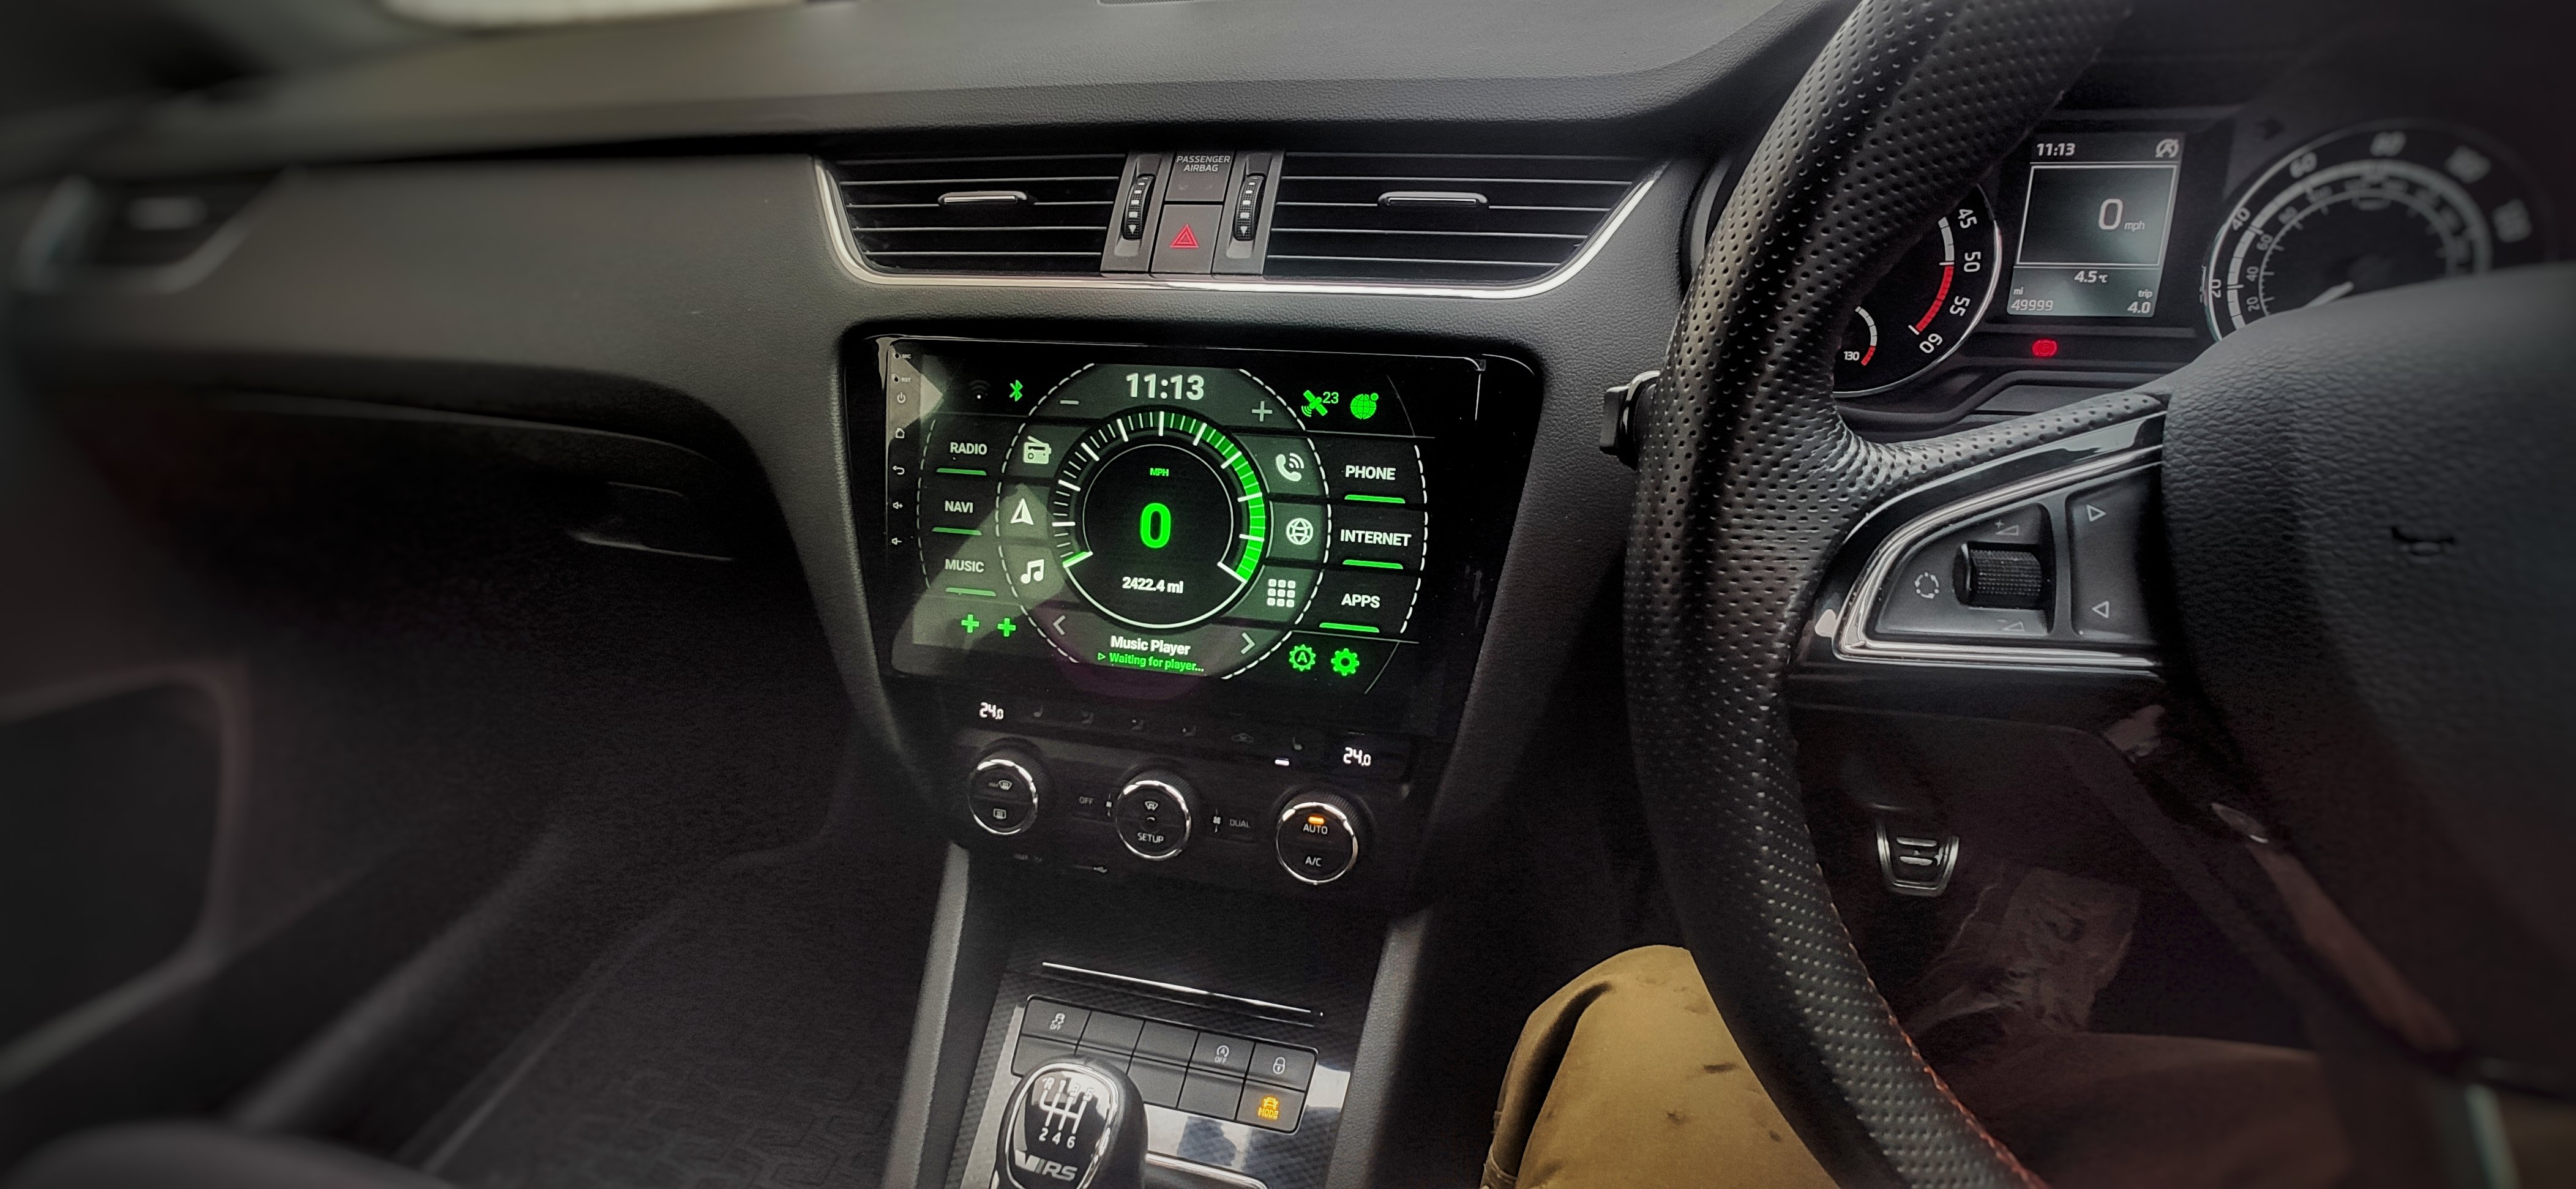
2 pointsFew of the latest pics... Now remapped to stage 1, Rear half roof wrapped. Maxton front splitter on. Callipers painted red.


 2 points
 -
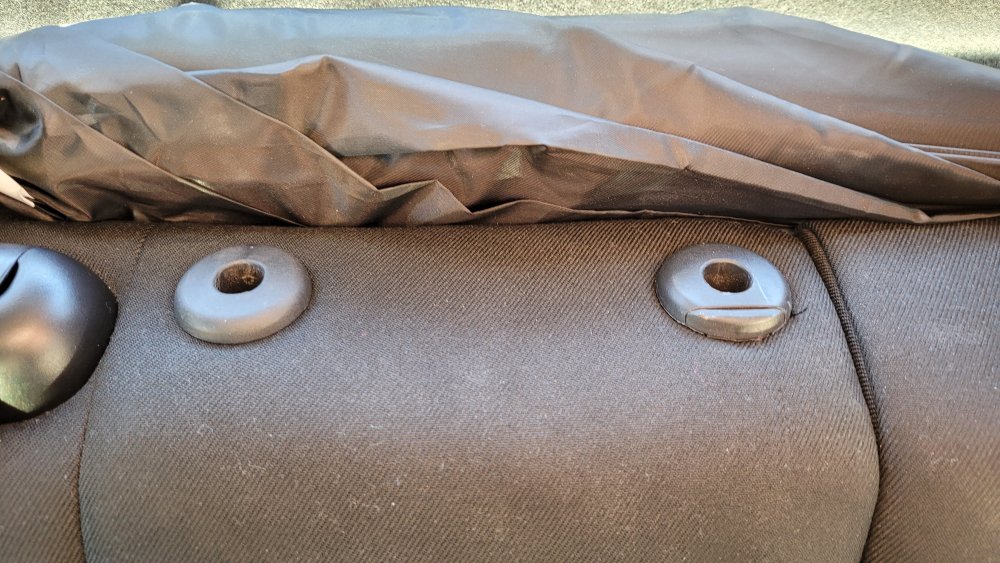
1 pointFabia Mk1 Middle Rear Headrest Fitting Guide As the title says, this guide will "talk" you through how to fit the middle rear head restraint to your Fabia. This modification is ideal if you want to modernise your car or if you intend on carrying five people with safety in mind. Or, if you're like me, you saw that Lofty had one in his yellow vRS and you want in on the action. I also would like to thank @DieselMonte and @Lofty for their help in pulling all of this together. This guide may also work with Mk2 Fabia and Roomster models but I cannot confirm, see disclaimer. Also forgive the "snazzy font", it's my default on the program I used to write all of this up before posting. DISCLAIMER: I'm not responsible if you eff this up or take your fingers off. Do this at your own risk. Take proper care working with the knife and other sharp utensils, or else we'll have to get the kid scissors out for you. Step One - Acquiring Parts and Tools: Now, getting the headrest from a Fabia is like finding fangs in a rooster. The solution is to look to other VAG cars. As such, looking to the 9N Volkswagen Polo was my solution, since it shares the same platform as the Mk1 Fabia and the SEAT Ibiza. Mine was purchased from a car breakers on eBay and was wrangled from a 2008 9N Polo. You may choose to do the same, or you may seek one from a scrap-yard. As a point of note, the headrests that can be found on the left or right-hand-side of the rear seats are larger and using one of those for the middle may restrict your view of the road behind you. If you want to use one of these, then go ahead, but I don't recommend it for that reason. The next part you need is the guides that the headrest slots into, and that slot into the seat. I purchased these as new-old-stock on eBay. The part numbers are 6Y0886920A and 6Y0886920. You may have difficulty finding these parts, but they do fit as intended by OEM as far as I know. For undertaking the job, you'll need a small Stanley blade or penknife. Step Two - Checking The Parts Fit: ALWAYS, and I repeat ALWAYS make sure that the guide tubes and the headrest posts fit properly, you can test these before fitting as the next step isn't something you can undo without requiring the services of a company like Seat Surgeons and a wad of cash. Step Three - Preparation: Like the first two steps, but important nevertheless. Go out to your car and check the rear seat back where the headrest goes to make sure you have the holes there for the guide tubes to go into. You'll be able to run a finger across the top of the fabric and feel the little notches where the tubes will go into. Step Four - Cutting Fabric: From this point onwards, you are at a point of no return, think about your choices wisely! Take your cutting utensil and make small guide holes in the fabric in the area where the guide tubes are going. You may then proceed to continue cutting enough fabric for the guide tubes to fit into the holes. You shouldn't need to cut too much. You should also be careful as not to damage other fabrics. So if you can, take the seat back out, bring it forwards or whatever. Step Five - Fitting Parts: First of all, there's no point in having a cart without a horse, so get the guide tubes in first. Secondly, fit your headrest. It should click in nicely and securely. As an example, here is mine once completed. Step Six - Admire Yer Handiwork: Good lad (or lady lad), you've gotten this far without stabbing yourself or spontaneously combusting. Now take a step back and admire your handiwork. Finally, put all your tools away and go back into the house, get a cuppa and put your feet up for a job well done. Job's a good 'un.
.thumb.jpg.90c1b80f4cc9359f77f0b1e49c9c41ea.jpg)
 1 point
 -
1 pointThat should be in the joke section! 😆 I keep old scrap parts like that, tons of them, they have saved my bacon and other peoples many many times, my UK garage has now been demolished and a new house is being built on the site, I had a big clear out and only packed the really necessary things to go into storage in France awaiting my new home, I tried, I really tried but most of the crap has remained 🙄 And I'm sure many of the bits will continue to save mine and other peoples bacon. Bad threads would not cause premature failure of an 02 sensor, its simply a very corrosive environment. I would not keep an old non functioning sensor if the threads had stripped on removal.1 point
-
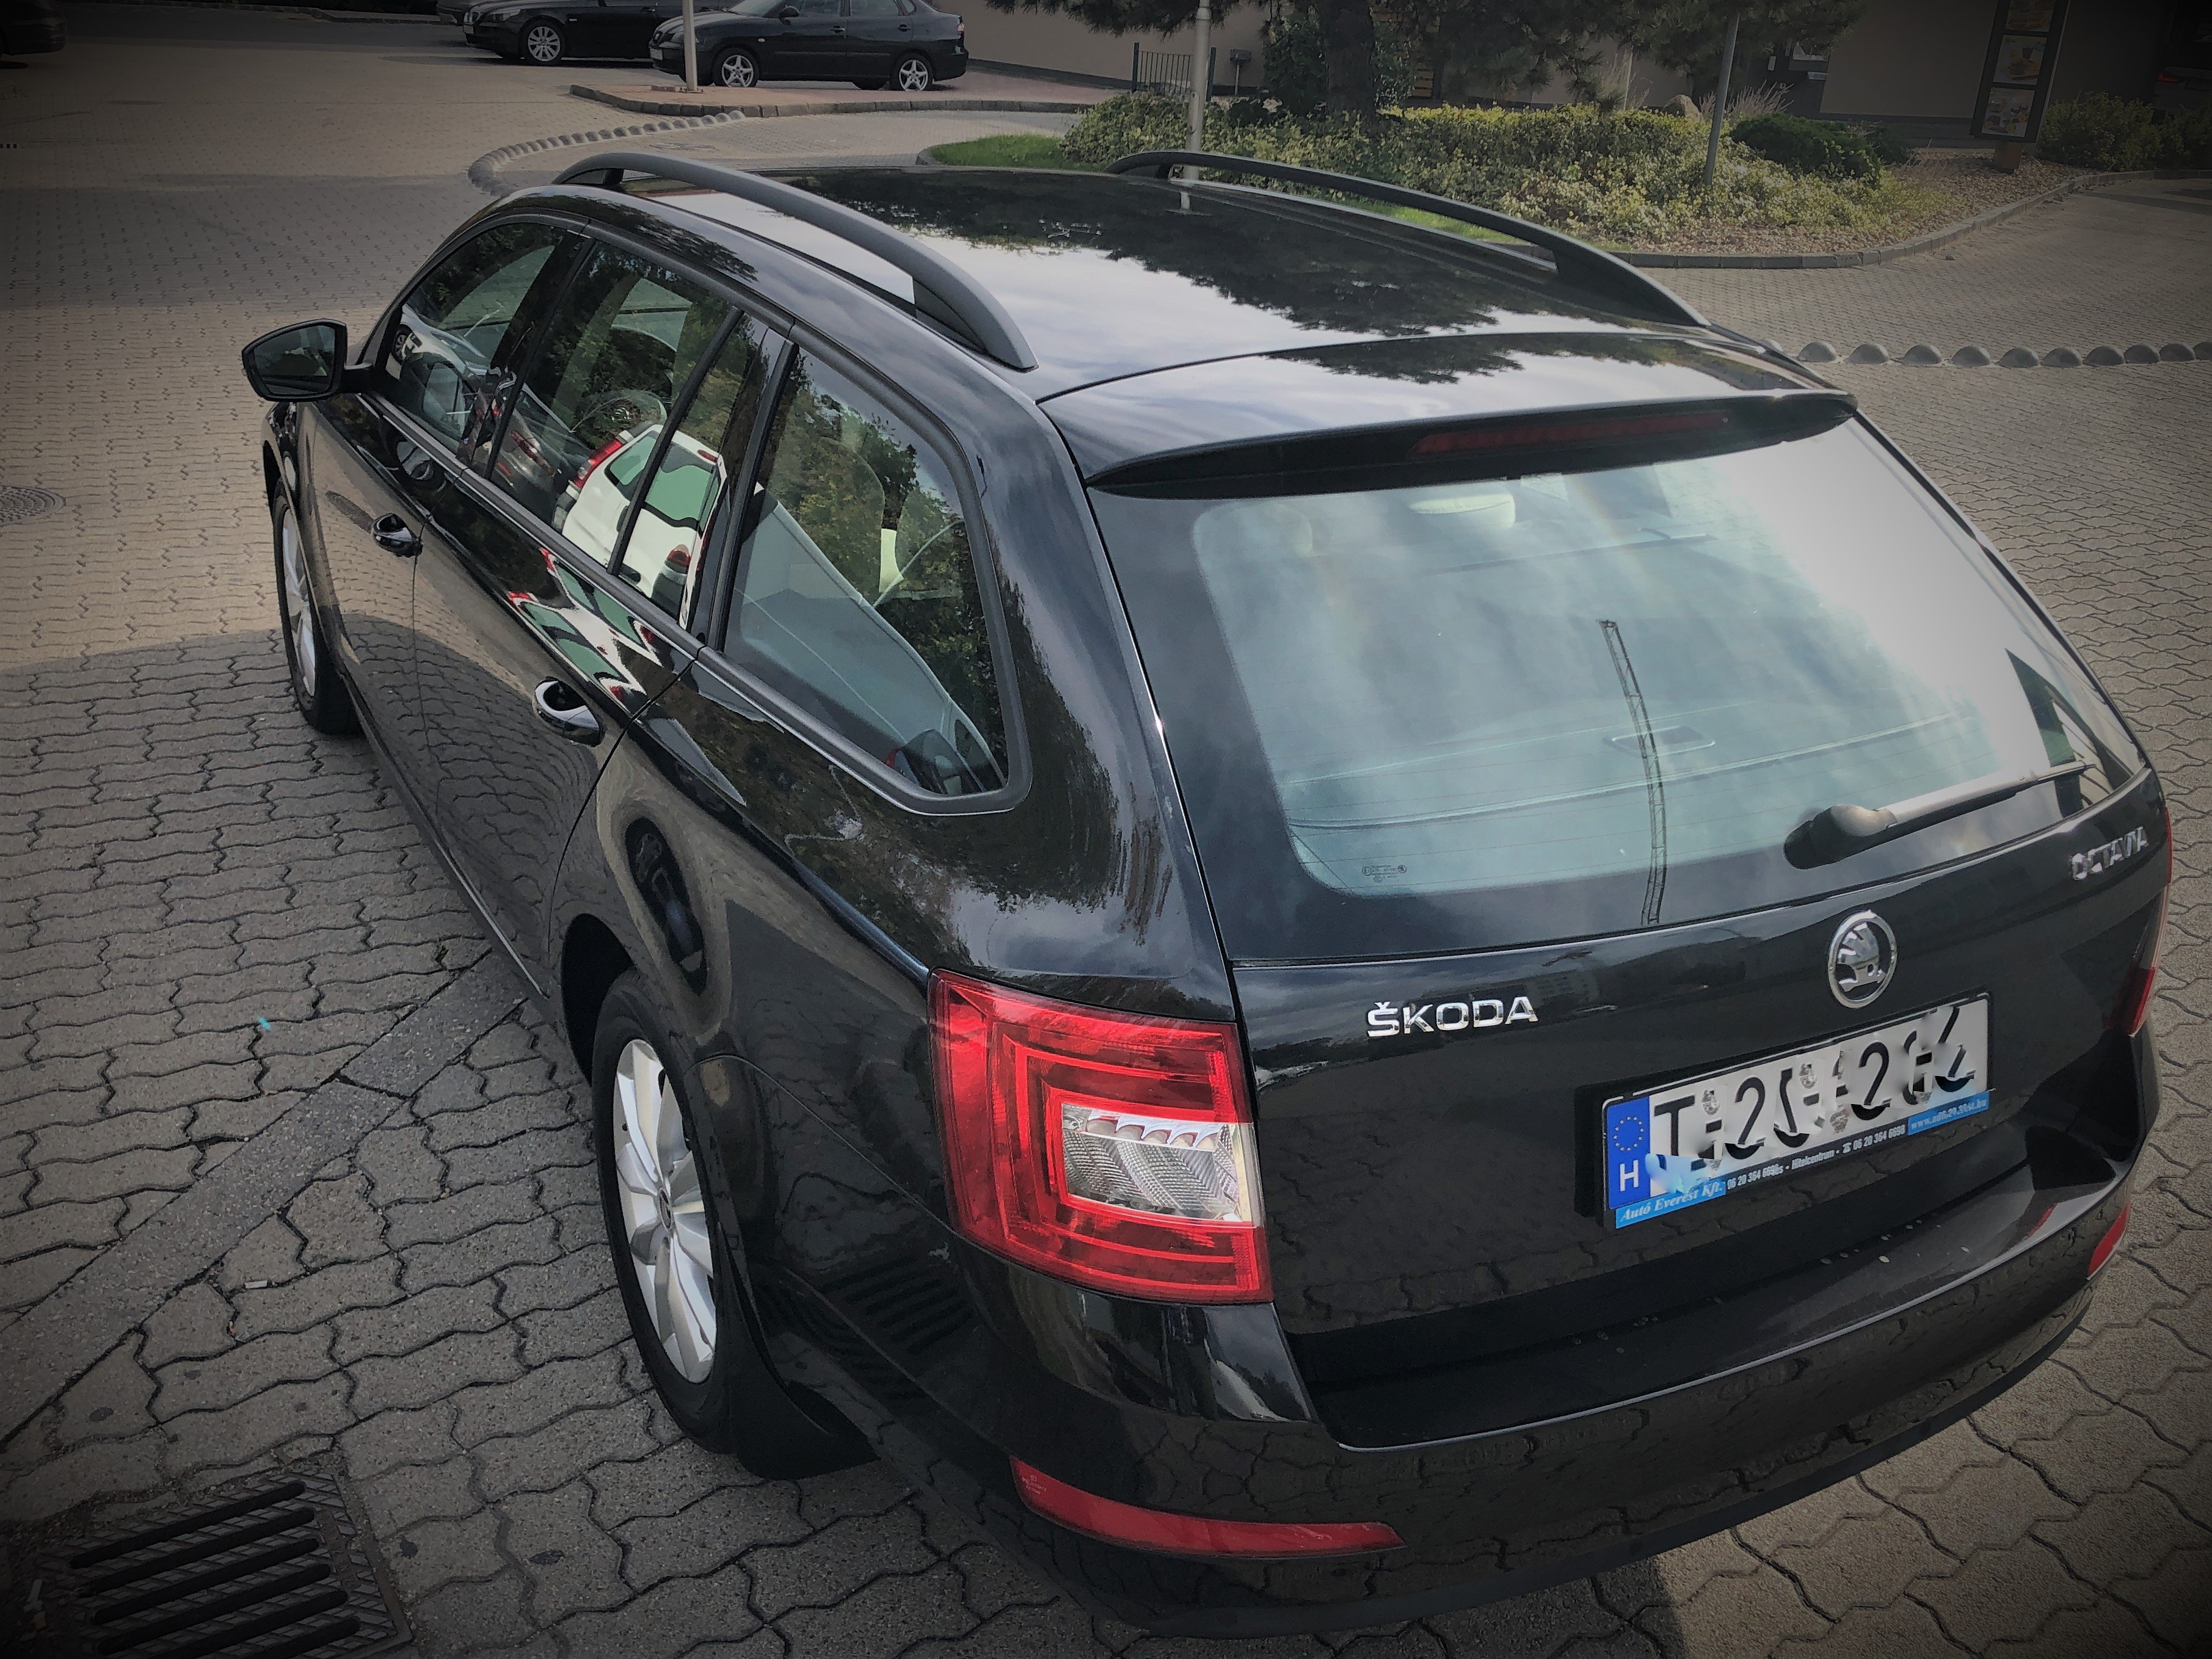
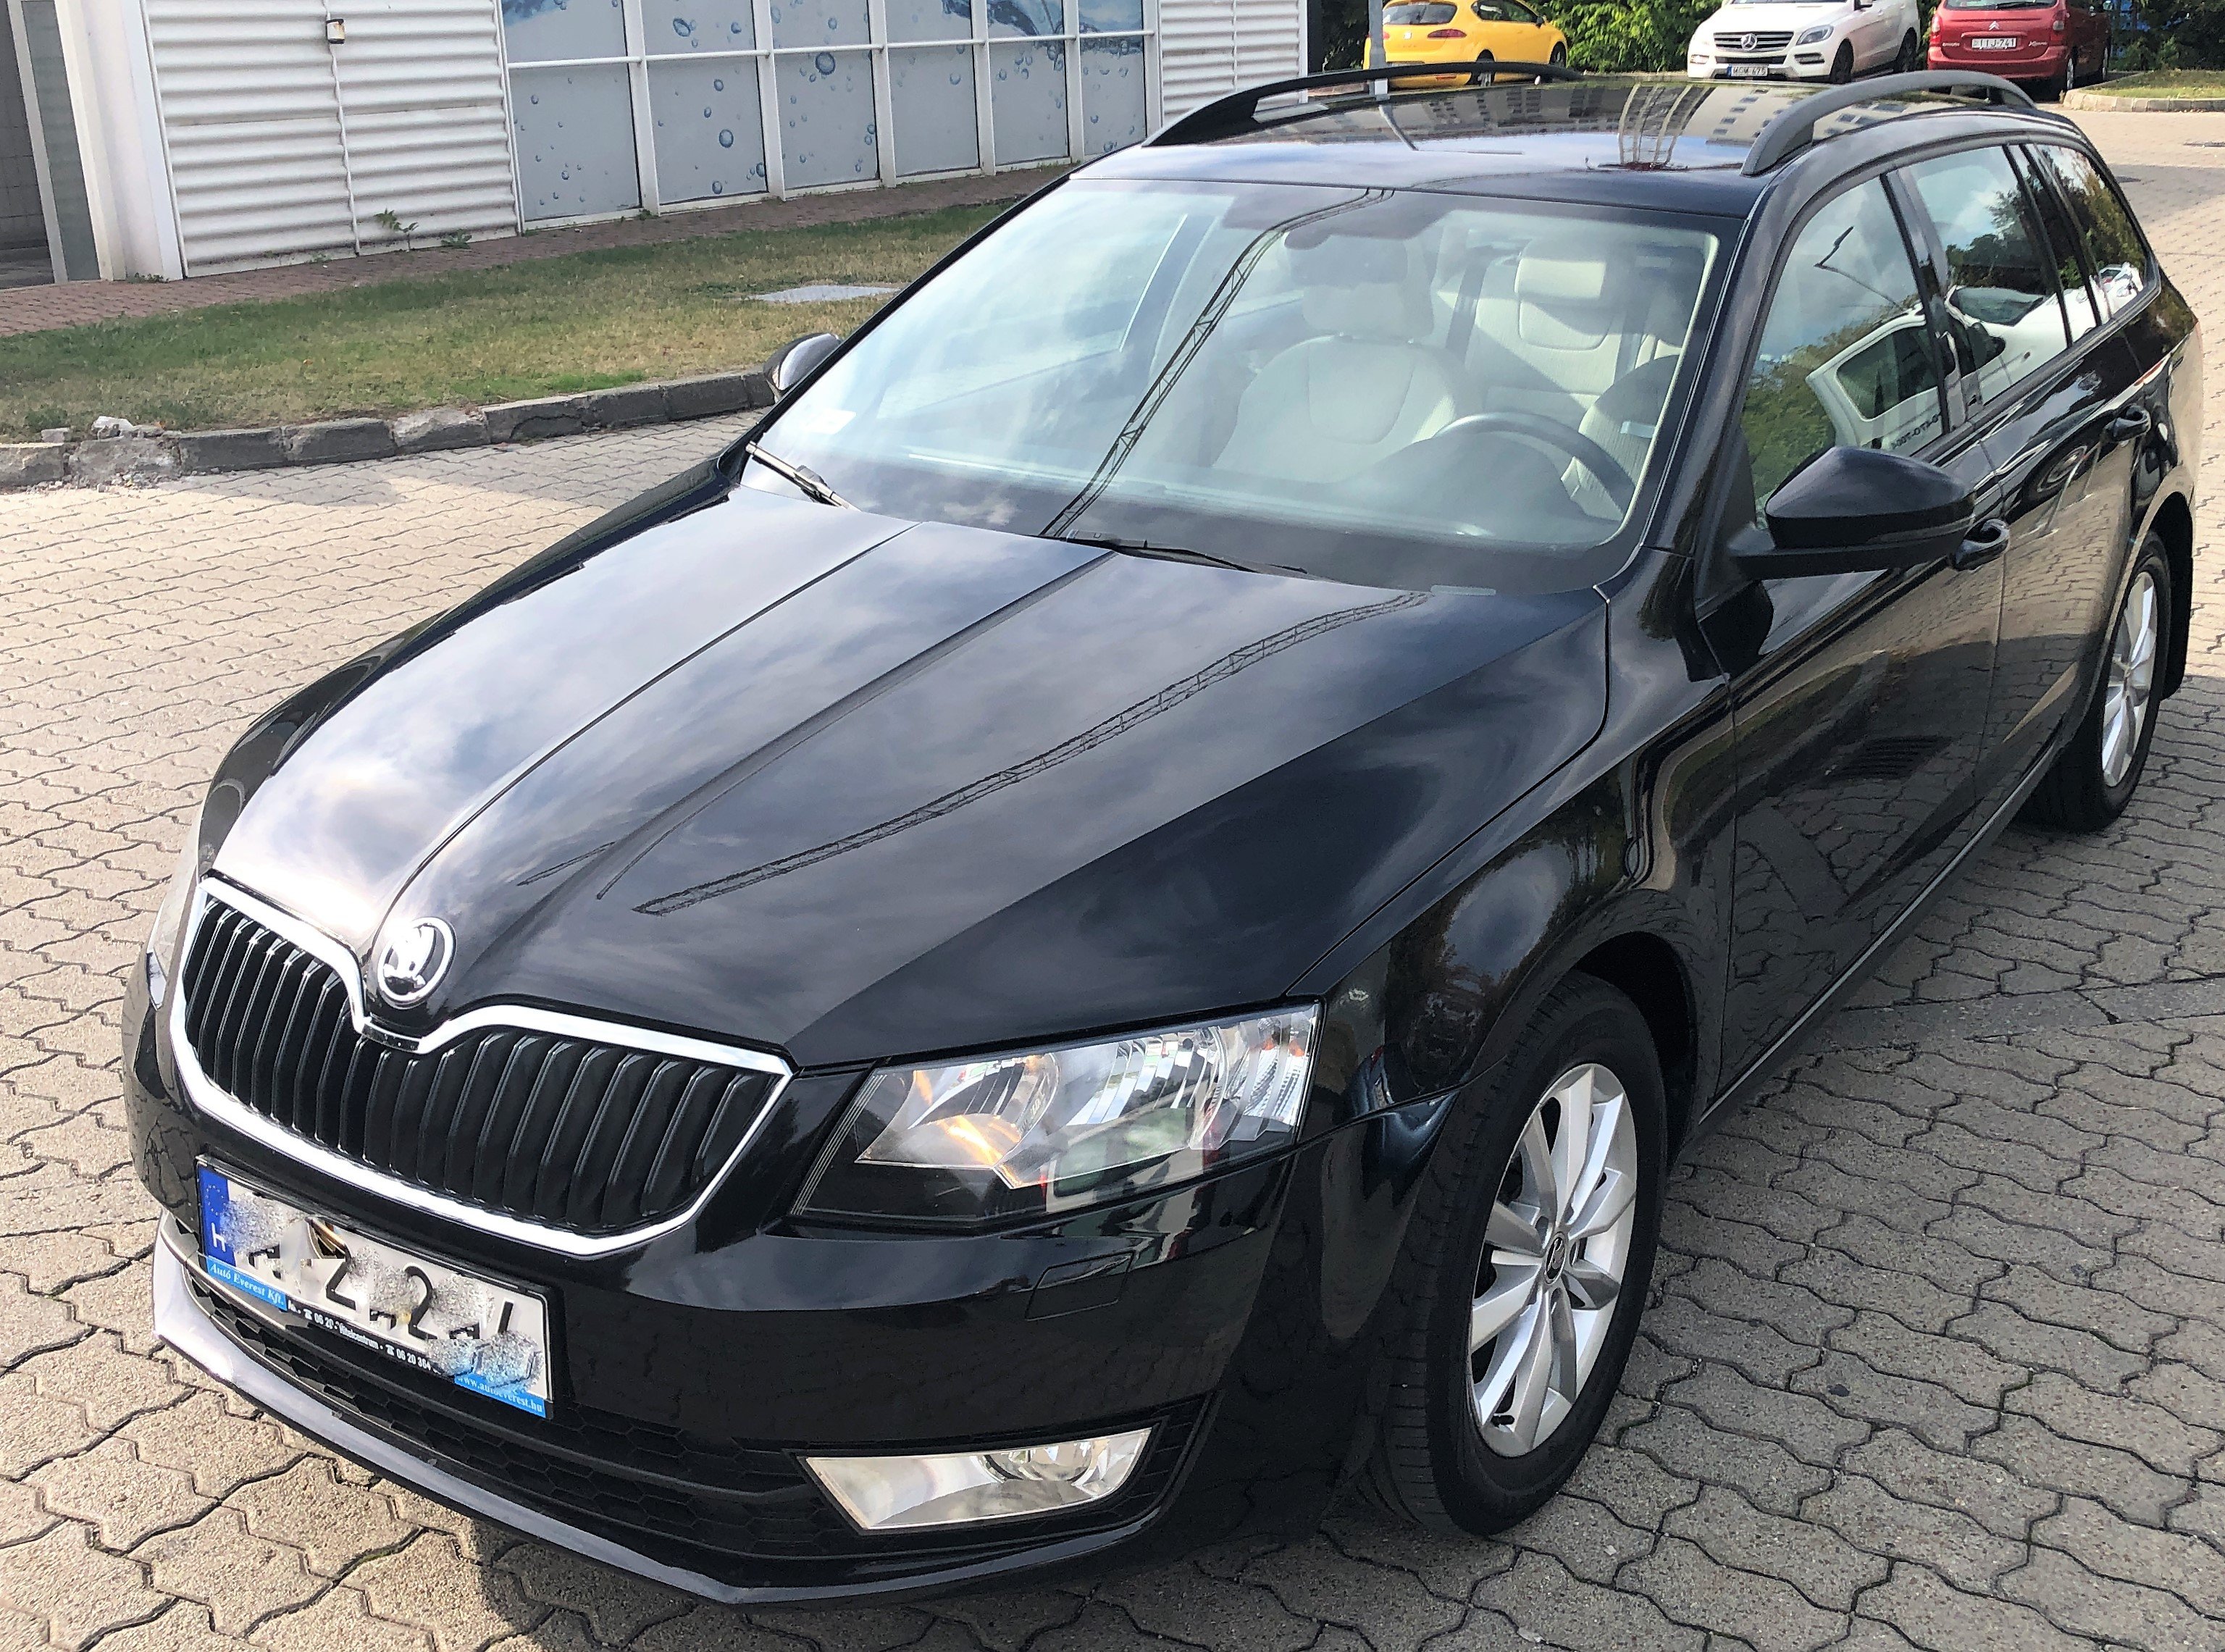
1 pointHello Everyone, I am a new owner of Skoda Octavia 1.4 TSI Elegance Combi (5e) 2015- manual We will use the car with my family, my wife and our two daughters to travel in he country and on some routes from Baltic to Adriatic Sea. Hope I wil find some interesting, helpful posts here in this forum,... already have.. 🙂 I will be interested in VCDS coding with some missing part installation and missing parts purchasing in the near future. I wish You All the Best. Regards Fercsogi


 1 point
 -
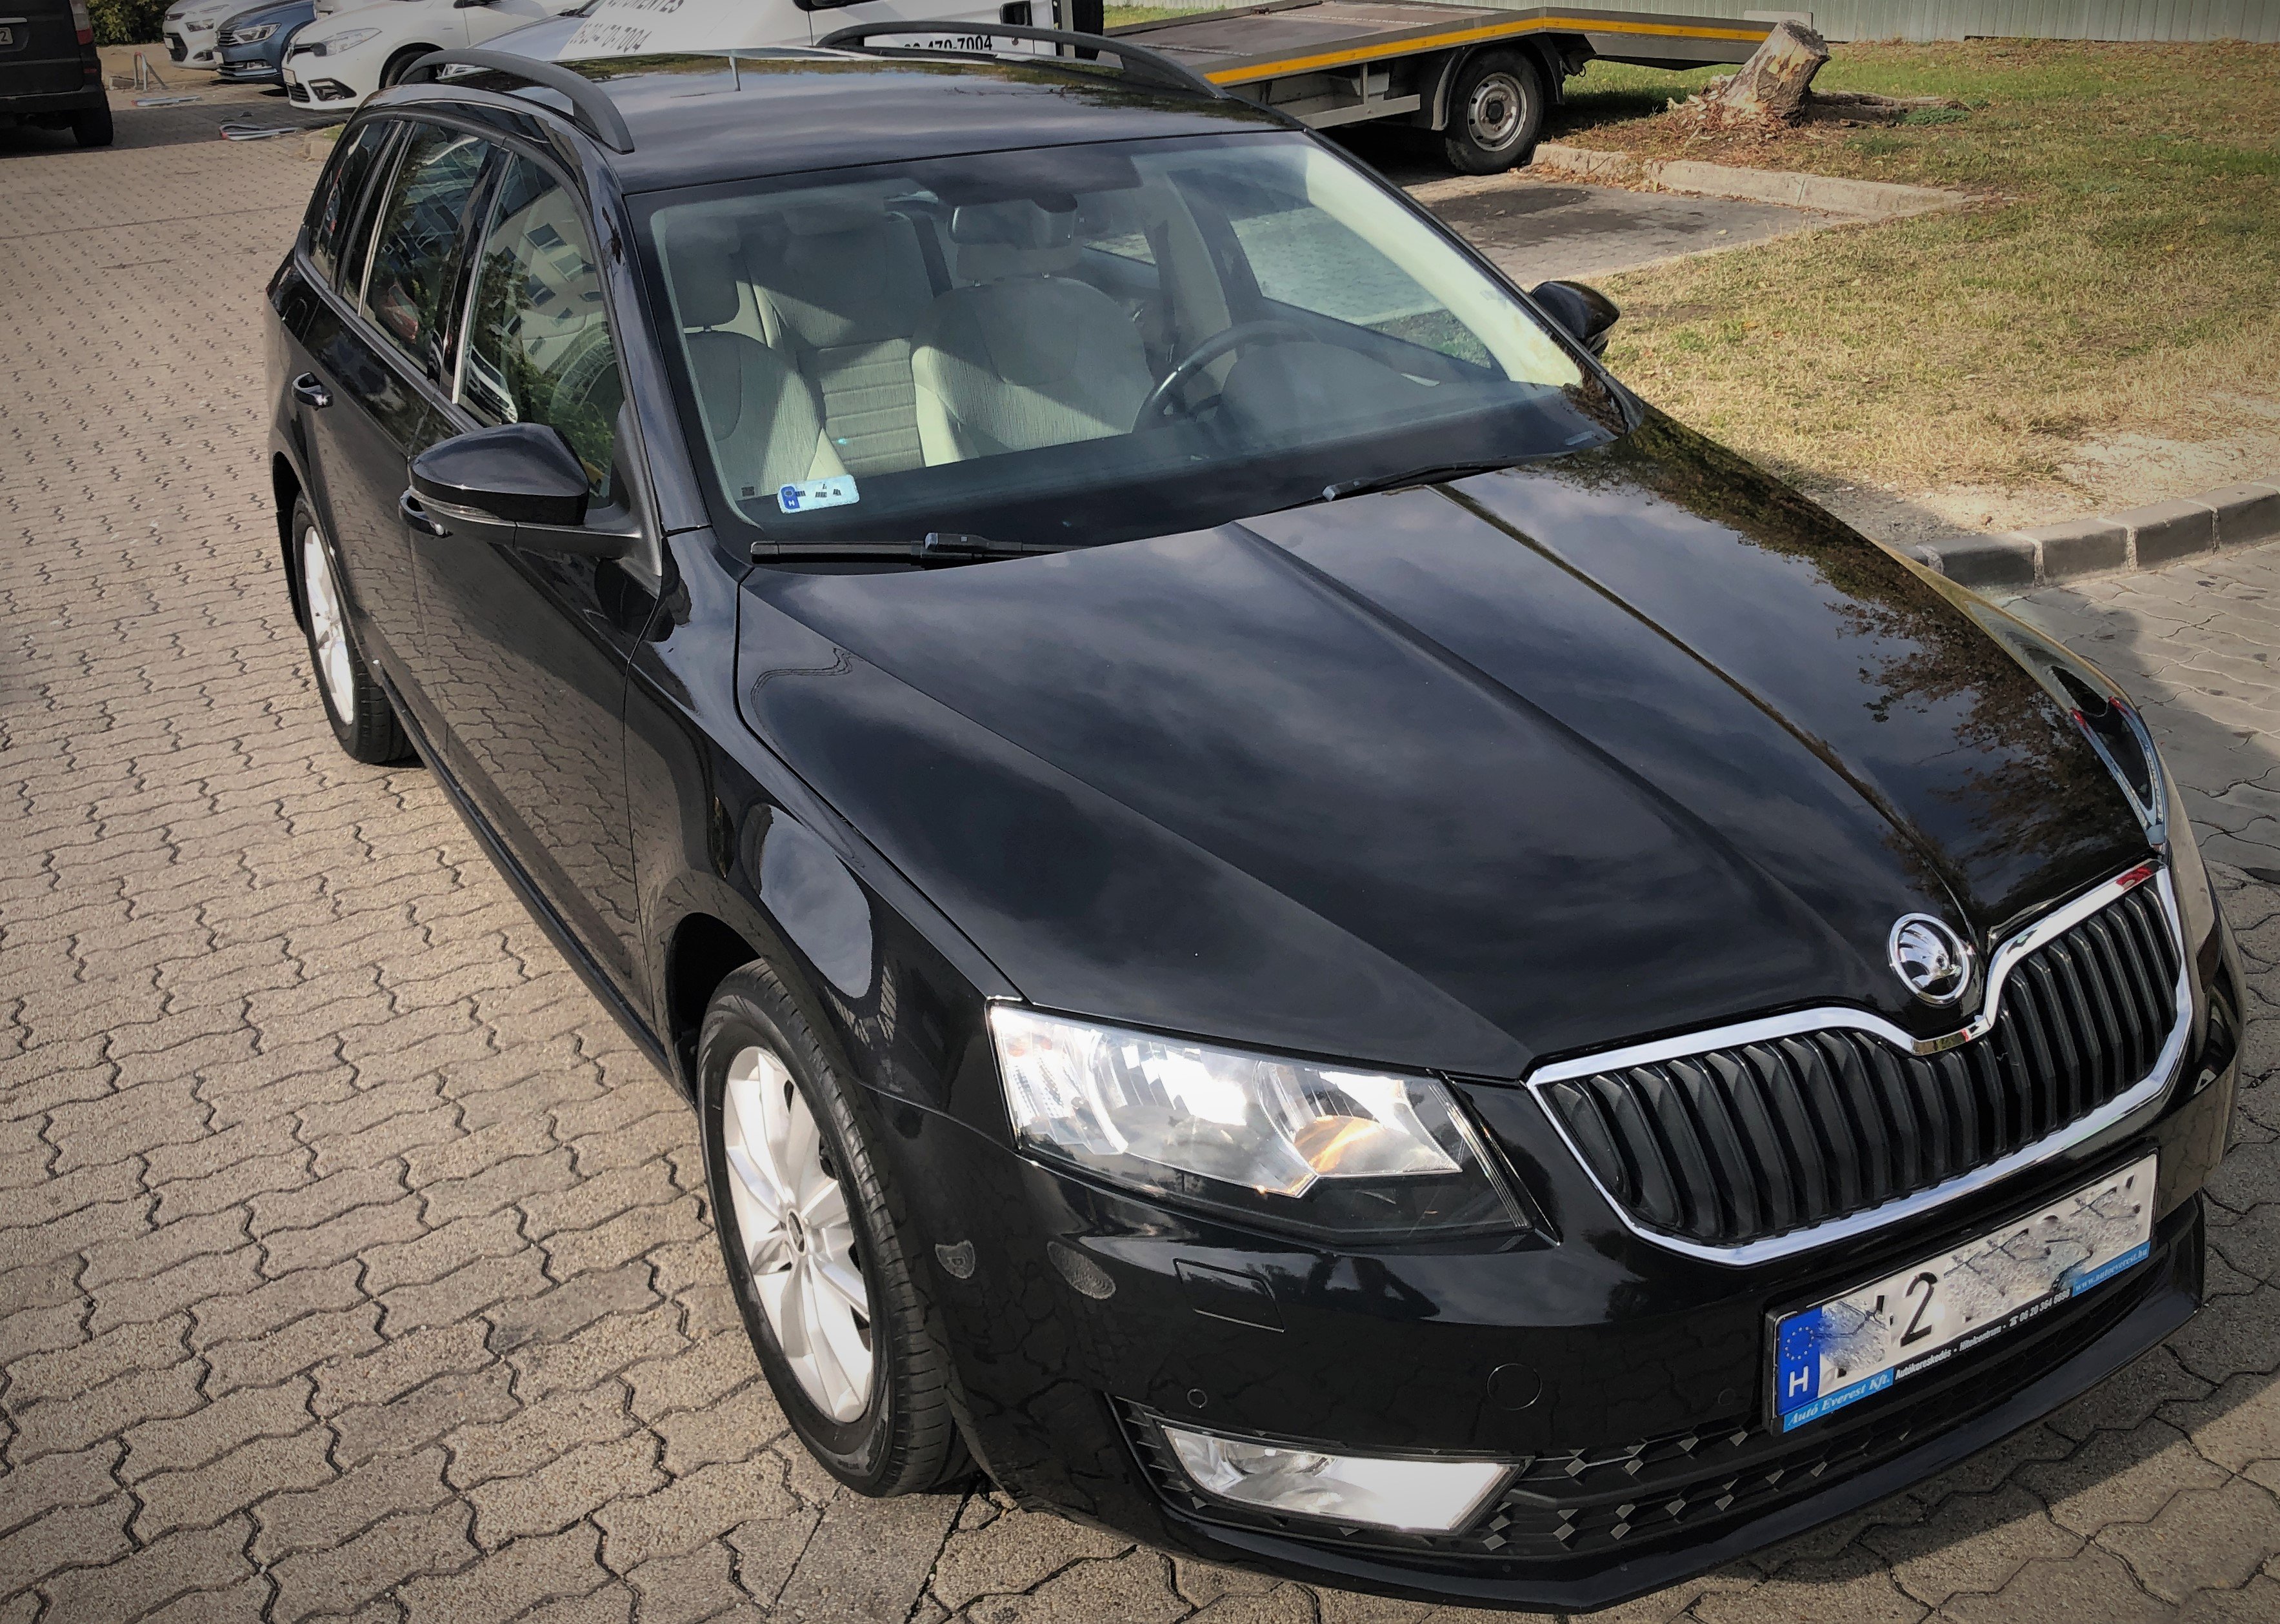
1 pointHi and welcome to Briskoda! That is a very nice Octavia, especially in black1 point
-
1 point
-
1 point
-
1 pointThanks John! I did check for the left behind seal, and I got a cup wrench for the oil filter so I could tighten it with a torque wrench to spec. If I have still messed it up then I deserve the damage haha 😅1 point
-
1 pointThe moment where your heart stops when your phone rings, you pick up, and it's not the garage...1 point
-
1 pointYeah I've done a full check and will do a few miles before the mot get there just before time, it's like waiting on the birth of your first born awaiting mot results 🤣1 point
-
1 pointGood luck. Check, lights, wipers, etc., all you can and if possible get there just in time with a warm engine. Better to pay more for an MoT at a decent and honest garage (they do exist) than somewhere looking for more work and willing to get the trade by offering discount MoT.1 point
-
1 pointI used a thread tap rethreaded it luckily it was only damaged a couple of turns then threaded into the original thread. Took a quick ride down motorway snd mpg was great. Mot tomorrow 🙈1 point
-
1 pointCar ordered in May, told today it had arrived in the UK and was waiting for transport to the dealer. Things are looking up!1 point
-
1 pointThanks sneal. Retaining 1668 is an interesting piece of info. 🤔 I have an active case going with Skoda Servce U.K. for six months now. They say Bluetooth disconnect is a ‘known issue’ awaiting sw fix. They say there is no sw update yet written for this. I have - on the advise of this forum - tried to contact Kate Ross @executive directly myself but got an odd auto-reply from VAG! I raised the escalation issue with my ongoing Skoda.service case-handler as well and am waiting to hear back. Thank you and I shall report back on progress.1 point
-
1 pointI retract my suggestion about subsidising someones airfare in which case. "Are you carrying anything for another person?" "Yes!" "What is it" "An explosive device!" 😲 You would not want to transit by or stopover in the USA for sure!1 point
-
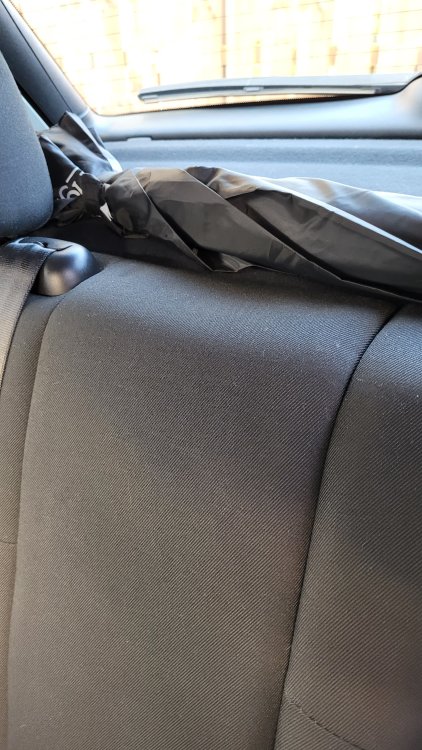
This was a nice little cheap upgrade about £9 off eBay and 2 mins to fit 😁
 1 point
 -
1 pointStandard turbo and map will run out of puff much past 3000 rpm, remap will sort it.1 point
-
Measuring open circuit voltage with a voltmeter can be misleading it is the batteries capacity to maintain a specified voltage while delivering current to the load that is important. If open circuit voltage drops much below 3.0 then the battery is most likely duff. You really need to measure the voltage with the battery in the fob, not straightforward.1 point
-
I'm well aware of the emissions scandal but have no idea of the relevance to this topic/car. There is indeed a 5V output from the engine ECU to a couple of sensors which might be described as a 5V reference, but that may be assumed not to be present when all the input voltages are removed by the various relays and ignition switch..1 point
-
1 point
-
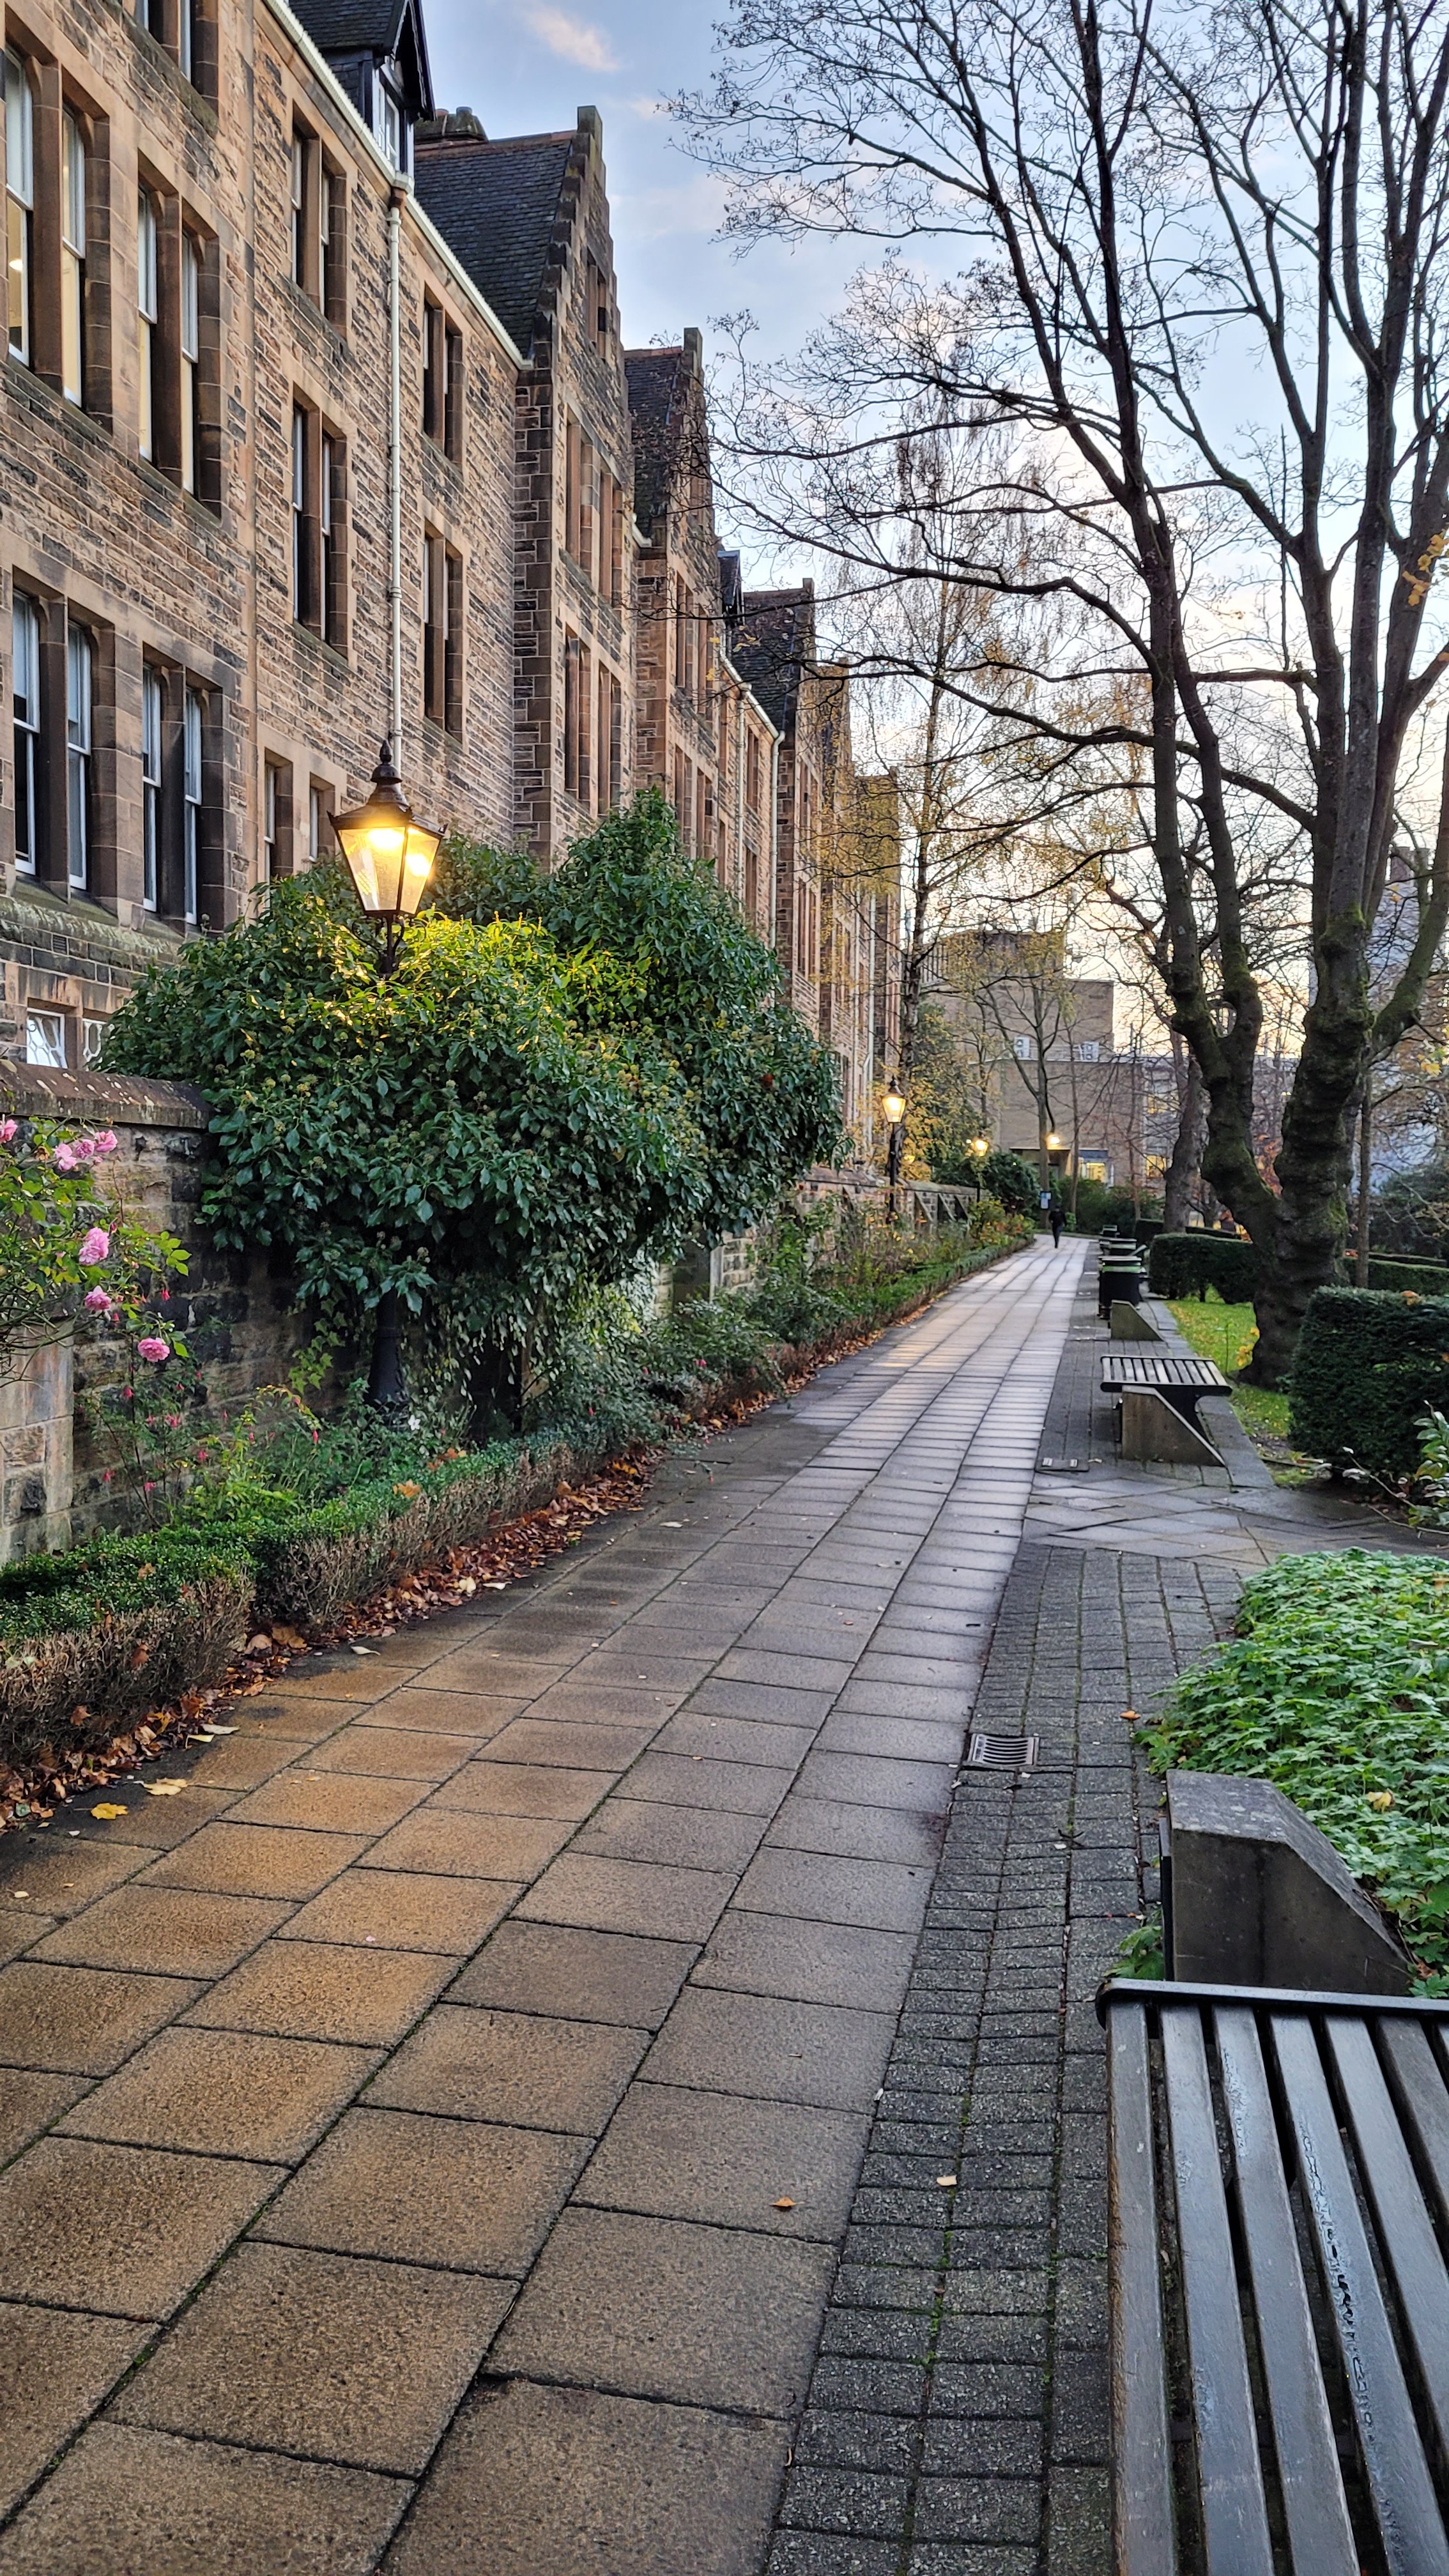
1 pointCouple of snaps from up at Glasgow University and one of my Frosty Fabia.

 1 point
 -
As a suggestion, don't let the engine revs fall below approx 1100-1200 RPM when shifting into a higher gear at low speed, which will probably mean shifting up at around 2000 RPM.1 point
-
1 pointI would be happy just to get a build date to ease my blood pressure.it so aggravating when you have ordered your car months before other people and there car are just about ready for delivery.in any case pleased for them.1 point
-
Couldn’t keep the shell as it’s a cat b had to be scrapped. I’ve got the complete wiring loom front to back1 point
-
1 pointIf the map has seriously improved the driveability of your car as you say, and I am not just talking about any performance improvement, then it is money well spent. I think it just reflects the difficulties manufacturers have meeting all the emission and consumption requirements while providing a car that drives well. Tuners do not have those constraints. Look at all the issues raised in this and other forums with the 1.5tsi manual kangarooing, and to be fair it would not be just an issuing of a fix, the group would have to go through the whole WTLP validation process before any rectification could be issued.1 point
-
Sad to read this. But hopefully for better mid/long terme futur! Enjoy your new GTE et feel free to come back on Briskoda from time to time ! All the best for you! Good luck! 🤞1 point
-
1 point
-
I quite understand you thinking that I must be stalling the engine, and it's a good suggestion, but I don't think it is a simple as that. However, I'm going to drive to a large, empty car park near me, and experiment to see if I can replicate the problem. Also, I have booked the car into a Skoda agent to be tested on Thursday, 2nd December. I'll report back my findings. 🙂1 point
-
1 pointNow that could be true and I wouldn't put it past someone who names her cars wilberpog and keeps a George in the cellar for a rainy day...1 point
-
Wind resistance is 30% more at 80mph than 70 mph which is a 30% increase in fuel consumption on its own, what is often overlooked is that power = work done per unit time, the act of going faster even if there were no increase in wind resistance would require 14% more power, there are lots of other resistances at play but simplistically driving at 80 mph vs 70 mph will increase fuel consumption by a third or more. Working the figures backwards its easy to see that driving at 60 mph massively increases the range on a tank of fuel. At 100 mph you would be consuming more than double the fuel than at 70 mph.1 point
-
1 pointAll you people here saying Black on Black on Black reminds me of this song always.1 point
-
1 point
-
1 point
-
1 pointWill still need coding. Both component protection and fecs. Probably £300-350 all in.1 point


.jpg.18995ce395841226f6602a03938a269b.jpg)