


Leaderboard






Popular Content
Showing content with the highest reputation on 20/04/24 in all areas
-
All they need to do is introduce a mileage tax regardless of power train3 points
-
3 pointsIn my country a garage doing Controle Technique tests is not allowed by law to carry out repair work, they can adjust headlights etc to allow a vehicle to pass but are not permitted to quote for or do any work on vehicles to avoid a conflict of interest.3 points
-
The whole country of England is that? House of commons this week Rural Mobile coverage in the UK: Not-spots and partial Not-Spots. Google that. Or the reports on EV charger issues and Sim Cards and mobile connections, RIFD or Contactless. Then If only ANPR was everyplace these days, or good Digital Services, radio reception etc. But it might be in much of England. London might be going G5 as parts of the UK have not got G4 yet. So anyway. Sim cards issued to Business Users for their vehicles is a simple starter for 10, then Bar Codes Issued, from Insurers, or with MOT,s or put on at a PDI and required to be read at fuel stations, charger or whatever will do. ANPR at bridges, tunnels and just various roadsides that are tied into HMRC & the Borders Agency etc will be fine. Some is there and lots is not. But then we still do not have compulsory ID cards in the UK but you need ID to go vote. They like taking back control, but it is a post code lottery.2 points
-
2 pointshttps://electrek.co/2024/04/19/kias-15000-ev2-caught-in-wild-most-affordable-ev-video/ Kia EV2, $15k BEV, spotted in the wild.2 points
-
I think PCBBC posted the details on this thread 18 June 2023 it worked well on my MIB2 standard.2 points
-
Why are you talking only about motorways? @Winston_Woof was suggesting charging for ALL mileage regardless of road type... Also the Govt and local councils mostly want people out of cars and onto public transport... Even if it doesn't work for many people And finally you wod be amazed at how easy it is to track vehicle mileage these days using Bluetooth or sim card data, or even ANPR that is pretty much everywhere these days... The infrastructure is already there covering the whole country... We use it at work all the time in strategic transport models... So @Winston_Wolf's suggestion could be implemented without much need for additional technology to charge such as that used on toll roads. Basically there would be very little way of avoiding it... Even on country roads in the cotswolds.2 points
-
2 pointsNo it was about the same price allowing for the £/€ conversion but half price when you consider its only done every 2 years. Normally done by booking but they will write to you, write not e-mail which costs a Euro just for the stamp to remind you of your upcoming CT (after 2 years you tend to forget) which you can book online, the reminder will always be sent before the bookings get full, so you just drive up at the allotted time and are tested. No road tax here its on first registration so people keep their cars a long time, the CT appointment is no different to my annual free health check, you dont even fall out of sync when buying a newer car as it has to have 18 months remaining on the CT, it's only people like me that imported vehicles pre-Brexit that needed a rendez-vous in a hurry, my old CT centre, the guy is now a friend, would let me drop the car off in the morning, offer to drive me back home but I would run instead, and squeeze it in during the day so I was never delayed with the registration. They make a good living doing CT's and nothing else, typical place will be husband, wife or son and one employee plus a very large commercial building bigger than the typical UK MOT station, there will be two, possibly 3 in a medium sized town.2 points
-
2 pointsYep... The MILs car was due its MOT at the end of February from memory but when we tried to book it in well in advance at the govt test centre the earliest available appointment was late June... Same test centre.2 points
-
I got home with 25% battery yesterday after having charged again 15 kWh at 65 pence so £9.75. I could have charge a little less but i only had 21 mile range. I was nipping on, it was cold and there was every chance of a diversion so charged to 98%. Now today is going to be damn expensive. Car showing 100% after charging at home at 22 pence a kWh. Only showing 93 miles, but it will do over 100 miles easily as i head to Edinburgh. *27 kWh in 11 hours 45 minutes into a 32.6 kWh battery, less than 30 kWh usable & that cost me £5.96* Charging again public charger in about 85 miles. So when i charge today public the choices are expensive. Edinburgh Council chargers, 7 / 11 kW AC 45 pence a kWh. EC ^^^ Rapids 55 pence & Edinburgh Airport Park & Ride still off from the flood last summer. Podpoint 11 kW or 50 kW 65 pence. BP Pulse, 69 pence. I have subscription. MFG 75 pence. Then Ayrshire. 31 pence 7 / 11 kW AC or 50 kW 37 pence. Minimum £5.00 That is mental if you really just want 10 kWh say or only have time to just get a top up and go. The other options are 55 pence, 69 pence or 75 pence commercial chargers. Then Stirling Council, 59 pence a kWh rapid or 45 pence 7 / 11 kW. £2.00 minimum charge. Perth & Kinross Council 35 pence. 55 pence a kWh for 50 kWh £27.50 69 pence a kWh for 50 kWh £34.50 If you get 3.5 miles a kWh then 175 miles. 4 miles a kWh 200 miles. 75 pence a kWh for 50 kWh £37.50 143.7 a litre, A gallon of petrol £6.53. x 4 = £26.12 153.7 a litre, A gallon of diesel £6.98 x 4 = £27.94 Plenty miles worth of Cheap rate home or work or free charging needed to make private users have the BEV as an economic choice. Public charging at even the average price is just not good for your pocket. Perth & Kinross Council rapid chargers IF YOU GET A WORKING ONE @ 35 pence a kWh. 50 kWh = £17.50 Get 4 miles a kWh so 200 miles and that is fine. that is while the tariff stays like that. Not when they get to the tariff neighbouring Dundee is which is 80 pence for the first kWh then 50 pence. Or Angus Council 55 pence a kWh. Tesla Superchargers for Tesla or Non-Tesla still going to be just below or above 50 pence a kWh where available. Maybe relevant to those Hiring / borrowing BEV,s and just going about driving them and not near home / home chargers.2 points
-
@Balazs_HU, fuel consumption variations are generally difficult to account for. A minor point but I think you may have used the smaller USA gallons instead of the larger Imperial (British) gallon for your conversions so 5.5L/100 is 51 mpg, 6.2 - 6.4L/100 is 45 to 44 mpg and 8.0 - 8.5L/100 is 35 to 37 mpg. I have a 2014 1.4tsi combi that has only done 105,000 km and there is no doubt in my mind that the engine is a really good, economical unit....however like most petrol engines it drinks noticeably more if you use the performance or if there are adverse road or environmental factors. Based on some official VW issued consumption figures I have seen for early 1.4tsi engines and my own experience I find it hard to believe that your car would have consistently achieved your claimed displayed consumption of 6.2 to 6.4l/100 at real 140 to 150 kph speeds. A diesel could possibly do it or maybe even a mk4 1.5tsi with it's better aerodynamics and longer gearing but that is a moot point. Most British drivers on their roads would not have the freedom to travel at those speeds for any distance without incurring punitive fines and the same here in most of Australia where I live. Quite honestly travelling at a true 130kph in good conditions and I am really happy to get 7L/100, which corresponds with VW claims. Obviously consumption increases with speed. A headwind or stiff crosswind can adversely affect consumption by 1.0 to 1.5L/100 at 110kph in my experience. Equally a tailwind or travelling at speed in enforced reasonably close proximity to other traffic can benefit consumption by similar amounts. If your car has a real consumption problem that is only manifesting itself at higher speeds then it probably has to do with the higher airflows. As @Rooted says check your air-filter is clean as a first step but it gets more difficult from there. Other possibilities may be turbo related or maybe the variable valve timing is not performing as it should? I imagine the only way to disprove either is to put the car on a dynamometer and see if peak outputs are below par? Personally I think your current consumptions at both low and high speeds are quite realistic.2 points
-
1 pointMost summer tyres in size 225/45R18 are Y speed rated. For example, mytyres are currently listing 161 summer tyres in size 225/45R18. 152 of those tyres have a speed rating of W or higher, so only 9 of those 161 tyres have a speed rating of V or lower. It might be cheaper for Skoda to purchase Y rated tyres in this size compared to V rated tyres because it's the Y rated tyres in this size that the tyre manufacturers are geared up to manufacture in large quantities. It also means that Skoda can fit all of the 225/45R18 summer tyres that they order in to any Octavia MK4 including the ones with a top speed over 150mph. For the Octavia MK4, "skoda eshop cz" are showing that Skoda supply H speed rated winter tyres in size 205/60R16 and V speed rated winter tyres in sizes 205/55R17, 225/45R18, and 225/40R19. Winter wheels for Octavia MK4 https://eshop.skoda-auto.cz/cs_CZ/zimni-kompletni-kola/c/winterSetOfWheels?q=%3AscoreDesc%3AcarType%3AOctavia%2BIV%2B%282019%2B%29&text=#1 point
-
1 pointFunnily enough I had a Moggy Minor 948cc but that was more economical than 35mpg - more like 40+ but it did a lot of longish runs . Various Fords were awful though MKII Cortina 1300cc(pre crossflow) was mid 20's mpg and with a mkIv 3.0l Zodiac you had to turn it off filling up to stop gaining on them! One surprise was a 76 Datsun 100a which did over 50mpg on a run - it was a great car except for the dreaded rust.1 point
-
Just don't forget to tighten it all up!1 point
-
1 point@ken2 The issue is that 'They do not all do it', only the ones that do do. So no point going with the same old that Skoda Dealership Staff might spout 'They all do that', because if they do the DfT / DVSA better get VW Group doing a safety critical recall. & resolve the fault as they had to with the 'Lack of torque recall'. The other Dealership rubbish from some is 'Never heard of that before', so be sure your issue is logged and with Skoda / VW UK, and with DVSA. There are contacts for them when there are safety concerns.

 1 point
-
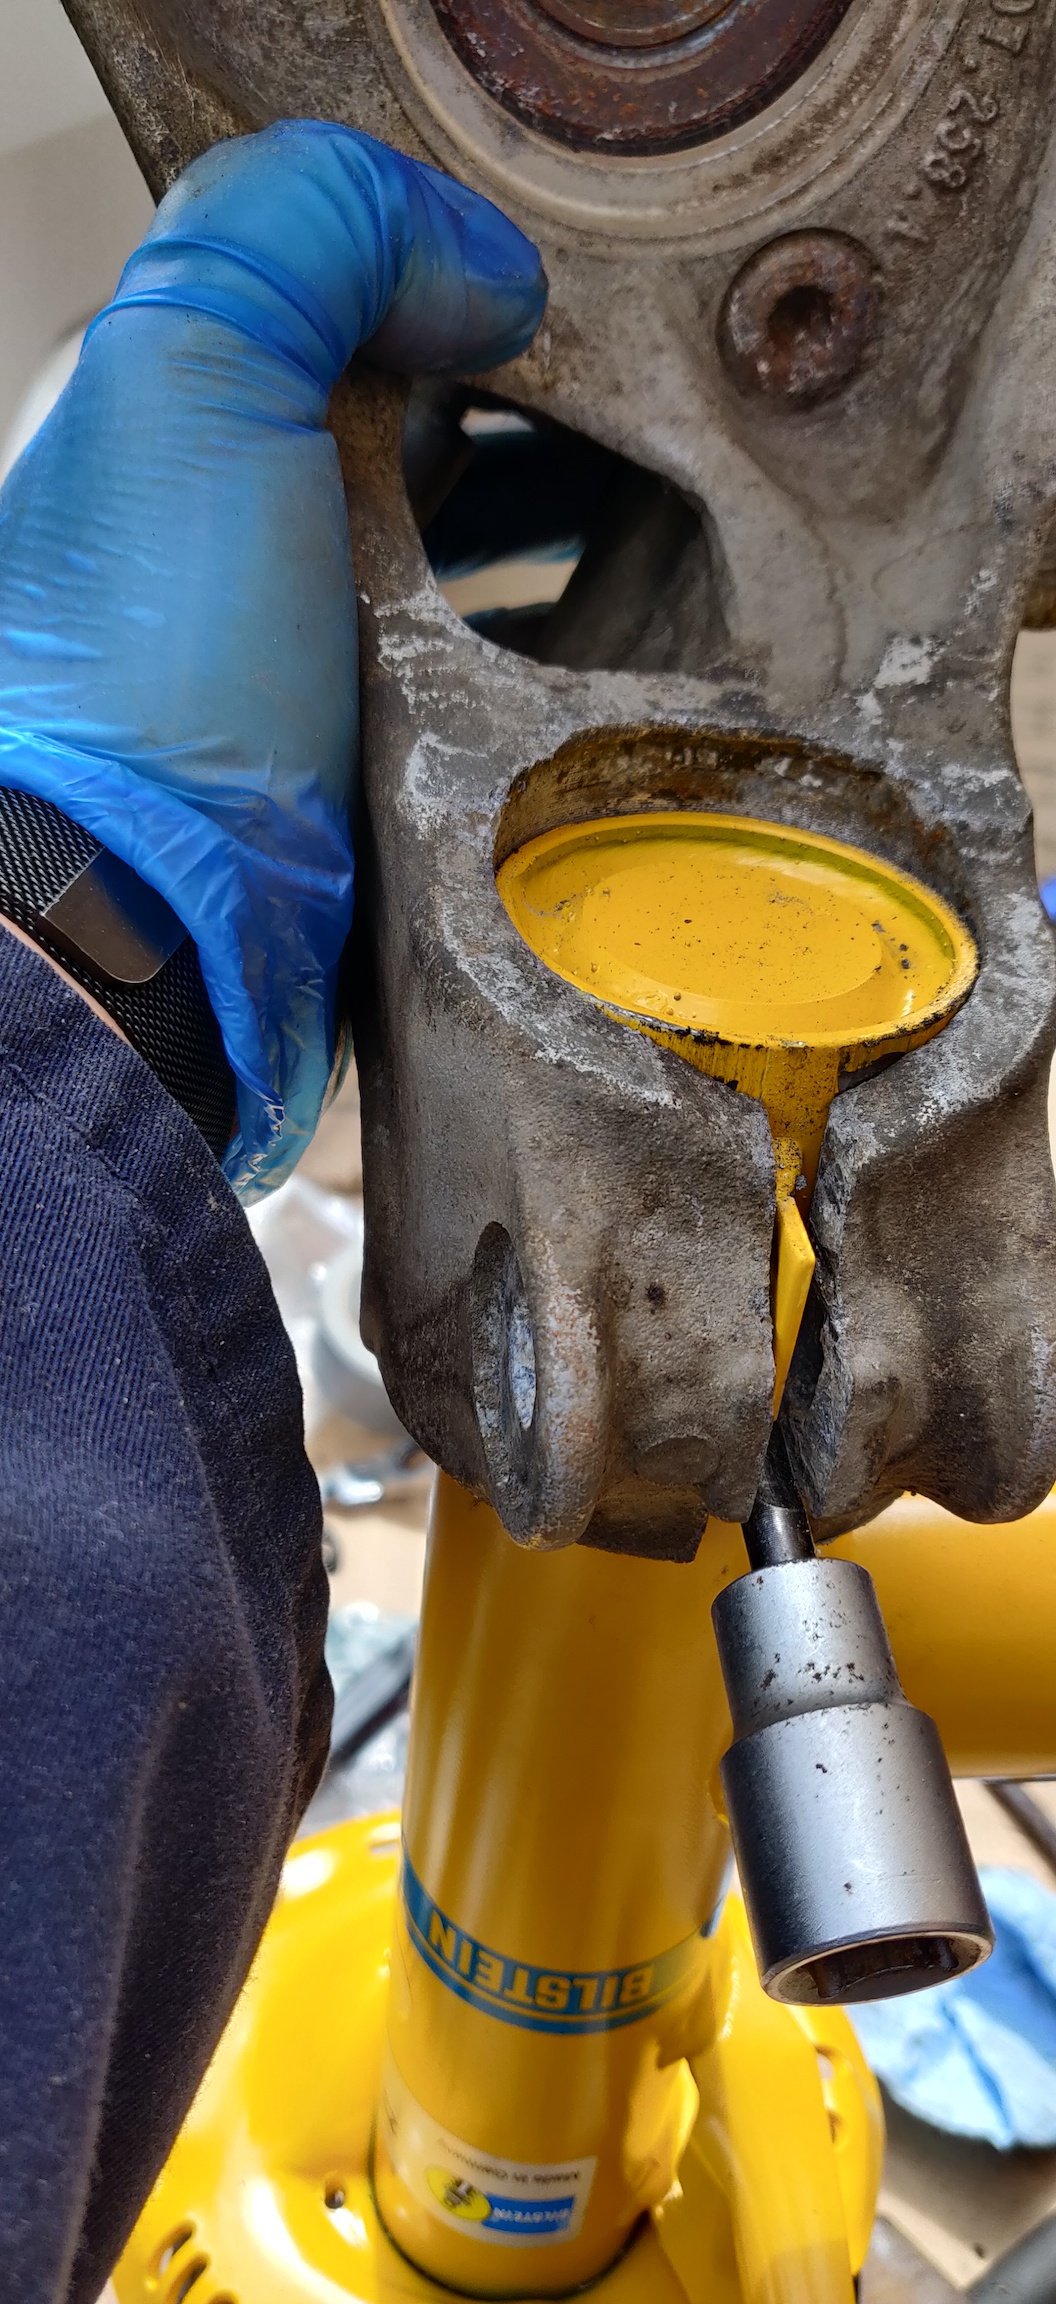
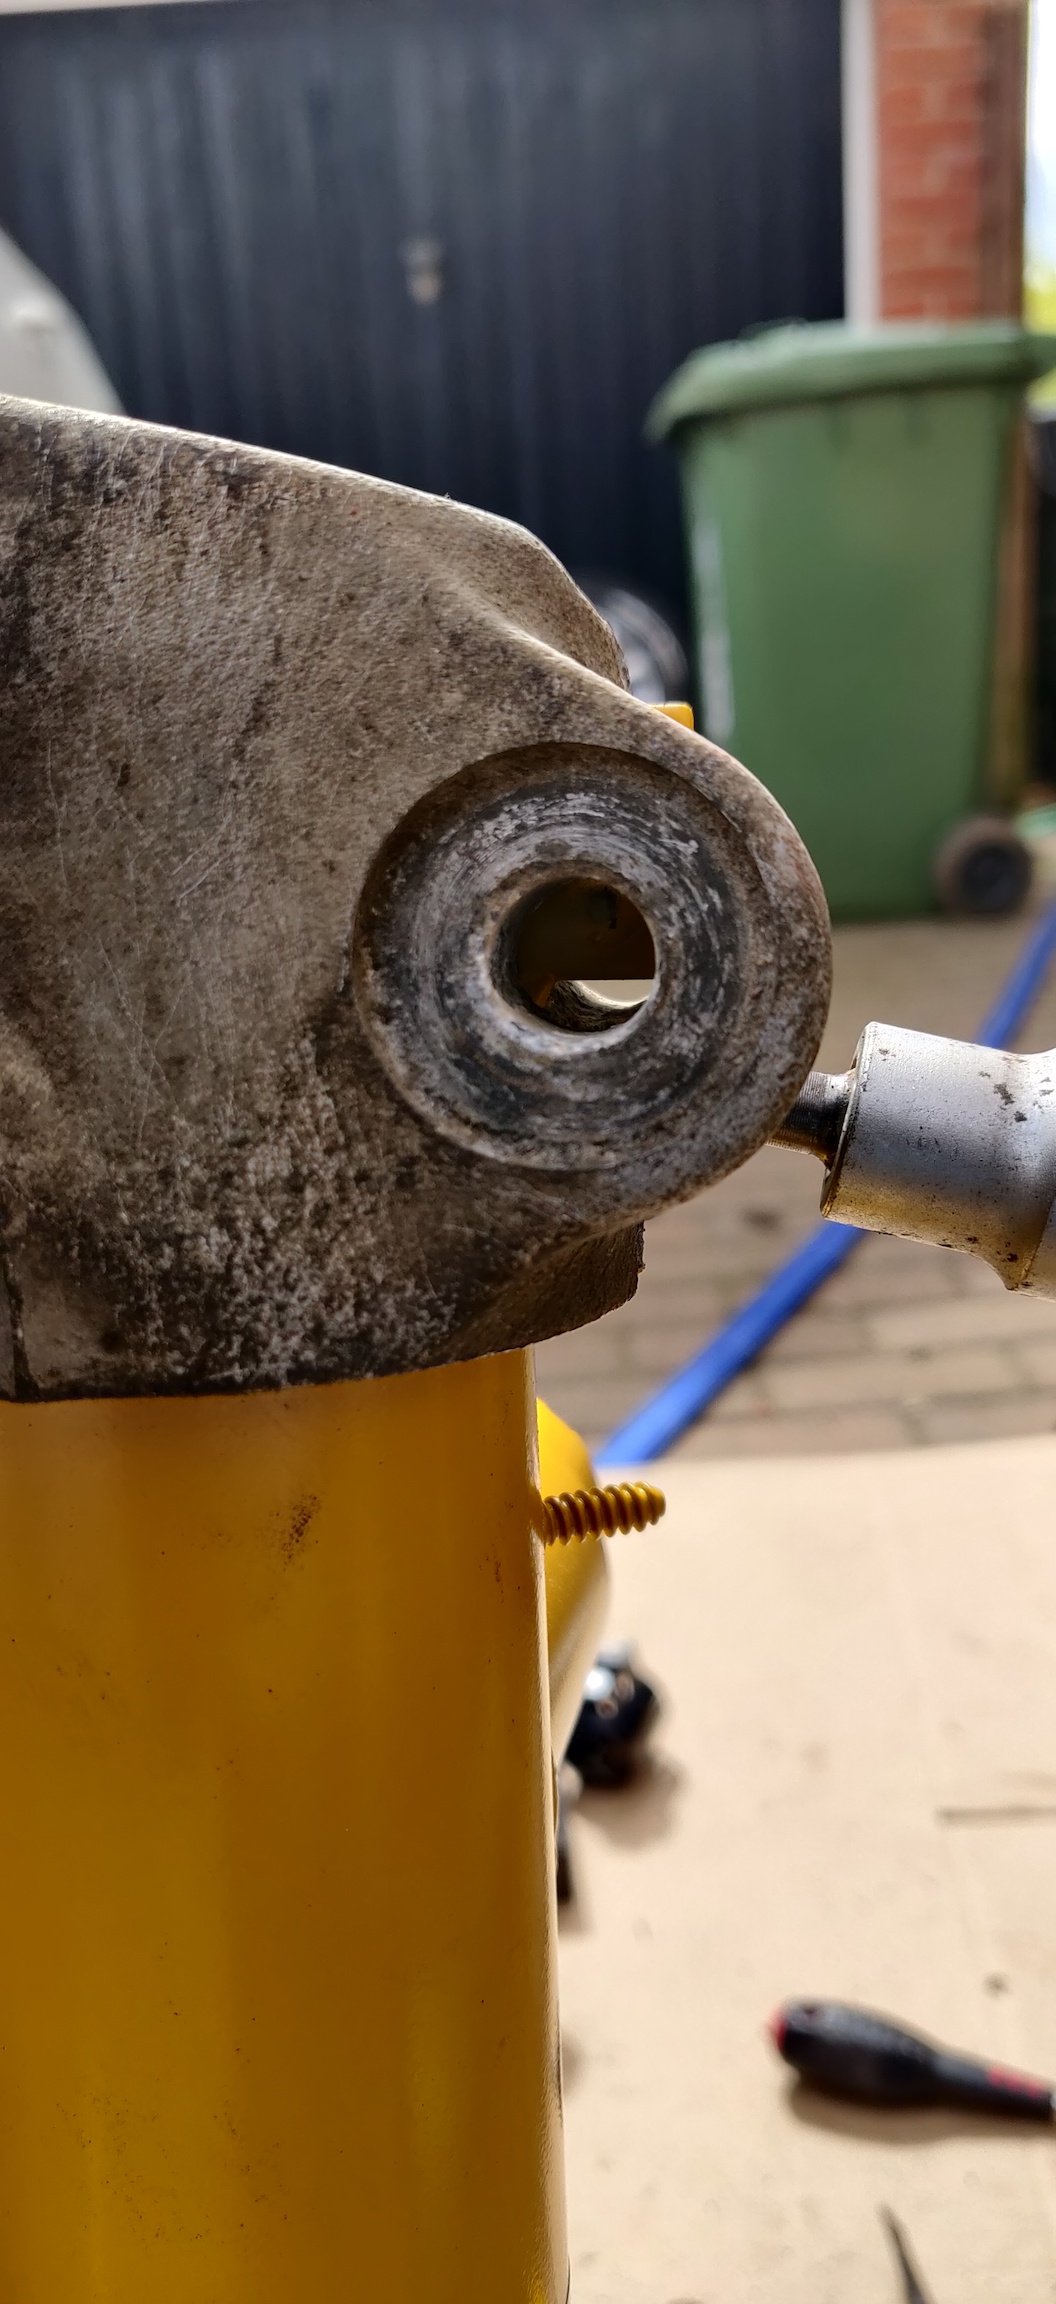
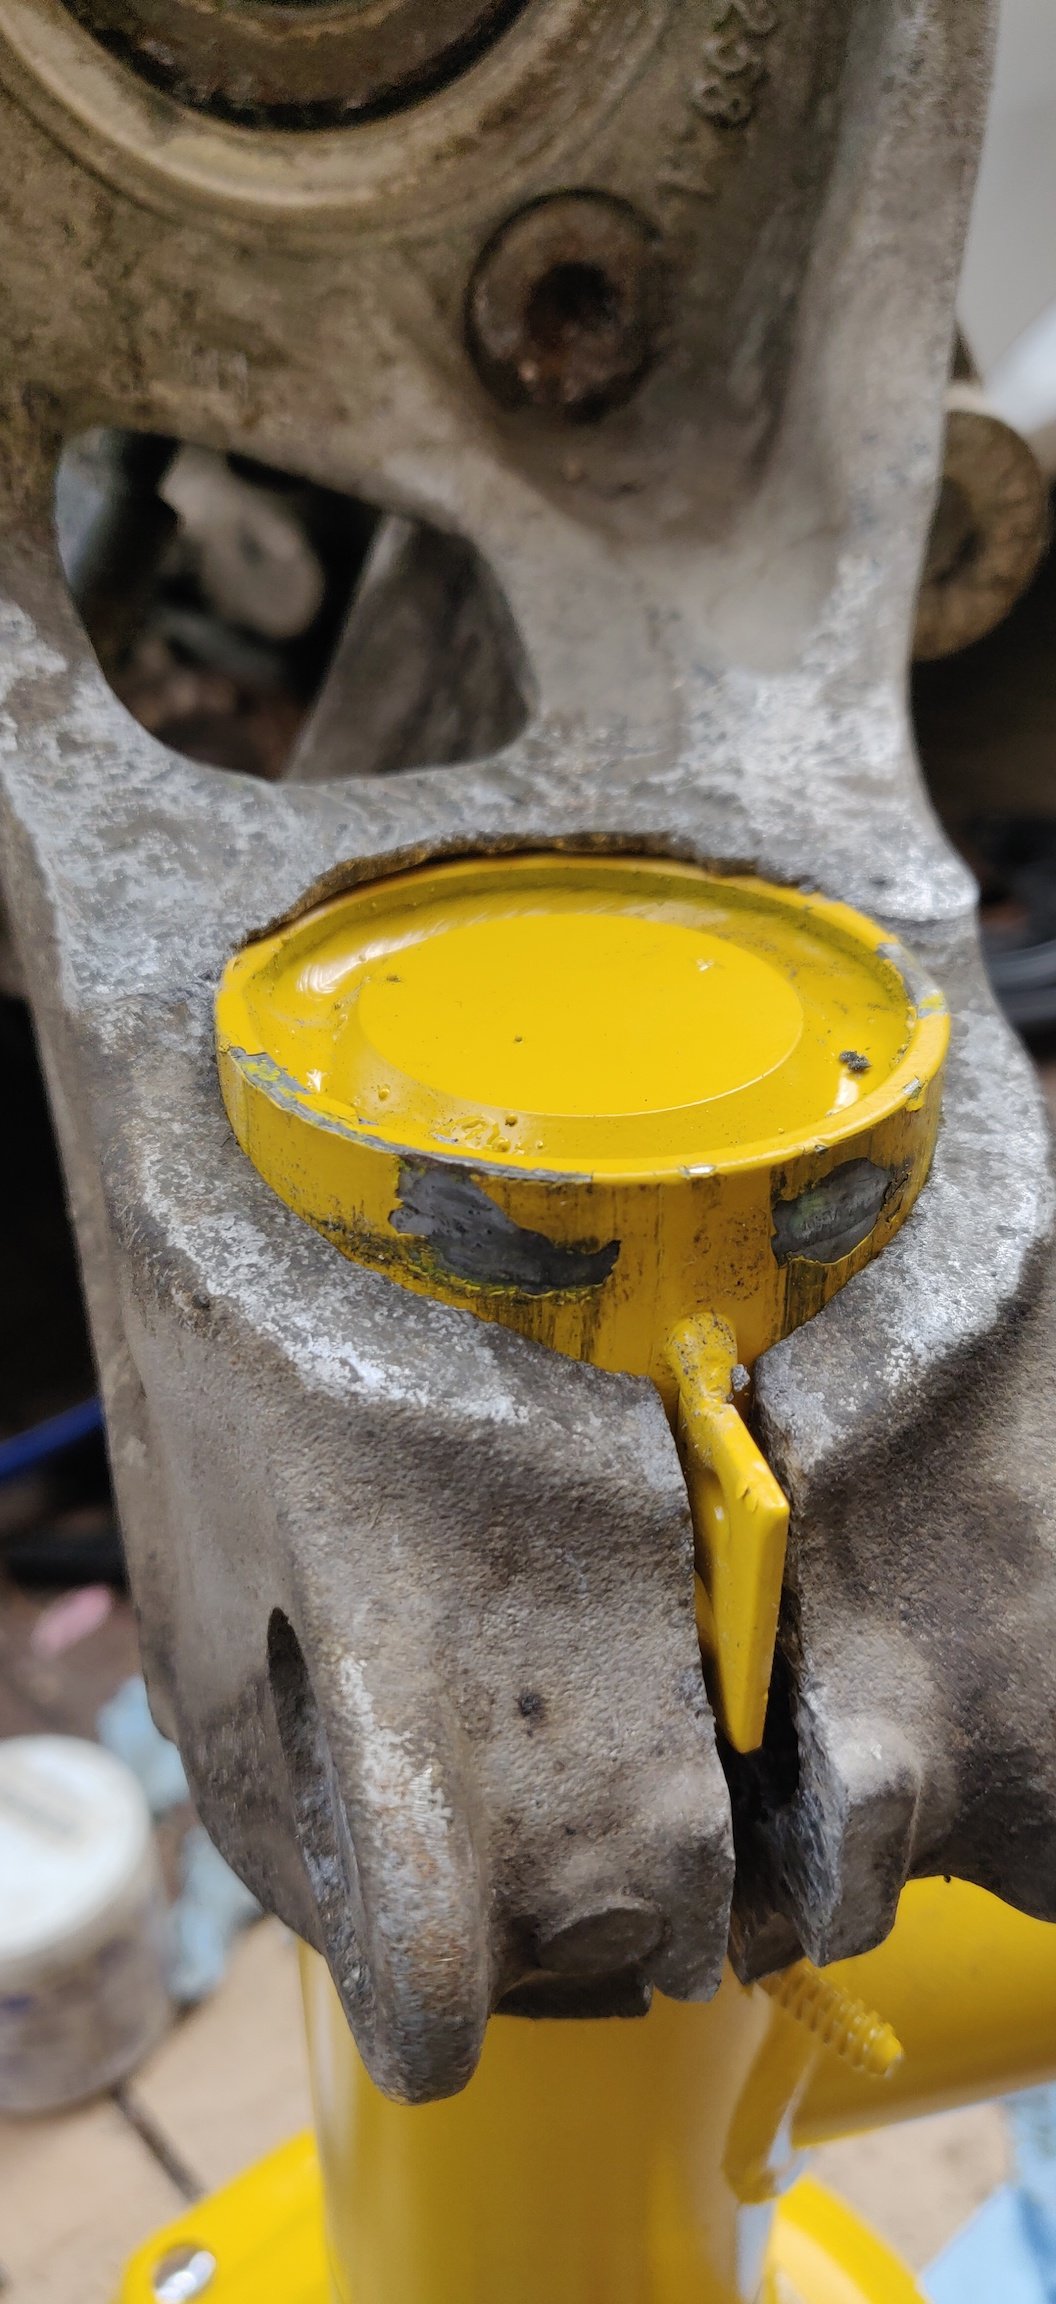
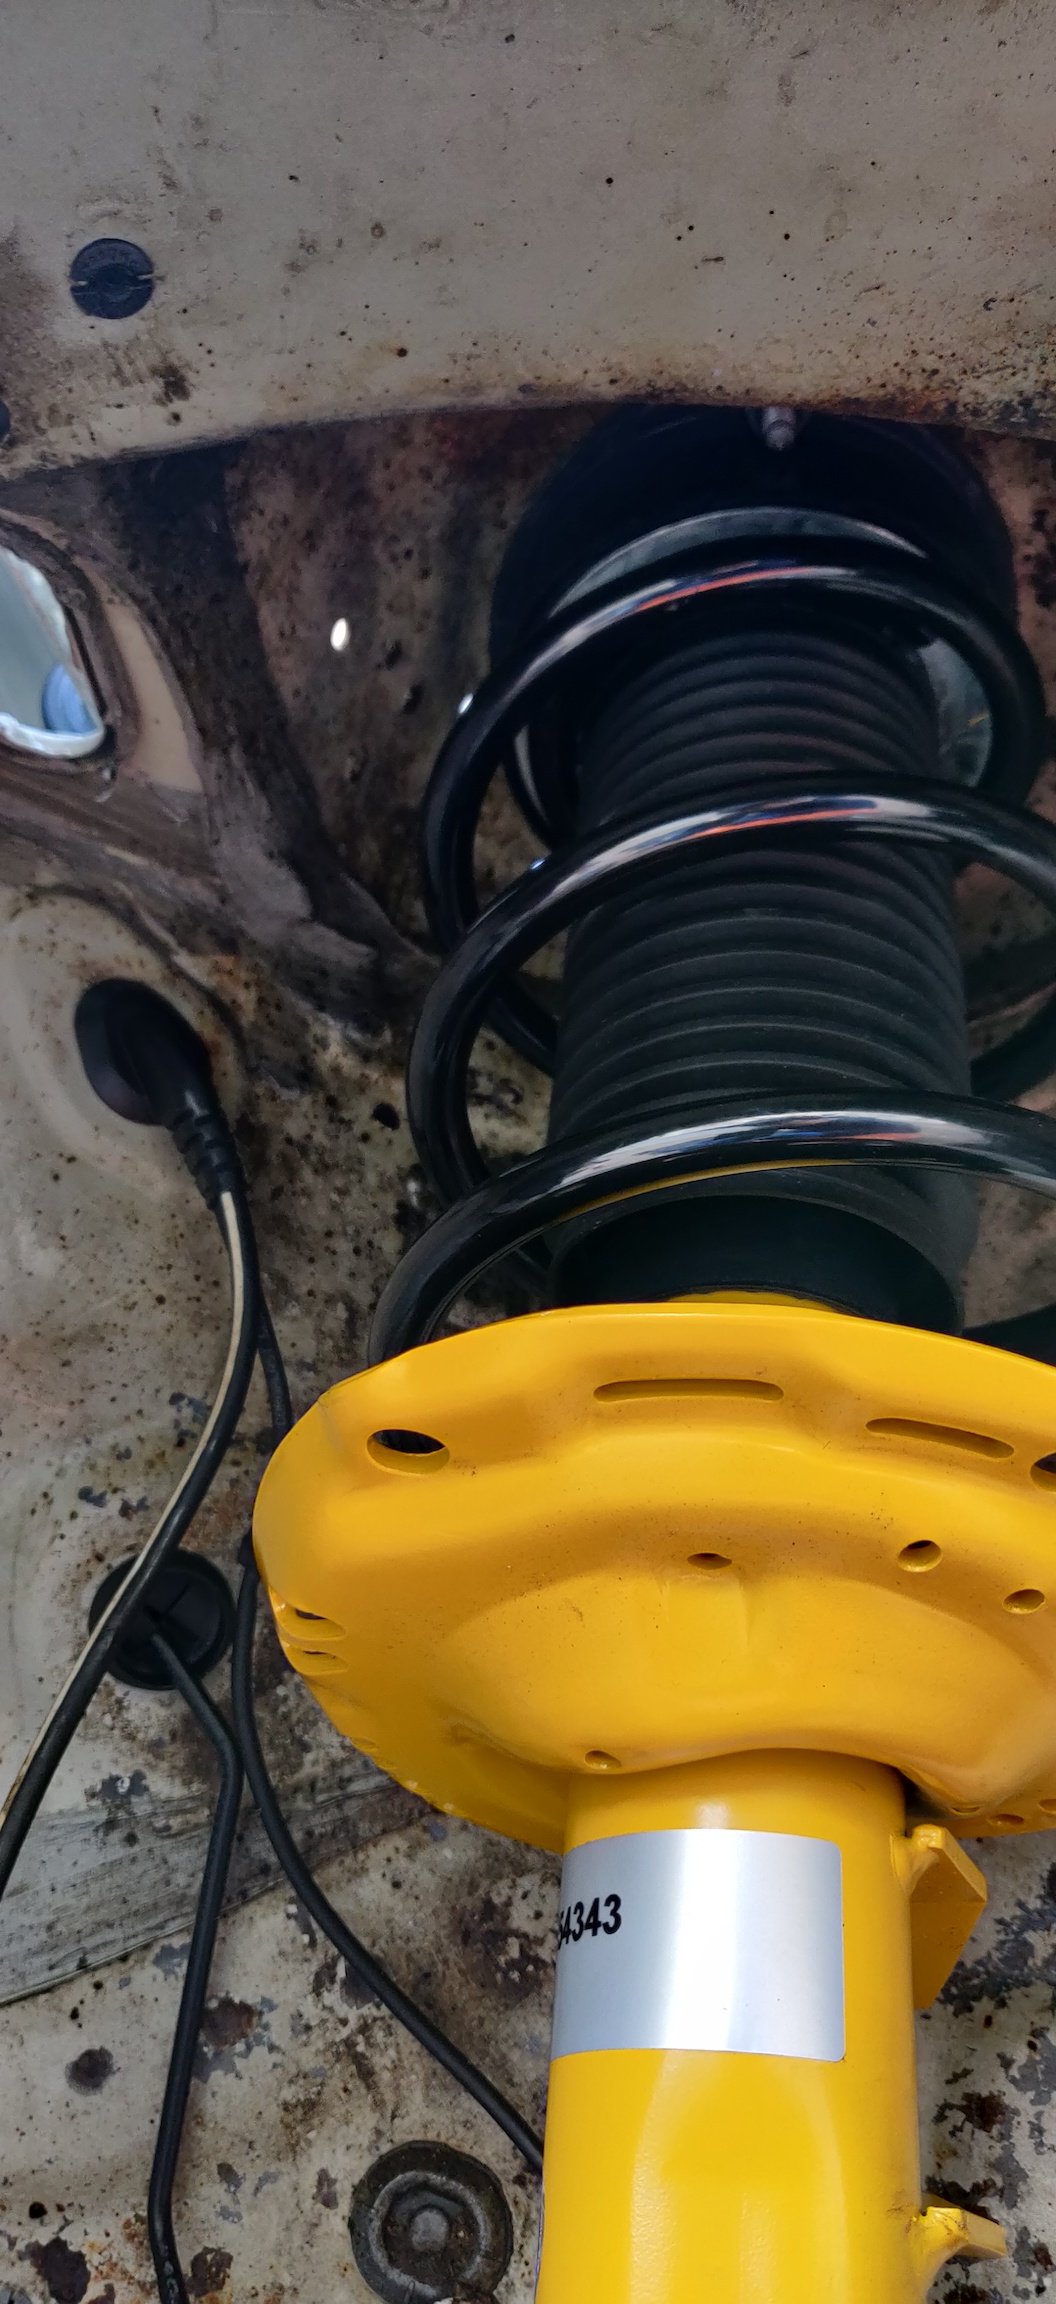
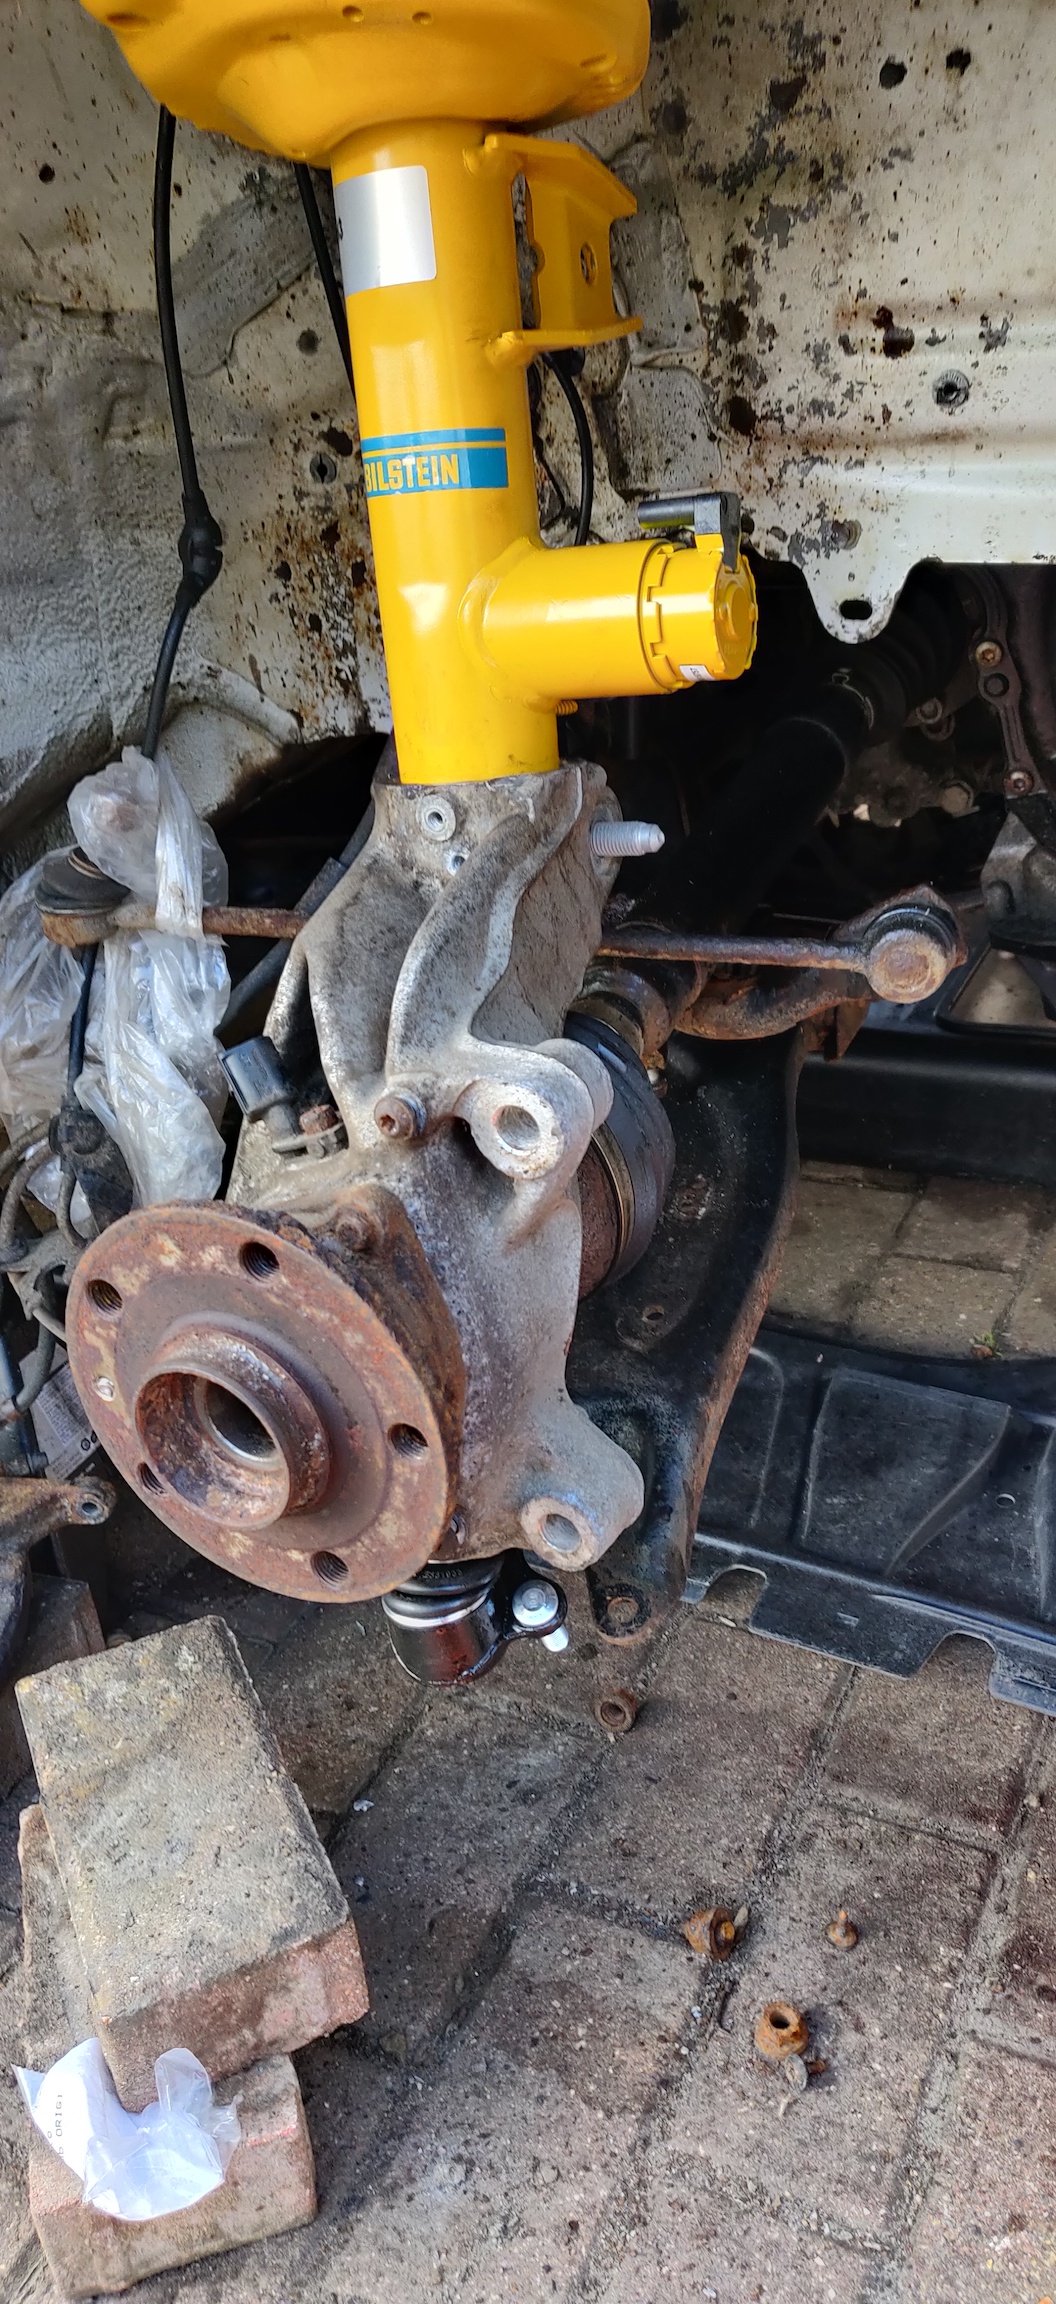
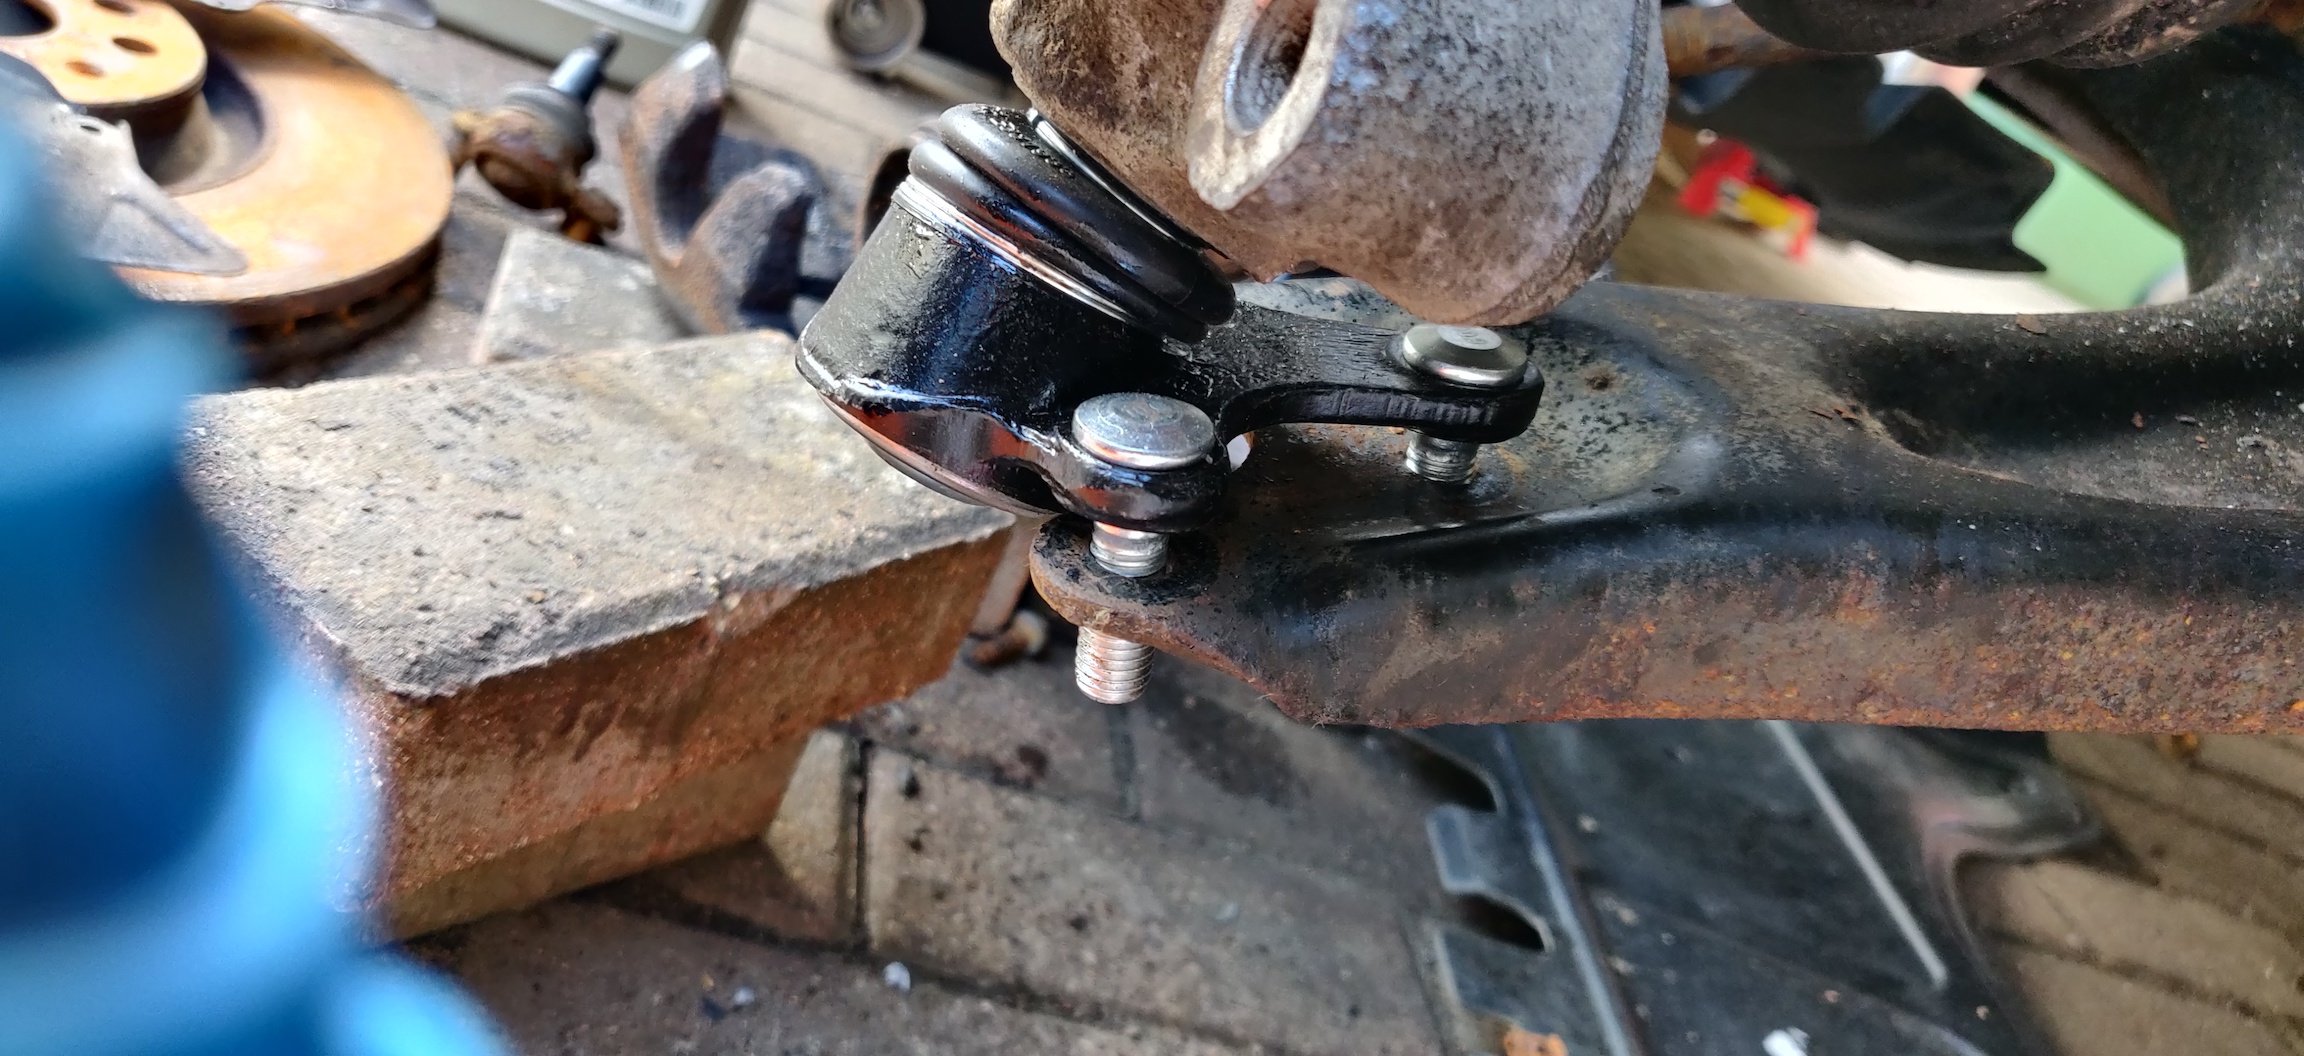
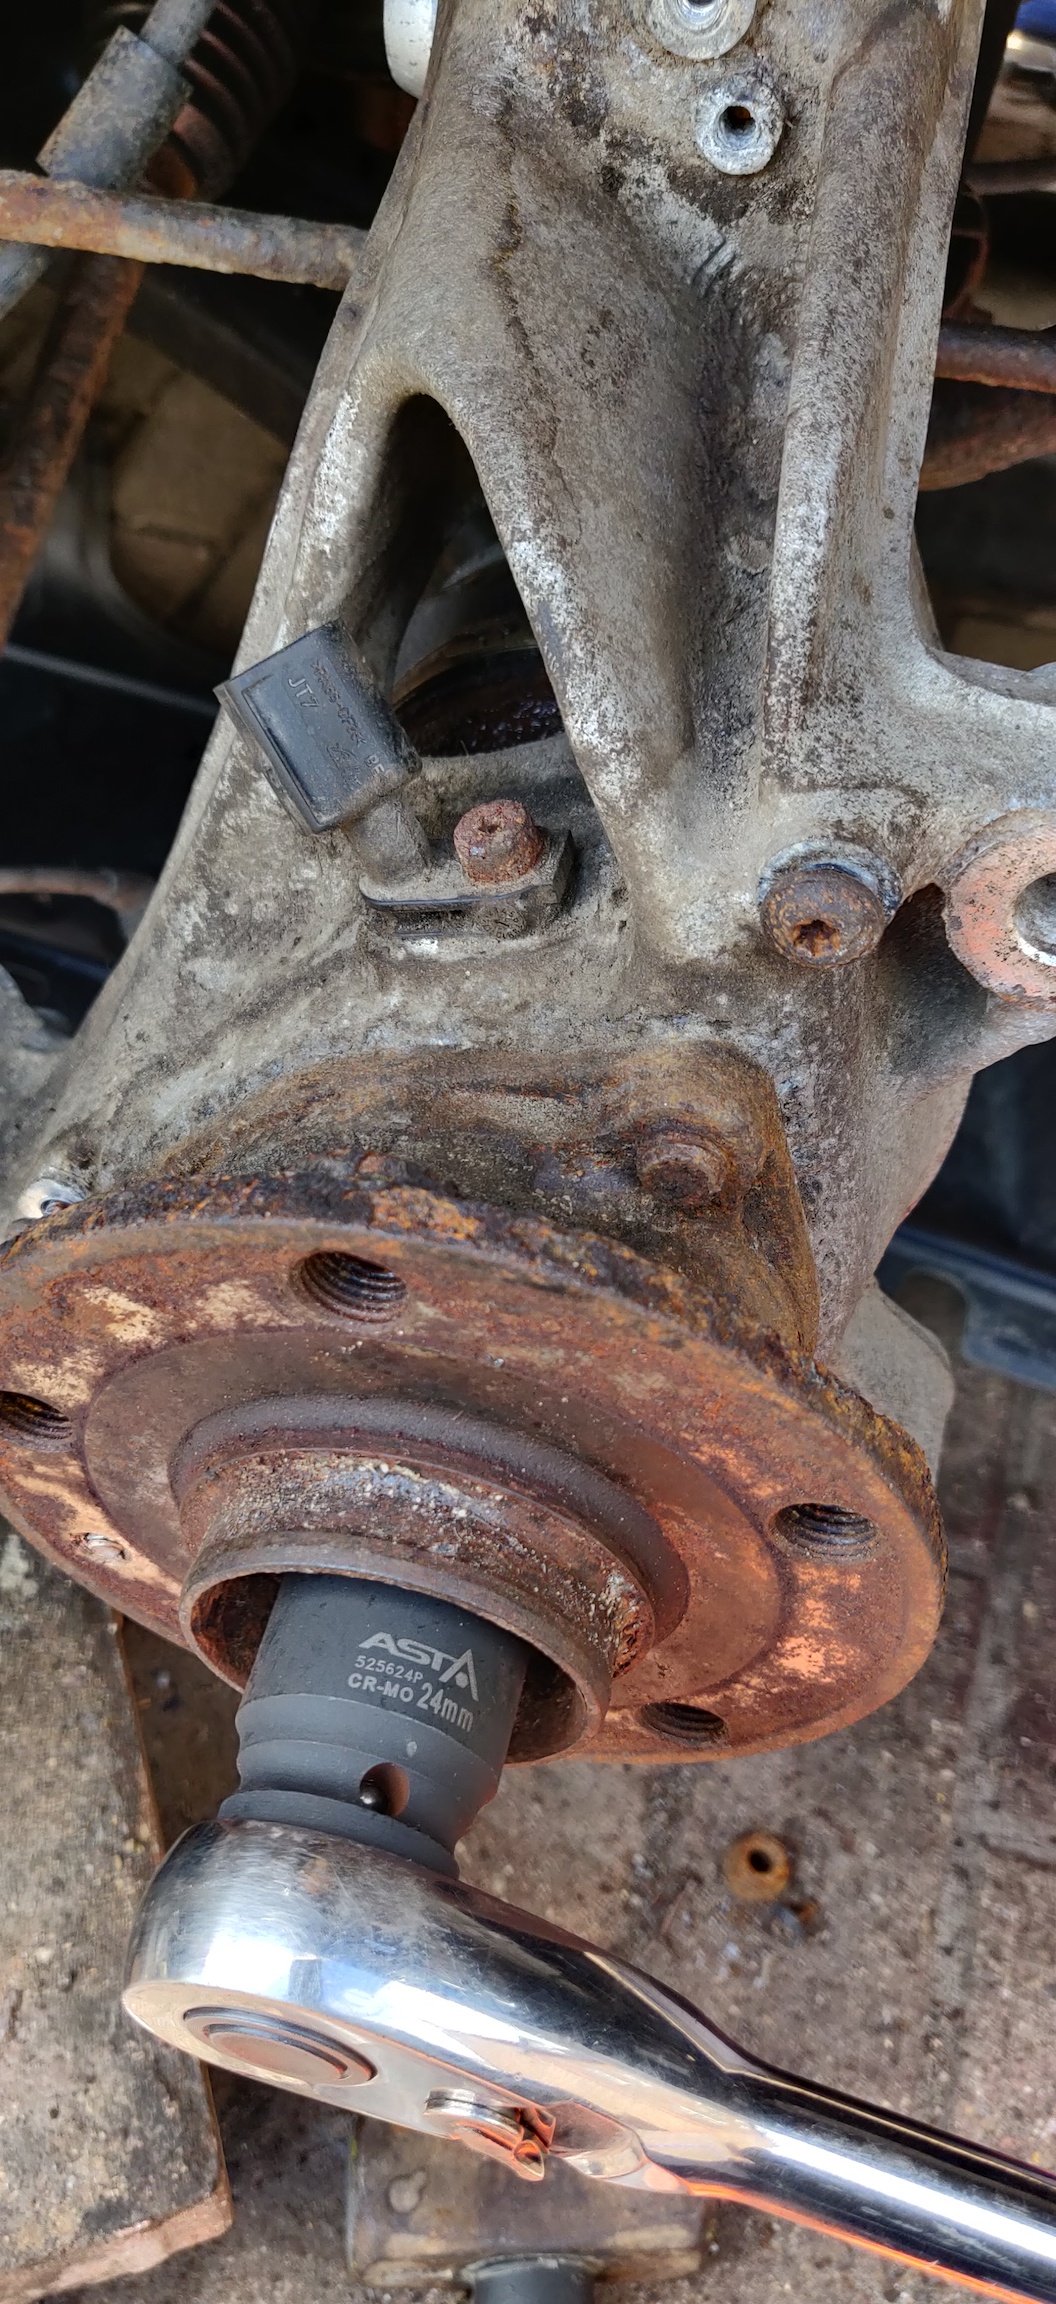
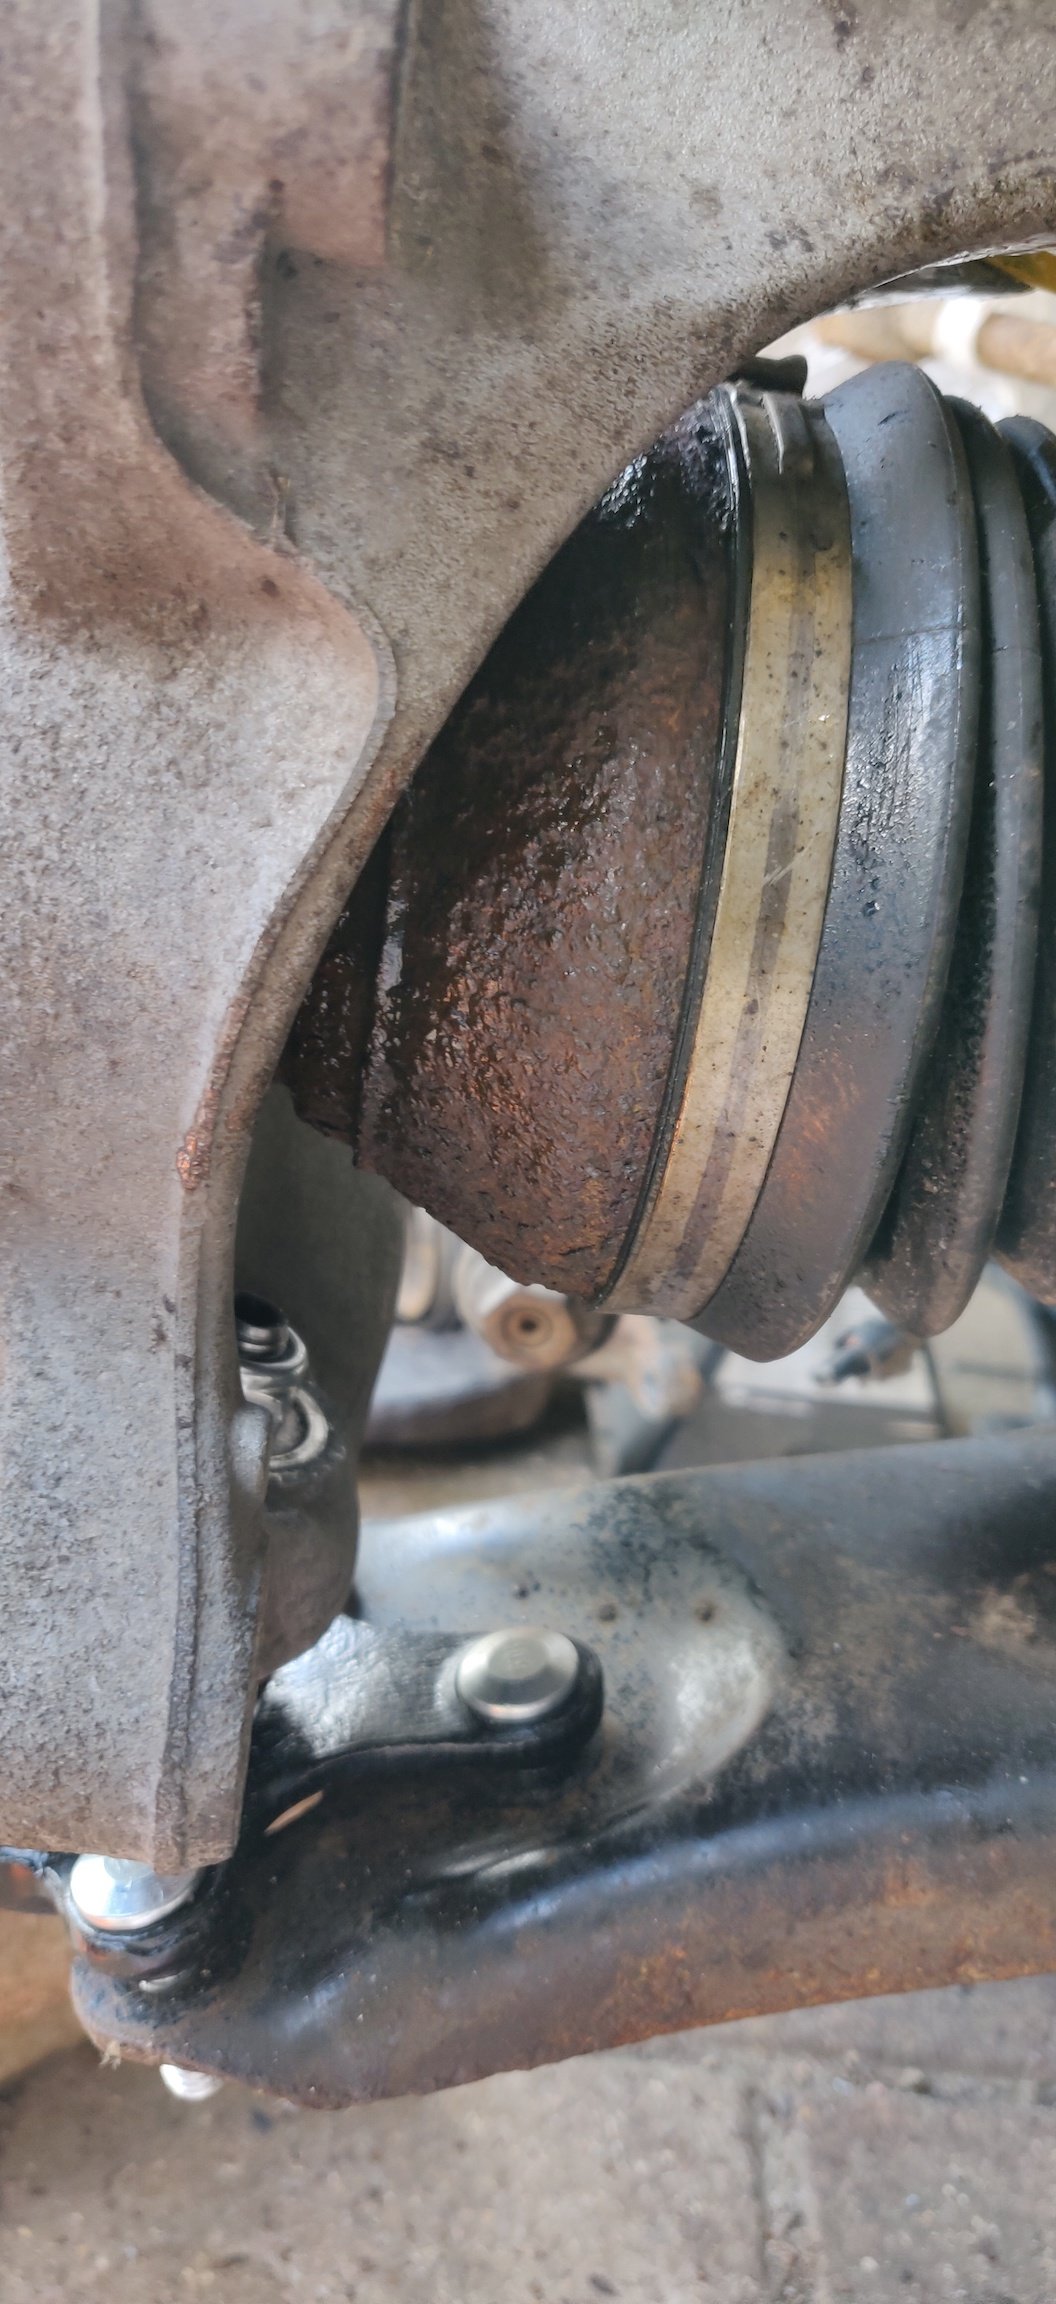
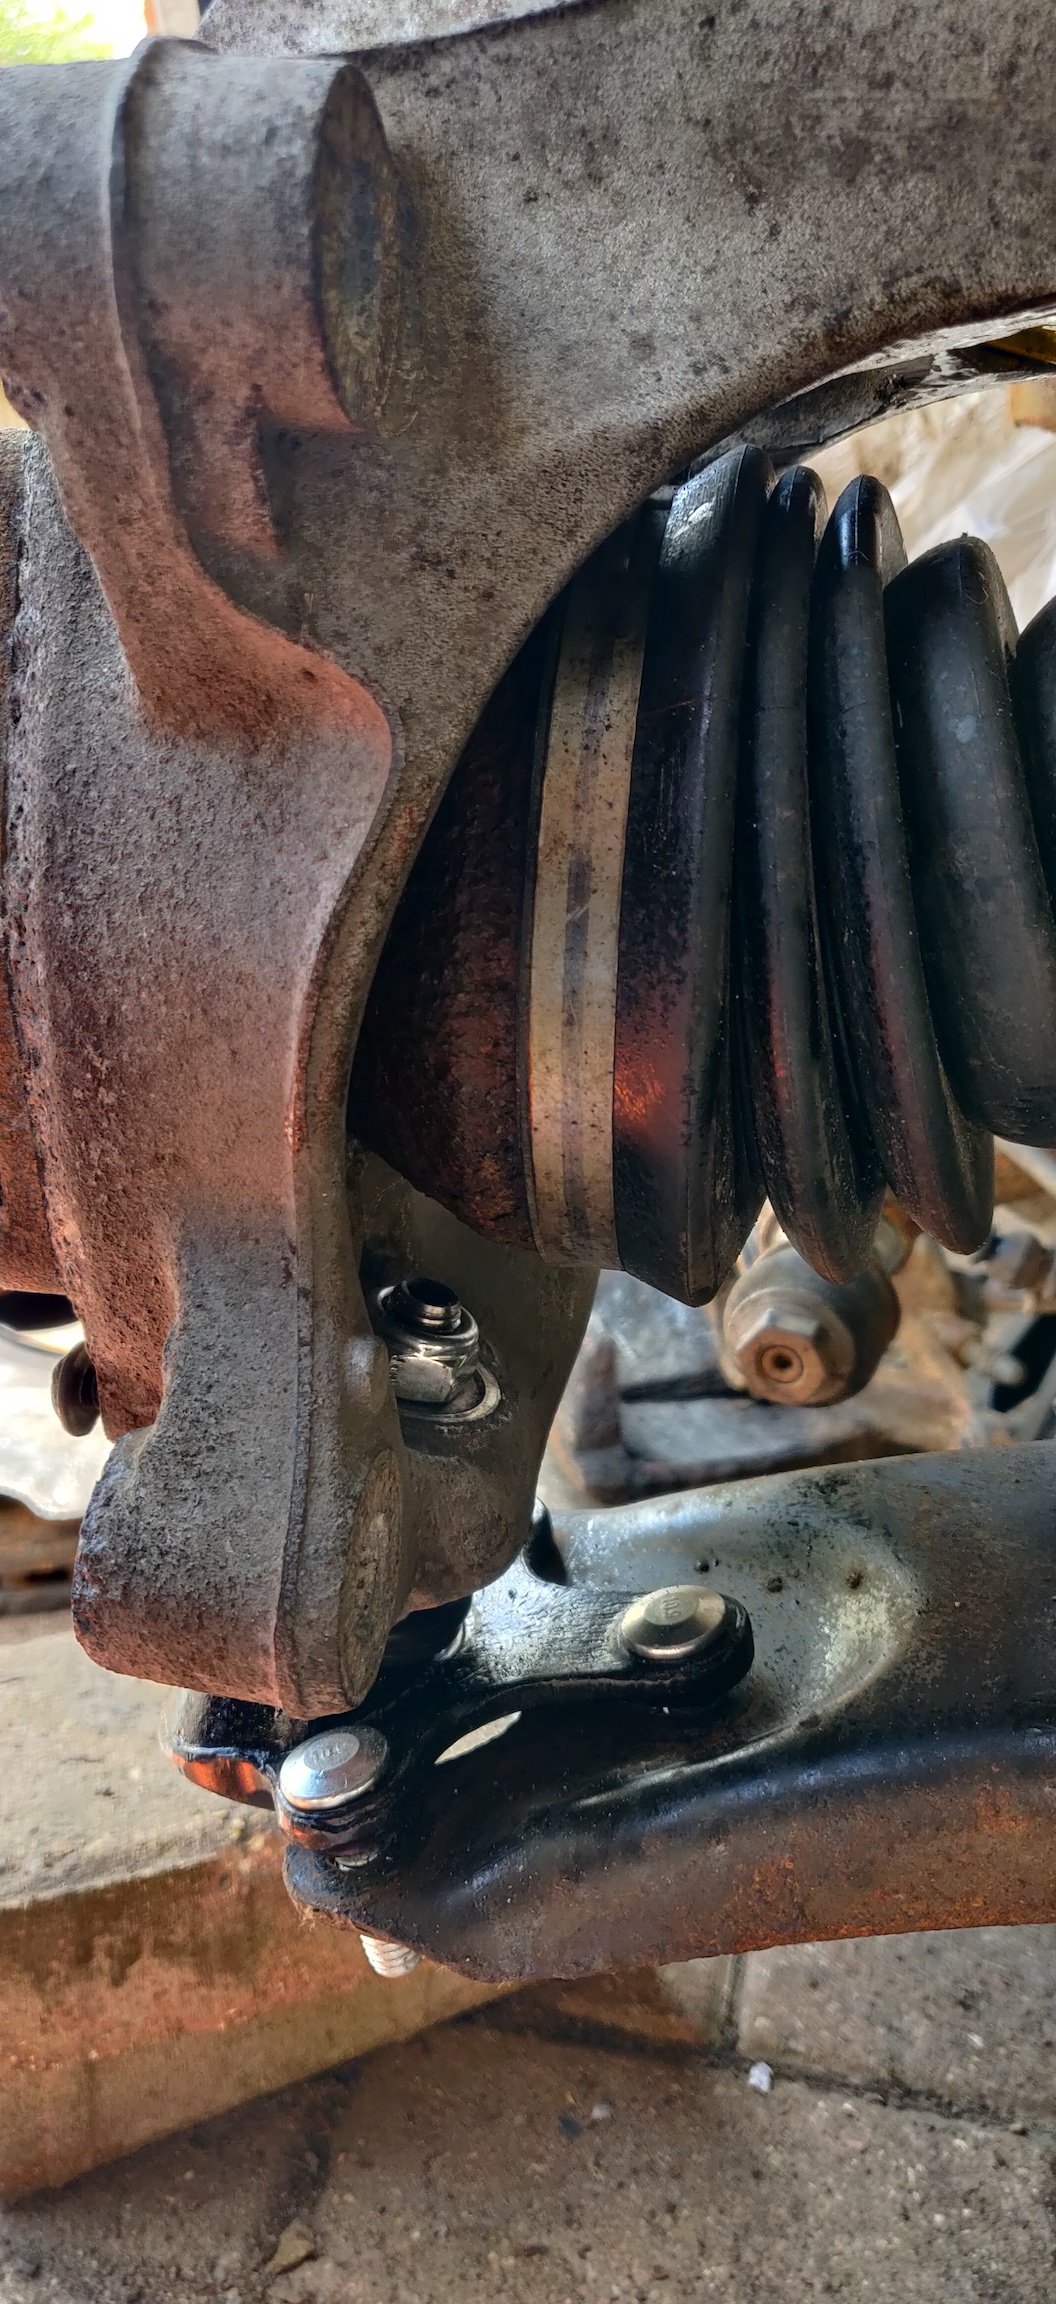
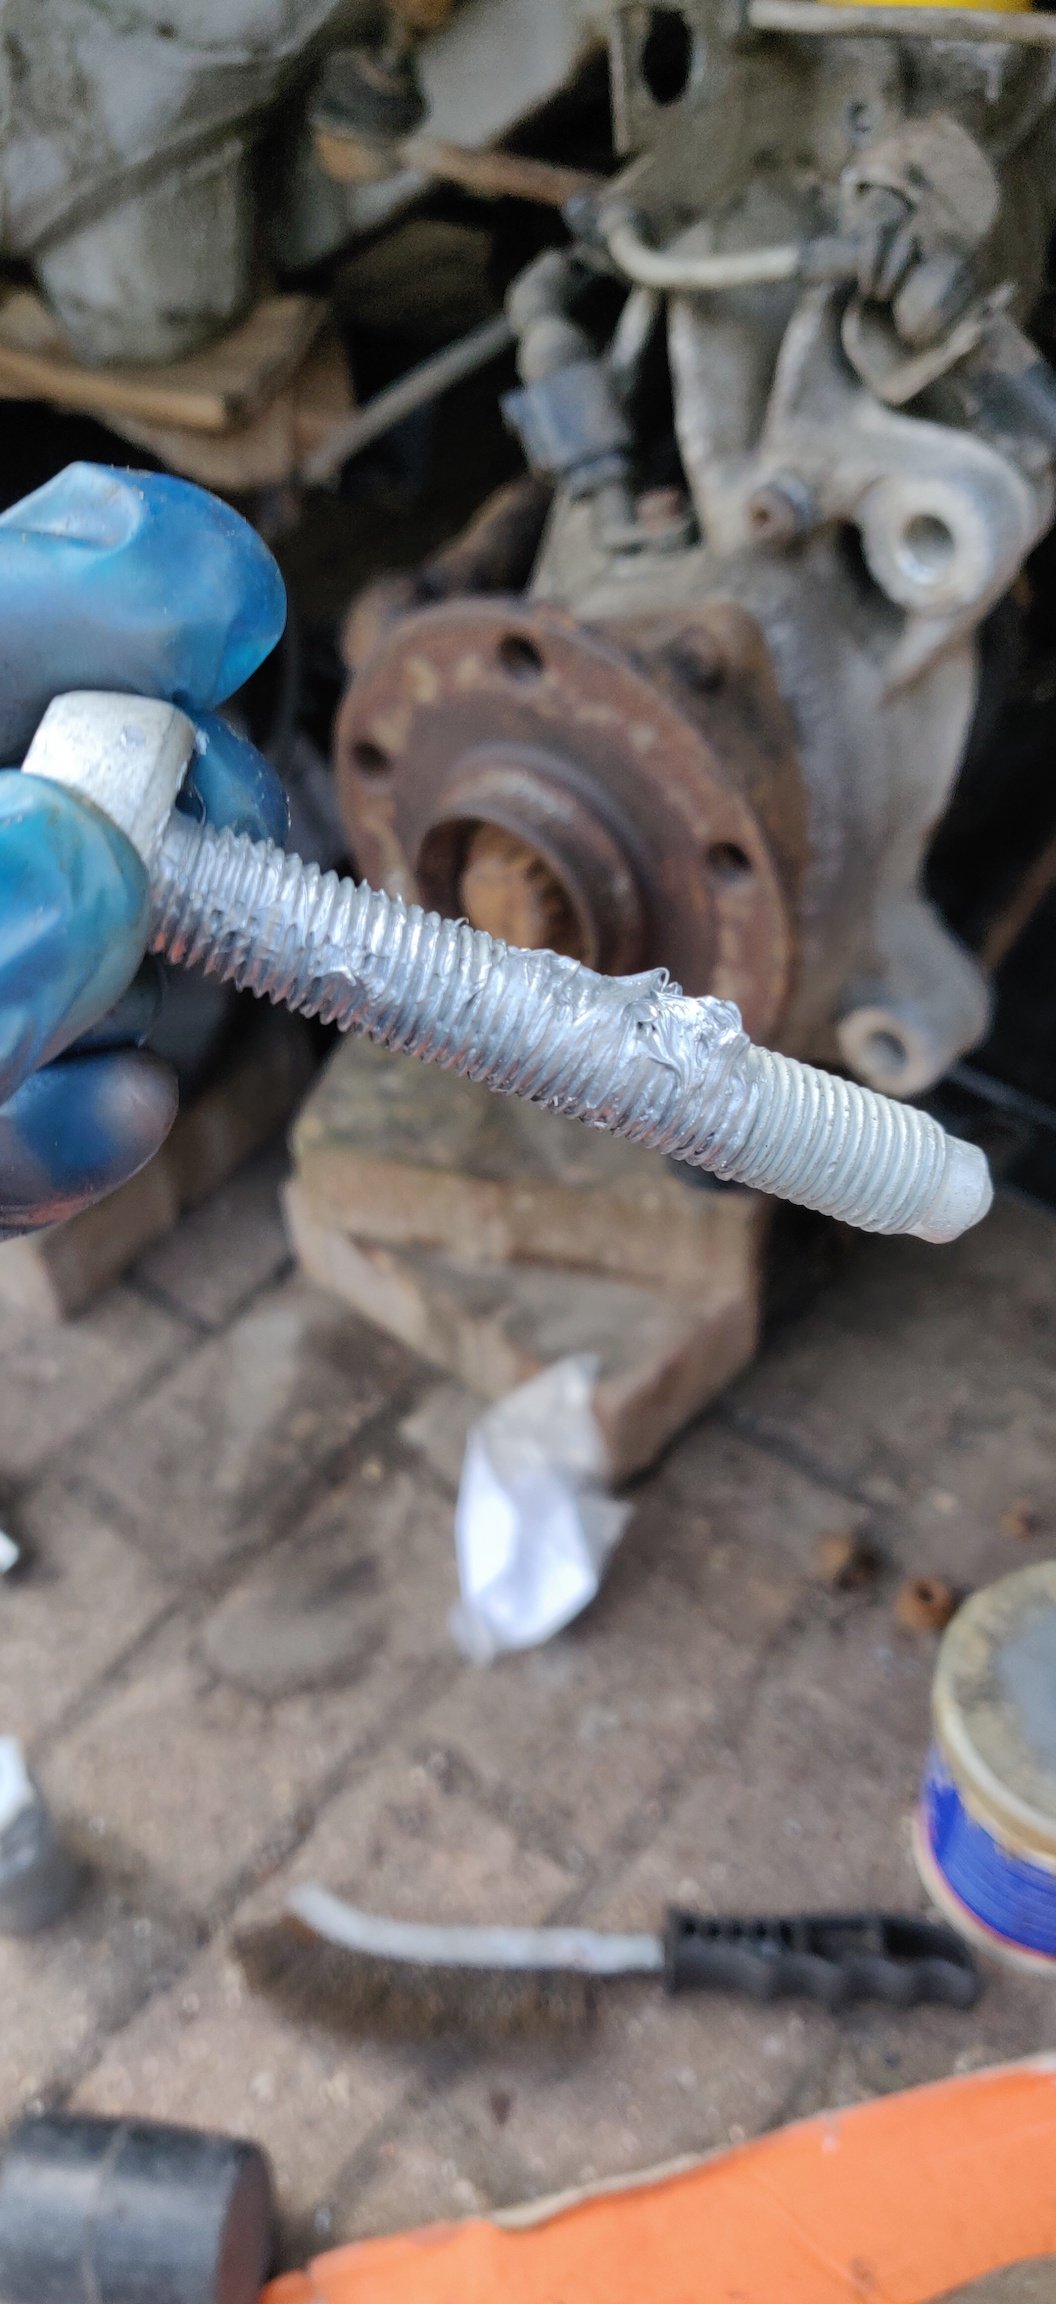
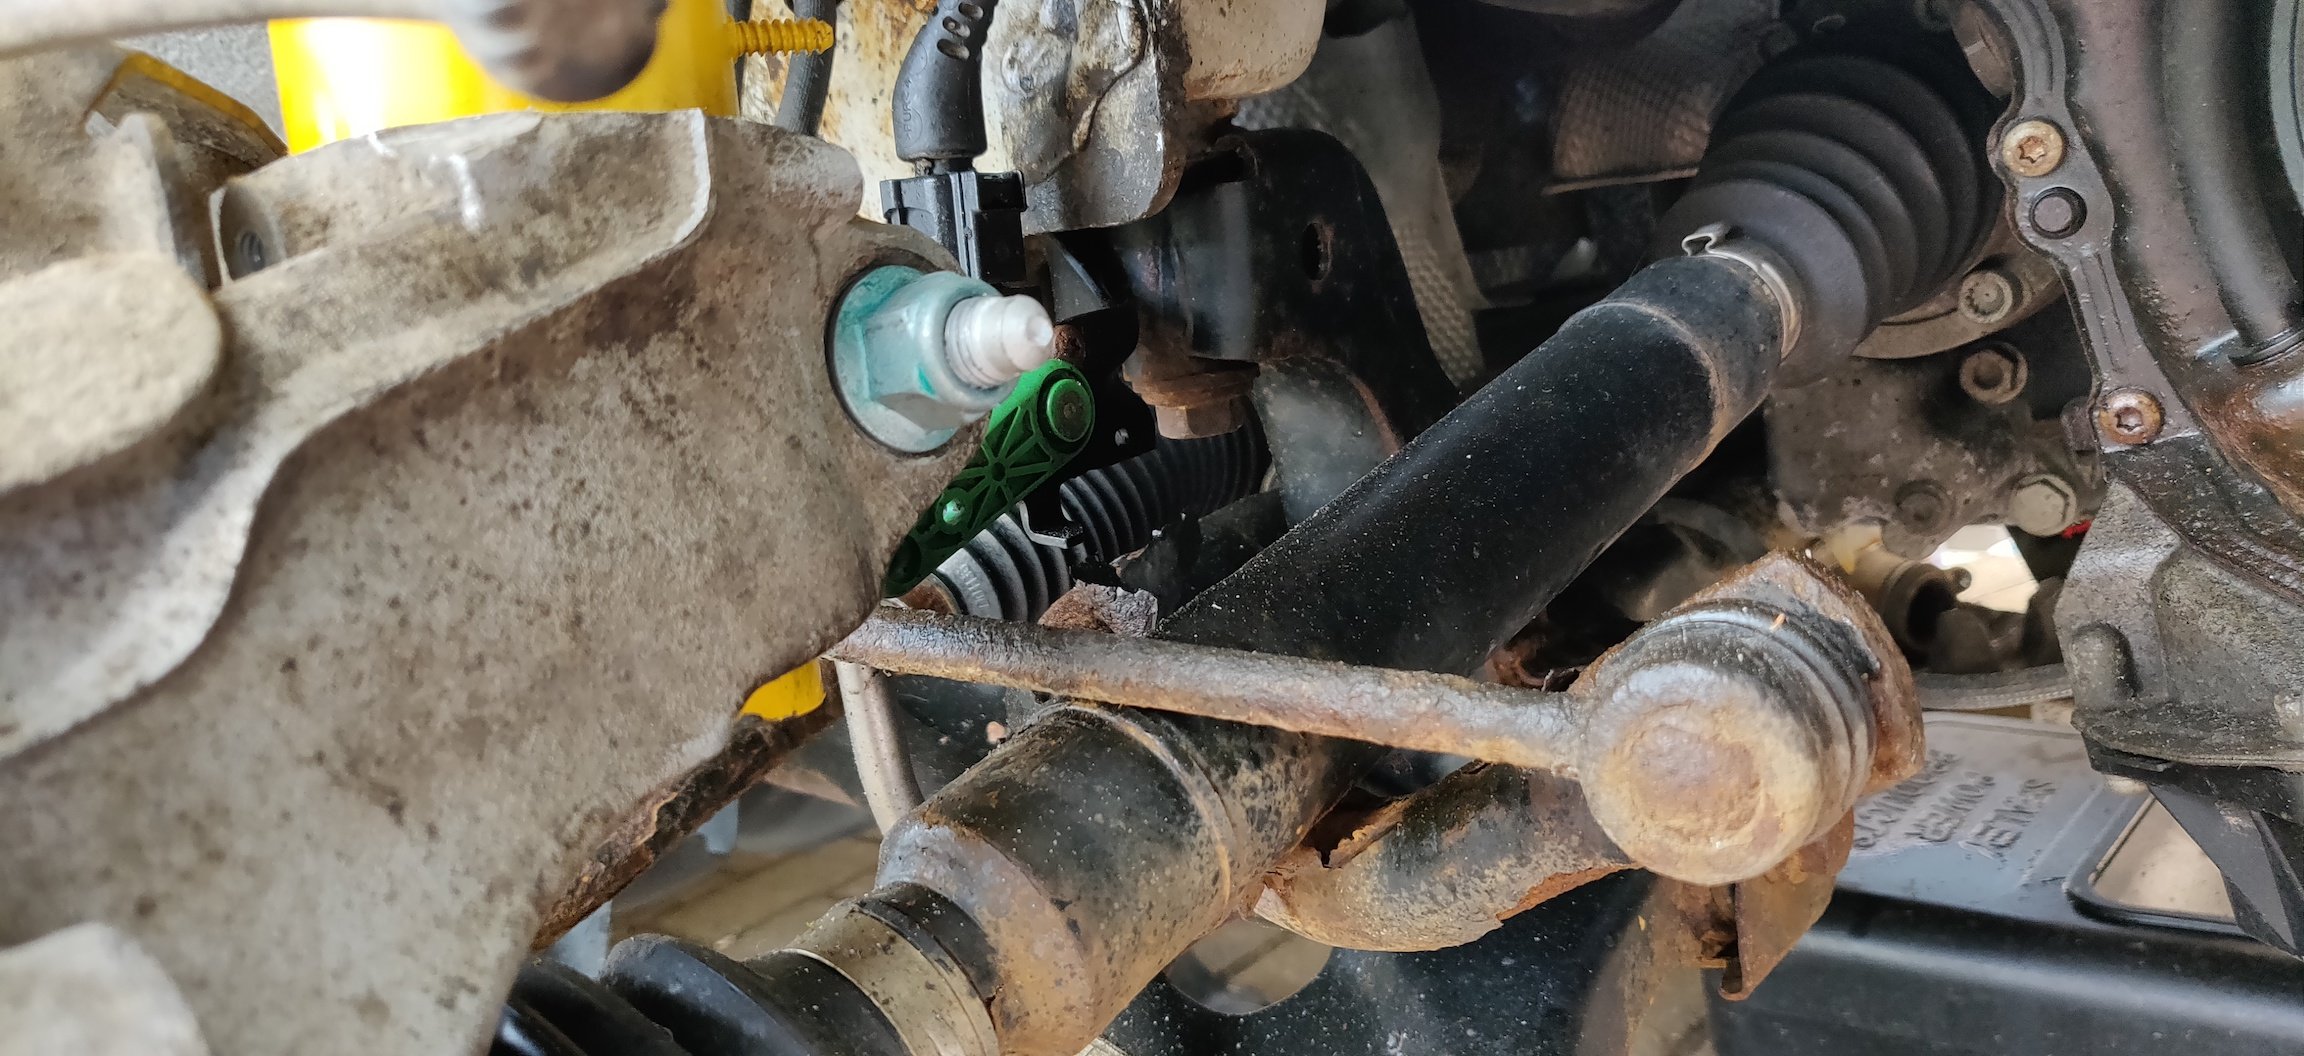
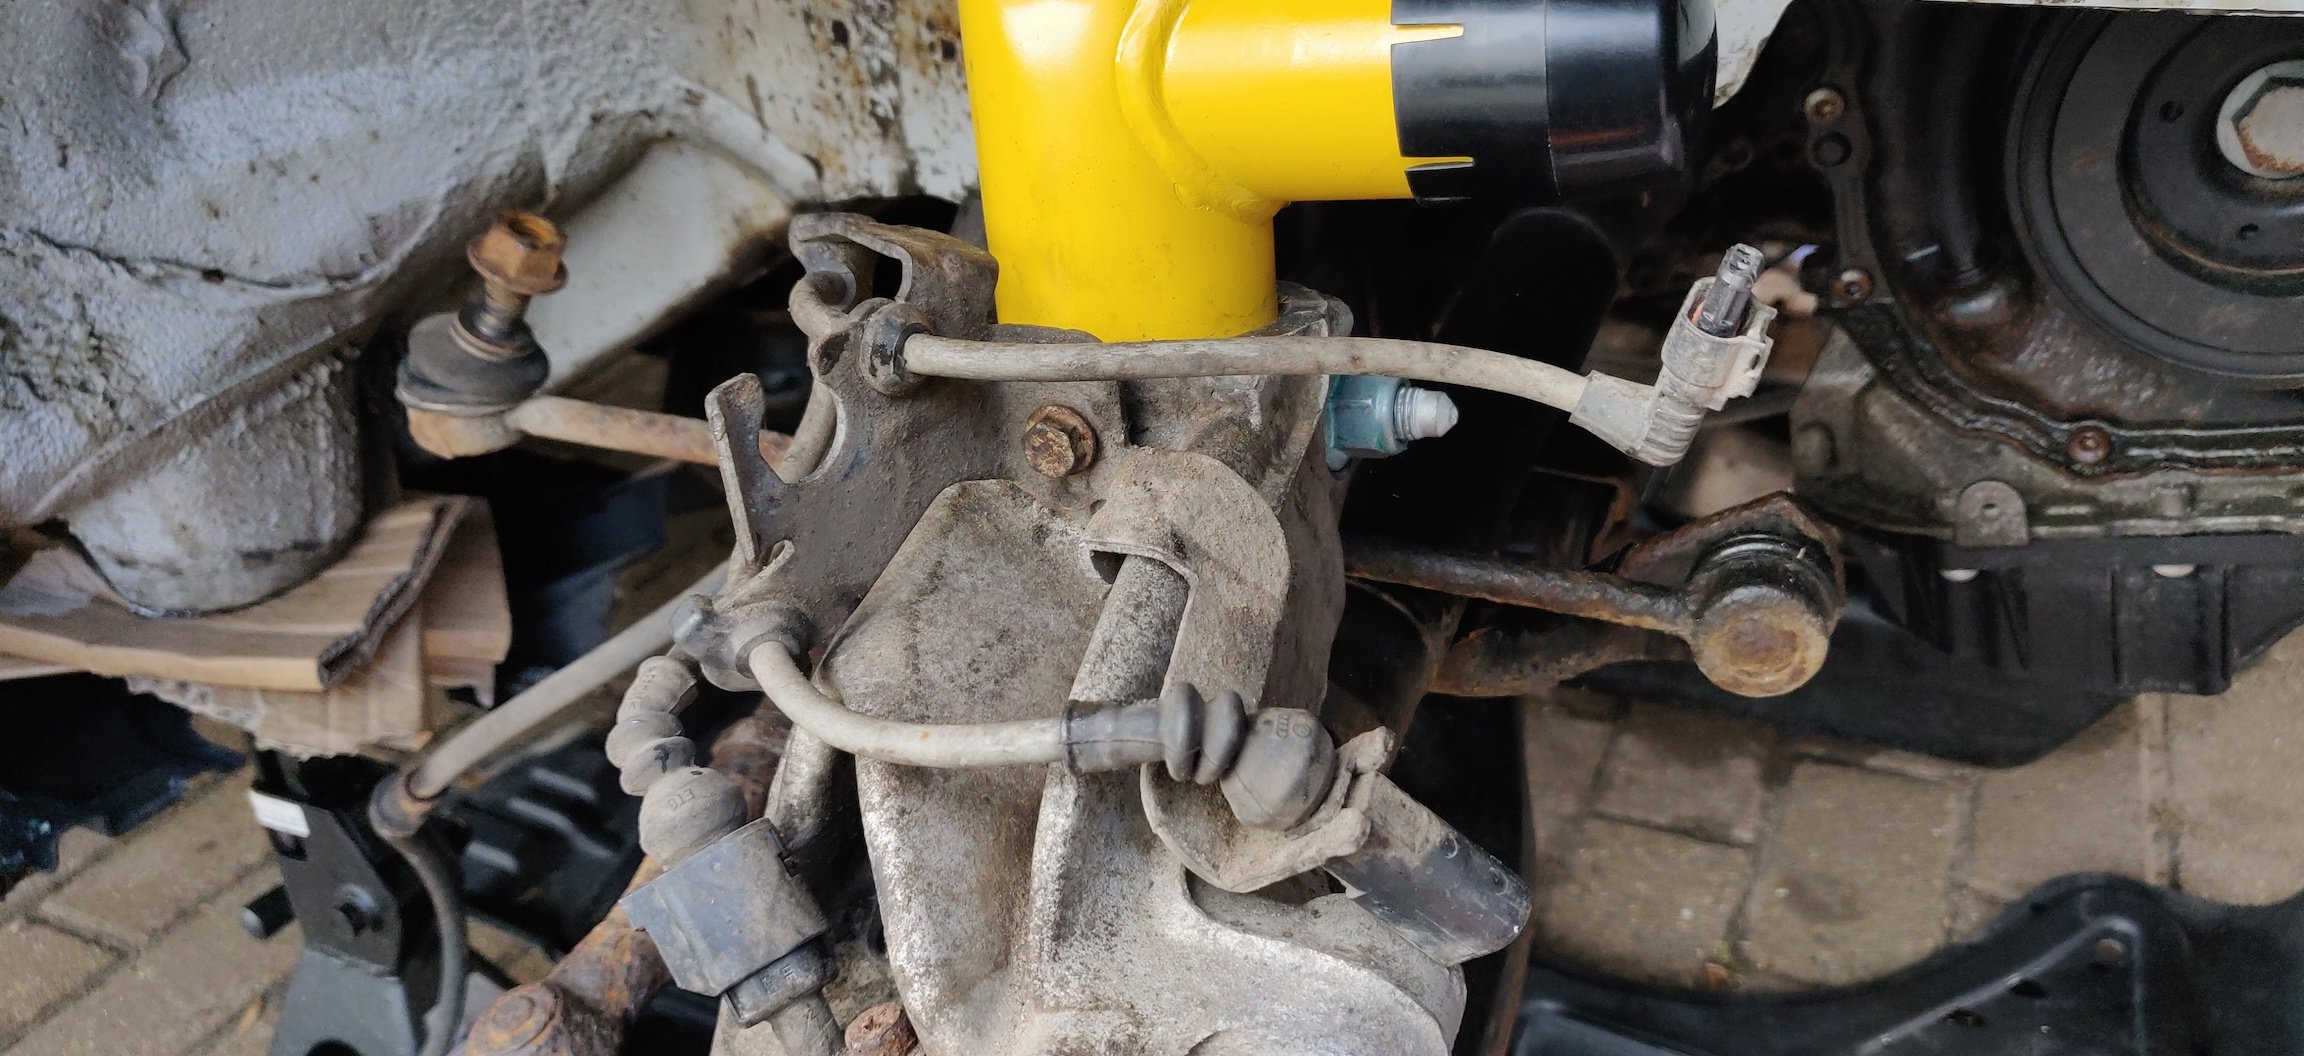
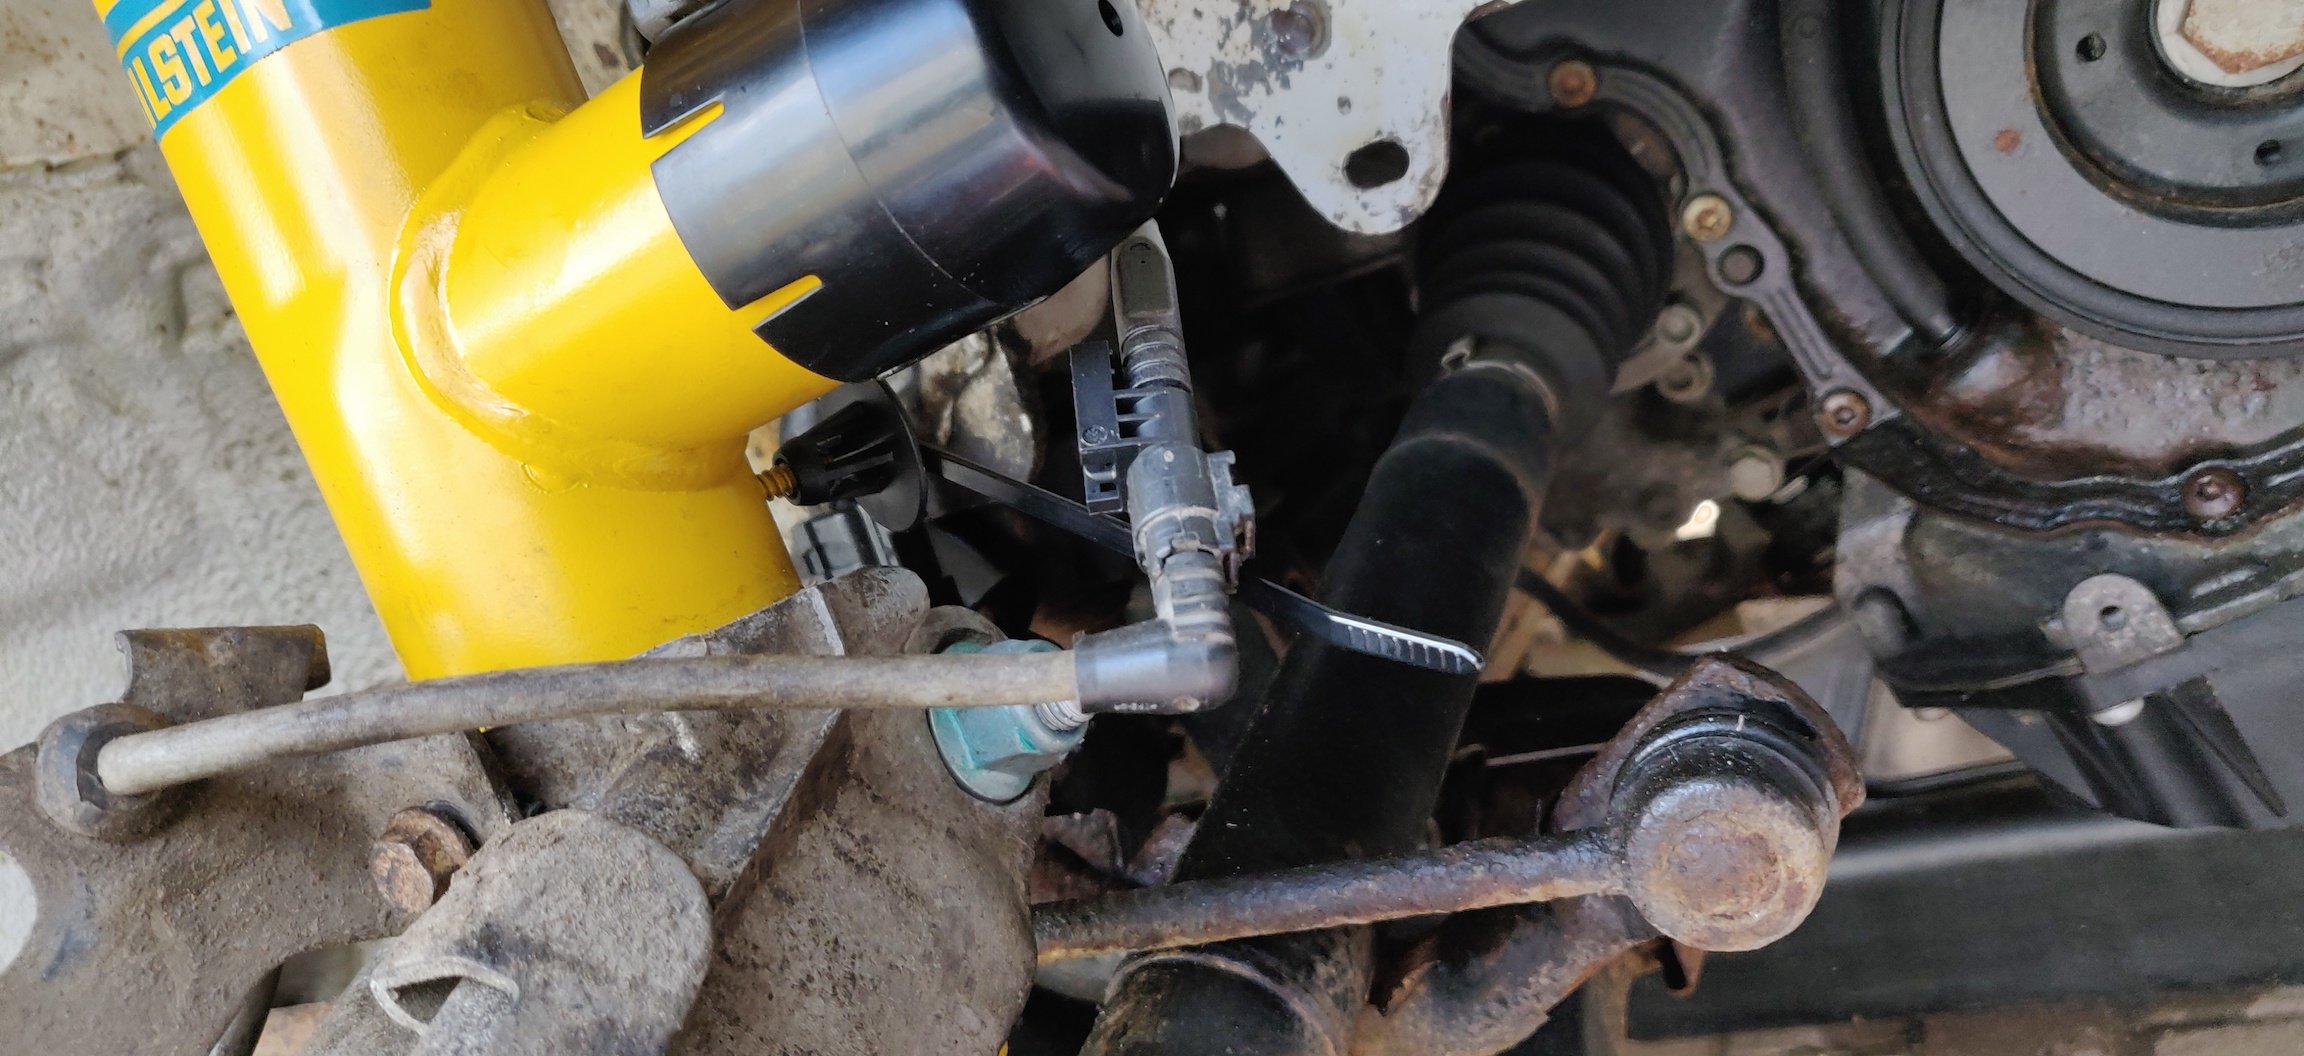
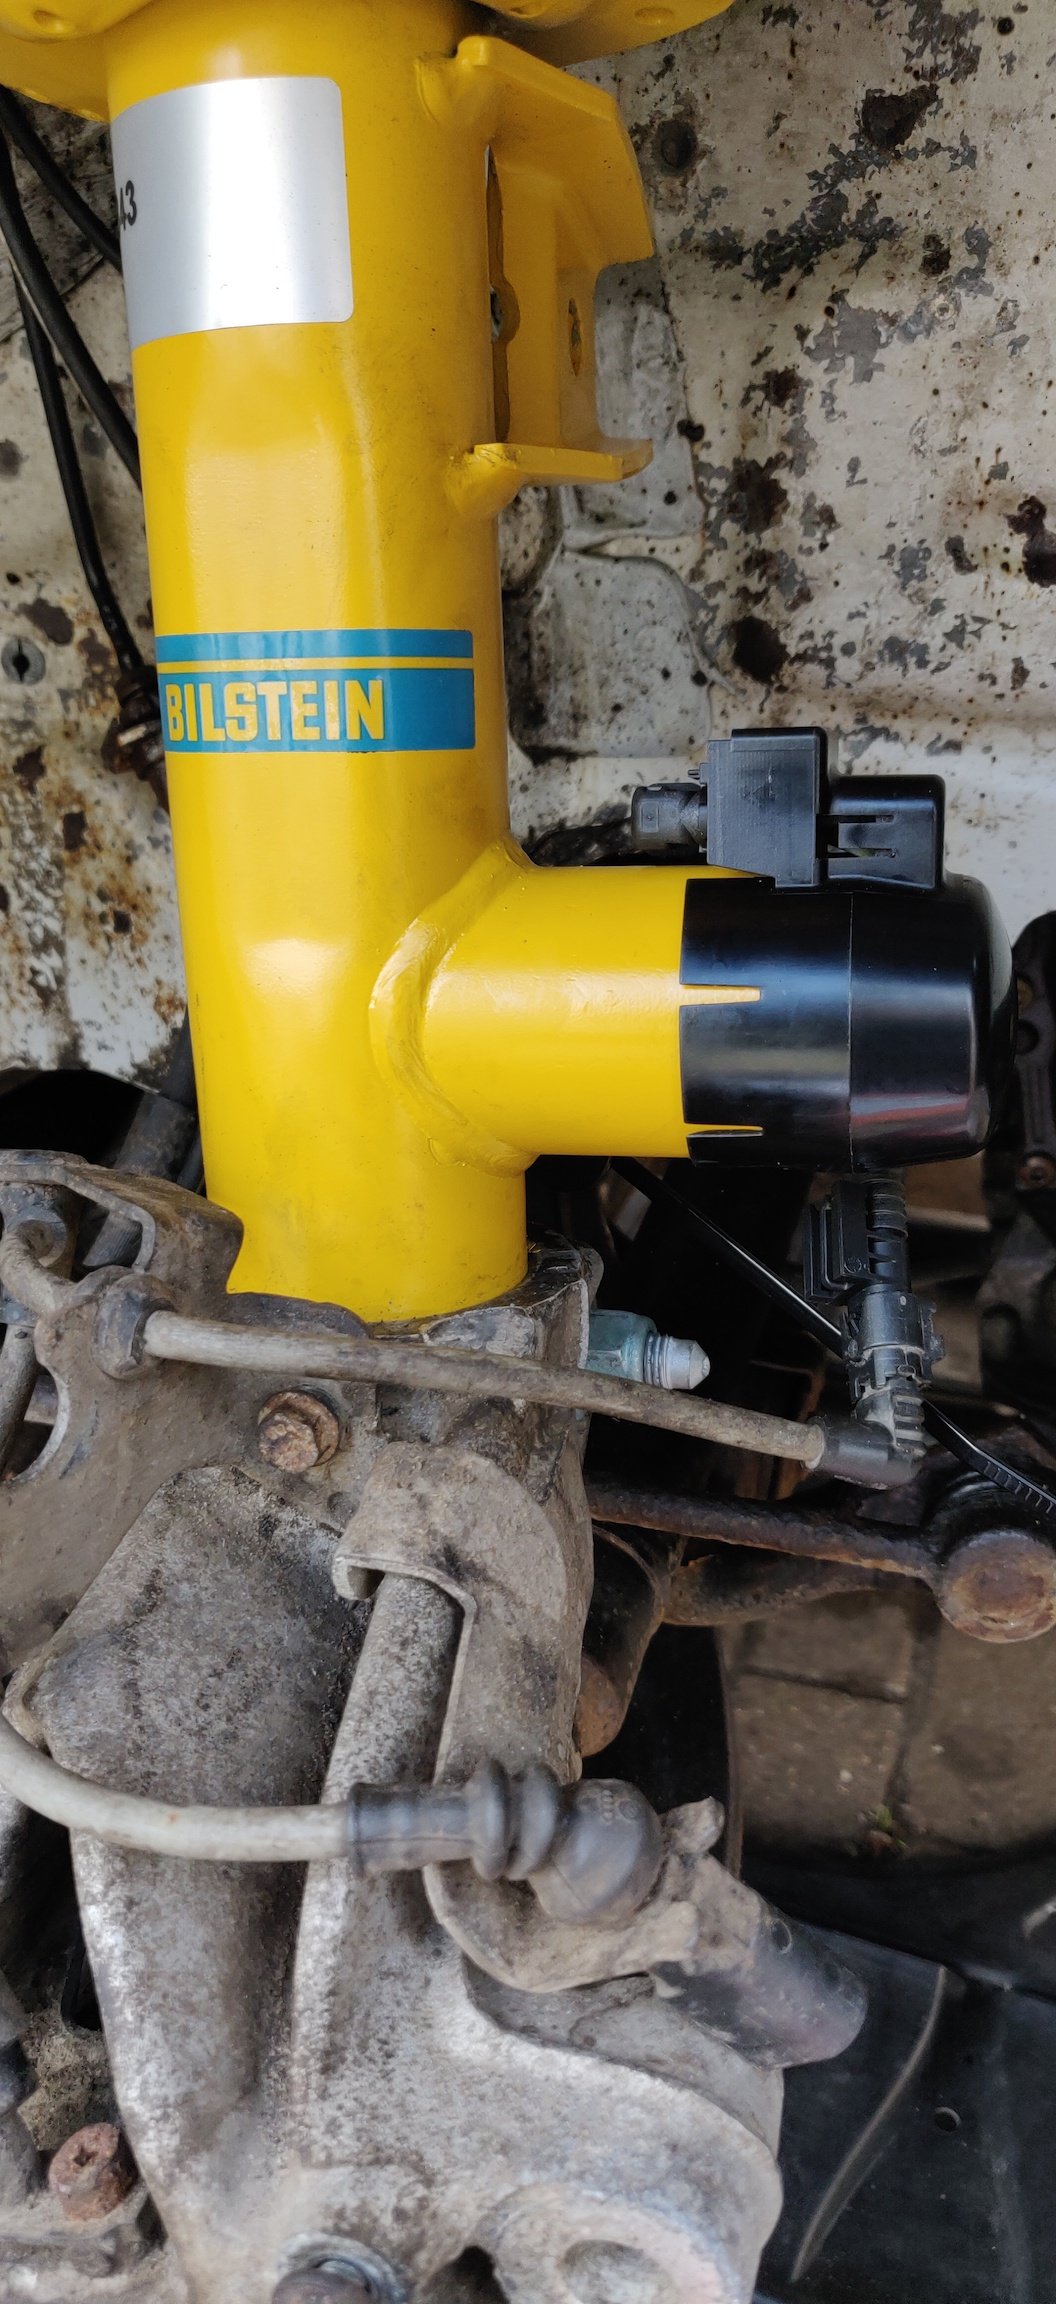
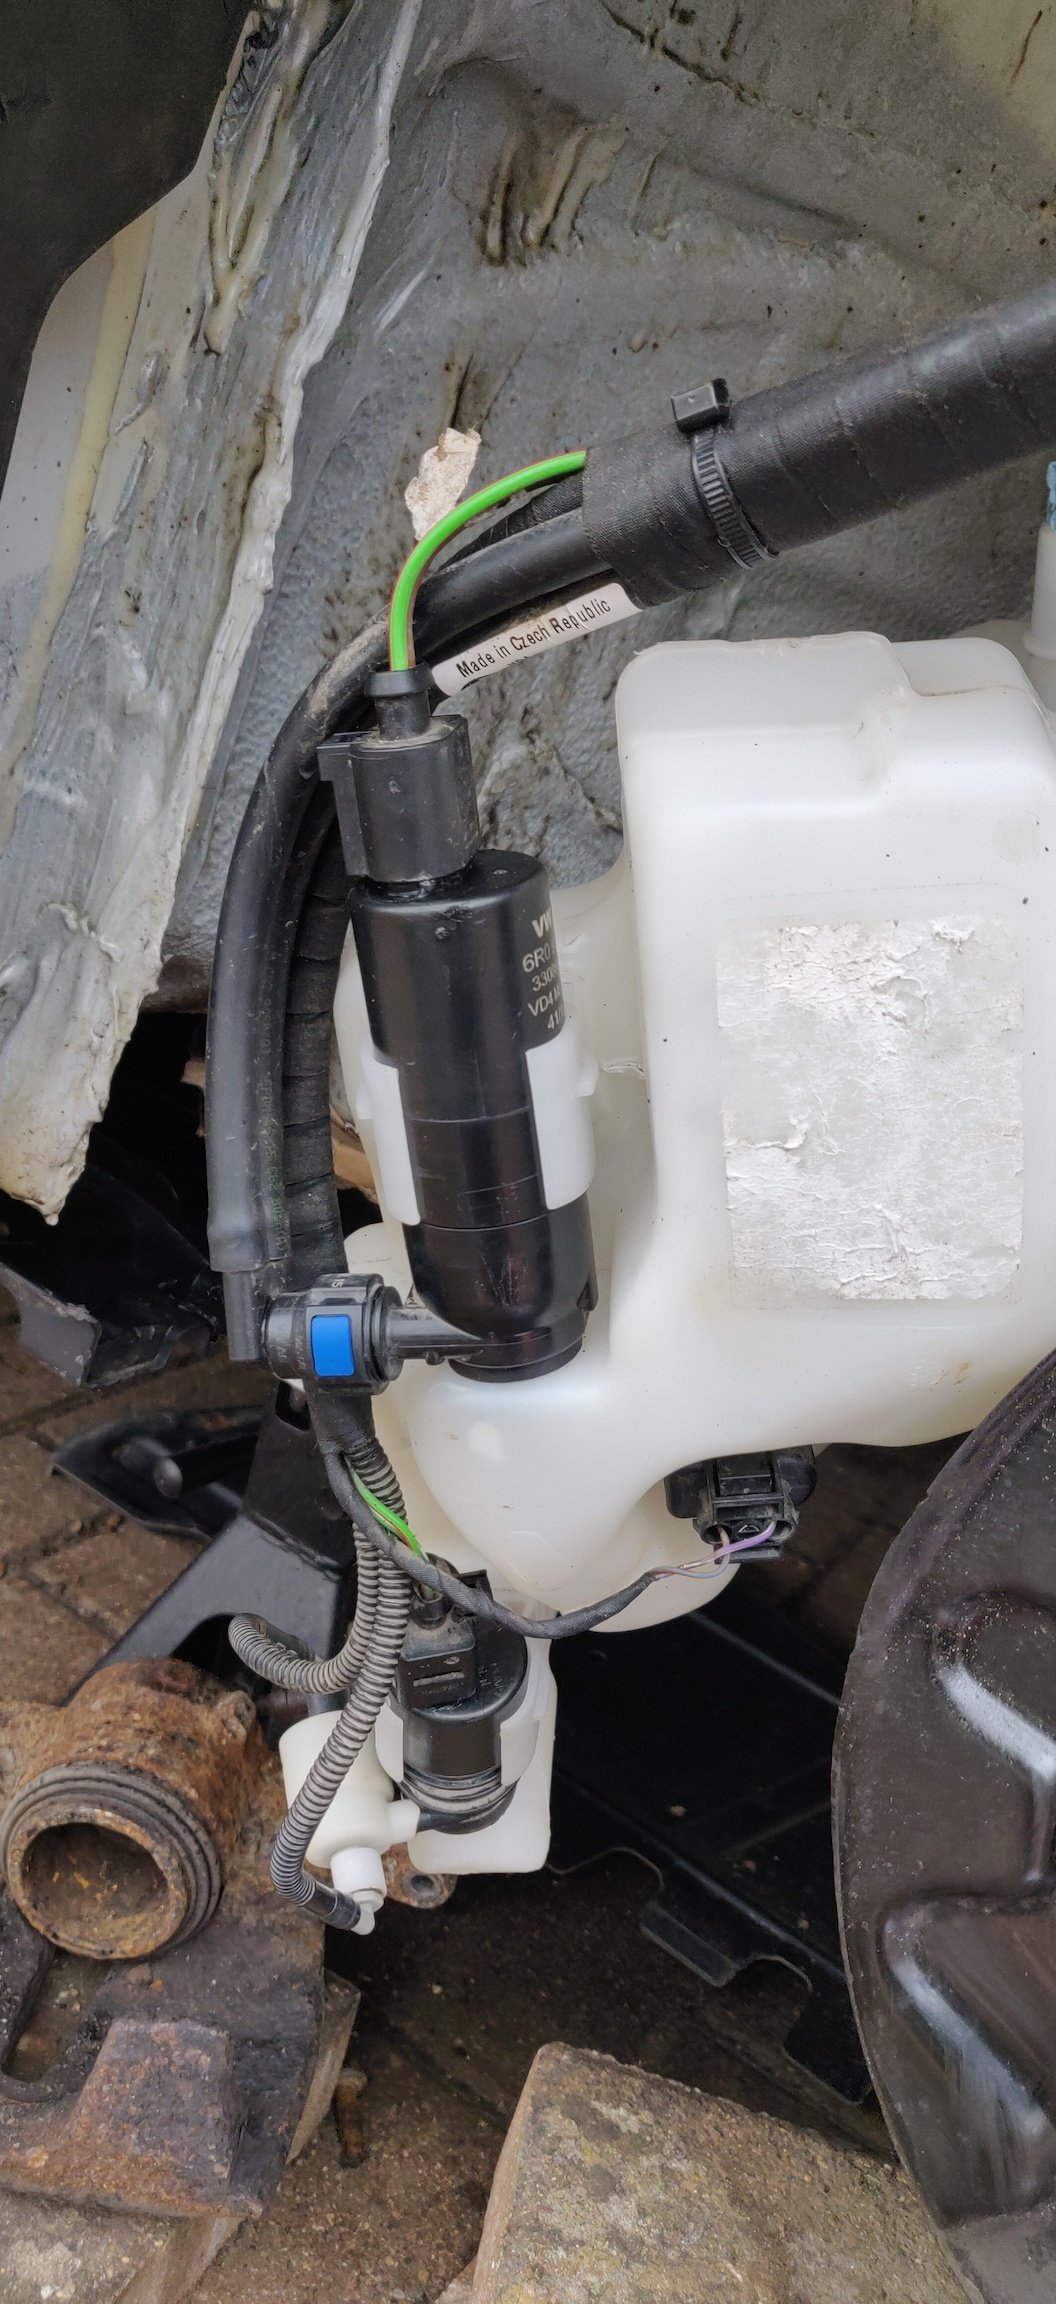
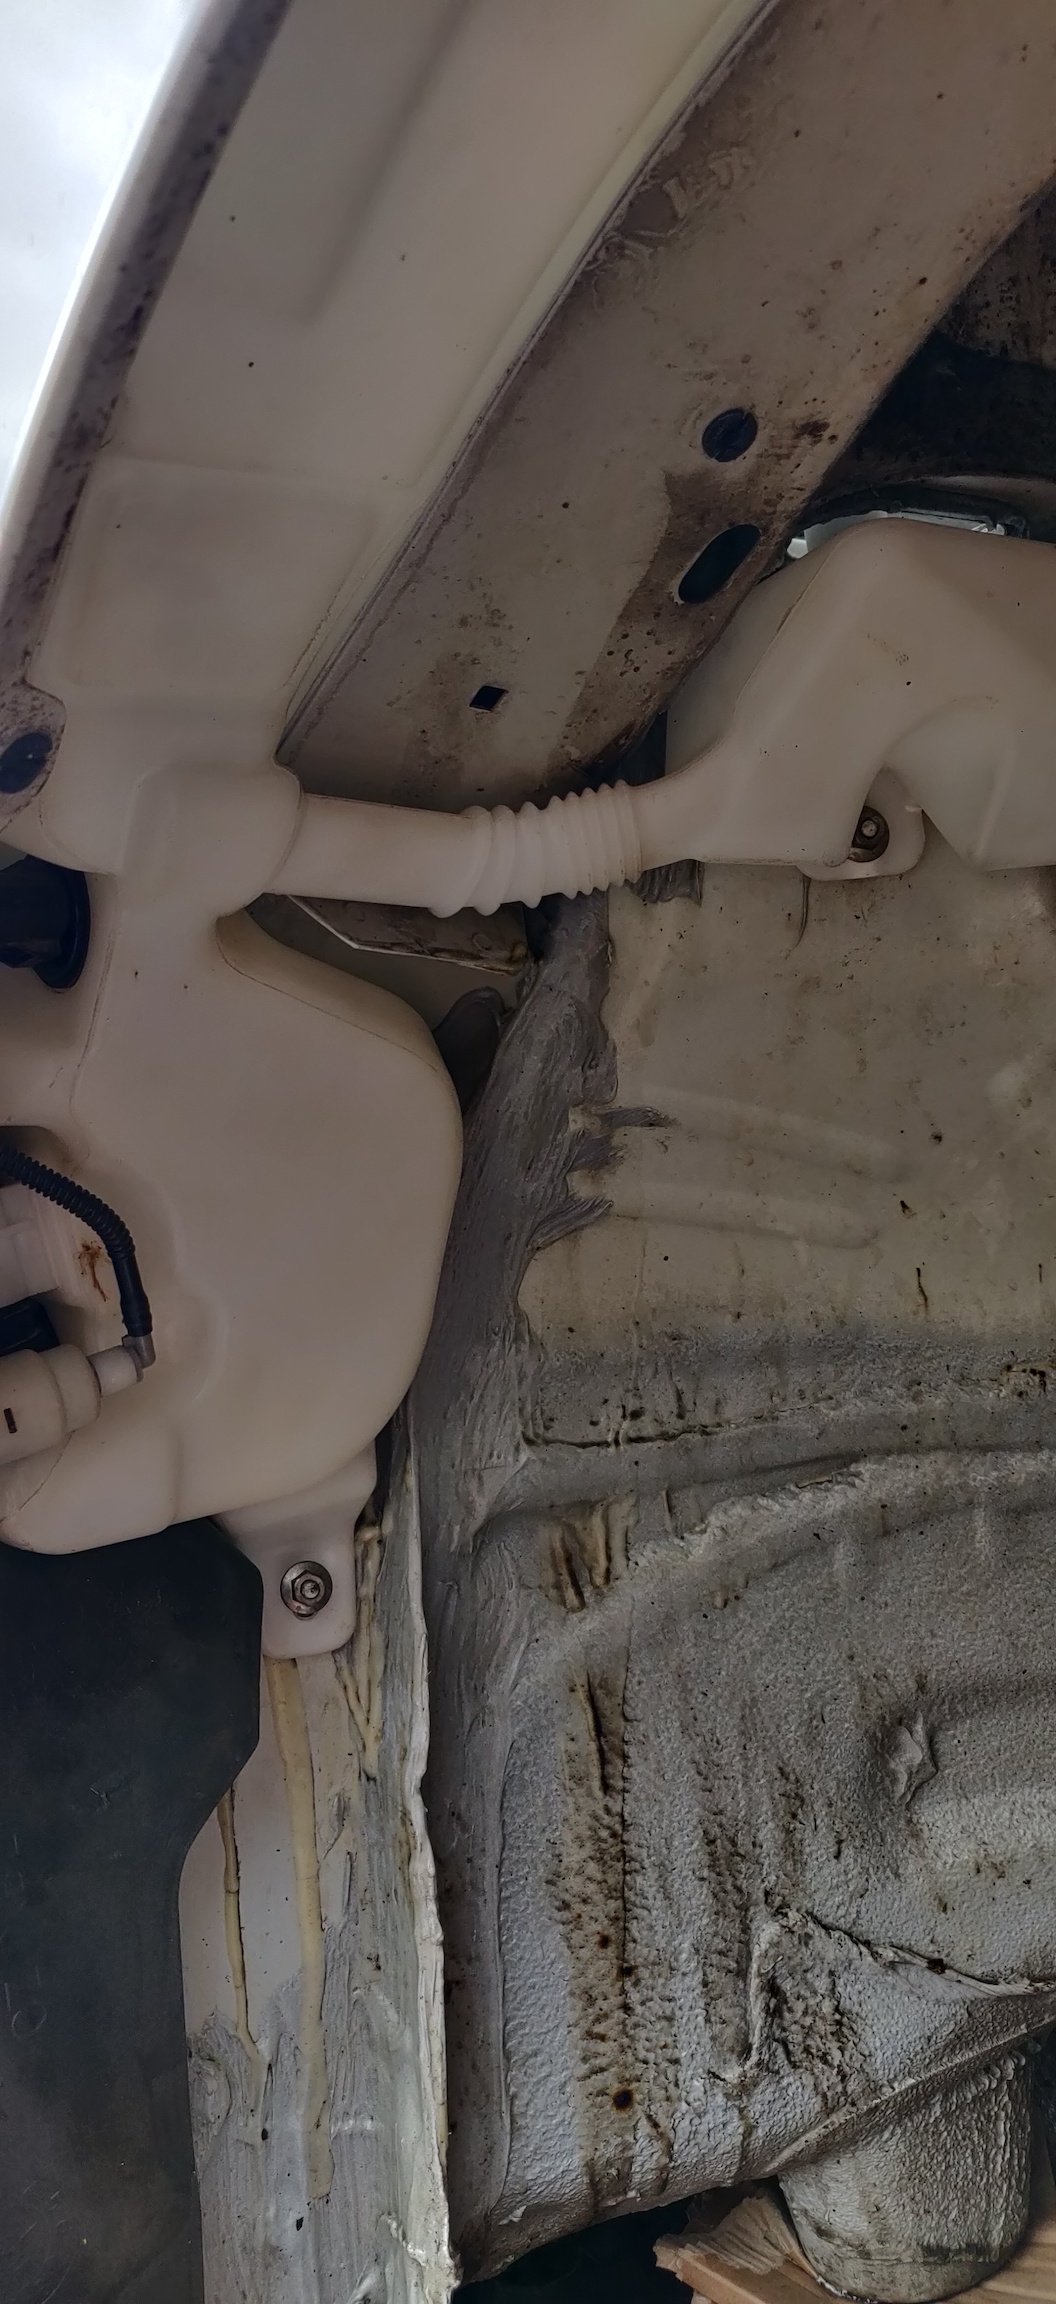
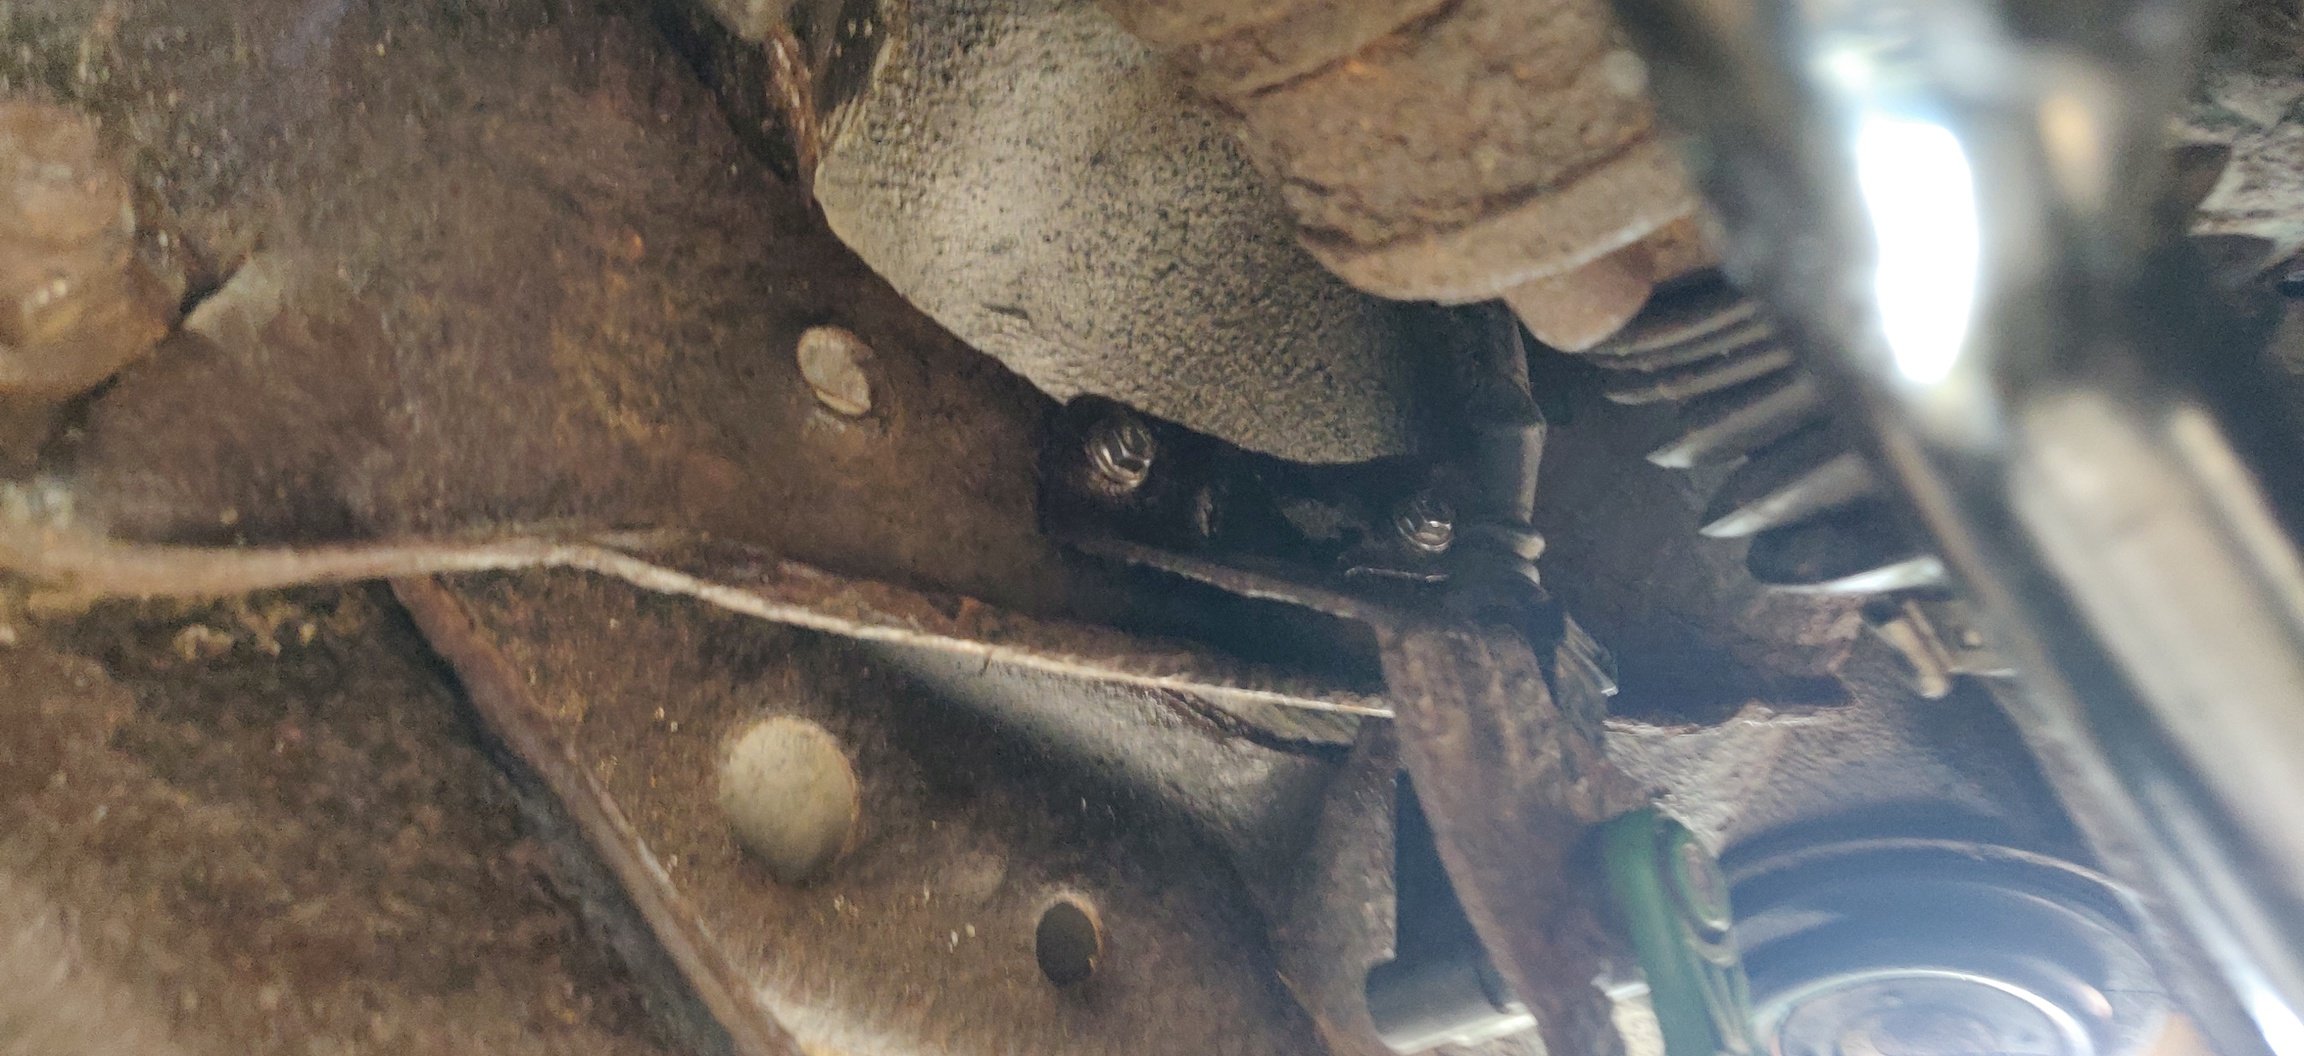
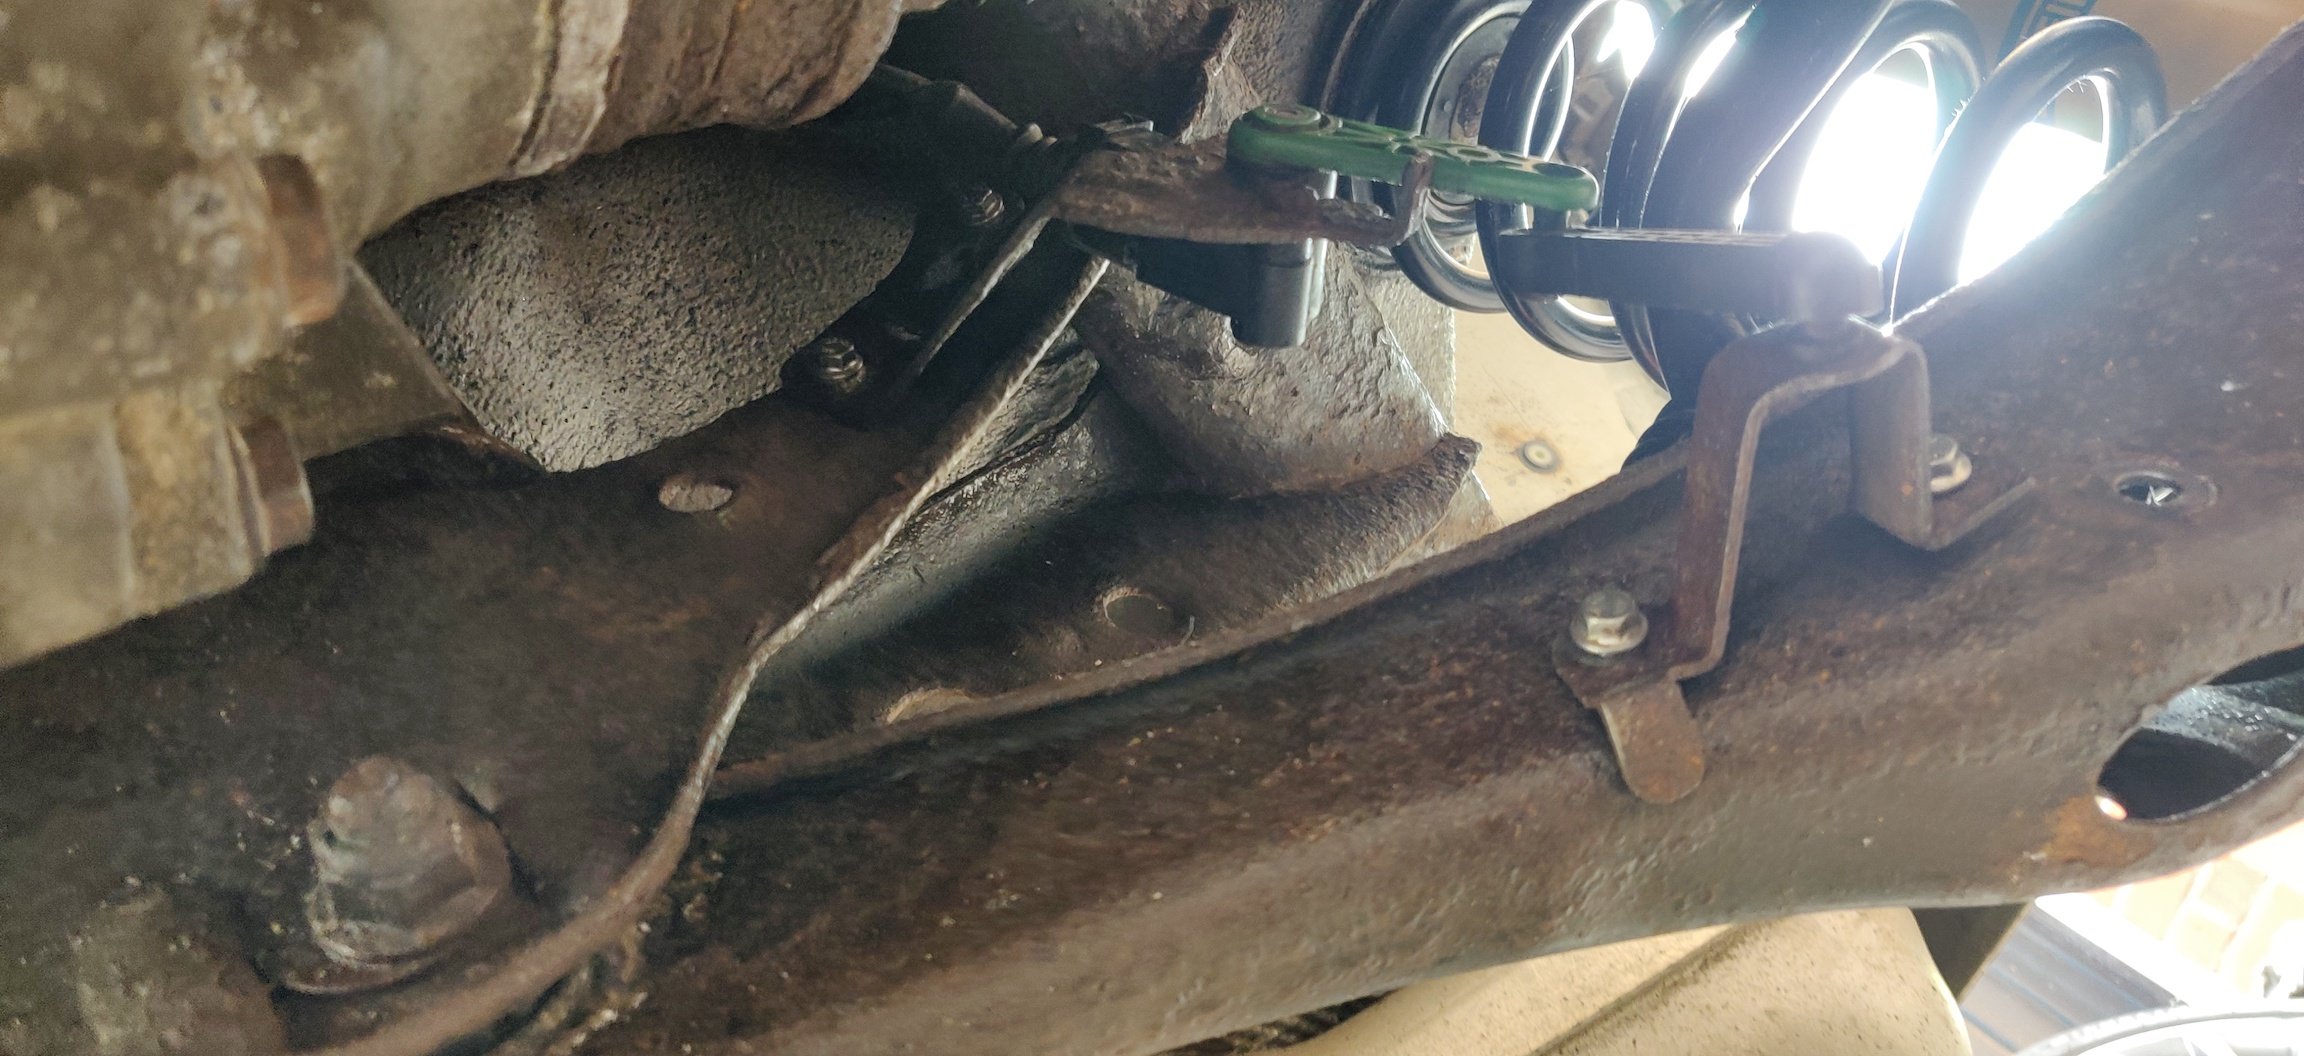
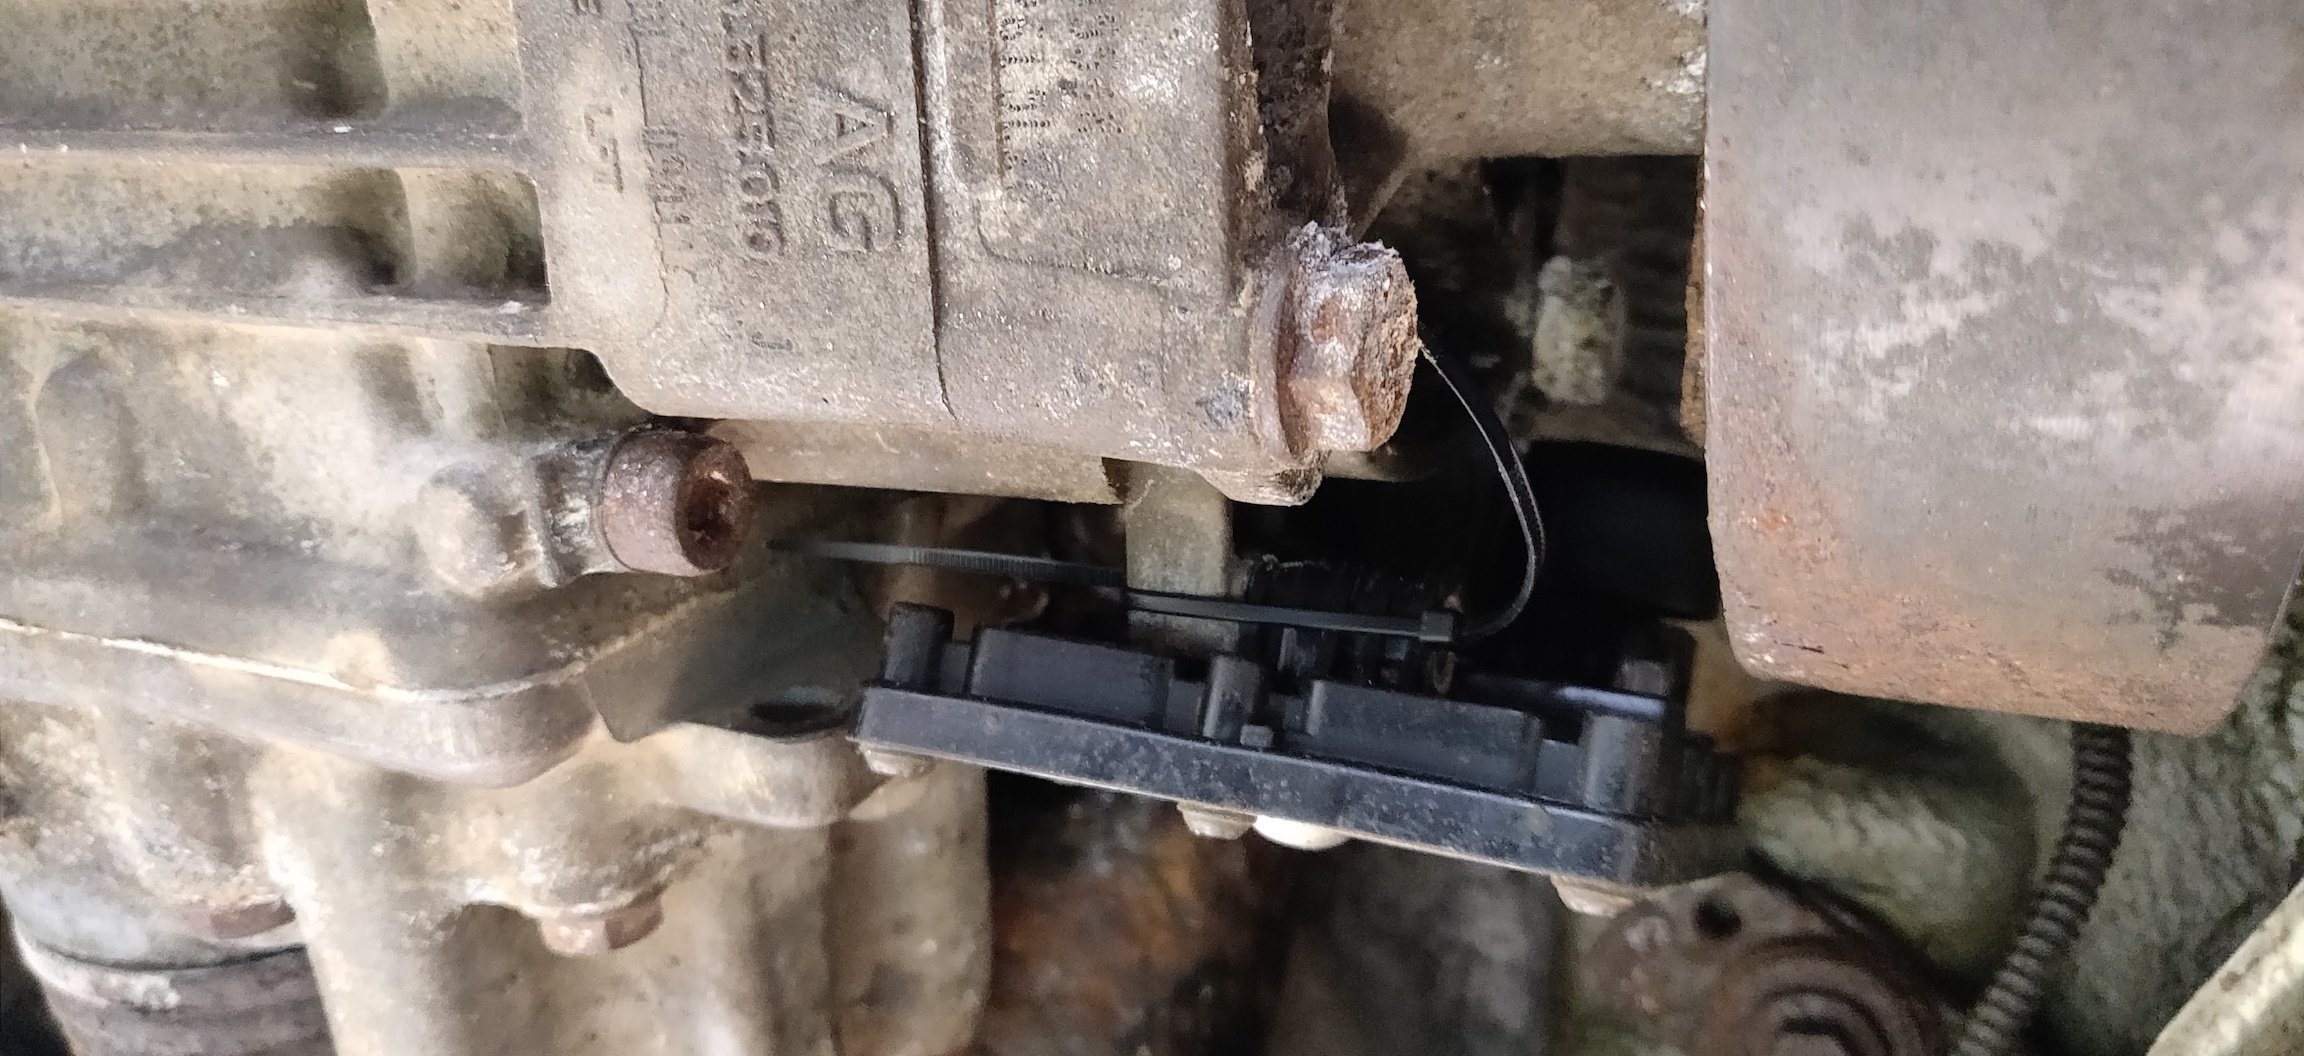
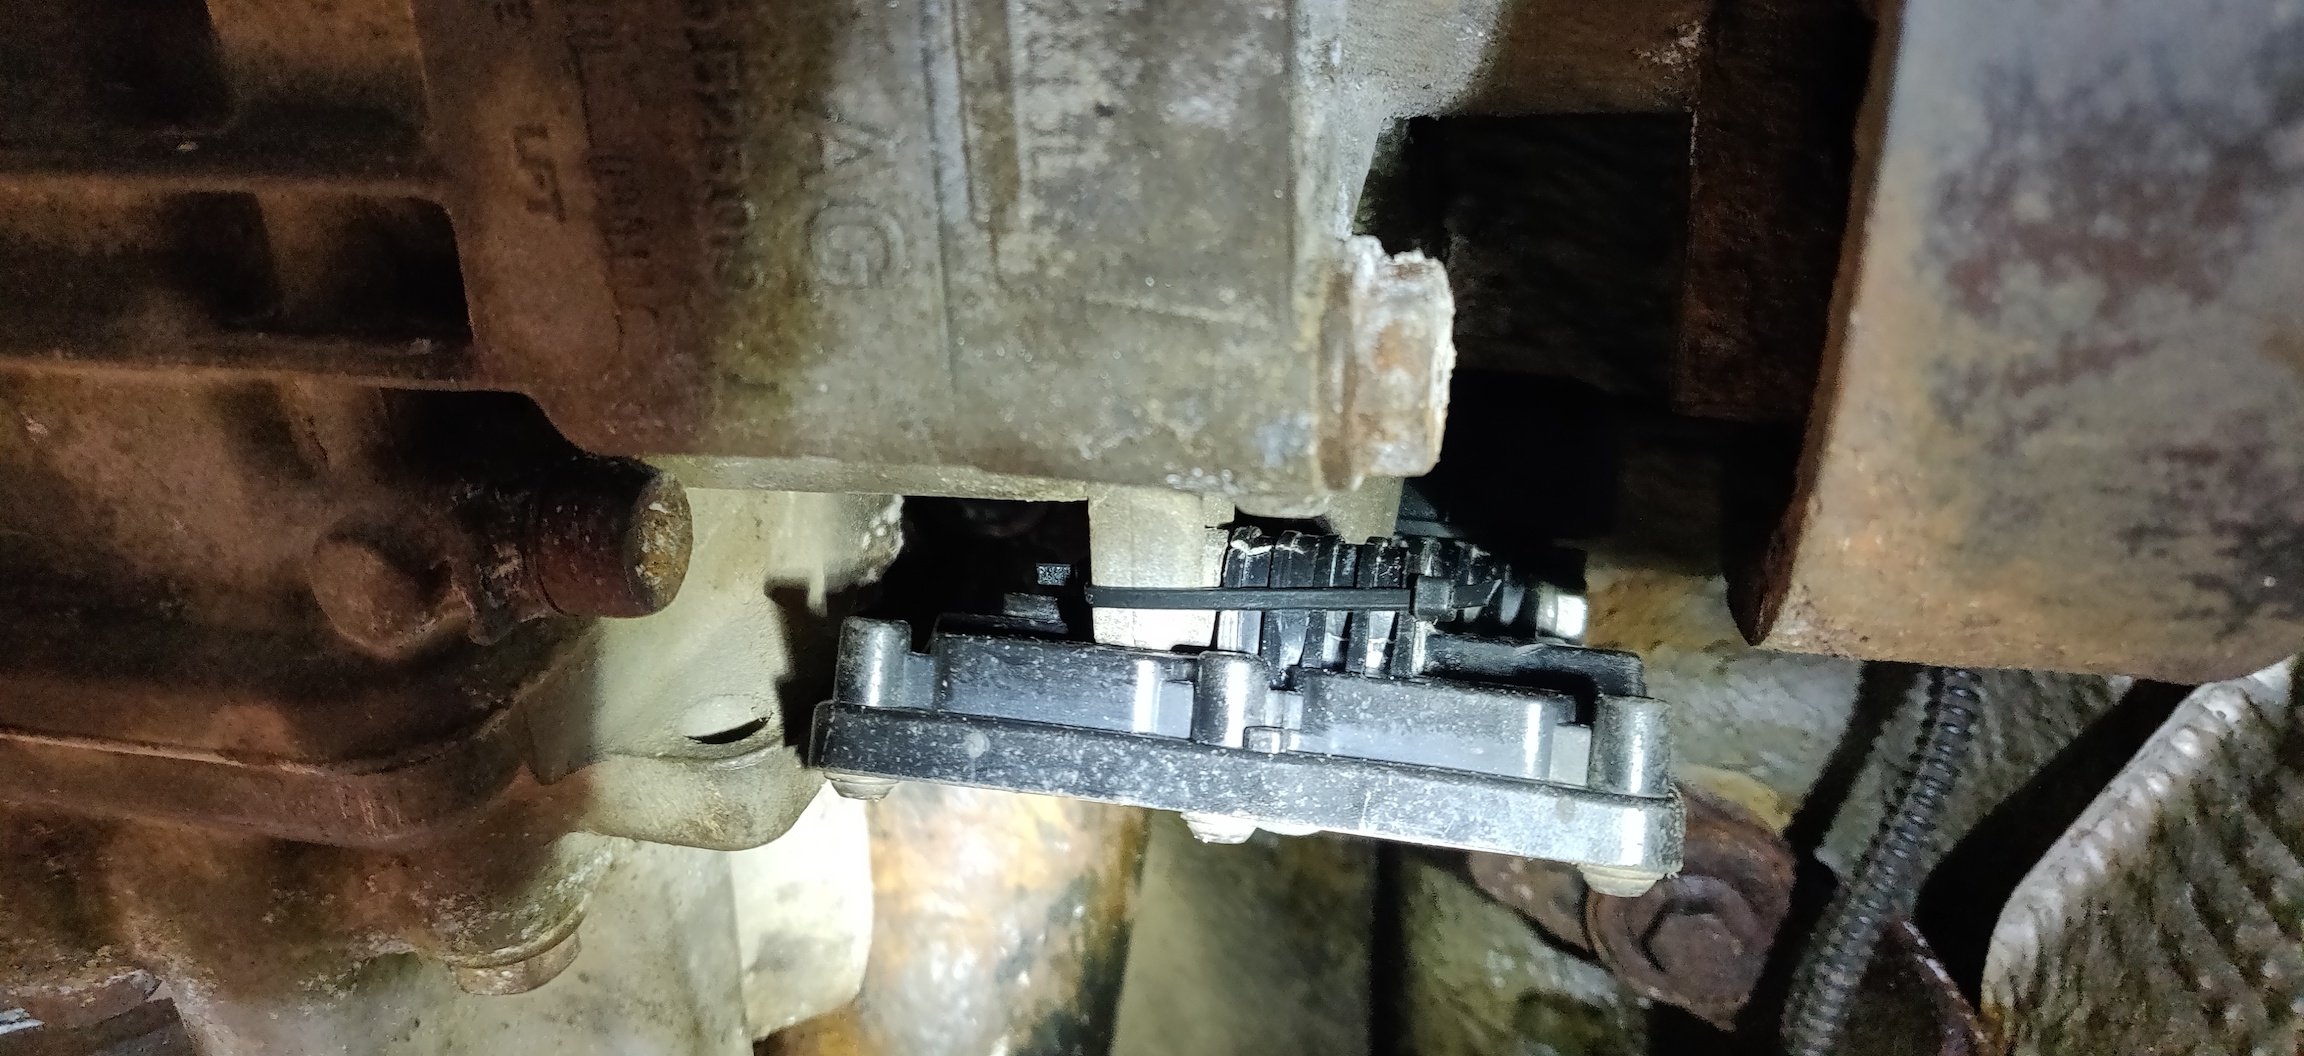
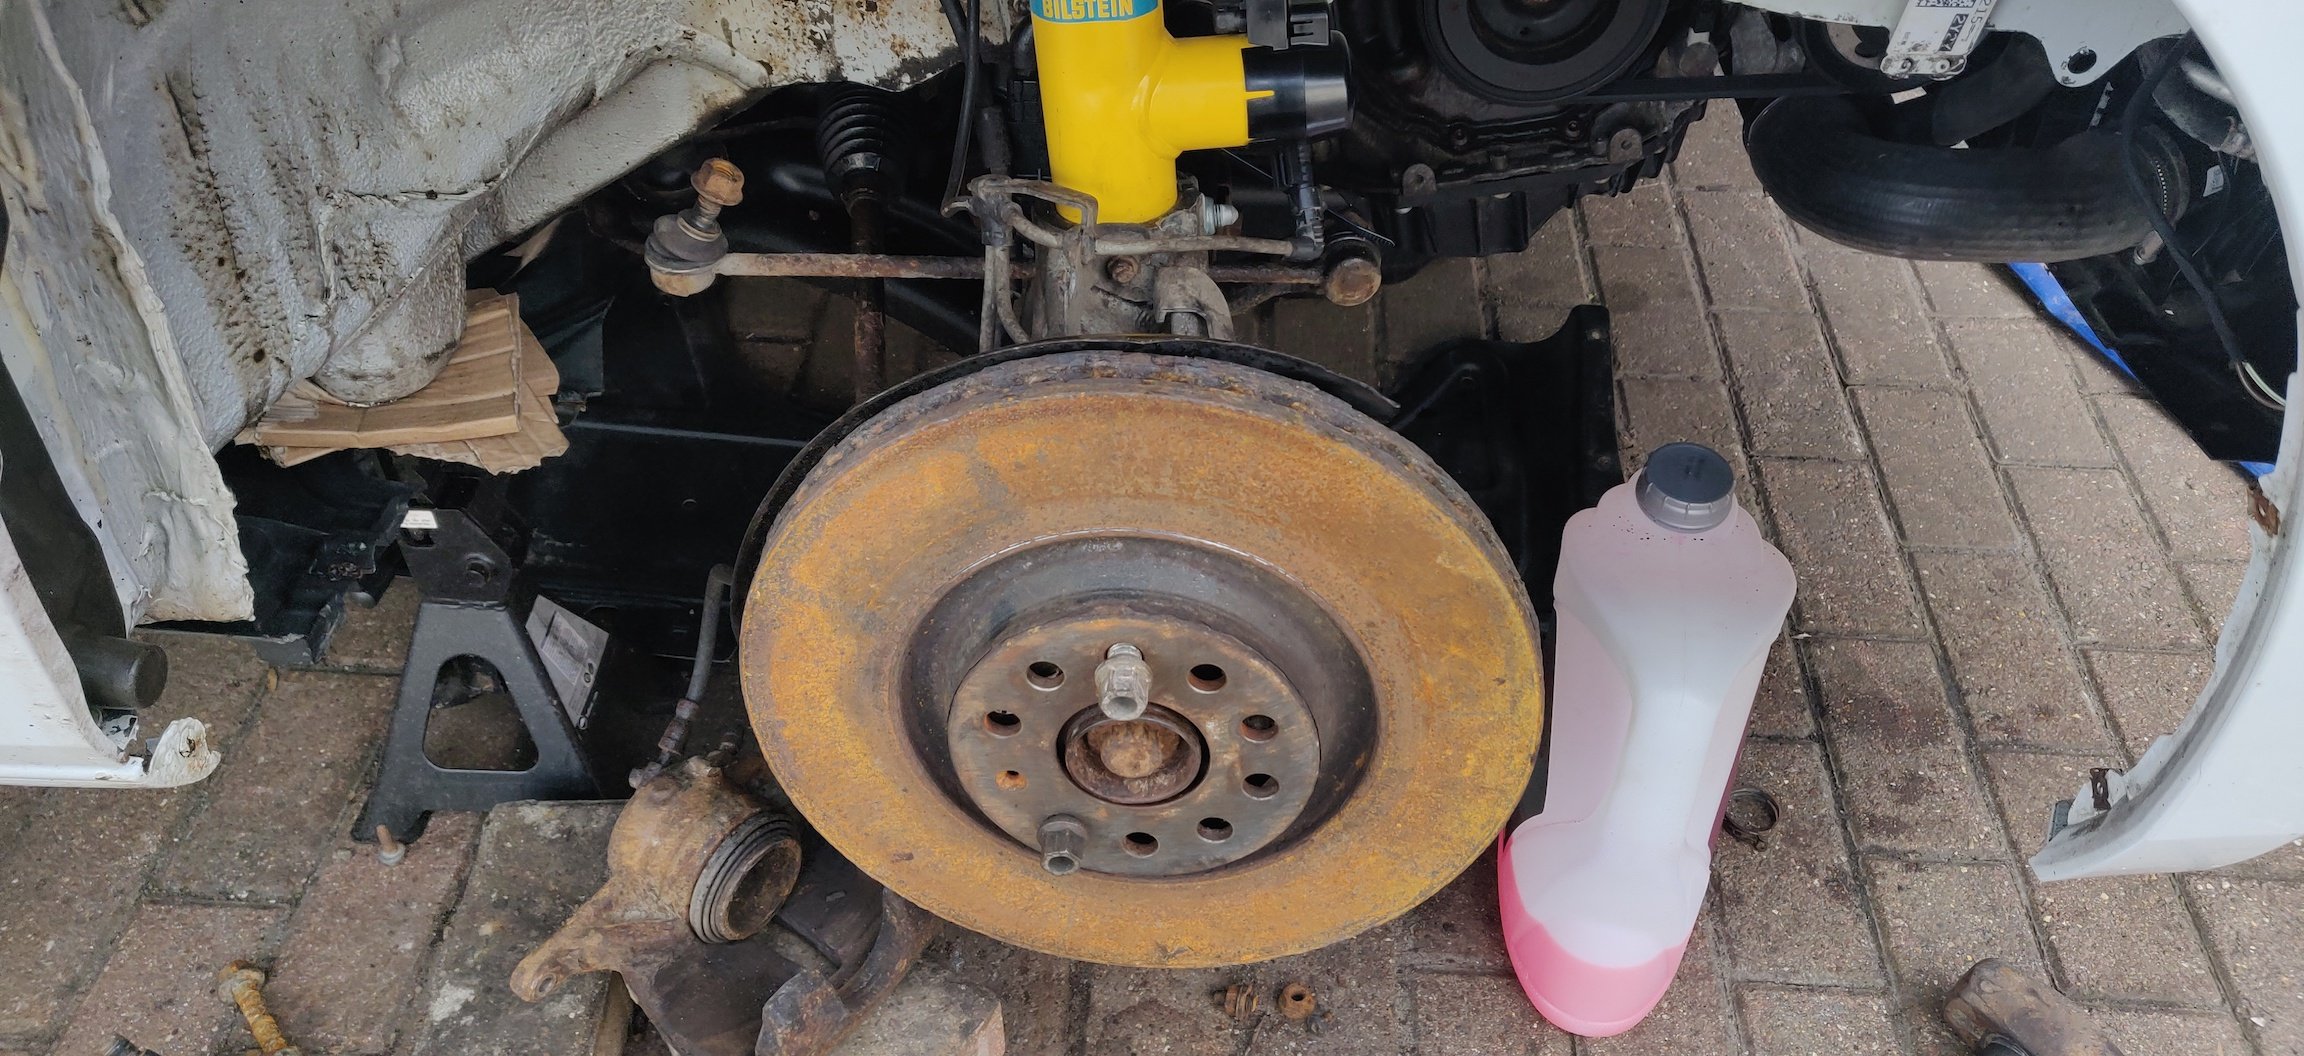
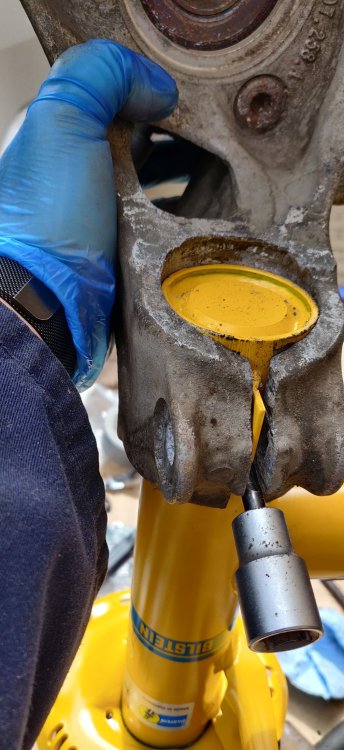
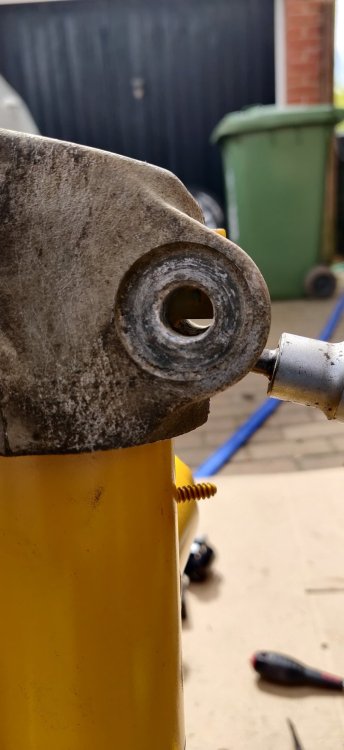
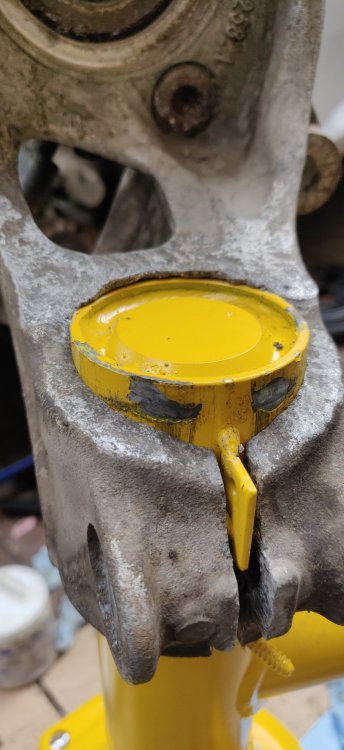
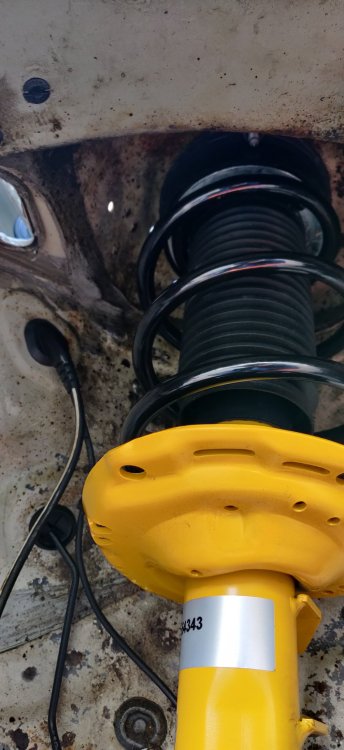
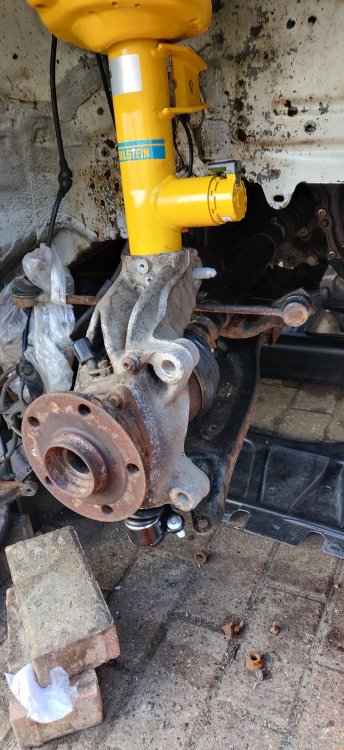
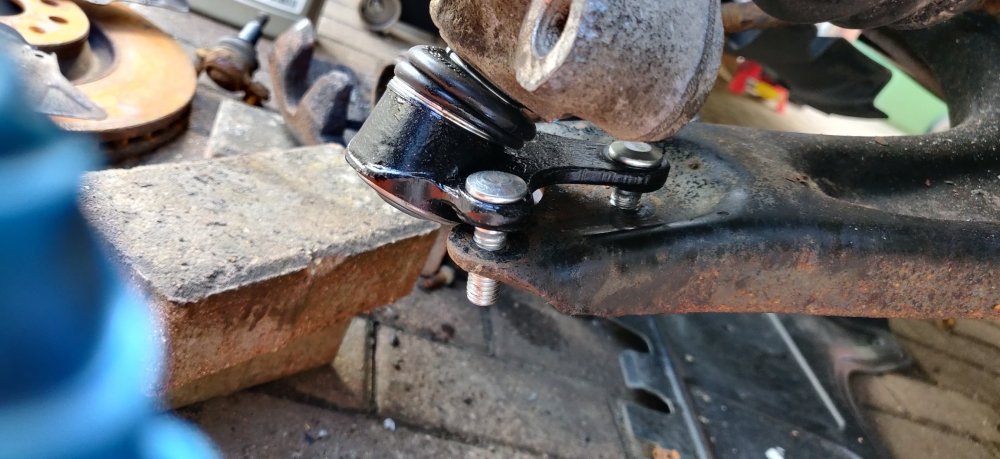
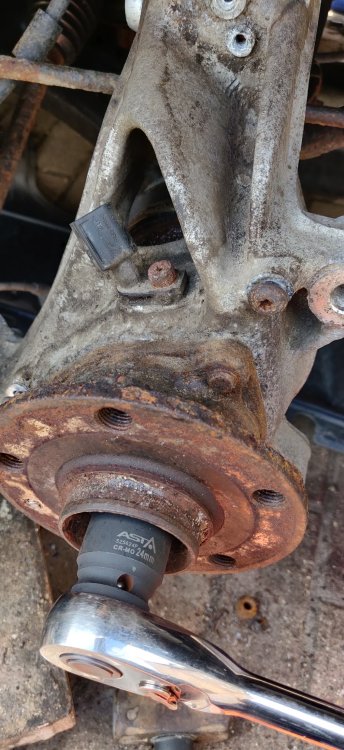
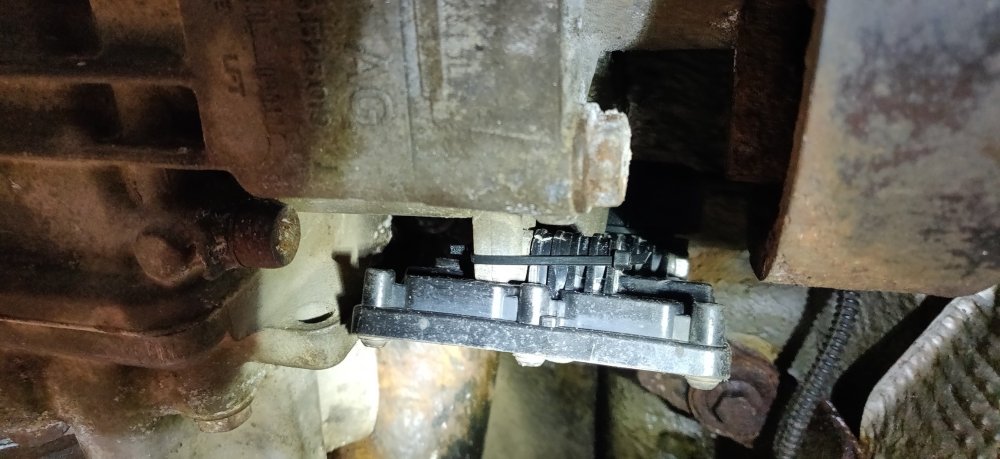
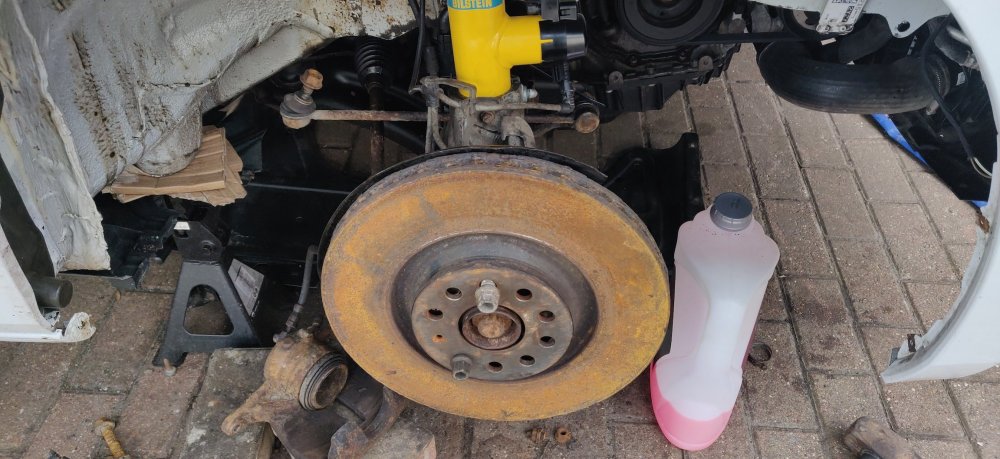
So after lunch, spent about 30 minutes going around looking for that socket. Found it eventually, and tightened down the driveshaft bolt to get it into the hub on the left side. So time to get the strut into the other hub. The other side seemed to go in much quicker: The rubber mallet was able to get a lot further compared to the other side: You can see the metal tab bit on the strut as it goes through the strut bolt hole. Presumably, the bolt prevents the strut flying away due to this tab, in addition to it being bloody tight I guess. Then a lump hammer and a few more taps to get it home: Or at least nearly so. This took an hour in comparison to two for the other side. No idea. I'm guessing the yellow paint job on the Bilsteins add a thickness, the hubs having years of corrosion, and possibly the spreader tool I used not spreading enough, were contributing to this crazy struggle I've had. If I get to a position where the struts need to be separated again for whatever reason, I'll probably need to research and see if there's a more significant spreader tool, just a fraction of a millimetre more was probably going to be enough. Anyways, fitted the strut to the turret: Then got one of the strut bolts and checked it goes in: So that appears to be fine. So then it's the same as the other side, tapping with a mallet to get the driveshaft into the hub, then lowering the arm to get the ball joint bolts in: Once a few more taps got the driveshaft in enough for the bolt, then began tightening it down: So it looked like this before: Then once the driveshaft bolt couldn't tighten by hand anymore: So once the ball joint nuts are tightened up, and the track rod end nut, then only torquing them up to spec is left. Well, bar the strut bolt, so for that just went mad with the Alumslip: Then put it into the strut, rotating it as I went in to try and get the grease spread out and filled the strut void as much as possible. The end wasn't greased, for the nut to be winded in: It's an 18mm nut, and an M14 spline bit for the bolt, just hand tightened for now. Then slapped some corrosion block grease where the bracket mates to the hub and copper grease on the bolt: Need to tighten this down later (or maybe source a stainless replacement). Then dry fitted the wiring to the Damptronic: The Bilstein dampers are supplied with an adapter to connect the Damptronic to the OEM connectors, fairly self explanatory, but the routing: Isn't super clear, so I've left the clip on the strut captive bolt and I'll plan it later. This is mainly to not have any connectors exposed. With the front struts only needing torquing, time to do something else: So given the right strut was just done, made sense to sort out the washer bottle, so attached the hoses and connectors to the washer bottle. Looked like it was fairly idiot proof. Used some of the dielectric grease on the connectors whilst I was there. Then the wiring and hoses were clipped to the top of the washer bottle, and essentially just wedged the washer bottle in: Takes a bit of wiggling and faff, but it eventually goes in, including that separate side bit, which also needs the hole in the end going through the opening in the windscreen cowl area. Started the nuts and bolt for the washer bottle, to be tightened later. So with that, went on to something else: Got the rear level sensor, dabbed some dielectric grease around the connector, and then fitted the top level sensor bracket to the subframe. This is tightened to 5Nm. The top bolt is a little bit of a faff to get to, best to tighten it down first with the bracket swung away, then put into position once ready for torquing. It may be easier to use extensions for the top, but was able to get the small torque wrench in there. I started dry fitting the bottom: But decided to undo it for now until the suspension bits on the rear are fitted proper. Not gone round to this as jacking the arms will be involved. So just the Haldex controller left, so put dielectric grease all over the connectors to try and stop dirt getting in and making it a faff to remove in the future. Then connected it all up, bolted the top bolt to 9.5Nm, and cable tied the bottom: Had to use a pair of smaller ones to do so, but tidied up: Who knows, I'm sure this'll be fine. So that was pretty much the day gone unfortunately. Got the flap wheel and started to clean up the wheel bearing faces and the brake disc, and have just used the wheel bolts to dry fit the brakes: They'll be taken off again in order to sort out the torque tightening of everything, but that's me for the week I think. Was expecting a lot more progress, but the faff of the struts into the hub really kaiboshed the day, and the ripped coolant hose just felt like icing on the cake really. Technically, I could still get the car's ignition on, which would be enough to get the washers activated, which could be something I could do during the week, to basically flush out the system. I'll need to disconnect the hoses from the jets front and rear and the headlight washers, fill it with some water and just use the stalk to squirt whatever out. This is mainly because of the bits that were in the washer bottle, which implies said bits are probably in the washer hoses. Could be the cause for the blocked washer jet, so want to make sure that doesn't happen again. Looking at the spreader tool I have, it looks like it may have suffered some wear from use, maybe that's why it was such a struggle? I need something to spread the hubs further? Well, doesn't matter know. For all intents and purposes, the suspension is fitted on the car, sort of! Maintenance: £2190.67 Upgrades: £1322.97 Miscellaneous: £671.37
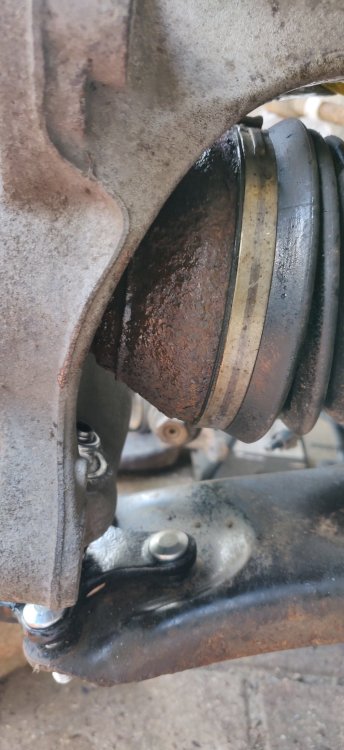
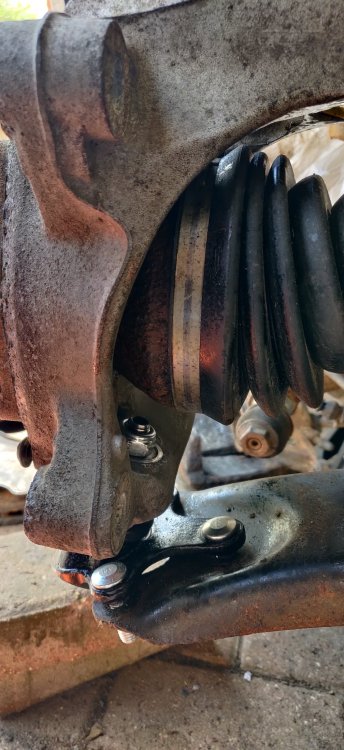
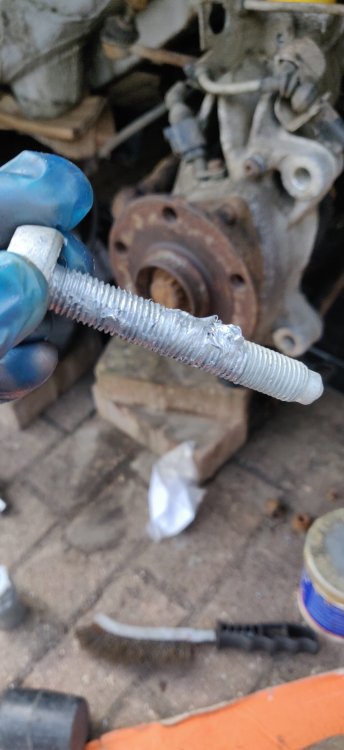
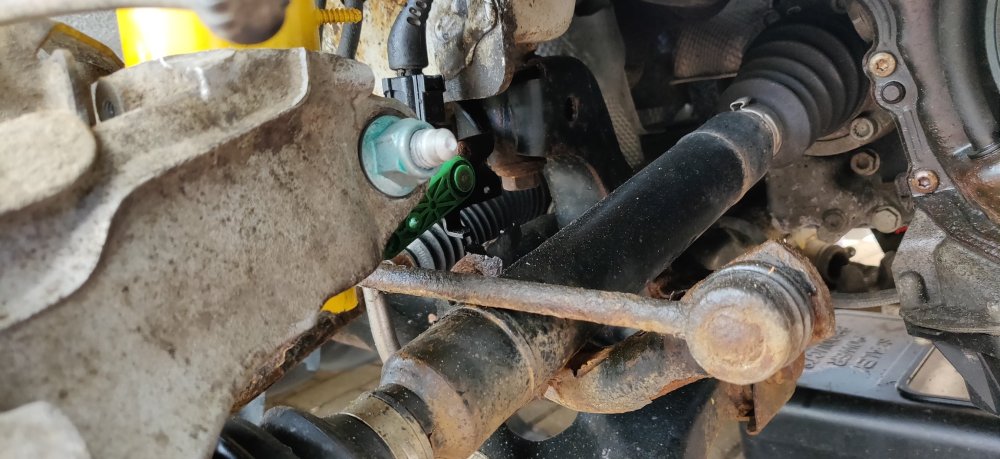
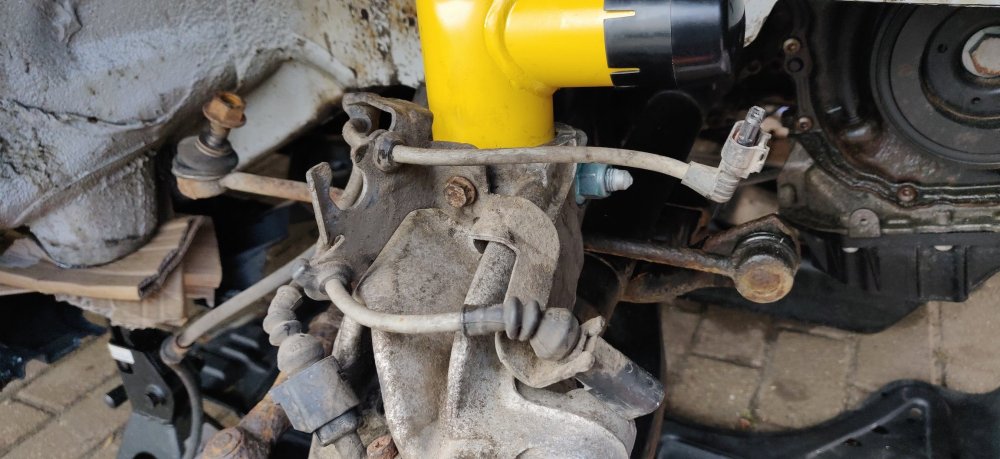
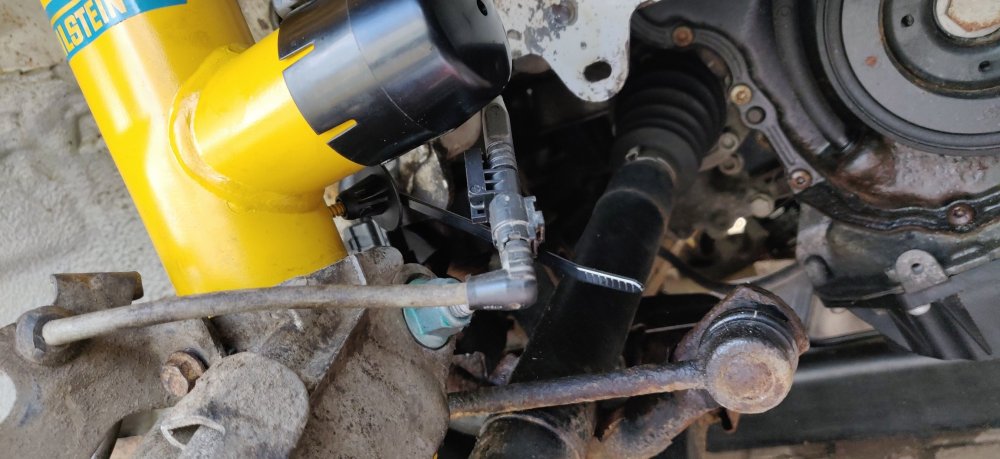
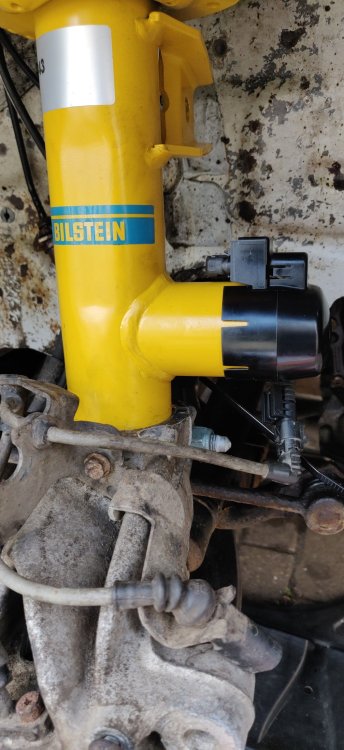
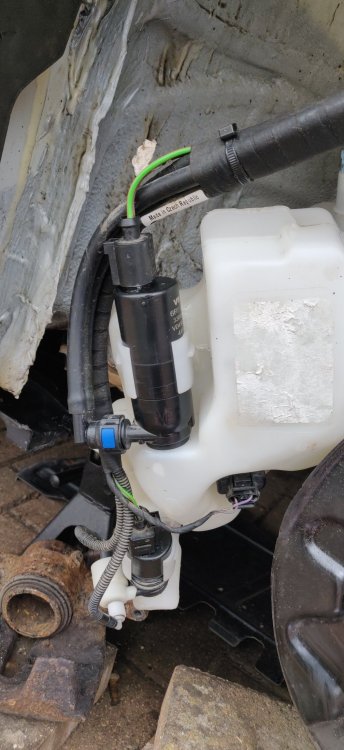
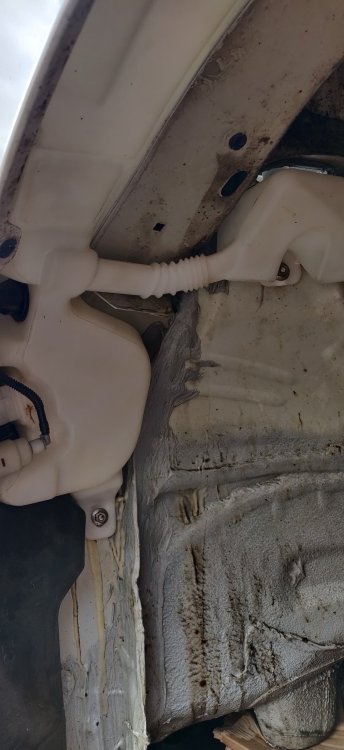
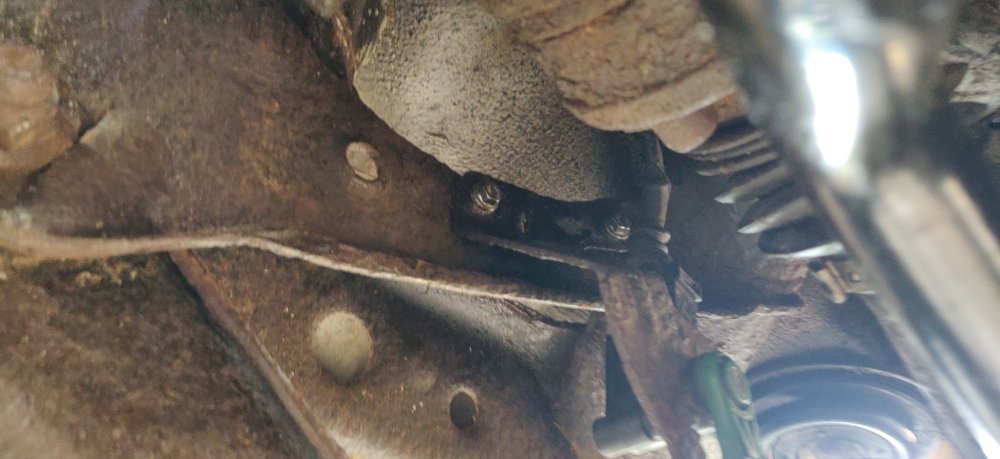
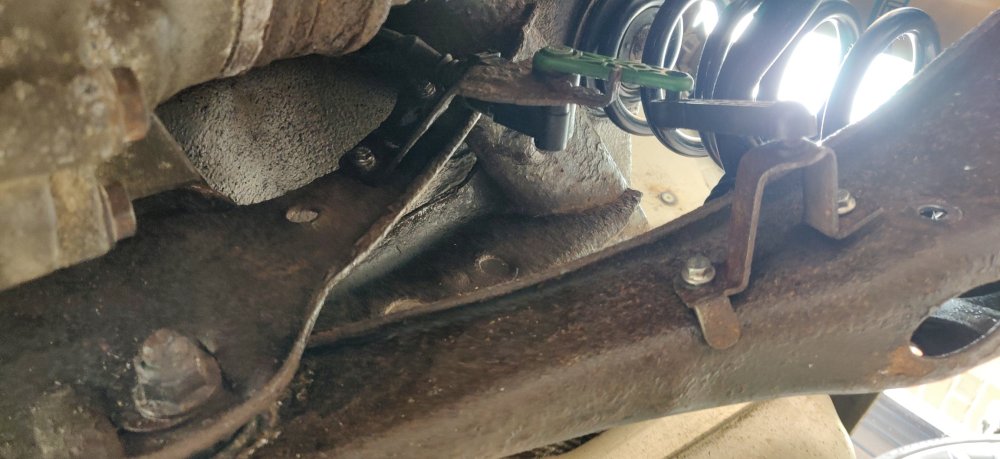
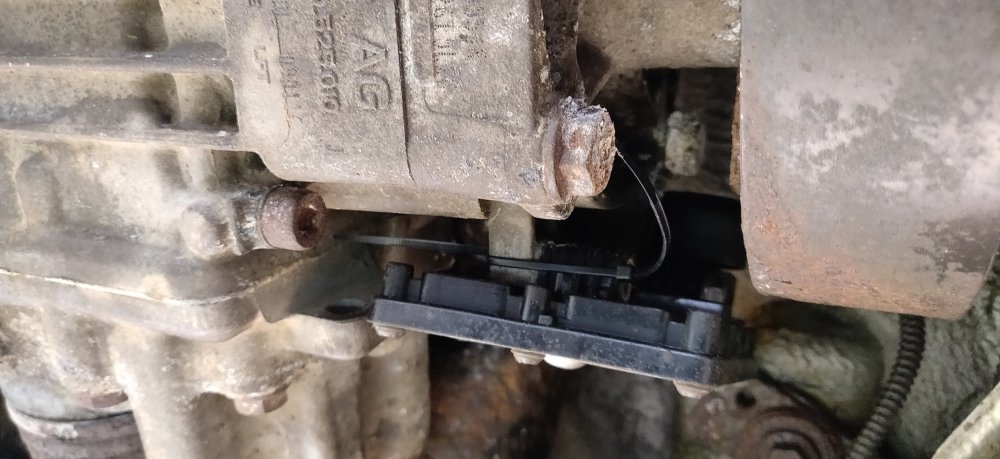
 1 point
-
I will be around Manchester Airport on Monday, note all the signs around saying ULEZ is being considered. There are thousands of routes without cameras and must be many occasions when number plate does not get read due to trucks being between camera and car number plate. If car is then picked up at another camera later on the system will have to assume shortest distance. Might be quite a few muddy number plates running around as fine could be cheaper than the road tax. Could not see anything specific in Labour's Zero emission plans but revenue has to be raised as UK is about £2.5T in debt, up from £1T 14 years ago.1 point
-
1 point1st thing to do is get the car scanned with a Audi/VW/Skoda compatible OBD reader. Fall off in performance under load may point to blocked DPF or even exhaust silencer. I would suggest as a cheap starting point trying one of the aerosol DPF cleaners, I have used one branded as Simple which involved taking the larger - in the case of my 1.4 TDI Greenline - pipe off the DPF differential pressure switch and spraying the product down that line. There could also be an issue with the differential pressure switch itself if it is not seeing an increased pressure differential pressure across the DPF which I understand is what triggers the regen.1 point
-
You want to know more than 'Oil & Inspection' & Extended Scope @ 3 years. Like any Extras showing. Your DSG DQ200 is not due a Oil change at 40,000 or 80,000 miles. They dropped the Cam belt at 5 years / 50,000 miles from the UK Schedule. (last July)


 1 point
-
1 pointYou can't, take it to the nearest Halfords, they can do it all for a sensible price.1 point
-
1 pointThe car hasn't been doing enough miles to keep the DPF clean, 68k in 10 years is very low which would suggest it's been used as a shopping trolley. I imagine the EGR valve is completely blocked so no regen will be possible until that's cleaned along with the DPF.1 point
-
1 pointOK, so what is a the major service you speak of or going to a mechanic. It is the DPF issue that you need addressed. Skoda UK,s Main Dealer Servicing is not much these days & was not when it was Minor & Major Servicing, at 10 year old go by how you use or abuse it.


 1 point
-
1 pointYes I was reasured that cambelt and water pump was done, checked the MOT history on line and looks good with no major issues Do the brakes need stripping / cleaning / serviced, the brake fluid, are the wiper, tyres etc OK. Suspension all good etc. Coolant a good strength. I checked all this and all good1 point
-
I'm all in favour of a National ID card. But again it needn't be 100% technology based. As stated one method is you pay monthly and have your mileage checked annually at a registered checking station and then adjustments made. And I'm also suggesting this is for *all* road users regardless of vehicle type and not a Business only thing1 point
-
1 pointHello and welcome Chris Oh dear, sorry to hear about the reaction. Might I suggest E45 topically, regular beer intake and a hot toddy - should get you over it in no time! Gaz1 point
-
Long and winding is an understatement! Top work.1 point
-
it was a "solution" to the question that was posed " how to recover the lost revenue from taxes placed on hydrocarbon based fuels if people start charging EVs at home" Take out any pseudo green impact etc, lets bear in mind that if it wasn't for legislation it's doubtful (IMHO) that EVs would naturally replace fossil fuel powered vehicles any time soon. What real advantage do they give to a user? They are (relatively) slow to charge, the charging infrastructure is a bit "meh". SUre they can be powerful & torquey but....1 point
-
1 pointLooking dated is the issue that needs to be seriously thought about. People driving older vehicles surely do not care about there vehicle looking dated. Audi A2 Owners have cars that look ahead of their time IMO. What is needed is efficient through the air, efficient use of energy, size of interior for people and things and not just changing 'The look' to suit fashion. Maybe more sleek BEV estate cars, or Light Goods vehicles, generally practicality and good use of materials, and then recycling. Like as much being recycled as possible from the vehicles.1 point
-
Charge Car owners say 9.68p per mile Either have a big brother phone home tracking system mandated or legislate cars go in annually to a certified location (such as an MOT station) have mileage checked/verified. Increase the fines for clocking and also increase the diligence of checking for clocking at the annual check (which would be a general benefit) Why 9.68p per mile? That's from some creative back of the fag packet maths based on a car doing 40mpg NB this would be to replace Fuel Duty not to supplement it and then apply to all vehicles including EVs
 1 point
-
1 pointHello Ken, is your battery discharged - or is there some fault with the ignition switch?1 point
-
Thank you so much for the information and tips really appreciated. It’s put my mind at rest. Many thanks Jack1 point
-
Hi Jack, welcome. You could also try your local VWSkoda Dealership, probably best to avoid excessively busy times, but politely asking should get you a "complete record" printed off on paper from their machines, best to take your V5C or a note of your VIN in to ensure they get the right car though perhaps the registration should be sufficient you always want to check and cross reference any information you get from any source (including the internet and manufacturers) with if possible two other (hopefully) reliable sources as all databases have errors and omissions. The "complete record" can only give you what has been recorded on it, which even if complete won't be too much and sometimes can be not a lot after initial delivery when new, so have a look at things like MoT history (freely available online) and any other sources. Full service history means a lot less in recent times to decades back as, VW servicing in particular, is little more than engine oil and filter change and a visual check for other chargeable work, there's also a "maintenance" schedule which older folk at least would consider part of servicing. A tip I give to all new, and current, owners of particularly later cars is to buy and use, in a preventative manner, an appropriate (12v) car battery charger maintainer if they want the battery to last a reasonable time of life and give good service and to avoid hassle and car issues on the car from the battery getting too low. Too low is before any warning messages and lights and well before the engine has any difficulty starting, the complex computer systems don't like low battery charge and can make you suffer in unexpected ways for your mistake. Just because the engine starts and the lights seem brighter enough doesn't mean the battery isn't in a low state of charge. Which leads me on to my second tip, read the Owner's Manual as soon as possible (before buying the car is best) and refer to it and you could save yourself time, hassle and money, despite what some think it's not illegal in any way for a man (particularly "tradesmen") to read instructions. - https://manual.skoda-auto.com/004/en-com/Models VWSkoda "update portal" - https://updateportal.skoda-auto.com/ VWSkoda "Recall Campaigns" (well the ones they admit to) - https://www.skoda-auto.com/services/recall-campaigns HTH. Good luck. Below an old servicing and maintenance schedule (so out-of-date pricing) to give you an idea of the (limited) work that might have been carried out by VWSkoda Dealership. Independent garages or owners can contribute to service data systems too.1 point
-
1 pointIt may be different in Chile and Greece but in UK you would be very lucky to find a Dealership/garage/mechanic that has a scan tool, VCDS or other, that has a program for a 1995 Felicia. A Ross-Tech (VCDS provider) 2007 chart shows 1995 (6U) Felicia needs a Felicia adapter to their cable. Generic scan tools can come with lots of different adapters and leads as pre OBD2 (1996 OBD2 made mandatory for all cars sold in the United States) manufacturers had their own version which could even differ on their cars. These adapters and leads tend to get lost/mislaid with the passing of time due to lack of use (unless the garage/mechanic specialises in the model. And I've just read, according to Wikki, VW in 1968 "introduces the first on-board computer system" which explains to me why their computers programs got so complex on their later vehicles. If I have understood correctly, according to a previous Briskoda posters the VCDS may cover engine, ABS, air bag, immobiliser and diesel electronics, the system will read and operate very slowly compared to later cars and more modern models.1 point
-
1 pointThat has always annoyed me too, take AGES to ring, do they not know people get anxious 😬 I’m always checking the website to see if it’s passed, I must admit I took my car to a different garage this year. I walked back which was around 30 minutes, had a cuppa tea and had a call to say it was all done. I was asked if I wanted a print out for MOT as the government is trying to get it paperless, wonder if that speeds things up1 point
-
1 point
-
1 pointI've read this in the past about some countries having Government appointed/controlled/operated stand alone TEST CENTREs and many seem to accept "walk ins", ie you just turn up, car gets tested and you drive off. In UK, so far, I've always had to hand the car in by 08:00 and collect it by 18:00, okay that suits some people's way of doing things, but not very convenient. So far I've not found out what the cost of doing things that way is, it sounds like it makes a lot of sense, but might end up costing the user or that country's motoring public, more than the way things are set up in UK So, that is where checking the UK Gov MOT website comes into it's own - ie none of the waiting for the workshop phone to (not) get answered, or the promised "we'll phone as soon as it has been tested" that was offered without prompting, never happening - but, my small out of town local independent garage that also does MOTs, does what he said he will do, so he now gets my wife's Polo to MOT. My own car gets its MOT carried out by a VW Group Indie, and the guy at the desk tends to get a bit confused when I turn up to collect my car after it has passed its MOT - as the billing paperwork is hours away from completion!1 point
-
1 pointYes it's two way. I've made a tweeter mount with the right angle and high quality tweeters. That's already way better. The woofers are also replaced.
 1 point
-
Well, it's done. I was finally able to sort the problems and the car was approved at the inspection test!! So it avoided Scrappy Heaven and will be safe for now 😄. But I'll probably have to sell it, since I'm not sure what surprises await in the future. It's a shame, I was hoping to keep it "forever", but I guess I'll rather get something valuable for it now, than risking a more serious problem and then... get nothing for it.1 point
-
The state can try and charge as much as possible to keep the £25B revenue stream that it currently has from Excise duty on hydrocarbons plus the 20% VAT but the are other sources of electricity to charge EVs ie via home solar panels and home or public batteries that have charged up on cheaper overnight electricity. Hydrocarbons are a much easier commodity to tax than lecky. In HMRC Excise on fuel is regarded as the most efficient tax to collect.1 point
-
1 pointCould be construed either way, We used to have a council run station whose main role was maintaining the ambulances so they took in MOT as well and were fair they could not do any repairs a car would only fail and or get advisories if it was not fit to pass the test on the day or it would not pass next time unless the advisories were attended to. I always used to use that service and always passed. The site where they were was redeveloped and it was thought that they were no longer doing MOTs. Well after some digging on the old net today, it seems that are still doing MOTs but on the other side of the city, but as ambulances have been privatised, they now only do the council's dustcarts and MOT's for those in the know. I'll be taking my car there next time.1 point
-
1 pointI don't have a rear wiper on my hatchback, but I had a similar problem on a Peugeot 205 about 35 years ago. The wiper shaft where it comes though the hatch had seized after a few years of dirt and water ingress. Cleaning it up and lightly greasing it cleared the problem.1 point
-
Enjoy it whilst you can There is no such thing as "free"1 point
-
1 point
-
Might be a simple as you've muted them accidentally? Changing the volume using the control on the steering wheel only works when it is actually talking. Or on the nav screen there is a volume change slider if you tap one of the icons bottom right. Probably not, but quick to check at least1 point
-
1 pointOh, I've stayed there when I used to live in the UK. Bit warmer where I am now. Have a Mk2 myself waiting for some work to be done. Hope I can get it to looking just a nice as yours.1 point
-
1 point
-
1 point
-
1 pointhttps://drive.google.com/file/d/1ZrR5cXSC6SbcHM-Xi7P0b2DwkWi24Ch-/view?usp=share_link1 point
-
1 pointIf you drive like Miss Daisy then you won't have any trouble, but if you ever descend a very steep hill or drive the car hard then you will experience brake fade due to steam bubbles forming in the calipers as the fluid temperature exceeds 100 °C Brake fluid needs changing occasionally.1 point
-
1 pointComputerised fuel injection and associated electronics has been the driving force in improving fuel consumption. It is a truism to say so because it is so obvious, but there we are. When your ECU can precisely inject micro litres of fuel per stroke, and also control the spark timing, all with precision feedback from sensors in the exhaust, the story only goes one way in comparison to the mechanical ignition advance and the gulping carburetors of old. My old Lancia Beta in the seventies, had a big fat twin choke Weber carb and it just hosed the petrol down into the inlet manifold. Mind you - that car, for its time, had startling performance. I once drove it at 90 all the way through France. I think we stopped quite often to fill it up again mind.1 point
-
Hopefully they have checked the filler cap sometime since 2015.1 point