Leaderboard
-
AnnoyingPentium
FREEDOM12Points5,646Posts -
Lady Elanore
FREEDOM8Points24,875Posts -
pinkpanther
FREEDOM6Points3,911Posts -
MikeTheThinker
FREEDOM5Points8,481Posts


Popular Content
Showing content with the highest reputation on 31/10/21 in all areas
-
Hi all, As many VAG cars, my Superb Mk3, is fitted with a DSG6 (DQ250) gearbox. Here is a tutorial to change its oil and filter on your own. You'll probably tell me: What's the point with it? Just have a look on Google or YouTube and you'l find plenty of them! That's true, but having done this exercise, I could see that it is very rare to have all information in a single tutorial. I will therefore try to be as exhaustive as possible. Here a list of some Skoda models also DSG6 equipped (I nevertheless let you check on your own, since depending on engine type or MY, some may be DSG7 fitted⚠️ instead of DSG6) ! - Octavia 2 - Yeti - Kodiaq - Superb 2 - Superb 3 First of all, here is the DQ250 gearbox: We're going to focus on the following items: #17: Filter housing - Tightening torque : 20Nm #18: O-ring - P/N N910 845 01 (normally sold with the filter) #19: Oil filter - P/N 02E 305 051C #26: Oil pipe - Tightening torque: 3Nm #27: Seal ring - P/N N 043 089 2 (normally sold with the sealing plug) #28: Sealing plug - P/N N902 154 04 - Tightening torque: 45Nm Not shown on this pic: DSG Oil - P/N G 052 182 A2 - 6l - Difficulty : 2 - Time needed : approx. 2h - Number of person needed : 1 - Necessary tools : ¤ VCDS software (or similar, To be confirmed) ¤ 24mm socket ¤ 8mm and 14mm Hex ¤ Torx 25 and 45 ¤ Ratchet or classic wrenches for disassembly ¤ Torque wrench(es) to apply specified torques (3 / 20 / 45 Nm) ¤ Short and intermediate extensions for ratchet or torque wrenches to enable easier access to screws ¤ Small flat screwdriver ¤ Filling hose VAS6262 ¤ Wooden toothpick ¤ Small fork ¤ Slip joint pliers ¤ Oil drip tray ¤ Twine (about 80cm long) or an old metallic hanger (wire one) ¤ Wide masking tape ¤ Rags ¤ Lifting means Concerning VAS6262, you can find one on numerous website at various prices. Without switching to a much more expensive pump model, I suggest taking a filling hose with a 1/4 turn shut-off valve close to the adapter on the can side. These ones are less widespread but still at affordable price and of course easier to use, since you can work without being 'showered' with oil. I've chosen this one on toolstogo-uk.com https://www.tools2go-uk.com/13664247/gear-oil-filling-hose-for-vag-dsg?g…=&Lng=en Dealing now with the DSG oil kit, you really have to be careful on the kit content ⚠️. Indeed some kits only content DSG oil and oil filter, but no sealing plug nor seal ring! ⚠️ Warning: Prices can really be different from a website to another (starting form 90€ up to ~200€ !) Chose the right one! After hours of searches and checks, I finally bought the Febi-Bilstein kit, which can be found on autodoc.co.uk for 100€-ish https://www.autodoc.co.uk/febi-bilstein/15821763?search=FEBI BILSTEIN Transmission oil change kit (171762) It effectively contains: - 6l of gearbox oil - DSG oil filter (#19) and its O-ring (#18) - Sealing plug (#28) and 2 seal rings (#27). By the way, I still don't understand why 2 rings?🤔 Note: I did not take time to ask for OEM spare parts prices by my local dealer. Step #0 : Preparation You need to lift the car high enough to get under the car and to get enough space to move your arms comfortably around the gearbox. Note: Though you've lifted the car, it needs to remain horizontal to make a proper filling with right oil level (see step 7). Step #1 : Air system removal Start with removing the air box. You first have to remove the 2 T25 Torx screws (#1), then unclip the cover on the rear face (#2) and lift it by rocking it as shown by arrow to avoid breaking the 2 lugs at the front side of the cover (#3). Finally simply push to the rear to release the lugs (#3). You now have to unclip the 2 lugs, where the 2 torx screws you have just removed where tightened (#1). Be careful for this step, since these 2 lugs may break. I've seen 1 or 2 pics of broken lugs on this forum. ⚠️ Then, you need to push the airbox backwards, so that its front side can 'rip' other the bonnet slam panel. Then unclip the hose (#3) and with a rocking motion back and forth, release the front side so that the airbox can be fully removed. However, do not hesitate to put one hand on the back of airbox to be able to pull forwards more easily (#4) and take the airbox out, which is quite large. This being done, you need to remove the air filter housing. This is simpler. Start with unplugging the small hose (#2) at the air filter housing outlet and unplug the air flow meter connector (#3). ⚠️Be careful: There's a small grey latch on the connector (if equipped) to unlock before pulling the connector off, otherwise it won't come out or you risk ripping it off. Now, remove the metal collar (#4) on the large air hose downstream the air flow meter. Use a slip joint plier for this. You can now unclip the air filter housing, which is simply fitted onto 3 shock absorber pins (#1). Pull vertically upwards. Don't hesitate to pull hard (continuously and not jerkily), it holds up really well! The 3rd pawn is under the air box (dotted circle), but it comes out quite easily when the other 2 are already out. Once the air filter hosing has been unclipped, all you have to do is disconnecting the large hose, downstream from the flow meter. Be careful to 'close' the hose to avoid any foreign object damage or even just dust towards the engine. Masking tape will do do the job! Step #2 : Battery removal To take it out, you need to remove a 13mm hex screw, which tightens a retaining bracket et holds the battery in place. This screw is on the front of the battery (#5 on previous pic). Then remove both battery terminal covers (by lifting vertically) to access the clamping nuts of both battery terminals posts (10mm Hex socket). Warning⚠️: Start disconnecting the "-" terminal post before disconnecting the "+" terminal post! For more safety, wrap them with masking tape as well if you want. Battery can be then removed easily, even if it weighs! Step #3 : Battery fixing plate removal You can now access the battery fixing plate, which is held by 2 10mm Hex screws (blue squares) and one 10mm hex nut. Sorry, the latter is out of the pic, but it can be found easily (just follow blue arrow). Be careful don't be too quick at this step, several fixing staples are indeed attached to the battery holder. You might be tempted to cut the tie-wraps, but these are attached to small brackets, which are simply stapled (red circles) or clipped (orange circle) to the battery fixing plate. Staples can be removed by simply pushing them with a flat screwdriver, while the clip-on holder can be pulled out with a small fork. There is now a small Control Unit attached to the battery fixing plate. Unclip the small lug (red circle) and pull the control unit vertically (as suggested by arrow) to remove it from the battery fixing plate: The battery fixing plate can now be removed. Step #4 : Oil draining You can finally access the DSG oil filter housing: A 24mm hex socket is necessary to remove it. Once done, protecting the filter location against foreign object damage or dust is necessary. Aluminium foil will do the job. FYI, here is the difference between a new filter and a filter with 60,000 km on the clock. Now remove the sealing plug with the 14mm Hex. Once done, the oil flow will be very thin, due to the oil pipe. Remove the oil pipe, using a 8mm Hex. After that, the oil flow is more important. Step #5 : Oil filter replacement Once the gearbox is empty, you can put back in place: - The Oil pipe (still using the 8mm Hex. Tightening torque = 3nm). If you don't have a torque wrench complying with such a low range. Take it easy! Just to give an idea, it is roughly the same order of magnitude as for closing a jam jar lid. (Sorry, this is the only simple image I found quickly ...). Well just keep in mind, it's light !! - The new DSG oil filter (don't forget to moisten the O-ring in its hole) - The new O-ring on the filter housing (don't forget to moisten this one too) - The filter housing, which must be tightened at 20 Nm (with the 24mm Hex socket) Step #6 : Reassembly Steps #1 and #2 can be processed in the reverse order to reassemble : - The battery fixing plate (and the small control unit) - The Battery - The air filter housing and the hoses - The airbox. Step #7 : Oil filling The filling hose can now be screwed in the sealing plug thread At the other end, donc forget to shut the 1/4 turn valve, before screwing it onto the oil can. To make it easier, you can attach the can to the bonnet with a 80cm long twine or an old metal hanger (wire one), that you can shape to transform it as a can holder. If you want to fill the gearbox faster, you just need to make a little hole in the can bottom (now upside down ) to enable air getting in the can. Of course, don't forget to open the 1/4 turn valve. http://img.xooimage.com/files1/b/e/c/whistle-1bb1.gif You have to fill approximately 5,5l. Once again, don't forget to shut the 1/4 turn valve upon each oil can change http://img.xooimage.com/files1/b/e/c/whistle-1bb1.gif. Warning: Do not make a hole in 6th can, otherwise there could be some side effects... http://img.xooimage.com/files1/3/e/0/33-2bc7.gif When the 6th can is half empty, shut the 1/4 turn valve, remove the can from the filling hose. Put now the free end of the filling hose into the dip tray. You can now open the 1/4 turn valve to start adjusting the oil level Step #8 : Oil level adjustment ⚠️ Now, start the engine and keep your foot pressing the brake pedal. Move the gear lever in accordance with the following sequence: P to R, wait 3s R to N, wait 3s N to D, wait 3s D to S, wait 3s S to D, wait 3s From this point, most other tutorial suggest getting back directly to P. I personally rather got back step by step, still waiting 3s after each step. Once back to P, you can remove your foot from the brake pedal, but keep the engine idling. Now, connect your VCDS cable and select the gearbox controller (02 Auto Trans): Once in the gearbox controller menu, there are 2 options: 1) Either get into "08 Meas. Blocks". then in the new window, get into "Group 019" and check the Temperatur cell of "ATF (Auto Tranmission Fluid)" parameter. This is at least what I've found in several other tutorials. But though owning an official VCDS cable, the "08 Meas. Blocks" is greyed on mine. (may be my Micro-CAN version starts reaching its limits). Hence I had to use option #2 below. 2) Or get into "Adv. Meas. Values" menu: From this point, type "trans" in the search cell to find all parameters related to the gearbox. In the results list, tick "ATF temperature - Transmission fluid temperature": Now with the engine still idling, just wait for the oil temperature to get between 35 and 45°C. It may take several minutes. Be patient. When oil temperature is close to 35°C, you can remove the filling hose completely. Don't worry temperature is increasing really slowly. The oil flow from the oil pipe starts decreasing. Once the oil temperature is within the 35-45°C range, you can observe that a slight amount of oil flows out via the overflow tube every 30 seconds, independent of the oil level. This is caused by oil pulses, which cool down the coupling. According to workshop manual, this oil quantity is not a criterion to determine the correct oil level. Therefore, they must not be taken into account when assessing oil level. You can now screw back the sealing plug (with 14mm Hex). Tighten it at 45Nm. From this point, you only need to stop the engine, disconnect your VCDS cable and put the soundproof housing back in place under the engine, and... That's it! Well, non counting the specific tools, you've just saved ~200€! Note: I'd also like to write special Thanks to @J.R., who helped me to translate some technical words I was missing! Much appreciated.👍 _4 points
-
2 pointsHello folks, used the site for years to help my father in law with his Yeti, Karoq and Kamiq. Finally joined the club myself with a peachy Superb mk2. Happy Haloween, Keith2 points
-
2 pointsGonna look the badgers nadgers mate. Very interested in how you get on with the intercooler, that's near the top of my list for the new year.. Tales of major hassle running pipework is off putting so I've been looking for as close to plug and play as possible.2 points
-
Ha! Literally, the service would have been done while you wait, if you had wanted to wait all day. (I used to work in advertising.) I do feel your pain. I drop my car off in the early am, take the train home after 09:30 when my Freedom Pass kicks in, and come back the next day after my Freedom Pass kicks in. No sweat. Bill Bryson called the UK "the land of low expectations" or something like that, and keeping that in mind serves to keep me from being overly disappointed these days. Um, when I say these days, I mean the last 35 years. 😂2 points
-
2 pointsThanks everyone. I am going to do a dry run next week, and fit bigger ones for a day or two. And see what happens With greater hysteresis , I would expect a bit more understeer.2 points
-
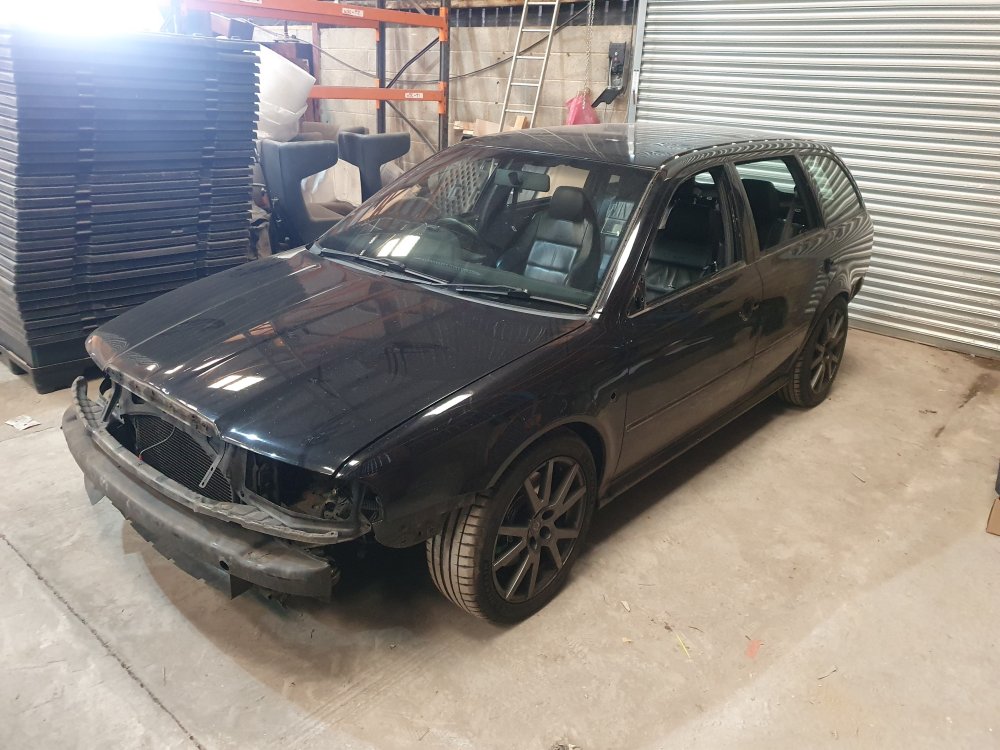
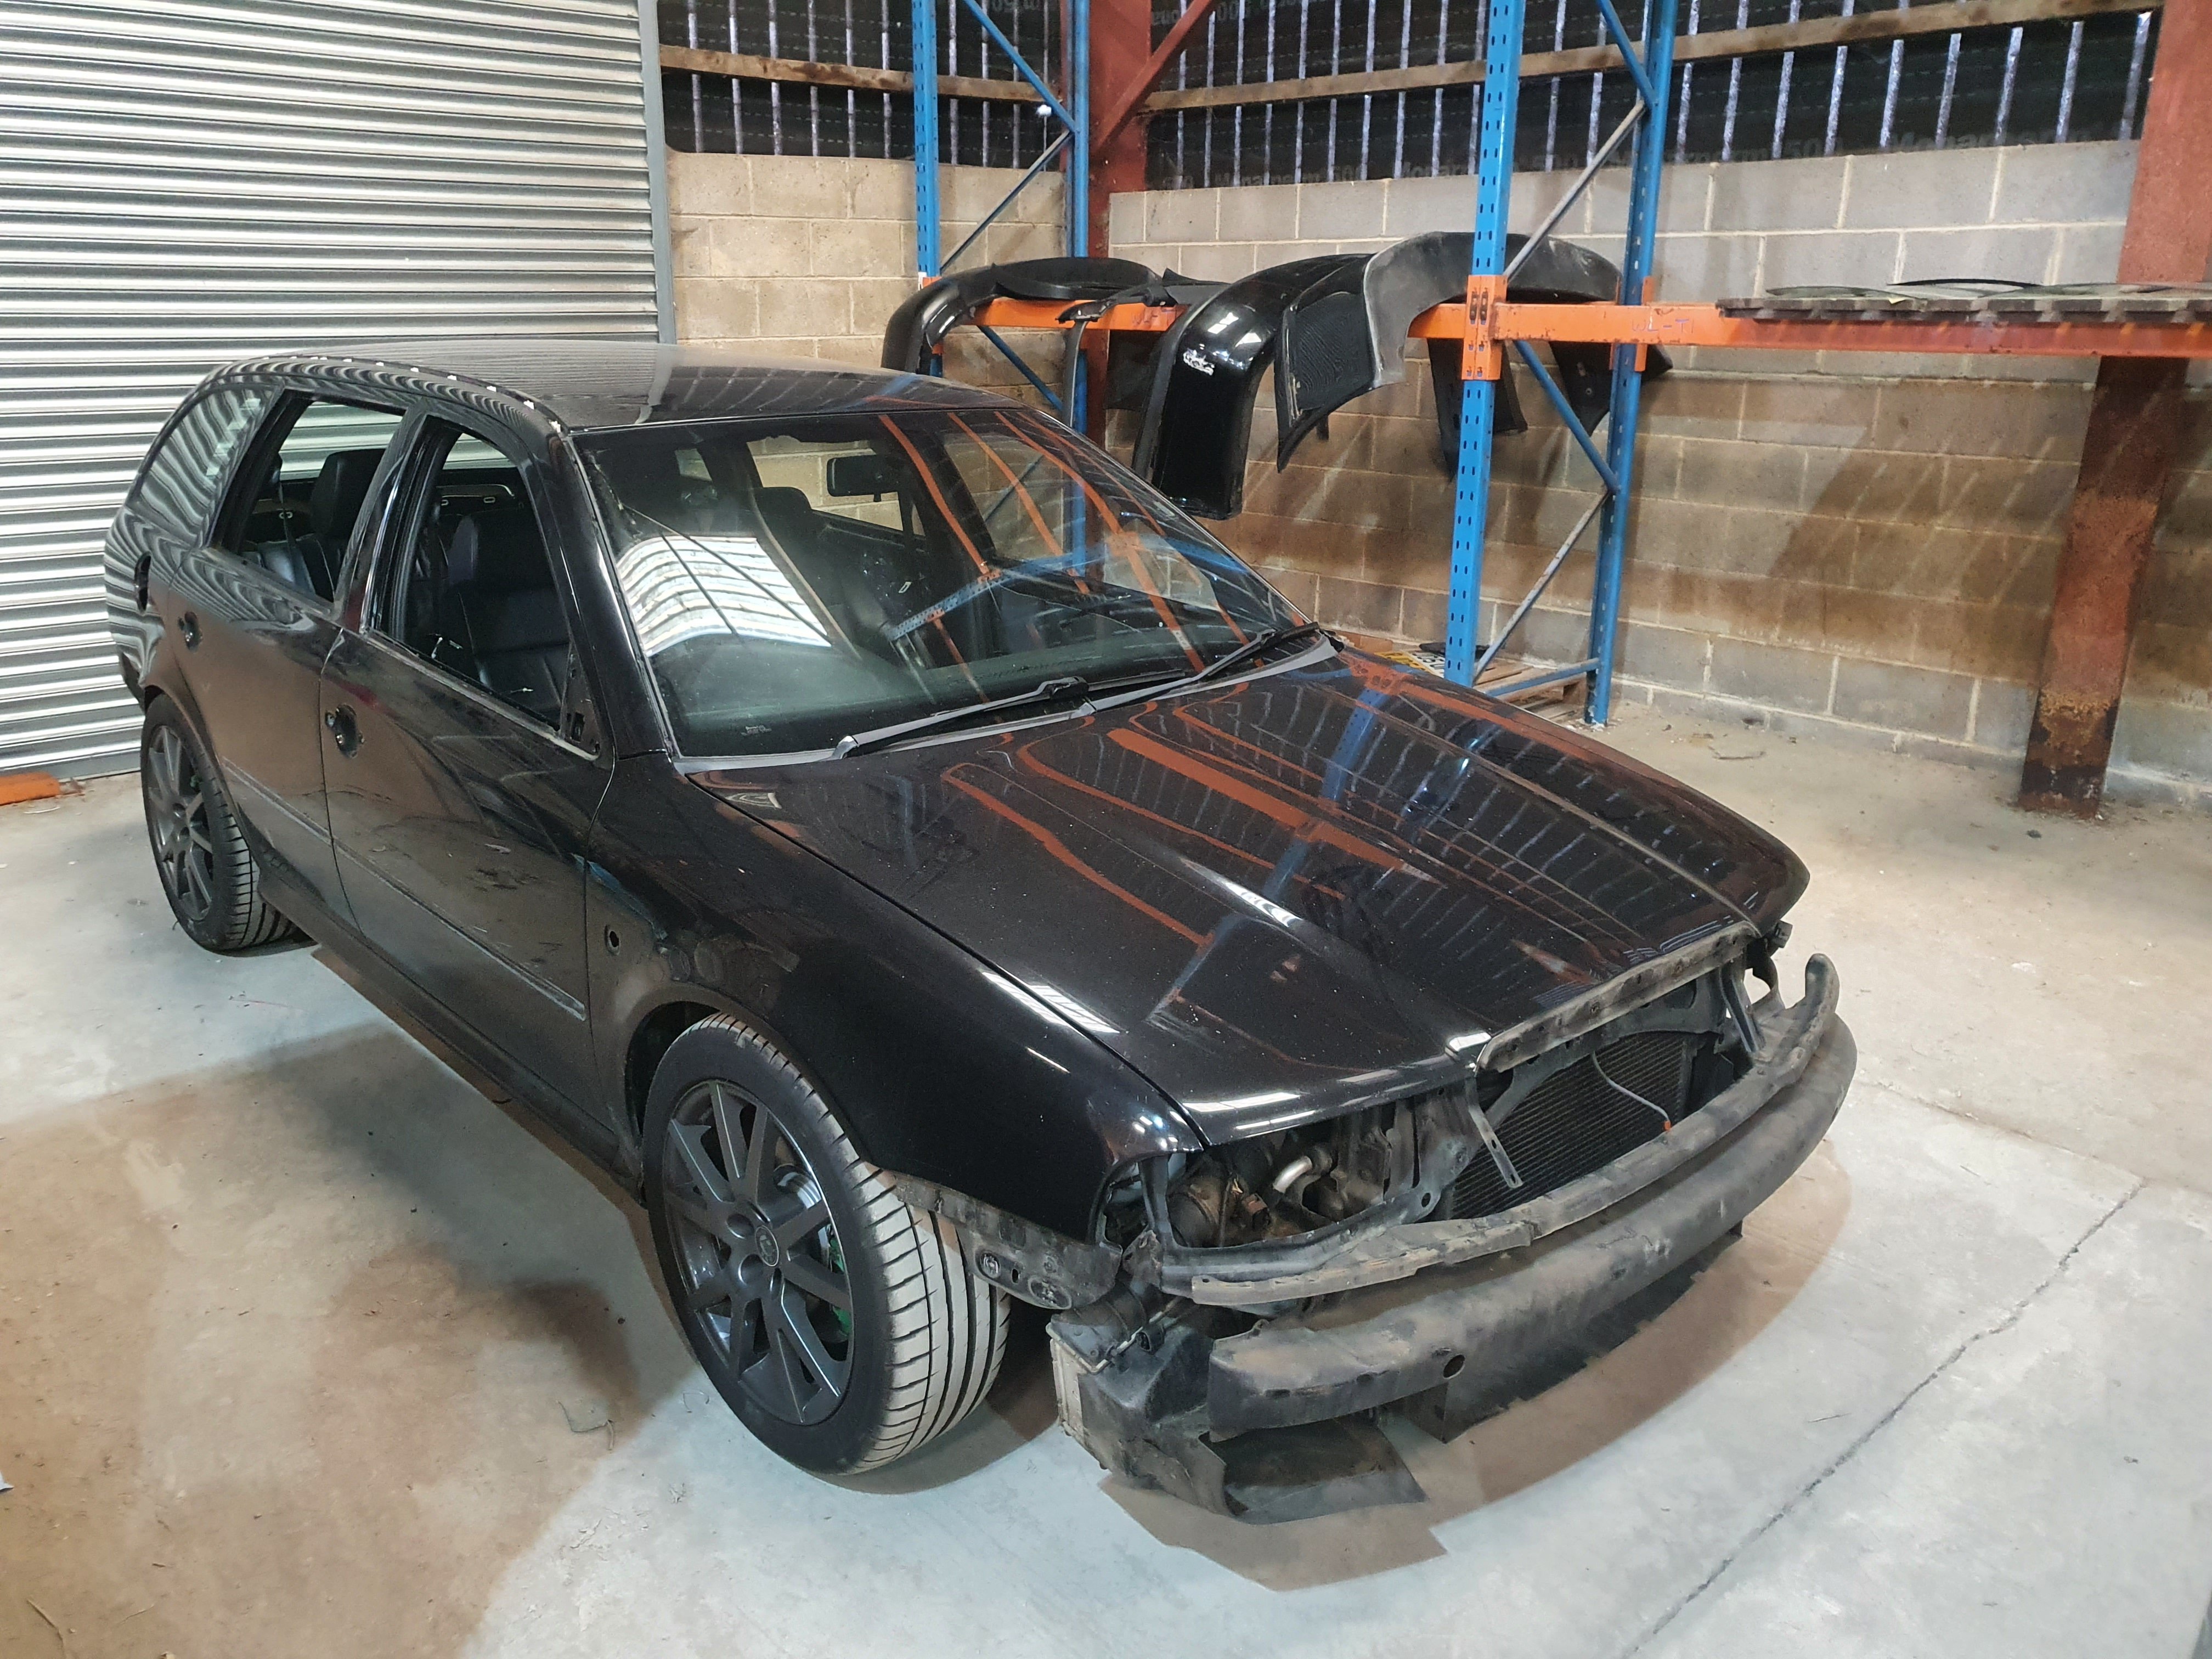
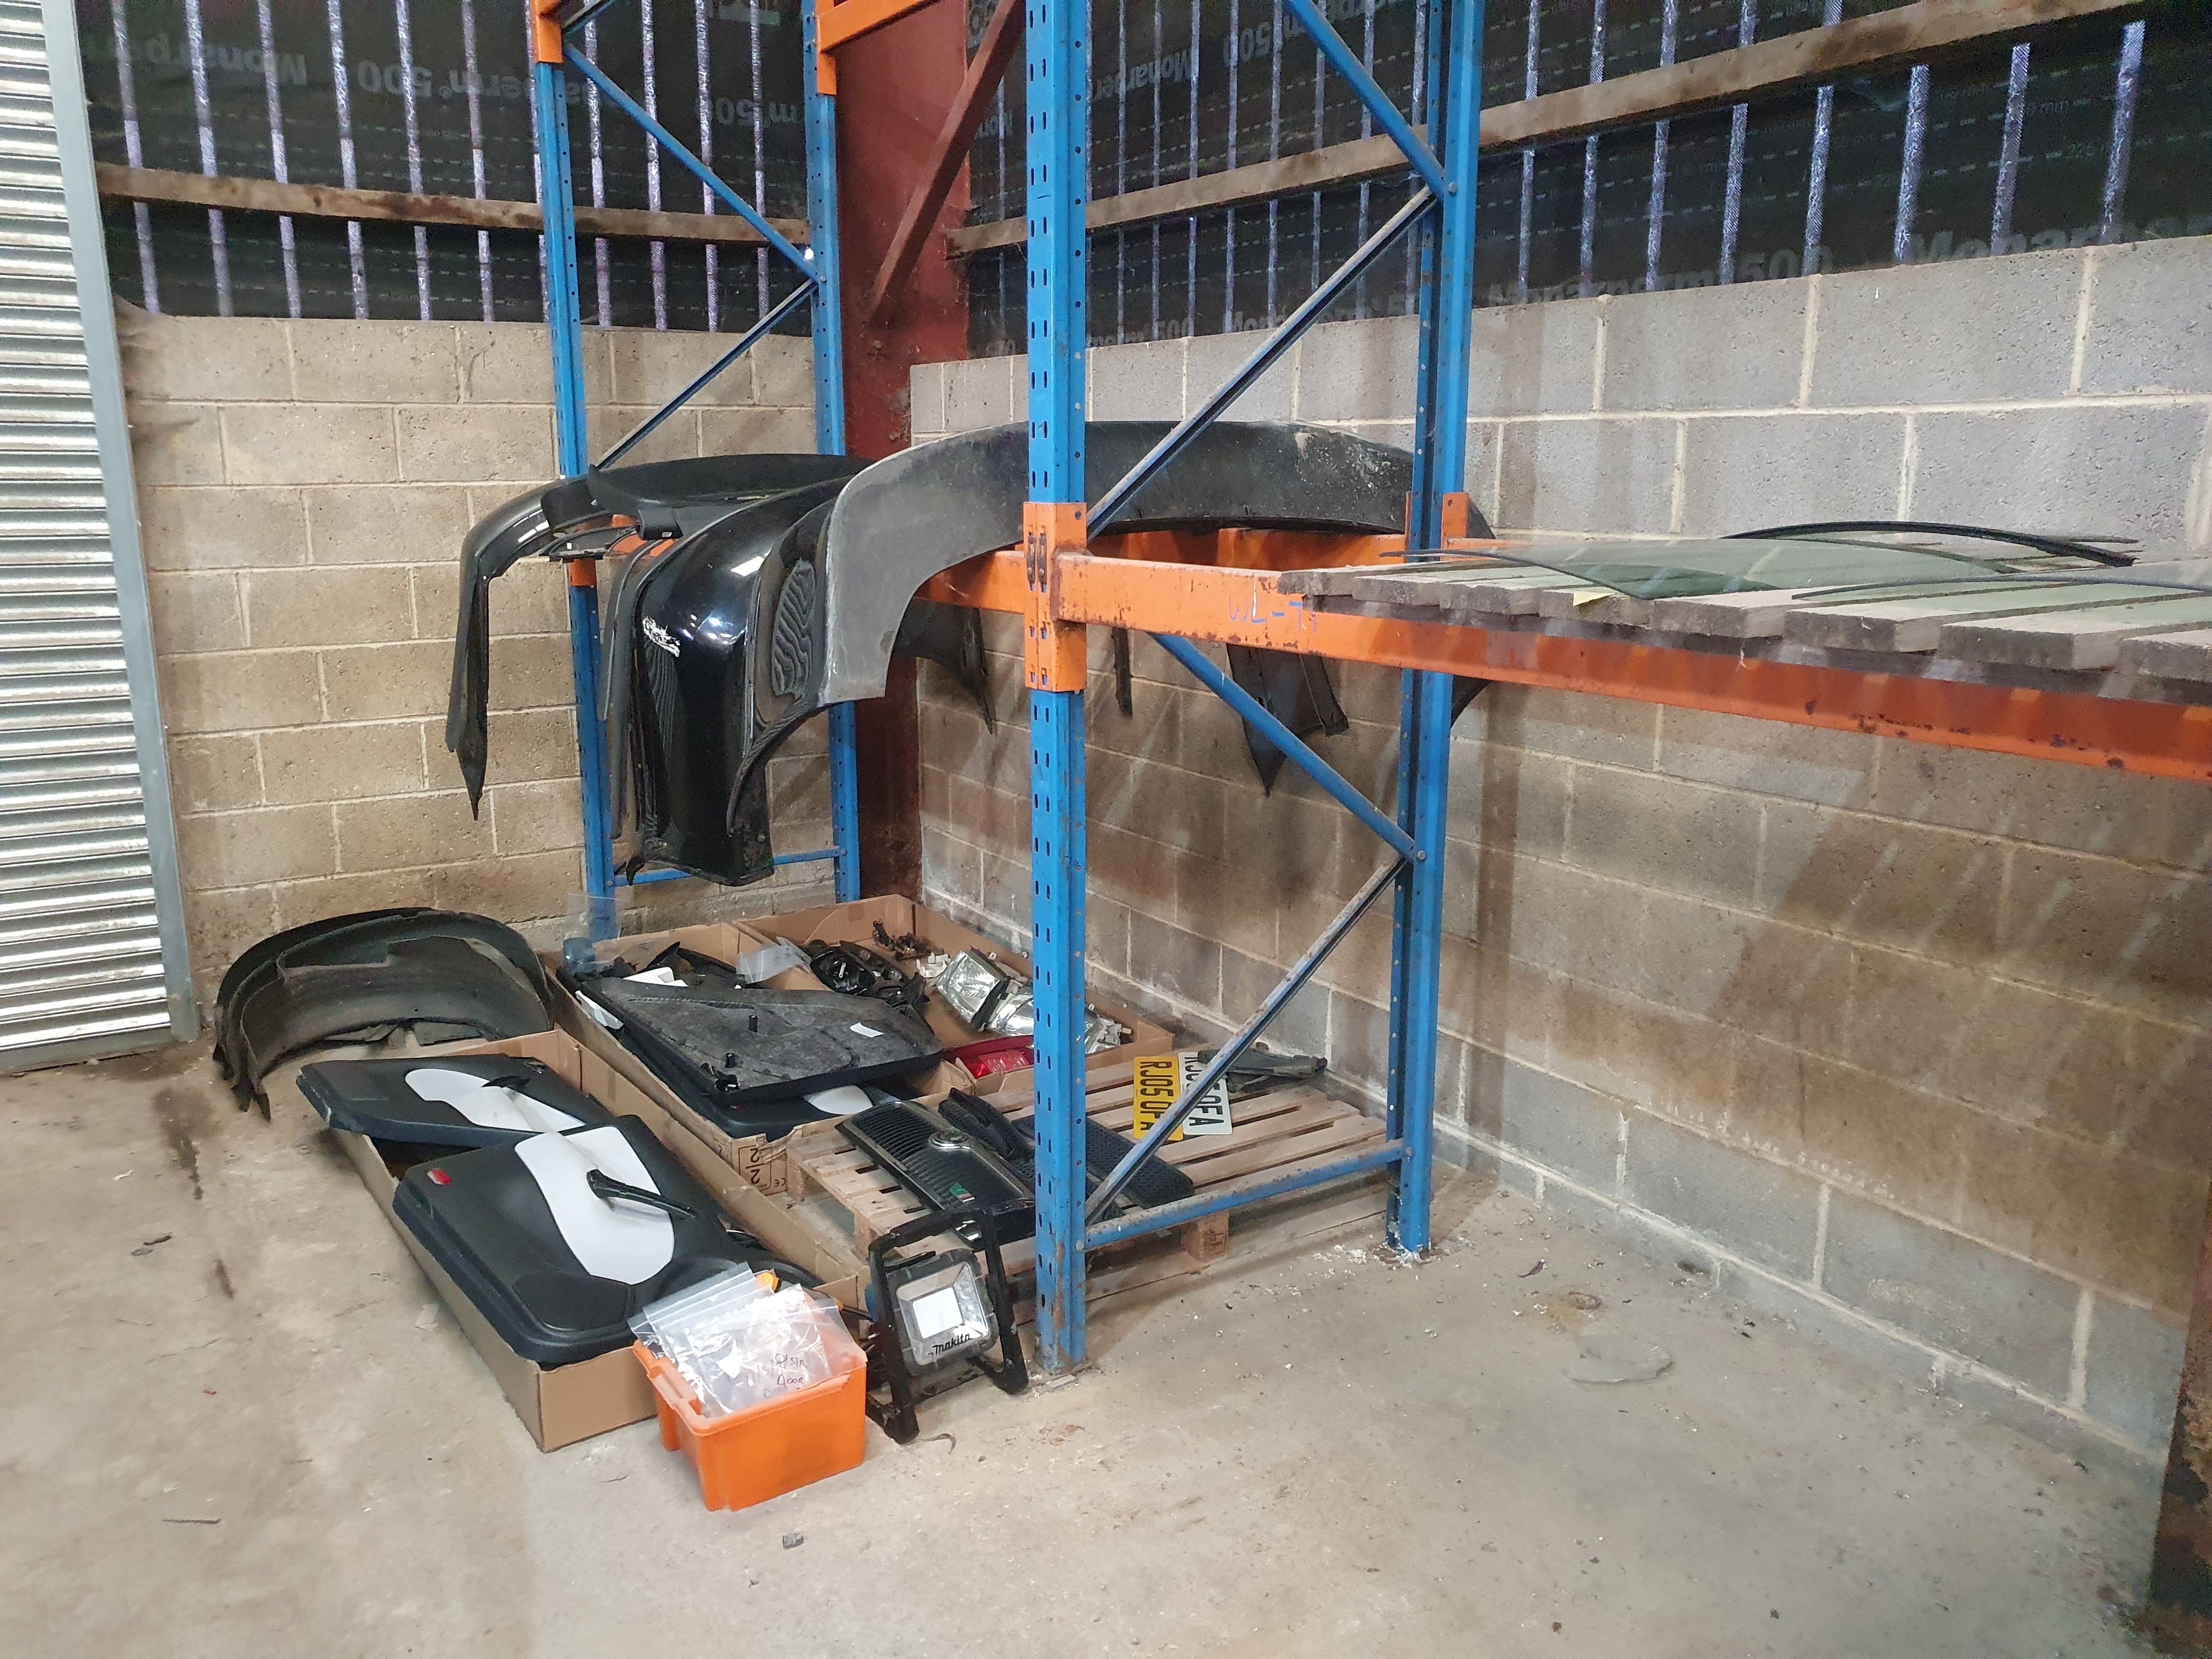
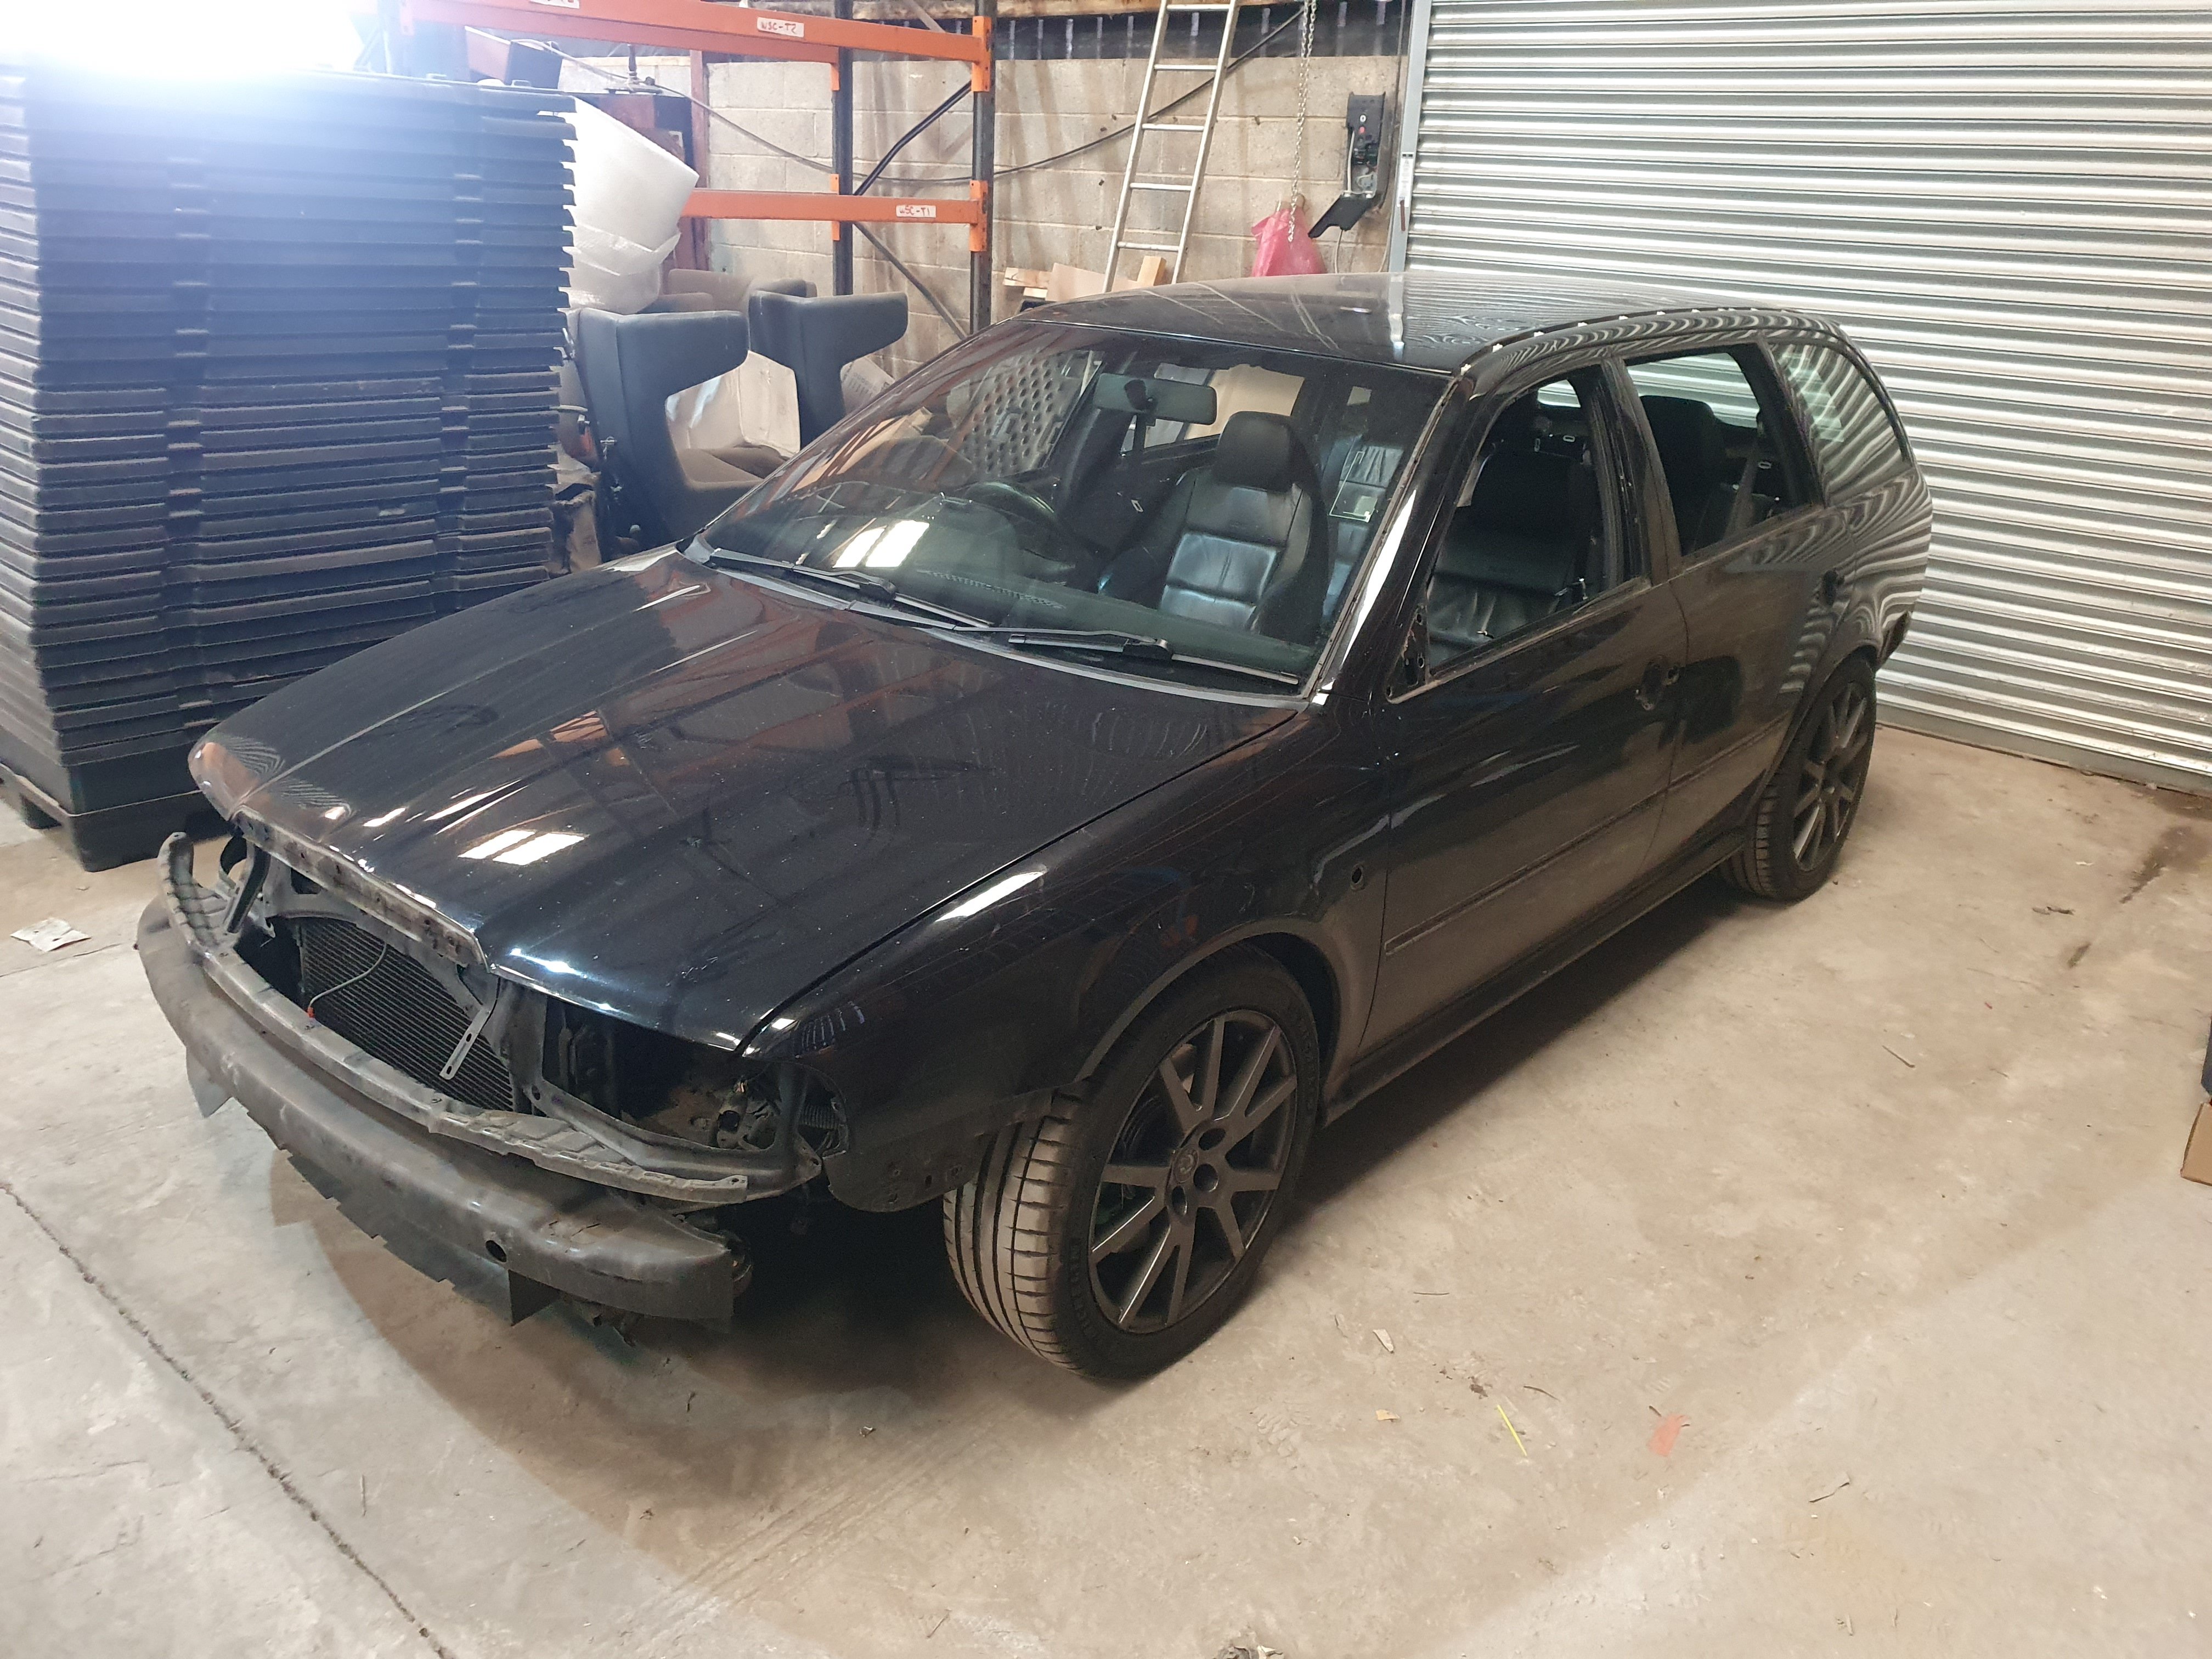
2 pointsThank you for all the suggestions chaps. Thinking about it over the last week I've decided to keep it original and stay with the black! Managed to get the rest of the car stripped yesterday and it's now ready for paint preparation. Removing the rear windows with the fixed pane of glass was a little tricky on my own as was trying to remove all the rubber window seals and roof strips without deforming them... Got a shopping list for bits I want to replace when it goes back together and also want to upgrade the speakers whilst all the door cards off. Ordered some Milotec vents for the front bumper as I really think they suit the car and add to the budget RS4 Avant look! 😂 I've also been looking at the Pro Alloy FMIC something that can easily be fitted whilst the car is stripped. It's a single pass intercooler and doesn't require any extensive cutting to the bumper which appeals to me. Here's a few photos as the Combi currently stands, notice the orange box filled with individually marked bags for all the fixings! 😎


 2 points
 -
Have you read the posts above? Unzip using Windows (right click, "extract all") rather than 7Zip or similar. I bet your download is OK, it's just been zipped oddly by VAG.2 points
-
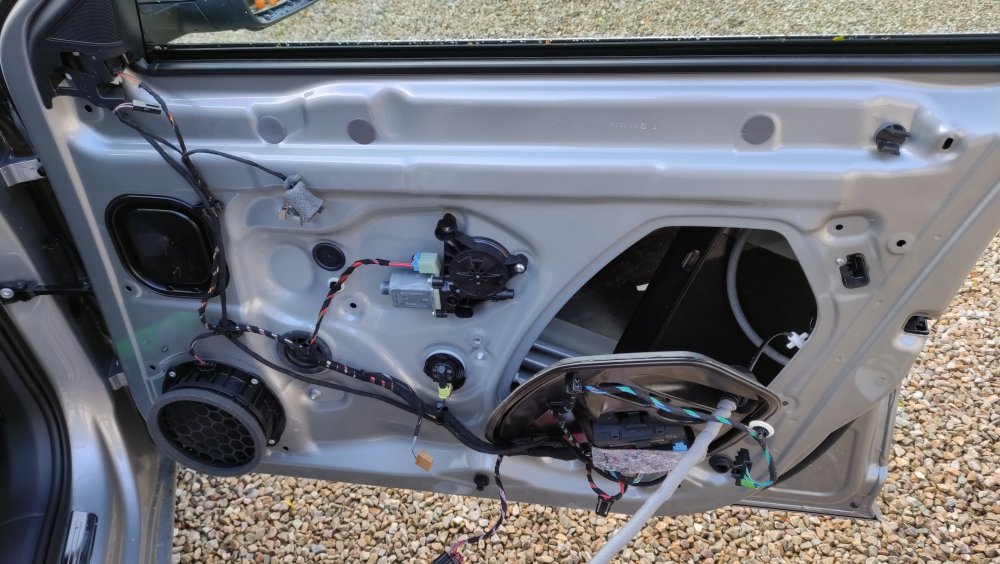
2 pointsBoth front doors done this morning. Went pretty smooth bar a few broken door trim clips. I suggest getting a bag of these before you start. 2 mm Noico with 5 mm Noico red closed cell. Hardest part was probably disconnecting the various electrical connectors, each one with different (why?!) and some more more fiddly than others. Once the door card was off and the large plastic grommet removed I placed a layer of the 2 mm as far as my hands could reach. I wasn't able to get much below the crash crossmember as access was tight. I then applied some 2mm to the outside of the door skin and to the reverse of the door card, finally covering as much of the door card as I could with the closed cell foam. Did the passenger side first in case I made a mess of something. Also better to learn on this door rather than the door you'll be using most often. Took about 4 hours not rushing. Didn't take any good before and after photos unfortunately. Haven't driven the car but first impressions are are that it sounds more solid inside when slamming the door, outside the door slam sound is much the same though the door skin has a lovely solid feel when you tap it. A couple of tips: I used the round end of the 10mm spanner used for the bottom door nut, to press the 2mm in place, as it is hard to get the roller into the tight spaces. Take pictures as you go of the various connectors as the last thing you want to do is to have the door card on and have forgotten one. Don't forget having removed all the door card clips that the card pulls firmly upwards to remove. When trying to pull the large plastic grommet out prize from one of the longer sides first.
 2 points
 -
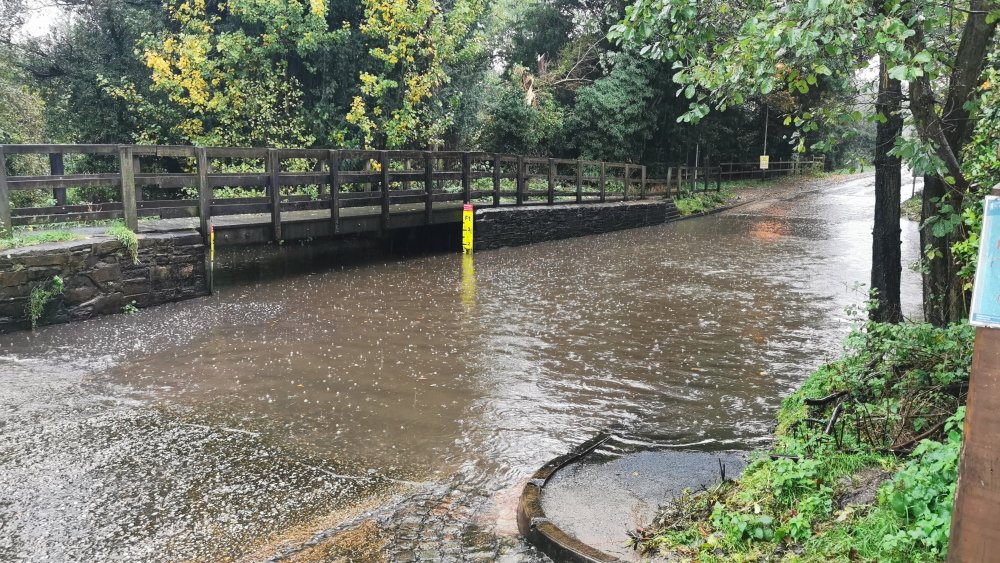
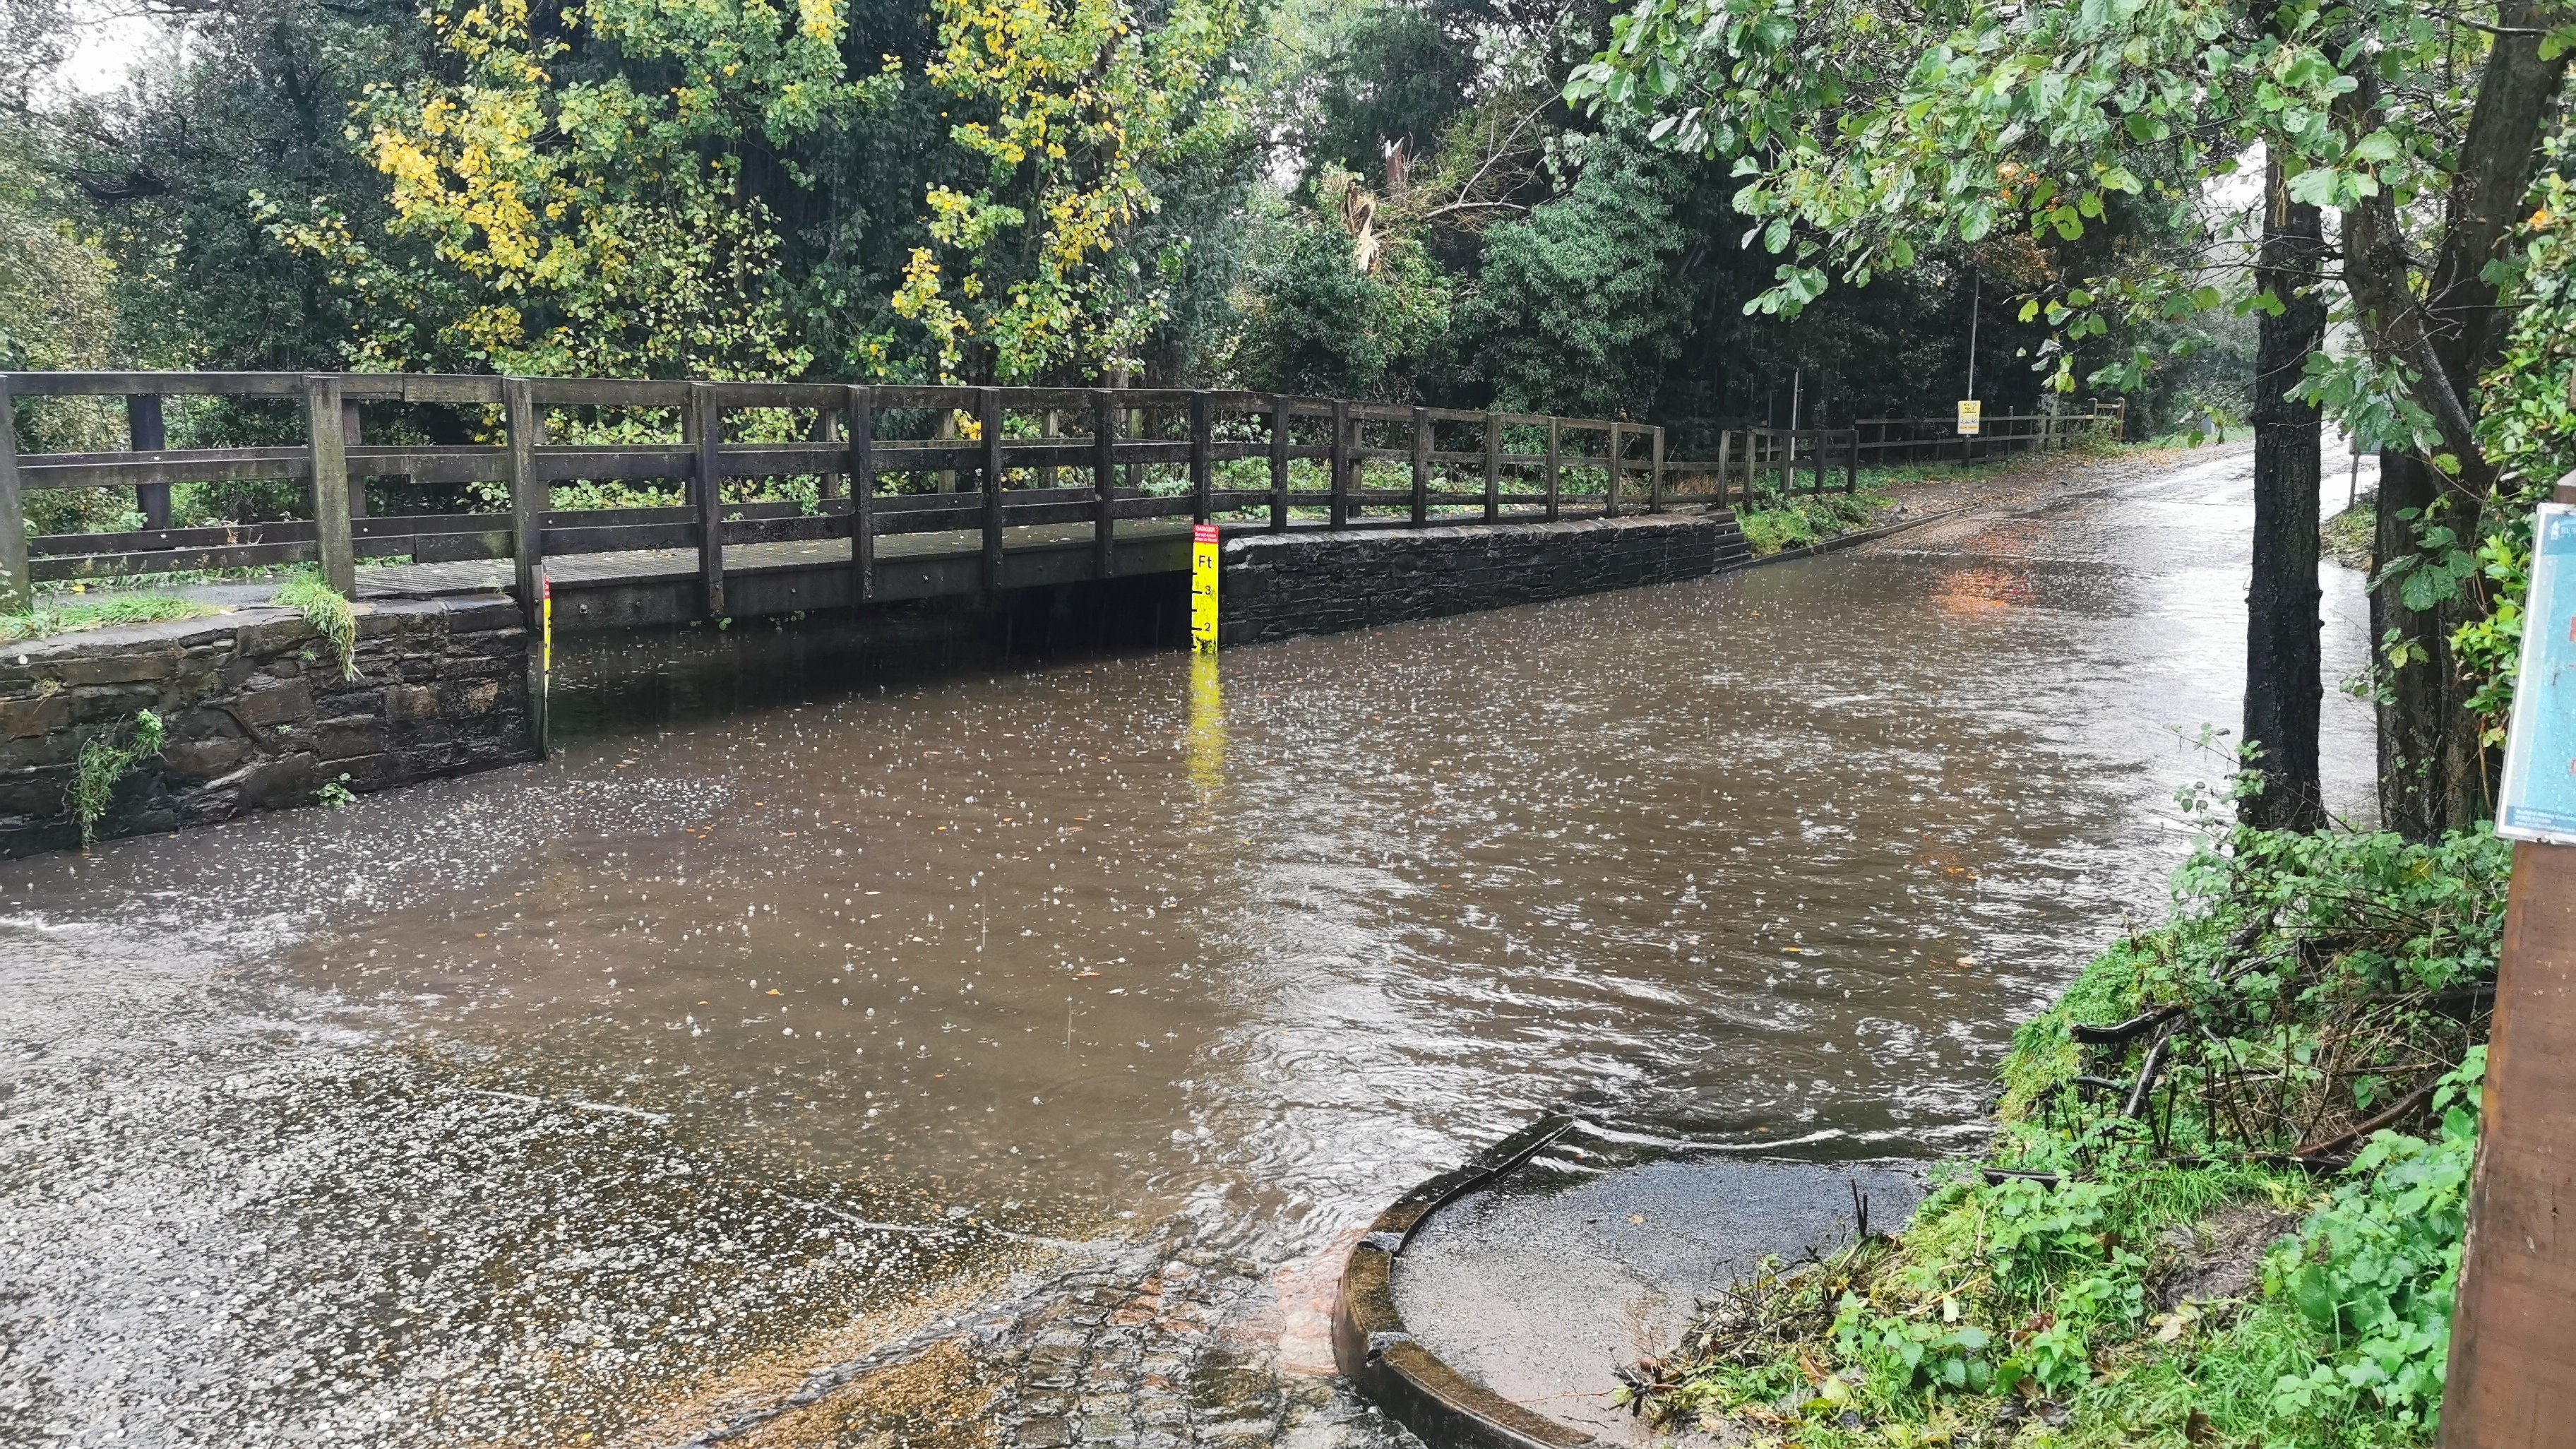
2 pointsCrazy weather this morning, alternating between bright blue skies and torrential rain............


 2 points
 -
2 pointsI don't believe this is true... At least from all the VAG headlights I've seen inside, there are two separate mechanisms: - one for the manual adjustment via the adjustment screws - one for the servos to automatically adjust the aim These two systems are completely separate so even if the manual adjustment is completely min'ed/max'ed out, there is no risk of popping off or bottoming out. Just as an example, take a look at the picture below: - the three white bits connect to the headlight and the two manual adjusters - the inner frames are moved by servos between the inner/outer to give the automatic movement All the 'service position' does is return the servos to their home position and relearn what 'level' is based on the suspension sensors ready for adjustment. For minor adjustments where the suspension etc hasn't been touched, it should be perfectly safe to do it without 'service mode'
 2 points
 -
2 points
-
I mean, yes, it's impossible for an individual to ensure they are using renewable energy unless they are off grid and using their own solar panels etc; but as I understand it, and paraphrasing bulb, for every unit a customer uses, bulb make sure a unit is produced and put on the grid by a renewable source including solar, wind and hydro. Plus, their gas is 100% carbon neutral as they offset the emissions from the gas they supply by supporting carbon reduction projects around the world. They're also one of the biggest buyers of green gas for homes in the UK. With that being the case, I'd rather be spending my pennies on a company that seems to give back, than those bigger companies that are all about profit. But yes, I completely agree in as much as, the best thing we can do is reduce the energy we use; which isn't the easiest thing as we seem to have become a nation reliant on technological advance and our creature comforts. :')2 points
-
I don’t think any of them actually use 100% renewables. you’ll find an asterix somewhere that talks about carbon/unit trading or something akin to that. there is no way the kettle I just turned on can use energy guaranteed to me from renewables. It might come from nuclear. The units I’ve used as a whole maybe traded against renewables. So come month, year end when trading done my energy impact will be tallied against renewables. that’s how I’ve understood it anyhow still better to be done than not done octopus is another strong contender. i think all the energy companies are at risk, so not worrying about it till the government has to renationalise it. After all why should there be obscene profits on a required resource. Those profits that disappeared, capitalism at work now. The big ones will ride it out, then make up for it. 😞 altough you could argue only water is truly required for life. reducing our energy consumption is the logical step… silly little things like, wearing a jumper or two. I have a body warmer on under a jumper on top of two t shirts heating won’t be on today. frogs might be playing in the cellar though.2 points
-
2 pointsOh no, more bad drivers... Nah, I'm in the new driver boat as well... 😆2 points
-
1 point
-
Never even driven mine in eco mode and probably never will. My right foot is my eco mode when I want it to be.1 point
-
1 pointNope. With the kessy, you don't need to take the key out of your pocket. There is a sensor on the door handle so when you touch the door handle to open the door, the doors unlock and you can open it. To lock the door, you just touch the outside of the handle when the doors are closed. This works on the drivers and passenger front doors. I'm not sure on the rears.1 point
-
1 point@Jim2015Thanks for your detailed breakdown of cost doing shorter runs with a charged battery. So you can do 34 miles and get the equivalent of 110 mpg of petrol but you could not actually drive 110 miles and use only a imperial gallon of petrol unless it was mostly down hill.1 point
-
1 pointI will clarify my comment. The 110mpg figure was displayed in the data after a 34 mile drive in Hybrid mode, when the battery was providing much of the power (the left-hand dial shows when e-power or IC is being used and a lot of the time, other than when I was travelling fast, the battery was in use). The long-term mpg, based on the measured amount of petrol put in the tank, is 92. I can go for around 700 miles between refills. On battery alone with a range of 35 miles, this costs about 6p/mile at present. When we get Octopus Go off-peak at 5p/kWh, the cost will drop to about 2p/mile. The next section might interest 2793Jerry, so here is a more precise set of figures I copied from one of my other threads and is based on actual electricity and petrol usage. I've been able to calculate more accurately how much electricity is being used to charge the iV. I have been comparing bills for now and 12 months ago. This is based on our electricity use being fairly constant but does not include for the fact that the electricity was slightly cheaper last year. At the last refuel the car had done 2630 miles and cost £162.34 for petrol and £96.88 for electricity or 9.9p/mile. When the cost goes down from 16.66p/kW hr to 5p/kW hr with Octopus Go off-peak electricity, this will reduce to £29.07, or assuming a 50/50 split between IC and e-power, 2630 miles for £191.41 or 7.3p/mile compared with £335.20 on petrol alone or 14p/mile. Our Karoq cost 17.8p/mile for fuel.1 point
-
1 point
-
I remember from days back the code 11463 was to enable cruise on "older" cars in the Engine ECU............not sure if it's relevant to the Fabia. This page confirms that old code, but also shows more info.. http://wiki.ross-tech.com/wiki/index.php/Checking_Cruise_Control_using_Measuring_Values#Cruise_Control_Activation1 point
-
1 pointThe Nightbreaker H7's are excellent bulbs, but they are halogen, not xenon.1 point
-
1 pointTook me a bit to find how to favorite it. Thanks for the tip! For others new to favorites. Hold the one of the favorites positions. After a few seconds you get an overview of things you can make favorite.1 point
-
Sure, the sportline is not a bad choise. It's still a sportier PHEV. Not sure how could the V60 T8 be cheaper1 point
-
1 pointWelcome! I am new here too! Oooo . . . Got to love a brand new car . . . except when you get your first scratch/scuff! 😕1 point
-
1 pointHere - for Columbus. For future reference all the latest map links will be posted in the level above the one linked to earlier. Maybe time to put that section on your notification list?1 point
-
Yep that’s exactly what I was thinking, just written better1 point
-
I don't know if anyone's mentioned this, but if carbon offset and the environment matters to you as an individual; there's an energy company in the UK called 'Bulb' that uses 100% renewable electricity and their gas is 100% carbon neutral! I haven't found them any more expensive than other energy companies so if this is important to you, feel free to check them out! 😊1 point
-
Inspect the connector of the refrigerant pressure sensor in the high pressure line near the engine coolant expansion tank (look for corrosion). Or look at VCDS data for refrigerant pressure in measuring blocks of HVAC module. See what numbers it shows. You can probably look at measuring blocks in there which say if the HVAC module is demanding fan function (at stage 1 (slow) or stage 2 (full speed)). It is OK/normal for the fan to run when A/C is switched on even if the engine coolant is completely cold; refrigerant pressure >9 bar will trigger stage 1, and >16bar stage 2, even with no heat in the engine coolant. But if you switch off A/C the fan should go off, as it should if the pressure drops below 12 bar (stage 2 down to stage 1) or 6.3 bar (stage 1 off). Those observations are based on a climatic rather than climatronic system, but I don't know why there would be any difference.1 point
-
1 pointIt is meant for the lubrication and longevity of the coolant but they have a nasty habit of bursting and blocking the heater matrix and turning the coolant a horrible slidgy colour.1 point
-
Thanks WezFab that’s excellent info. I’ll try that and report!1 point
-
1 point
-
1 point
-
1 point
-
1 pointSince the Škoda is a VAG car and a lot of the parts cross-pollinate, I'm happy to keep my KESSY key in a cheap Faraday pouch just for peace of mind.1 point
-
Greetings, Try reading the manual, section "Do-it-yourself/Emergency unlocking/locking". AndyW1 point
-
1 pointooohhh...be careful with that statement. I've known ODBEleven to mess up some coding, although it is getting better with checks and balances. Coding is different depending on whether you have a pre-facelifted car (2013-16) or face lifted (2017 to 2020)1 point
-
In my short 6 months ownership I feel like it ticks nearly all the boxes but specialises in nothing. As mentioned previously if you need the space for family etc it’s great for that. But..I imagine your bmw is pretty well refined, be warned that things like road noise in the vrs can be shockingly bad.1 point
-
Saw a 2012 polo come up for sale for 9000 euros, 1.2 petrol and has a few marks on it. And its a northern reg so would cost maybe 1500-2000 euro to import. Saw a 2012 1.2l petrol golf match up for 9999 euro, you think englands bad look up irish cars for sale.1 point
-
1 point
-
@Sparkgap Good luck with the installation. 🤞 @NZ100 You can sleep now!1 point
-
1 point
-
1 pointWell simple really. Apart from leaving your Mother at home..... Put the two dogs into kennels. Problem now solved. 😏 Enjoy your holiday. Carlo has now left the country.1 point
-
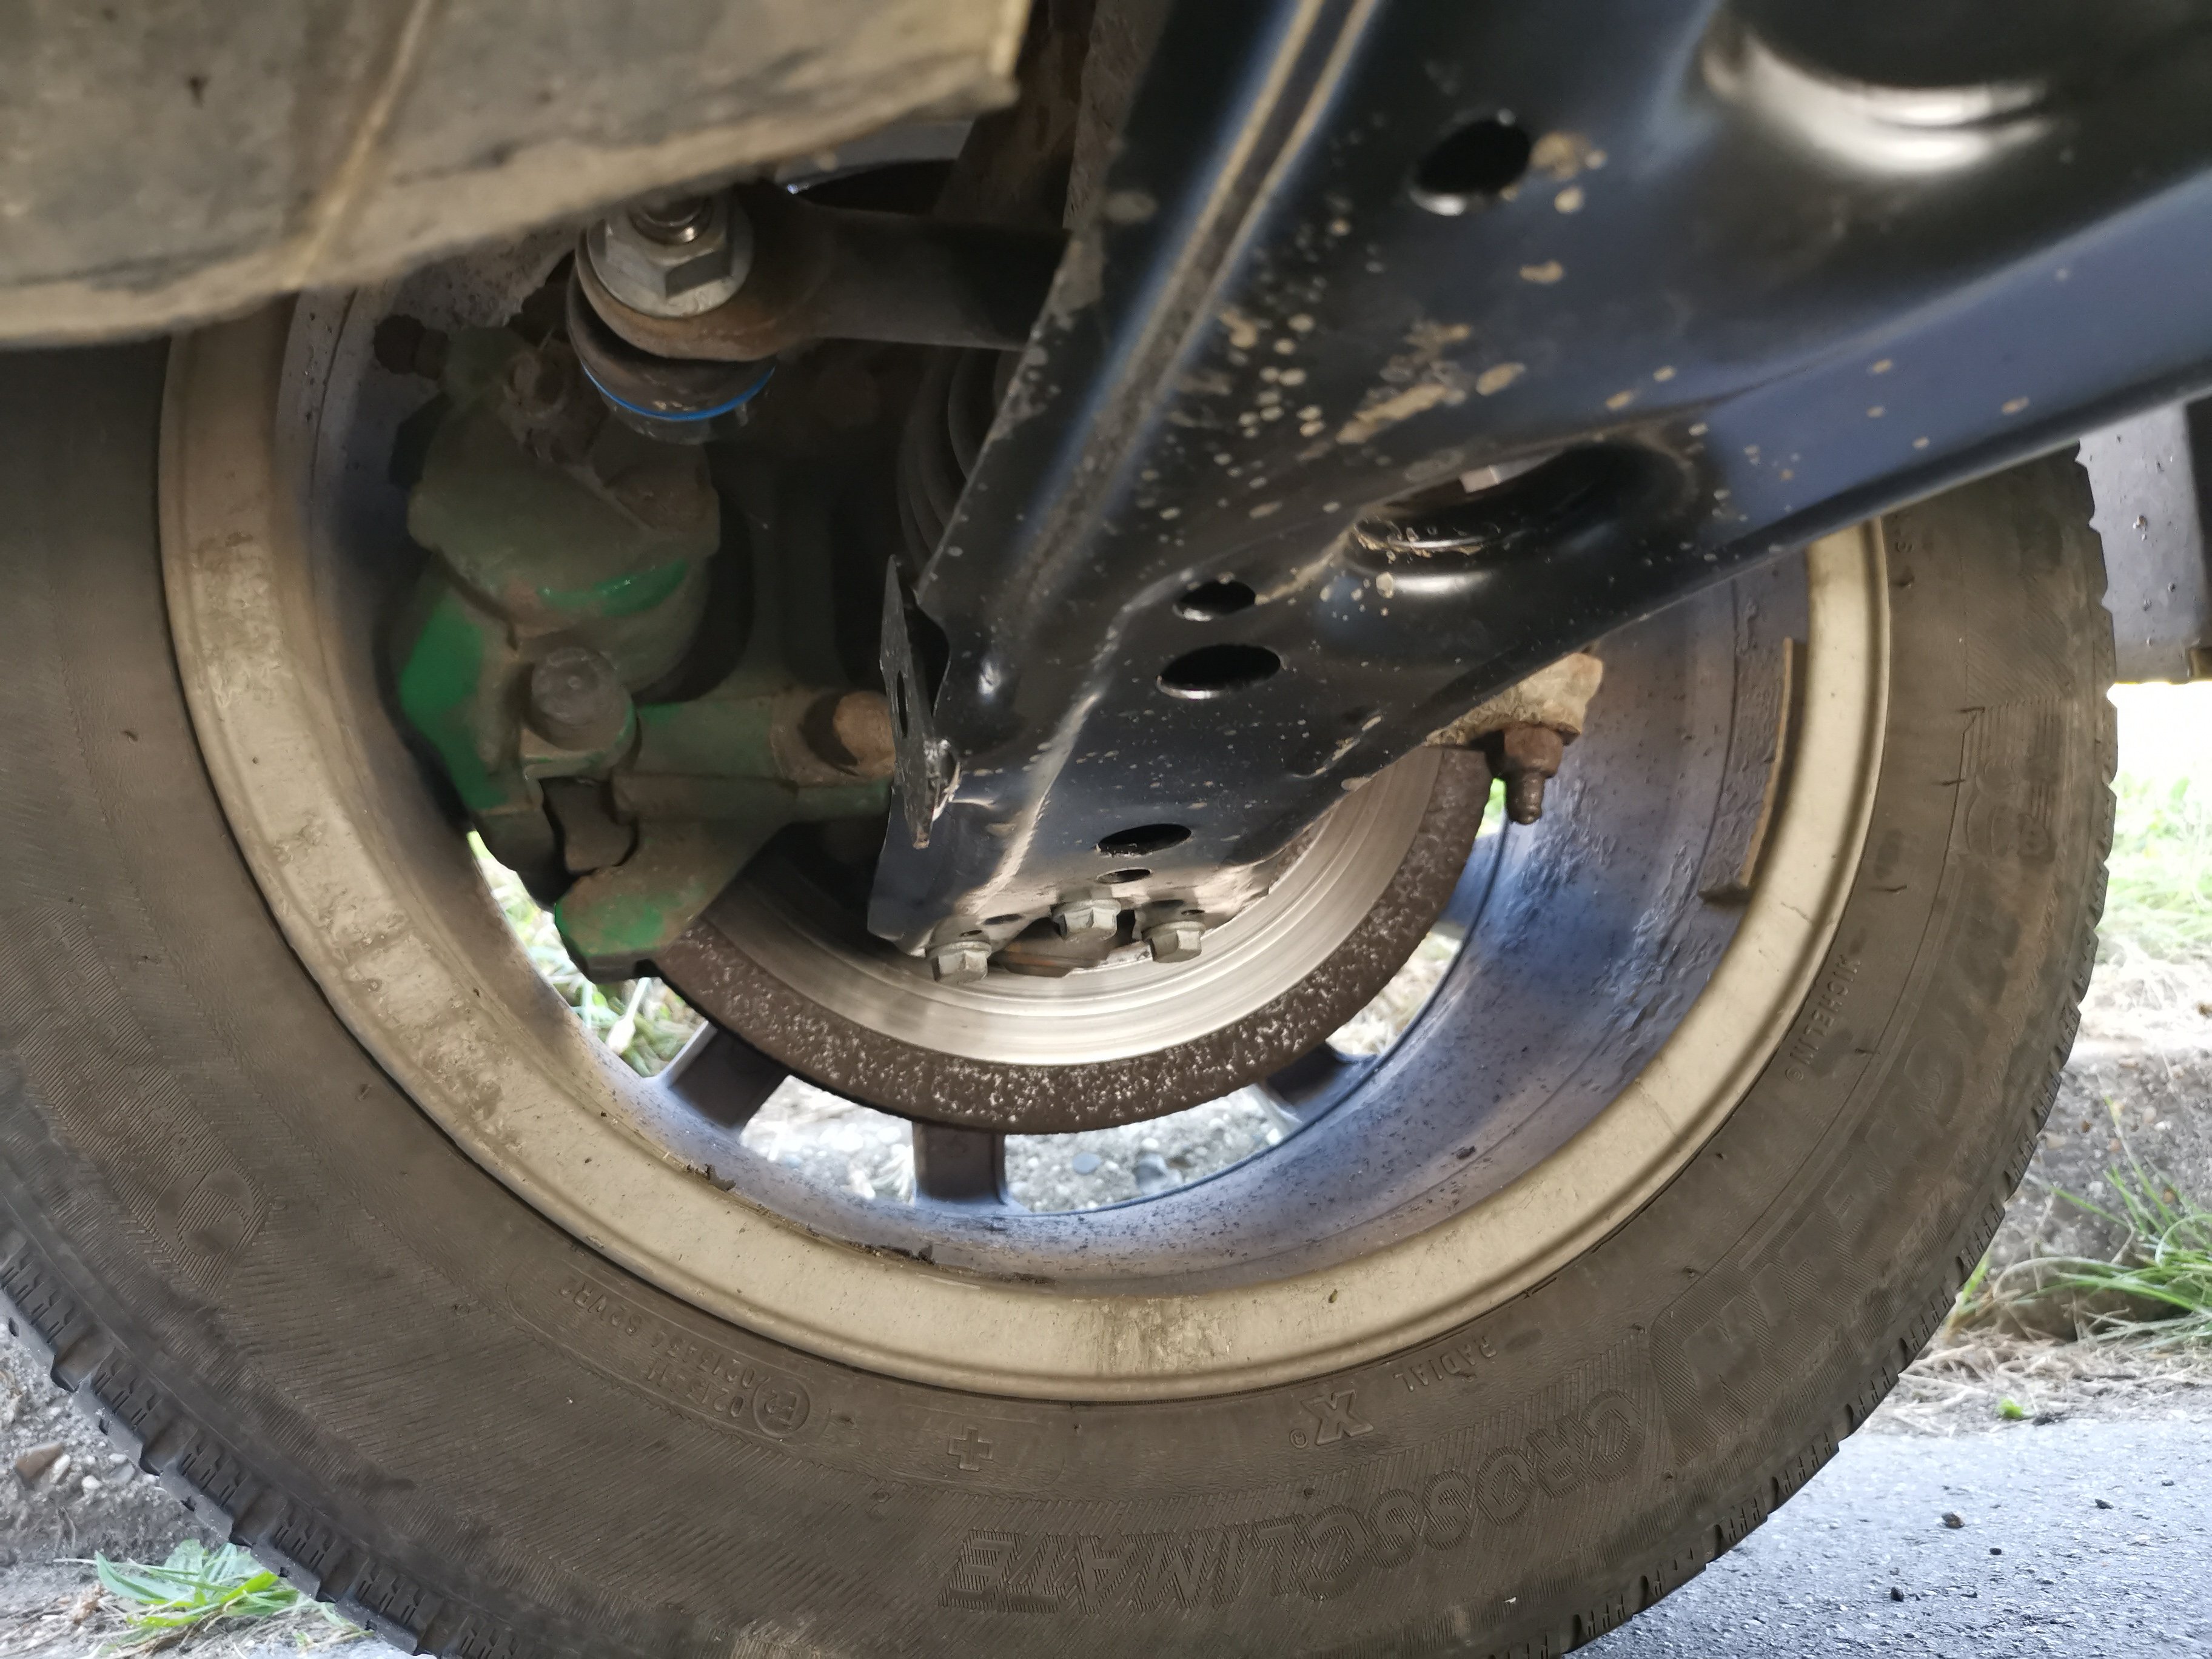
Passed... Advisories on front discs (we knew this, see pic) and front tyres are getting low, that's it. Should be done at the start of December.
 1 point
 -
1 point
-
1 point
-
1 pointScan it with VCDS, that takes all of 5 minutes and will give you far more information.1 point
-
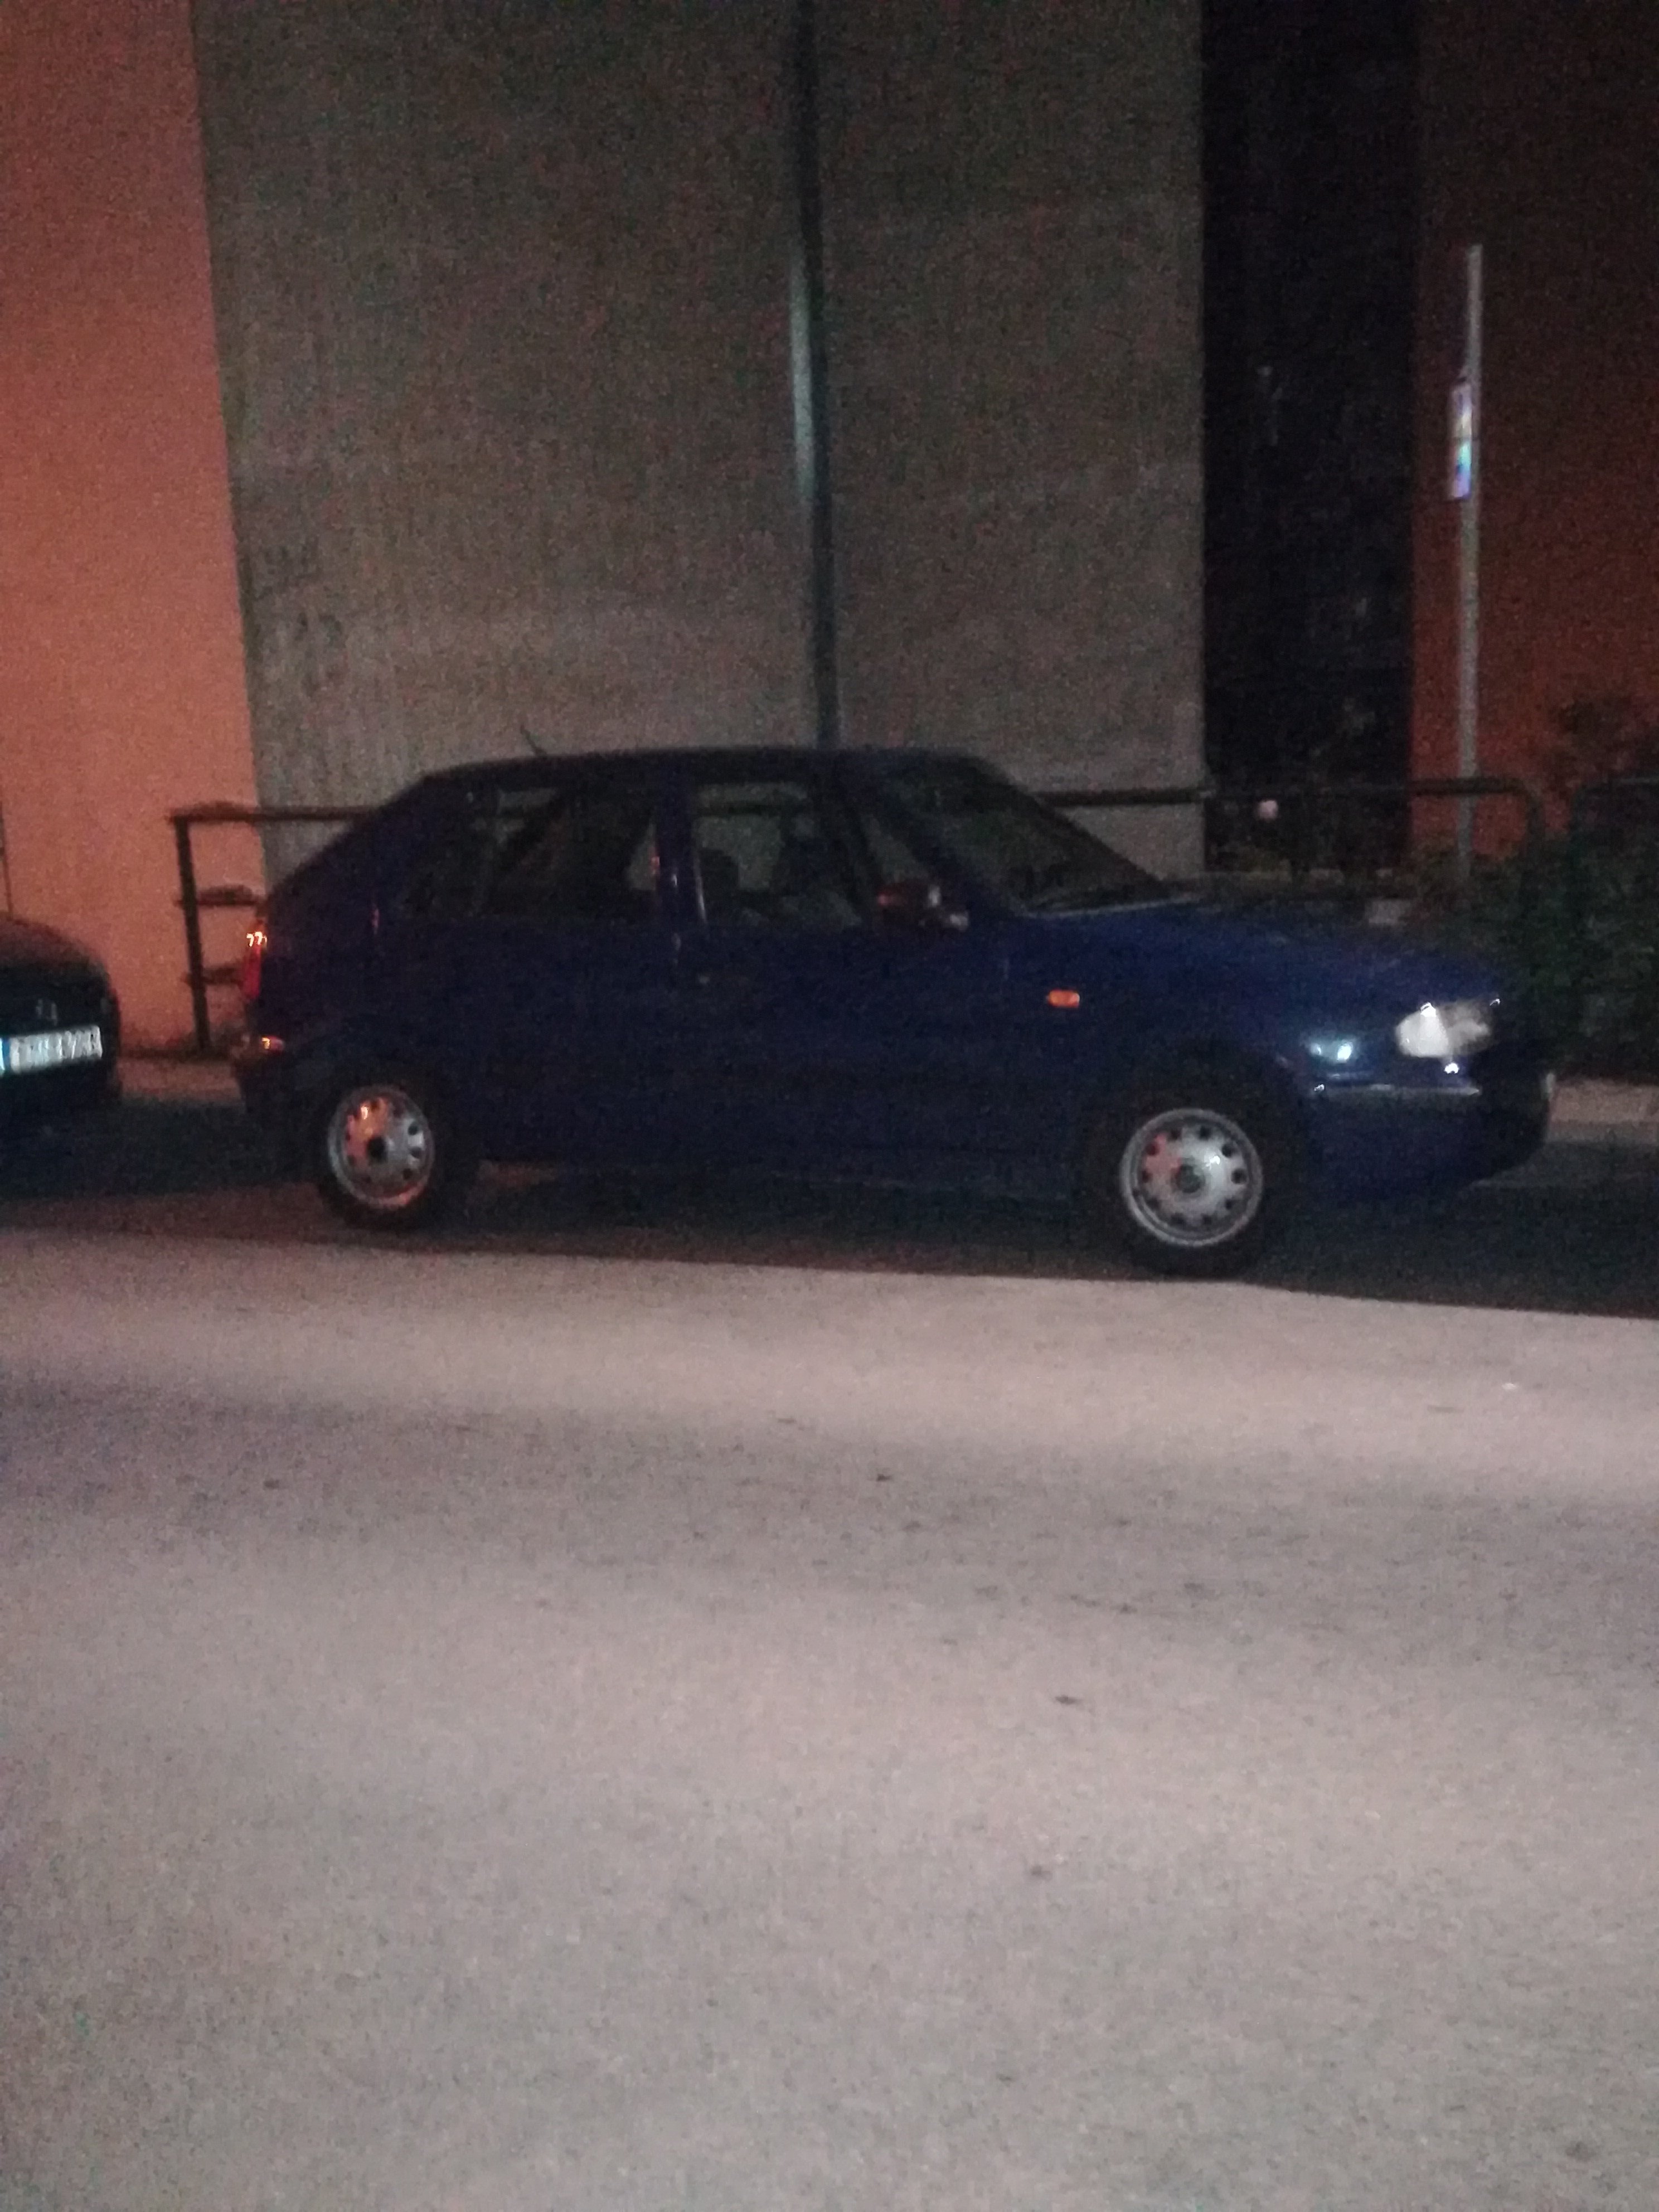
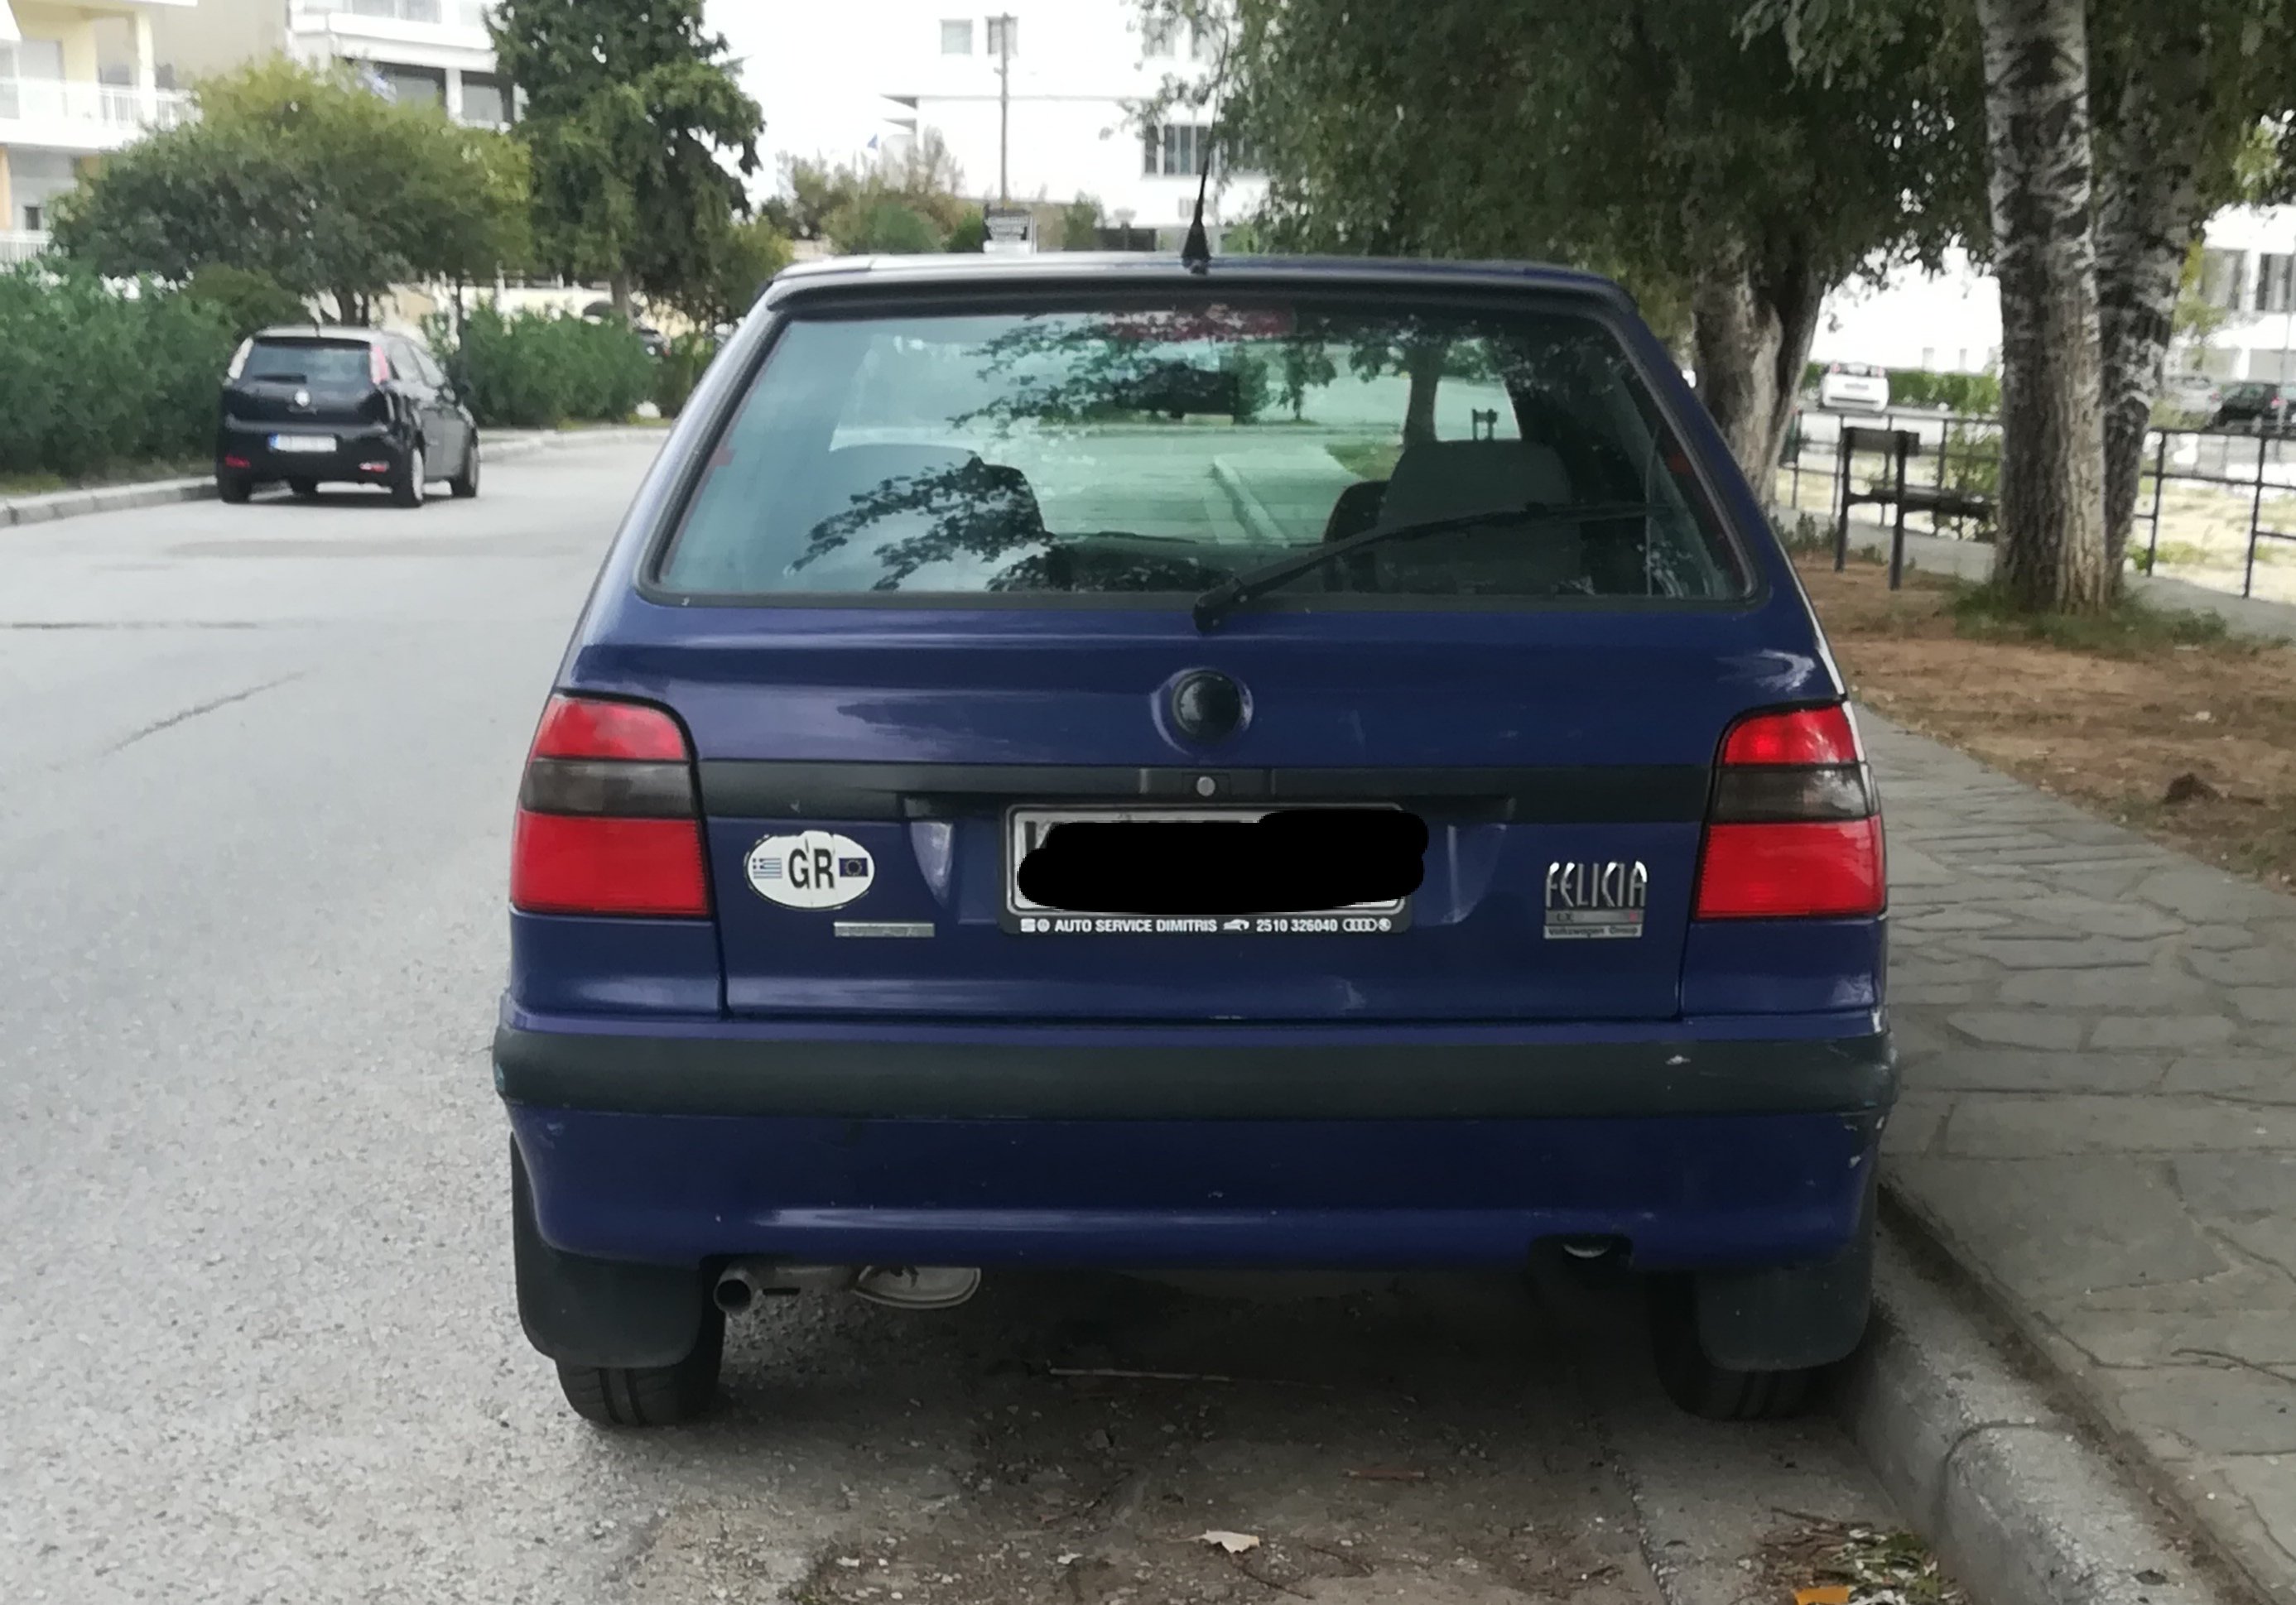
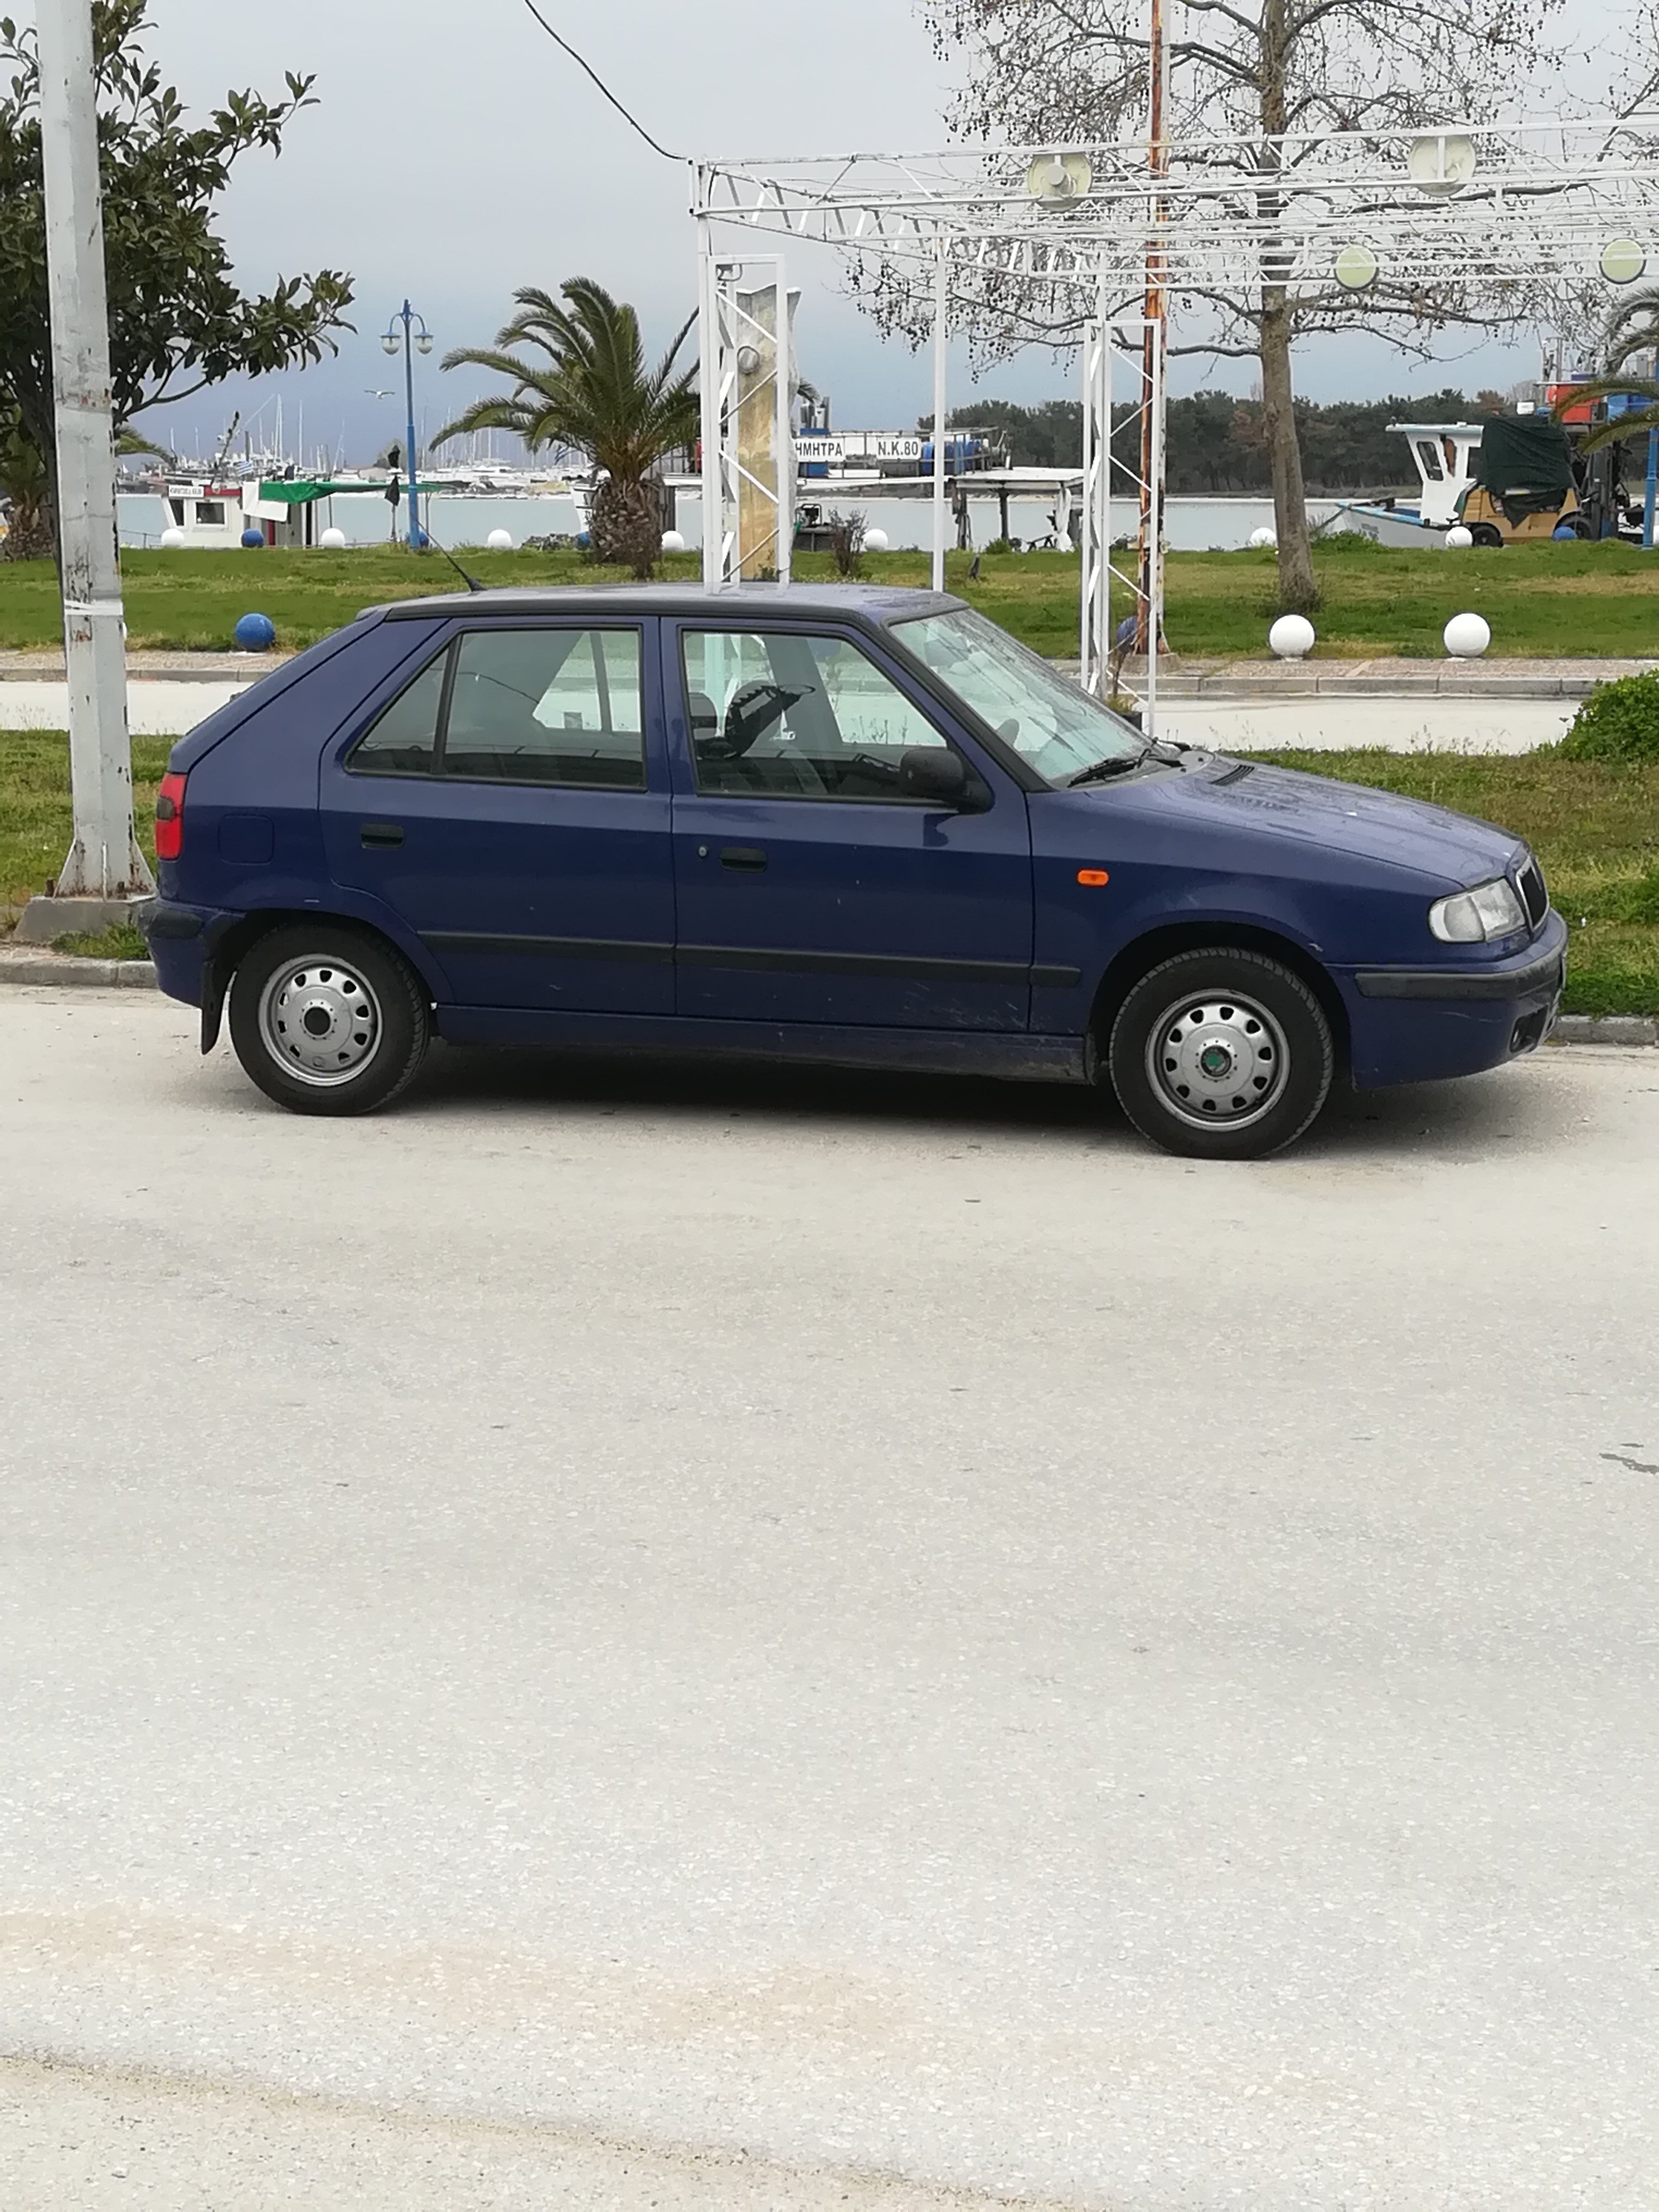
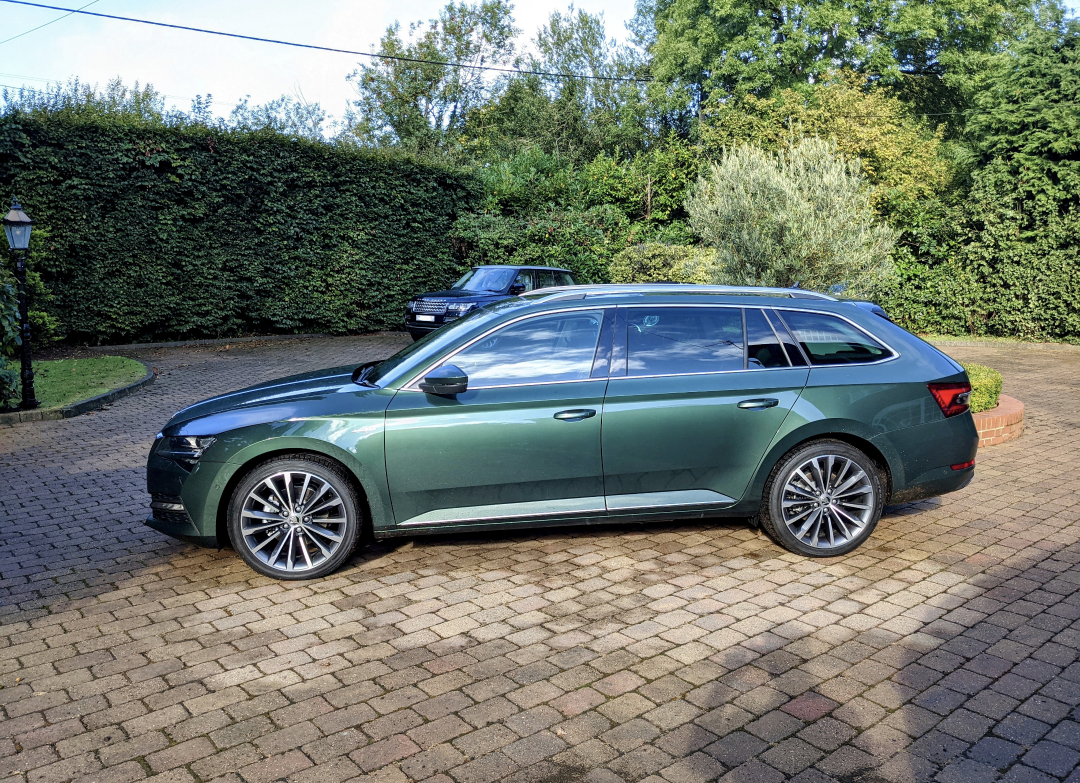
1 pointNew owner, took delivery this week. Pretty happy with the colour!
 1 point
 -
1 pointLearn to check for yourself. Improper temperatures on readings work like the north star 😁1 point
-
1 pointYep, i’m starting to think my dog believes I do it on purpose as he jumps up and looks at it then looks at me as if to say “you knobba”1 point


.thumb.jpg.06721e8c8b33ed0eea16572ff131b291.jpg)