Leaderboard
-
Breezy_Pete
Sponsor25Points24,189Posts -
MikeTheThinker
FREEDOM13Points8,481Posts -
Lady Elanore
FREEDOM11Points24,875Posts -
varooom
Resident Member10Points4,411Posts


Popular Content
Showing content with the highest reputation on 26/01/23 in all areas
-
I suspect at 7 years the battery is on the way out, and needs replacing. Probably better to do this in a controlled way, where you can source a good price than pay lots in a panic when it fails. Is the battery being checked on a cold frosty morning before start up, or after the car has been on a run, engine bay warmed up, and recharged on the way to workshop.3 points
-
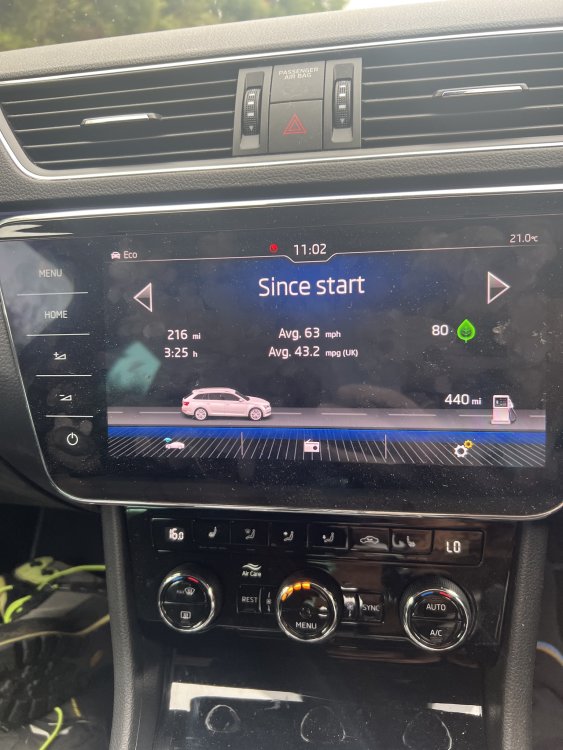
3 pointsYes hopefully work will let me use their power so that will be great if I can do it regularly. I put it on winter mode as it was about 5C and was staying around there so I guess that should be ok. can't lie the charger is great for the £35 I payed for it, can't complain. I have plugged the car in today at 7pm, charger was showing 1 bar out of 5 so clearly was not great, at 11pm I check the charger again at it was at 3 bars so we are making progress. Worked so great and I managed to attach it to the battery and hide controller box in the engine bay and run the cable through a gap so I could fully close the bonnet. ran an extension cable to the car and put that in a plastic bag and under the car. modern problems require modern solutions 😅. at least now I know any rain will not be an issue and I know the car is safe so no engine thieves are nicking my engine... phewww Will leave it on until late tonight so should charge for a total of about 28 hours. I honestly can't wait to be able to use my heating again and listen to some music, I have literally turned everything off in the car for the last week just to use minimal power. So so cold hahahah. will be back tonight to update how it went. 6A version on amazon: 6A Ring Automotive RSC806 Smart Battery Charger 4A version on amazon: Ring Automotive RSC804 smart car battery charger 6v 12v 4A3 points
-
2 points
-
It's been said many times on here that the BMS only charges the battery to a maximum SoC of 80% to allow for this (very minor) regenerative braking effect. Certainly on my previous 1.4TSI which was old enough to be able to see SoC on the maxidot I never saw a value above 80%.2 points
-
2 pointsI don't think MIB1 has Mirrorlink, if this previous thread is anything to go by.2 points
-
2 pointsFor the ABS stuff, check all four tyres are same size. If it's an ASR warning light and it comes on after 10 mins driving, easy problem to solve involving a broken wire or two.2 points
-
2 pointsyes, they can check model number in menu SETTINGS then SYSTEM INFORMATION. To have CarPlay support you must have one of 5Q0035840x / 5Q0035842x / 5Q0035864x / 5Q0035874x where x is a lter A (MY16), B (MY17) or C (MY18). If unit is different then yes, it's possible to change the unit for one that does support apple car play, all the other things will continue to work (car data, reverse sensors, etc) if new unit is properly prepared.2 points
-
@Caj109 Speaking with sales or service desk staff is the issue. Ask to talk to the master tech, a technician, a fitter or even the cleaner.. Maybe even the Workshop Manger. But that is hit or miss.
 2 points
 -
Welcome, You didn't provide any car details of what you're buying, but their statement is bonkers, as they or an independent garage would be able to input, and for warranty they must input these when they do a service. Maybe you spoke to the service desk, and they're not always the sharpest of tools.2 points
-
2 pointsI just want to impart some advice to anyone having starter problems. My Skoda Fabia 2016 Automatic did not start with the starter button. I called out my local garage and he came to try to fix it. I left him with the car and looked up on the internet for the fault. It said to try replacing the key fob battery which I did even though I had not been told it needed replacing. Hey Presto - It Worked! It saved me a long wait in the cold waiting for a recovery vehicle.. I hope this helps someone.2 points
-
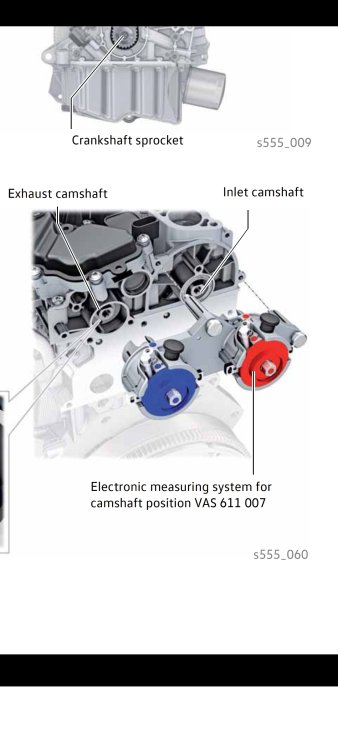
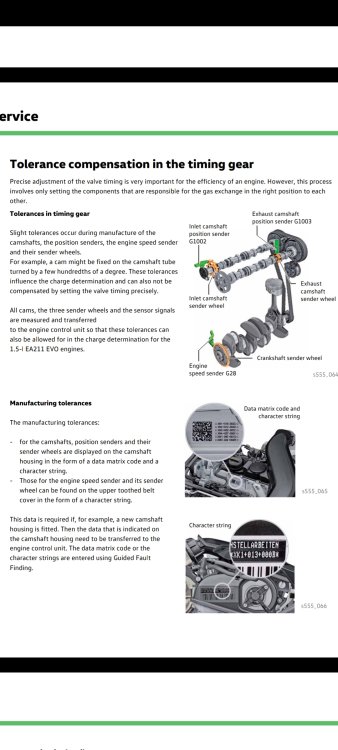
Thanks Varoom for taking the trouble to post those diagrams. It explains exactly why a cam belt change is so costly as half the engine needs to be dismantled.2 points
-
Understanding really, you want to have peace of mind that it will work on the turn of the key. Shop around, as batteries have been hit with the oh so wonderful inflation https://www.tayna.co.uk/car-batteries/types/096-agm/ https://batterygroup.co.uk/batteries-power-electronics/agm-batteries/9483/varta-start-stop-silver-dynamic-agm-e39-12volt-70ah-760a/en-570-901-076-starter-battery-096?number=110058 I took off my factory fitted Varta after 7 years (it was not fully dead, but not happy) and fitted a Varta E39 you can see on the above list, as whatever is inside must be good to live that long IMHO.2 points
-
Charger on car for < 2 hours (I looked after 2 hours and it was fully charged) Plugged into 12v - Only a GPS watch FYI I sent Yuasa the charging readings and they replied 12.58v would not be a reading we would see for a fully charged battery. If it is dropping to 12.18v after a short period of time, that would suggest that the “surface charge” is dissipating leaving a voltage figure of less than 50% state of charge. This could suggest that the battery is deeply discharged and very likely sulphated.( Which would explain why the battery is not reaching a full charge- the ability to store charge is reduced by the build-up of sulphur on the battery plates) The lifetime of any battery would be reduced if it subjected to frequent use at a low state of charge. Testing the CCA reading using an appropriate tester would confirm if the battery were indeed sulphated. On the basis of comments here (thanks to all that have contributed) and from Yuasa, I am inclined to give up and get a new battery.2 points
-
2 pointsSkoda dealers have put he price up lots in last few years, no wonder they have glitzy buildings It should not need a senior technician at very expensive labour rates to do a routine service or oil change. For that much you should be getting a gold plated service where they will do it tomorrow. If you are in a routine queue for workshop time sometime next week where the junior does it, then that is excessive and encouraging you to find an Independent workshop2 points
-
Why do you have to be so objectionable! I have always found Toot to be most helpful on this Forum and would sooner take advice from him than someone like you . It is obvious Toot knows his stuff regarding engines etc. But as you apparently cannot grasp that. Perhaps something to do with your background and lack of engineering experience.2 points
-
2 pointsThe lid is very easy to remove, open the door grab both sides then close about 2 inches then pull one side at a time up and it will clip off the bottom hinge. To re-fit you need to unsure the stops are back behind the top lip then pop the bottom back onto the hinge pins one side at a time. To reconnect the damper you have to have very small hands and take off the cover on the side of the dash so you can see the hole it goes into. John2 points
-
2 points
-
2 pointsPlease note - I am not a mechanic or expert in anything. As my neighbour's older Ring charger and battery tester has (+)5c for winter setting I take it as that, I suppose I should check with Ring to be sure. The winter mode is to allow for the cold as the battery like many other things isn't at its best when cold so there's a small increase in the charger's voltage to help overcome the effects of the cold. The battery likes when the ambient temperature is say 5c to 20c, when it's 30c the battery is (self) discharging itself at double the rate than at (twenty) 20c and at 40c (as we saw here last summer) the discharge is double the rate than at (thirty) 30c. If the battery itself is already warmer you do not want or need to increase the voltage to overcome the cold. No doubt the charger could be made a lot more complex with various and variable settings but more complex often means more problems, as you've found on the car already. You already have 6-amps over 4-amps you don't want to be rushing anymore in my opinion. You're better off charging the battery before it gets too low so this will take a shorter time than if it's at a lower state of charge whatever amperage of charger you use. Not letting the battery get too low in state of charge will also extend the life of the battery. Both of these mean there is less need for higher faster charges.2 points
-
I'm in the process of buying a used skoda from Garland Skoda Aldershot, but when asking them if the service they're doing will be added to erwin they said they've never heard of this? I've asked the name of the online system for future reference. Funny enough I've been able to get access to erwin and checked the VIN of the new car I'm buying and it does show an input from Garland Motors of delivery of the vehicle when new. So I would assume the service they do on it before I get it would be put on there? He did mention customers don't have access and get print outs which is understandable. Cheers1 point
-
1 pointIt might just be me being thick but i am amazed at how complicated things have gotten. Back in the day it was only a choice between cross ply or radial 😀 , even then it was an easy choice depending on how much you had in your wallet 😀1 point
-
1 point2022! what with one thing and another (the economic climate, covid) it hardly gets used, except for a quick "Mr Toad" dash around the local sections of the M41 point
-
Likewise, and I think it's his 3rd or 4th gen handle.1 point
-
1 pointI release more dangerous gasses (quantity) They are fairly well sealed for life, and the days of boiling batterys is rare (not heard of anything recently)1 point
-
1 pointIf this is the BKW engine then you just need to keep an eye on the belt condition and watch out for any oil contamination, it's EXTREMELY unlikely to give any trouble.1 point
-
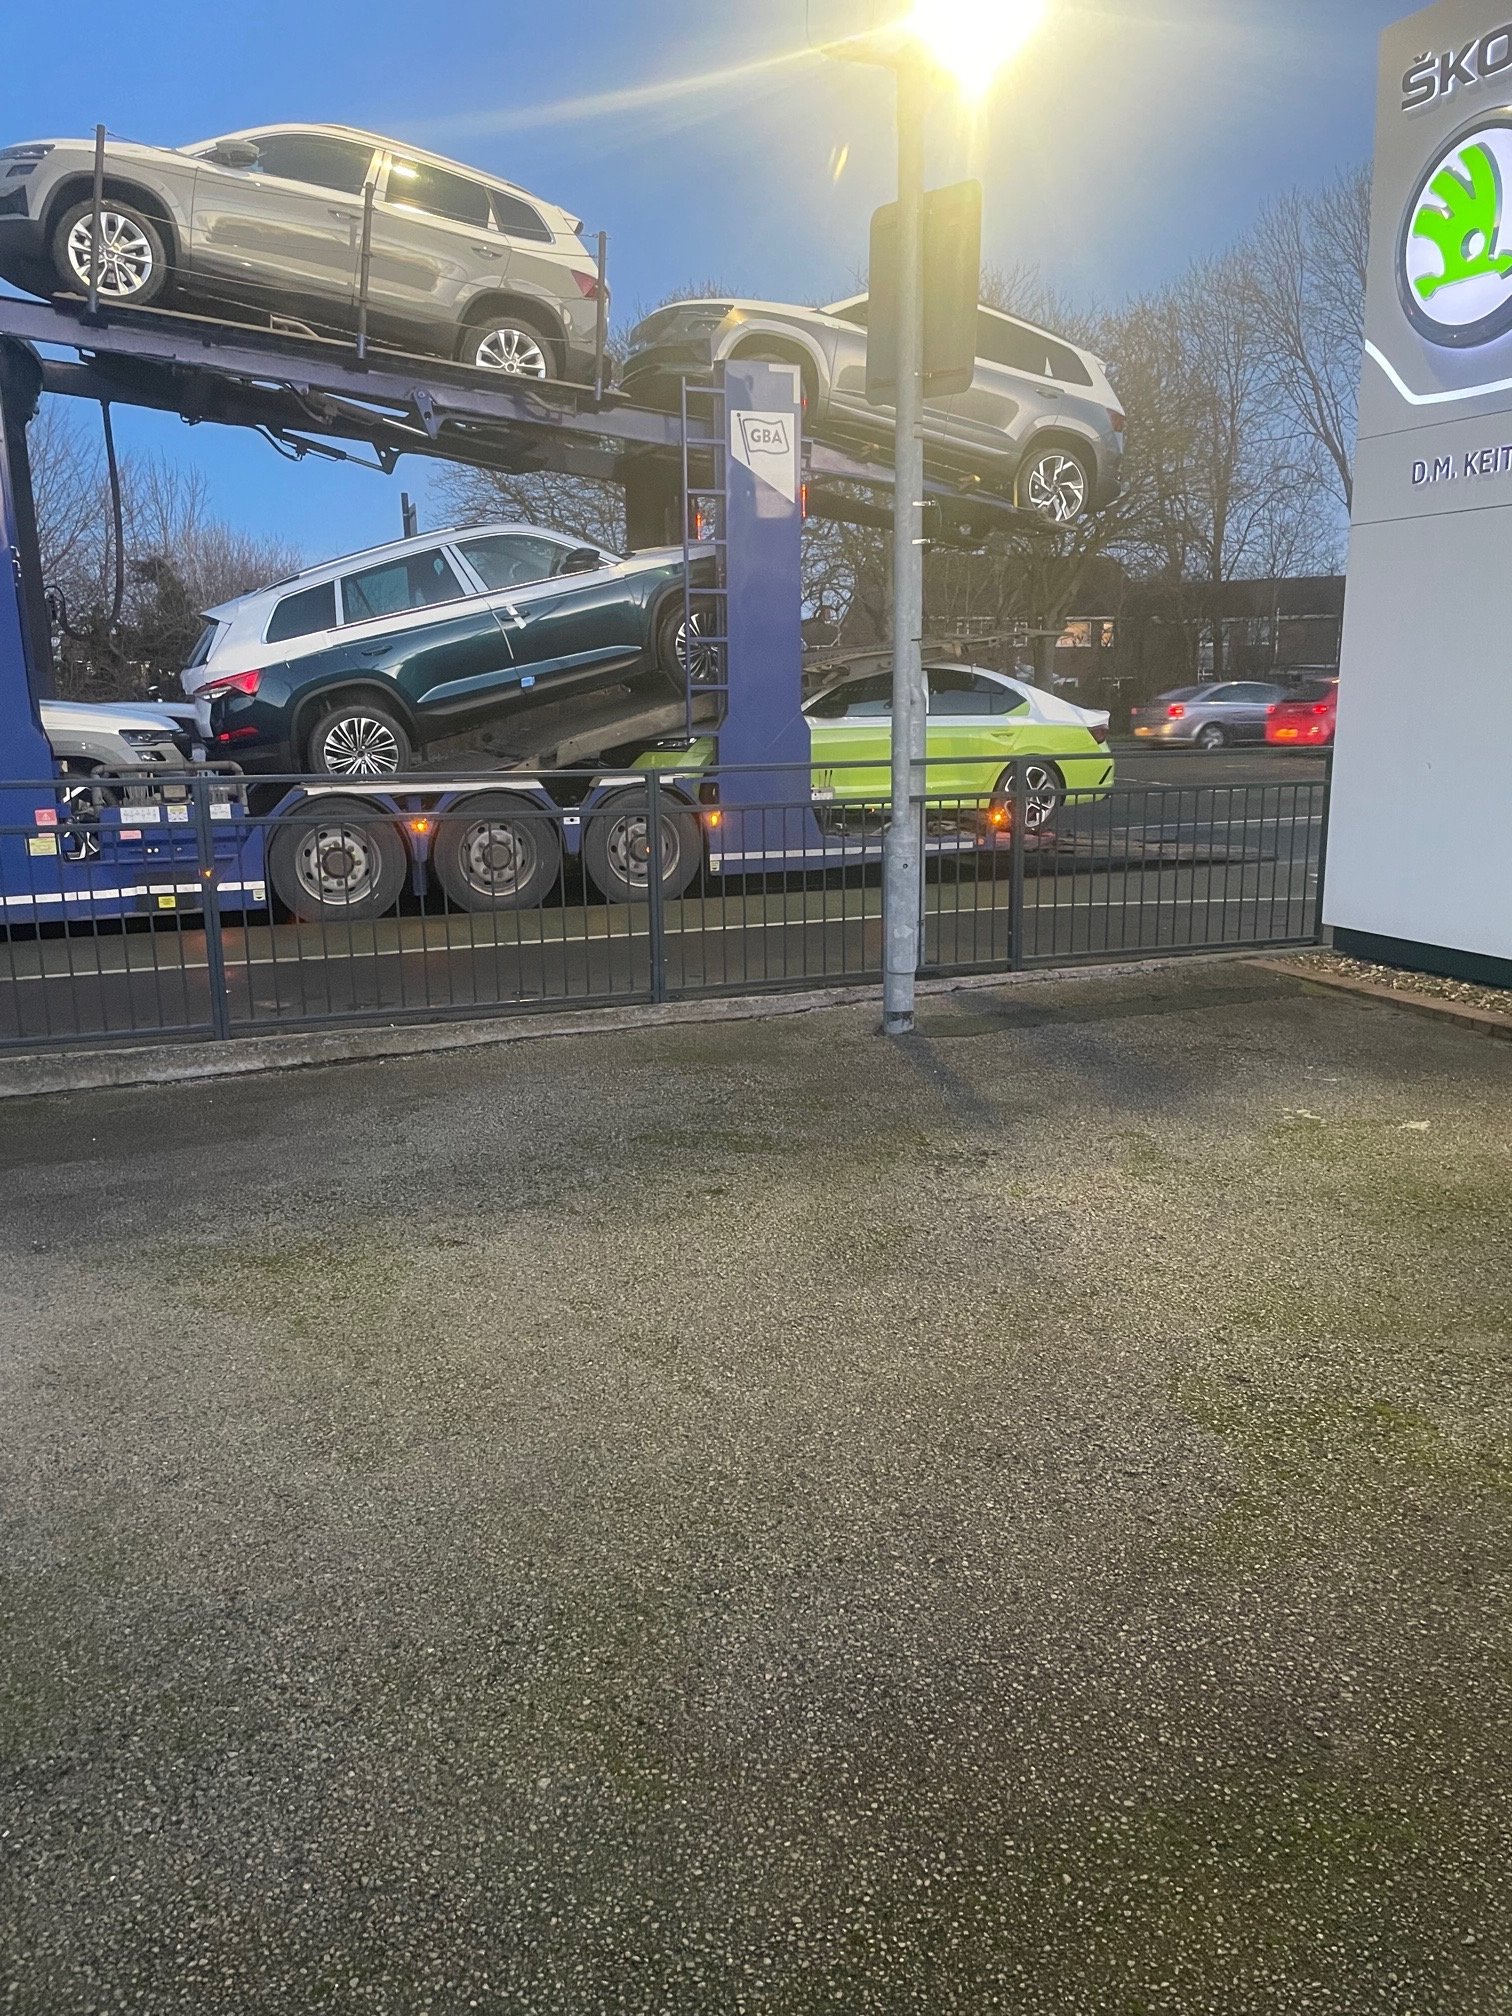
1 pointIf VW Group can not get the Fleet Average co2 in the UK where they need it to be then there will be lots of vehicles / drive trains that will not be getting imported and registered in the UK. They need many more electrified vehicles and full EV's first registered to ensure they are not going to pay a penalty on every vehicle the register in the UK. The partners from other manufacturers are the same as VW Group in not getting enough Full EV's into the UK to assist VW Group on the Fleet Average kidology. I thought the Up! GTI was a real drivers car in a country with a max speed limit of 70 mph and on real Drivers roads just 60 mph max.1 point
-
1 pointIt was sitting at around 12.5/12.4 so clearly not great. Just checked and its at 14.6v now so I think not long until we are at full. I had a look around and taking into consideration the delivery speed I think £35 is reasonable. I did use an outside socket and the bad was in a way that air could get in easily but no water. I will keep it out the bonnet from now on, had not really thought about any danger like that. Will update tonight after the drive home.1 point
-
@Caj109 I do not know anything about the 2017 manual and if it has a VAQ Diff. Front. If it has then the Servicing is @ 3 years / 30,000 miles, so was due in 2020 and now in 2023. Others can maybe tell you, or erWin. PS The thing with that Chart and other. That is fixed service regime. So if on Variable / Flexible it is not working out. Maybe first service a 24 months / 18,000 -20.000miles. Then MOT at 3 years, maybe a service, maybe not. So see what the FSH shows. Then ask more about stuff. The Service Folder of loose leaf info often gets binned. 2021, sort of helped. then 2022 is in the website.
.webp.ee5b8a609f78b3b2f42441d7532010fa.webp.03b-3b664b7942fca3ad3bc.webp.f393ed8c476db32331ff95a994fd58a3.webp.9ab666d6d3263f44c96f9b05ae891d22.webp) 1 point
1 point -
I believe you are looking for one of THESE - 1K0971981A, which appears to be common to most (if not all) the VW ranges for that era.1 point
-
Seems to be a regular and very longstanding thing with VAG with one poorly designed engine / gearbox or 'tother. Isuspect their pinnacle of engineering excellence has long since passed - probably in the 1940's. We should be thankful that they are nothing to do with the design and manufacture of the Leopard 2 tank 🙂1 point
-
Please note - I am not a mechanic or expert in anything. Yes I think it might be best for you and I'd suggest you perhaps also considered a new 4-amp smart charger for the new replacement battery. The AGMs do run at lower voltage more happily and will show lower figures on the VW start/stop cars in normally use. I was going to put you'd need to ask Yuasa if the 4-amp charging they recommend was for bench charging of retailers stock or for end retail customers during the battery's life. Your present battery might be able to be revived for other than use on your car - or about £8 recycle value at least. Also I've no idea what electric a GPS watch uses but any low use if constant adds up, it's like items on standby in the home or a small water leak in home they turn the meter very slightly but constantly so add to your bill at the end of the month, quarter or year. When you get the new battery check what charge is in it and consider topping it up before fitting if you want a fixed starting point. Good luck let us know how you get on, don't forget to 'code' the new battery and clear any error codes to start fresh at that point.1 point
-
Please note - I am not a mechanic or expert in anything. That doesn't sound right to me, 15 mins stop-start driving not getting above 40mph I'd expect to see more than 72c on the oil temperature of my wife's 2015 1.2 TSI (90), different cars and driving of course but given the heater running cool and even the biased coolant needle not being at 90 the first thought would be that perhaps the thermostat isn't closing or fully closing. Never rely just on error codes and as you've found no errors codes doesn't mean there everything is running as it should.1 point
-
1 point
-
1 pointGood grief! That's one heck of a delay. (Hope you don't mind me editing your quoted post to add the missing "4" in "2024".)1 point
-
1 pointI would do the same if I get any more , glad you are happy with your new car choice1 point
-
I have already replied to you in another forum - by loading container file dedicated for Fabia.1 point
-
1 pointI had a problem with diesel fumes, turned out to be one of the injectors was leaking, once the engine cover was removed I could see diesel around the top of the injectors.1 point
-
1 point
-
Not sure if this will help, but if you have this calibration printed on your engine, you will have the expensive cambelt change. Look for this... VAS 611 007 Calibration tool needed
 1 point
 -
I too had this if the windscreen fogs up inbetween the glass and camera that can cause it. So can a dirty screen infront of the camera etc.1 point
-
1 point
-
1 pointHi i've ordered my octavia 1.5 tsi sportline last year in July. Dealer also rang me last week that car will be built in February and arrived in worst case in beggining of March so for now I must tell that i thought I will wait much longer. 😀1 point
-
1 point
-
1 pointSkoda could make you wait until it has cleared newer more expensive orders, and has spare factory capacity, which might not be anytime in next 24 months. Alternatively might just build any remaining orders when they want to close production of the model, so can retool factory for next model, but that brings the risk that get a model about to be superseded. Sadly I think those with regularly slipping forward build dates are in a keep at back of queue scenario.1 point
-
1 pointIf customers like us with ancient orders cancel them, Skoda wins and sells these cars with generous profit. So we have no other choice, but to disappoint them by waiting 😂1 point
-
1 pointStill preliminary... I start to believe this conspiracy theory, that Skoda delays such orders like mine hoping I will cancel them... because when they compare current production cost and the price I got when I ordered it in 2021, they see that this order is not profitable anymore.1 point
-
1 pointHad a call from the dealer yesteday informing me that the car has arrived. Should pick it up on Monday 23rd Jan, all in all it has been just over a year between order and delivery.
 1 point
 -
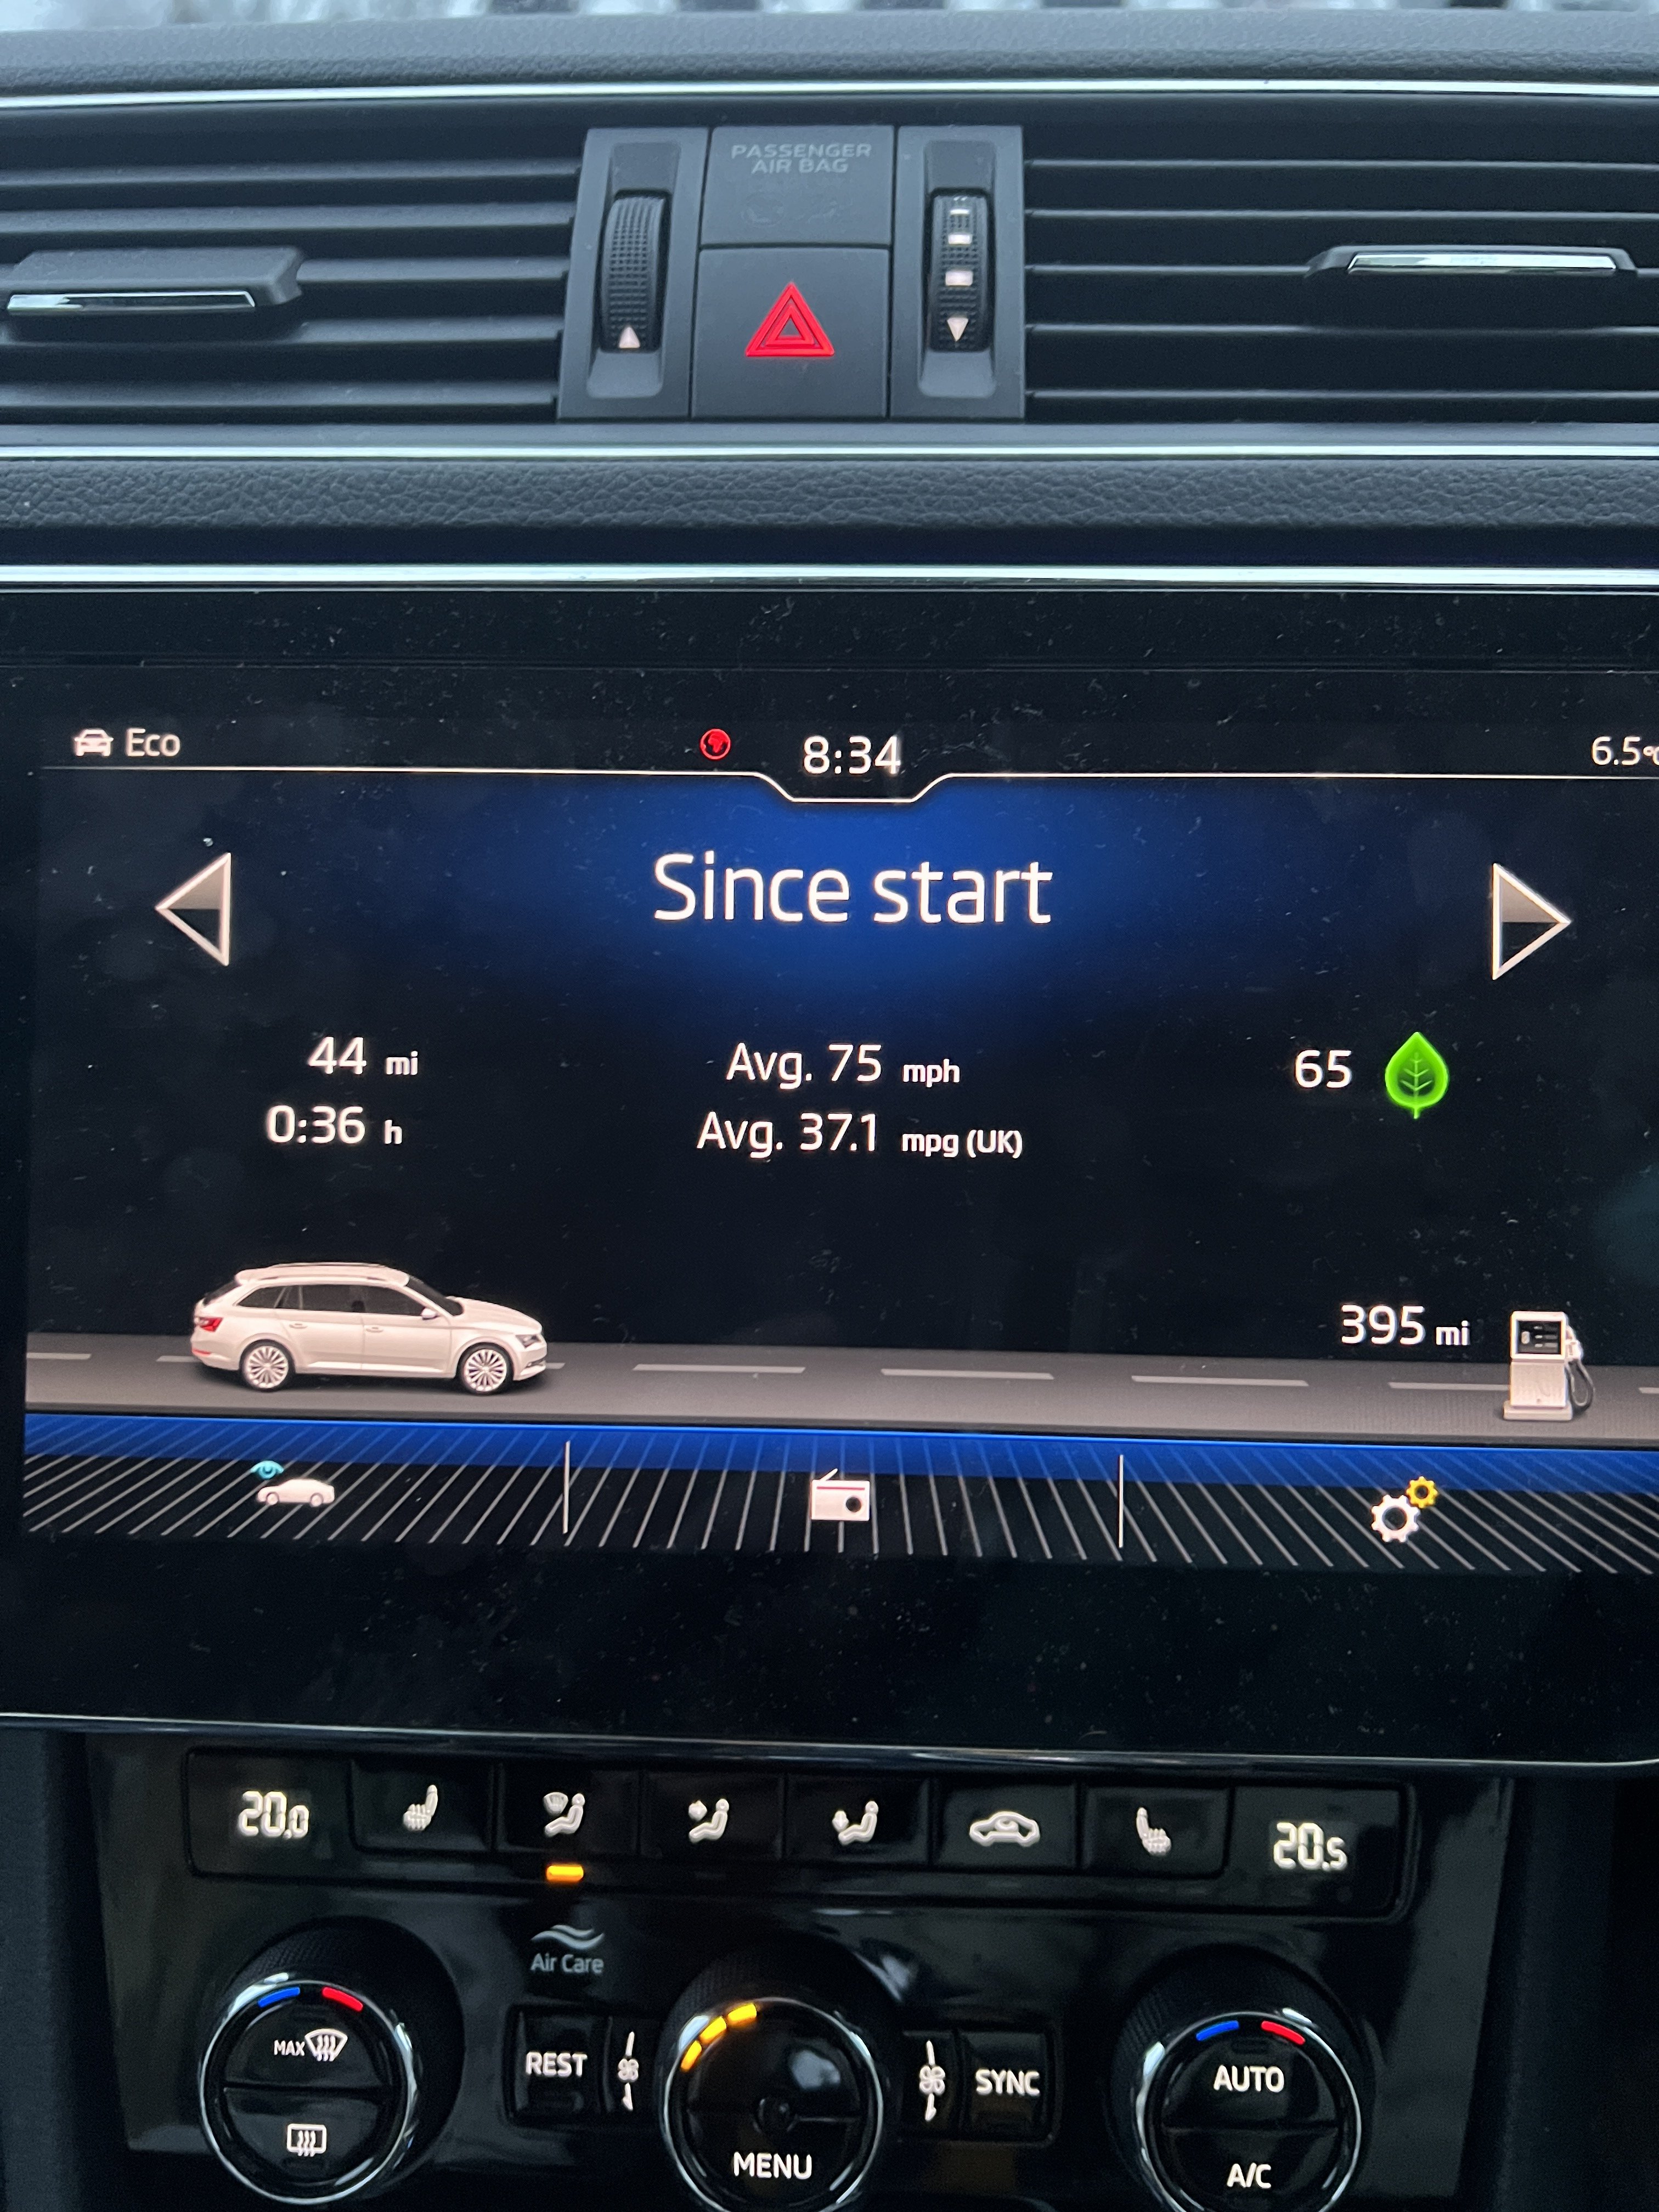
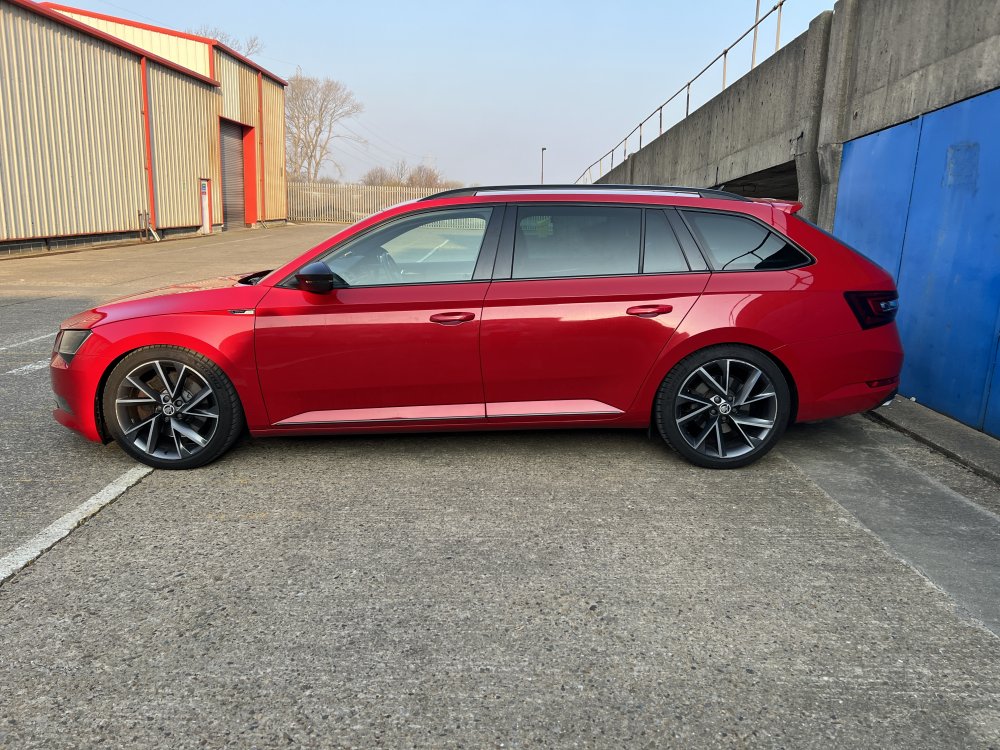
I have the same 272.sportline plus. Late 2018 68 plate. Velvet red. it is 7speed dq381 better box. Does rev lower at motorway speeds. It has gpf AND it still has exhaust flaps if you are that way inclined lol. Amazing car and mine is lowered on koni special actives with H&R springs and has the box and engine mapped. With r600 induction , Racingline elbow and pipe and turbo muffler delete.. golf club sport discs..370bhp 530nm. And still returns high 30’s sometimes low 40’s on a steady run:

 1 point
 -
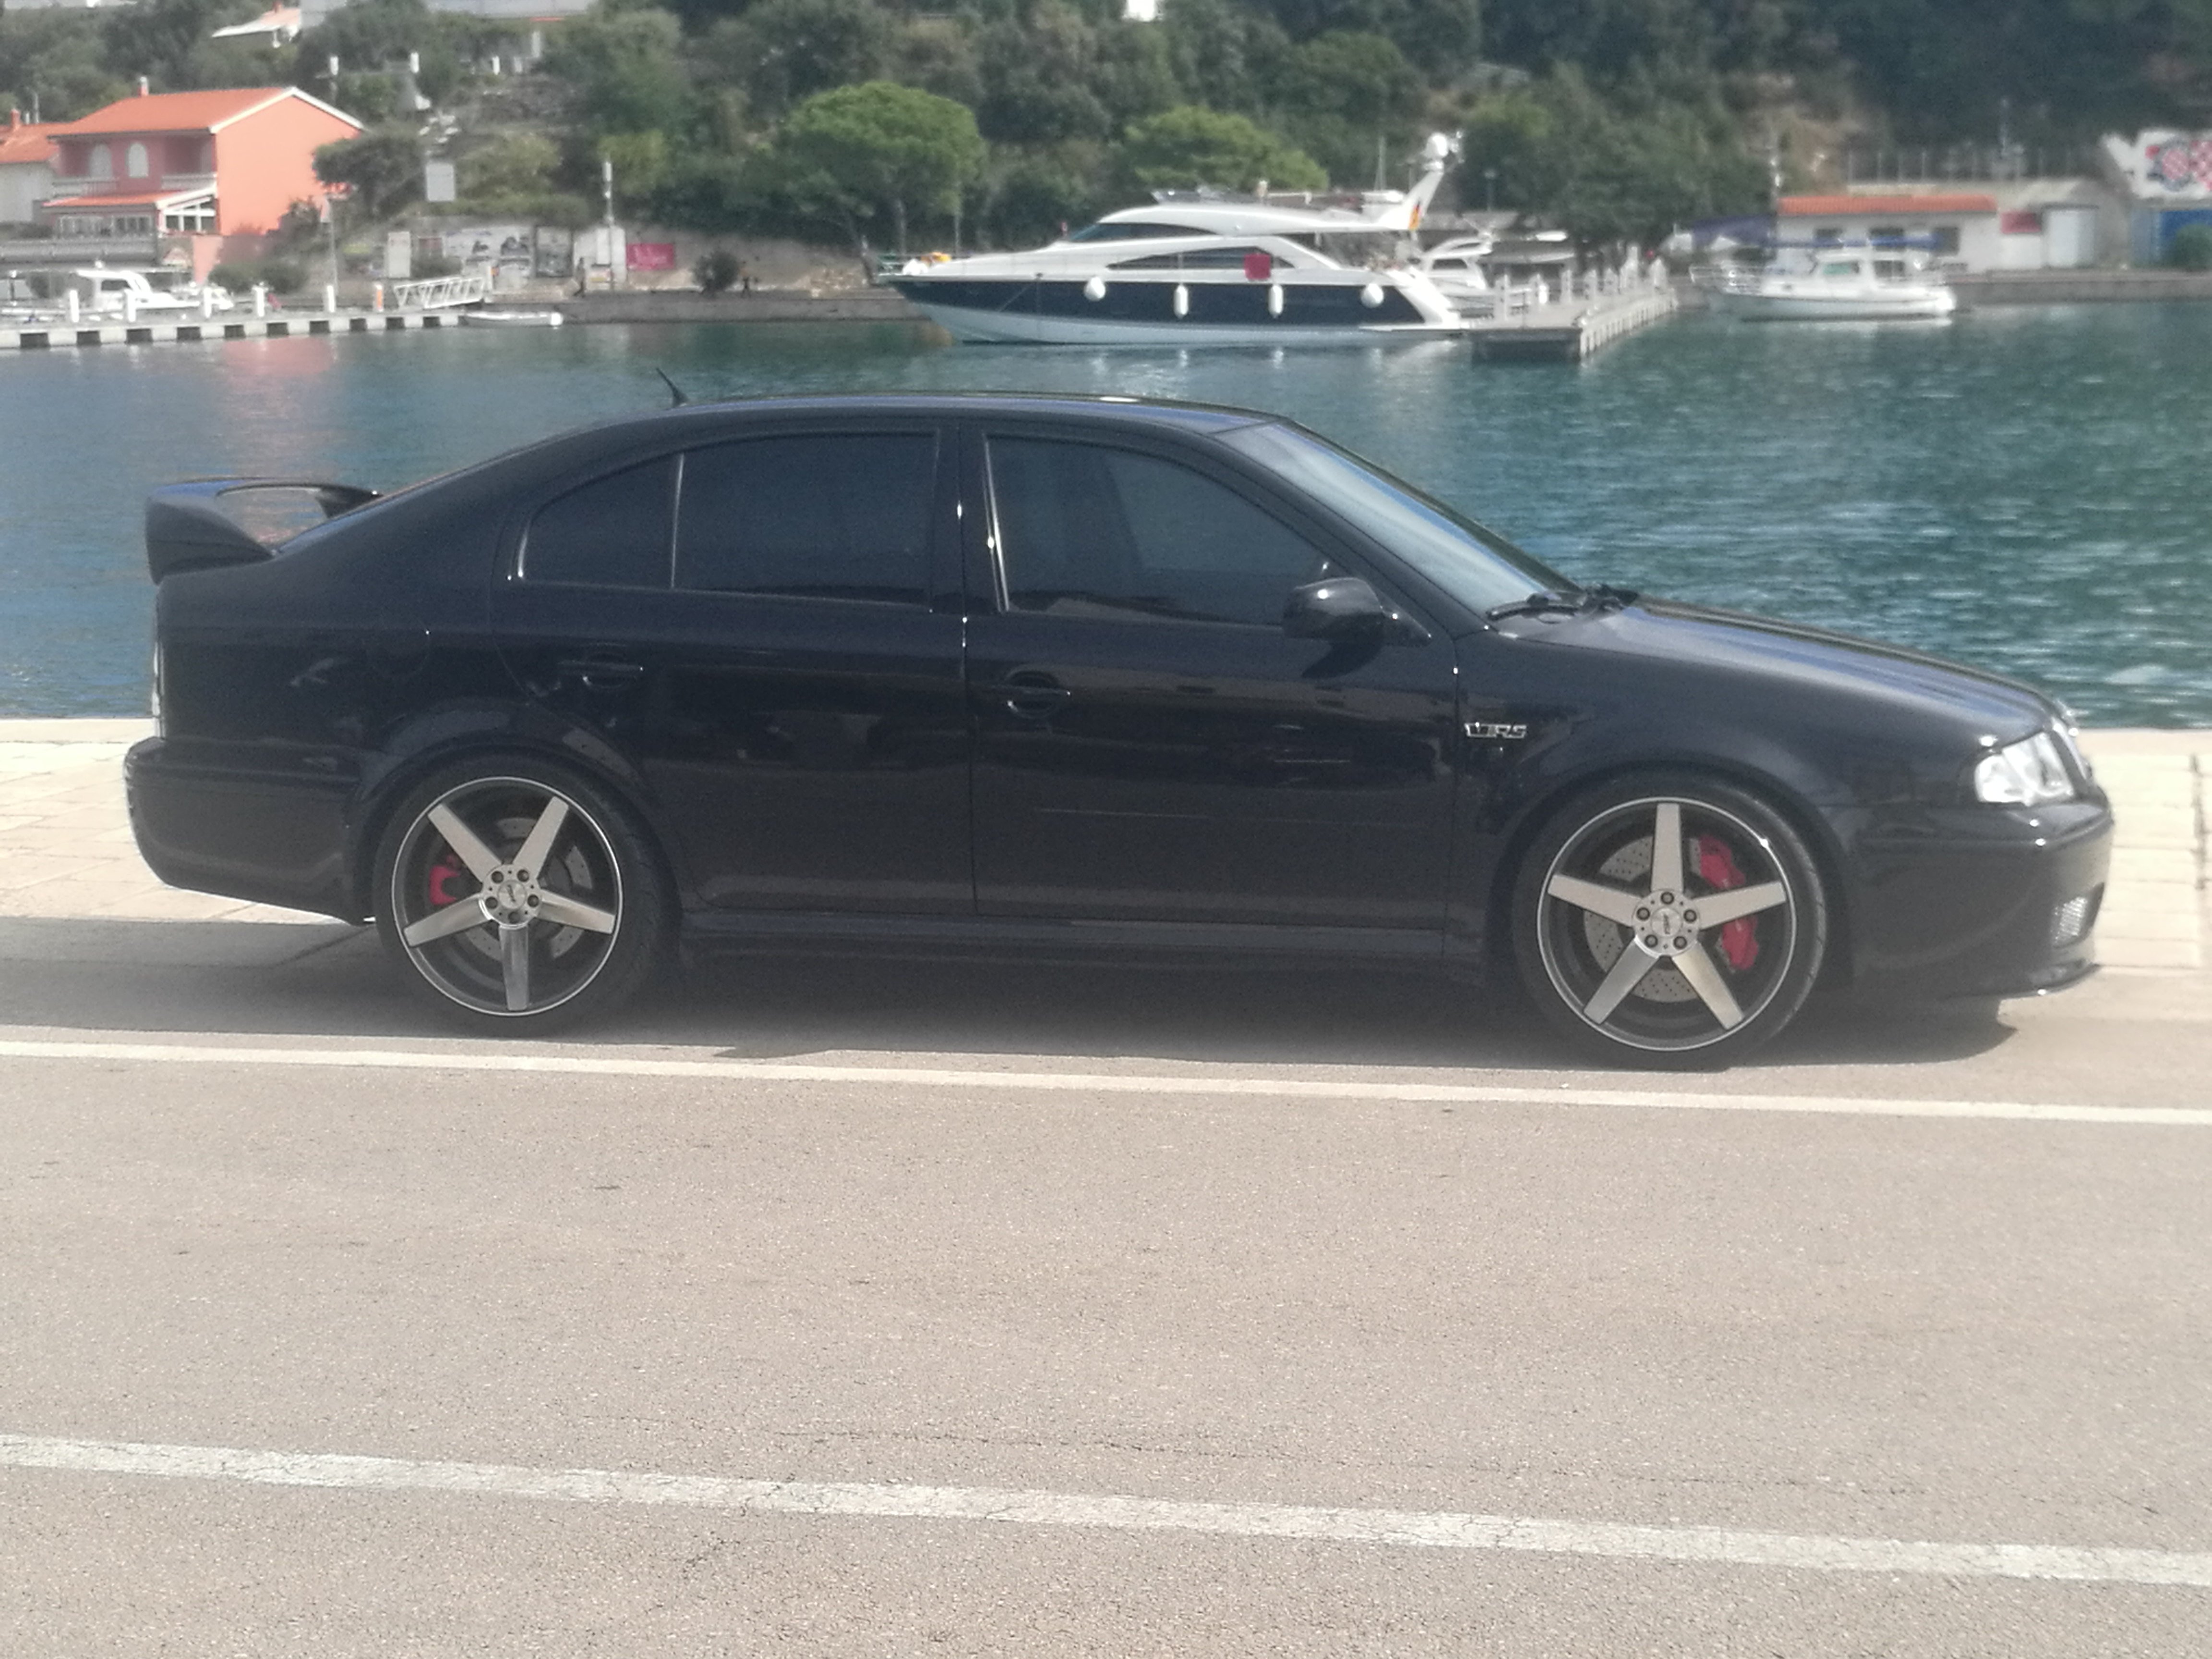
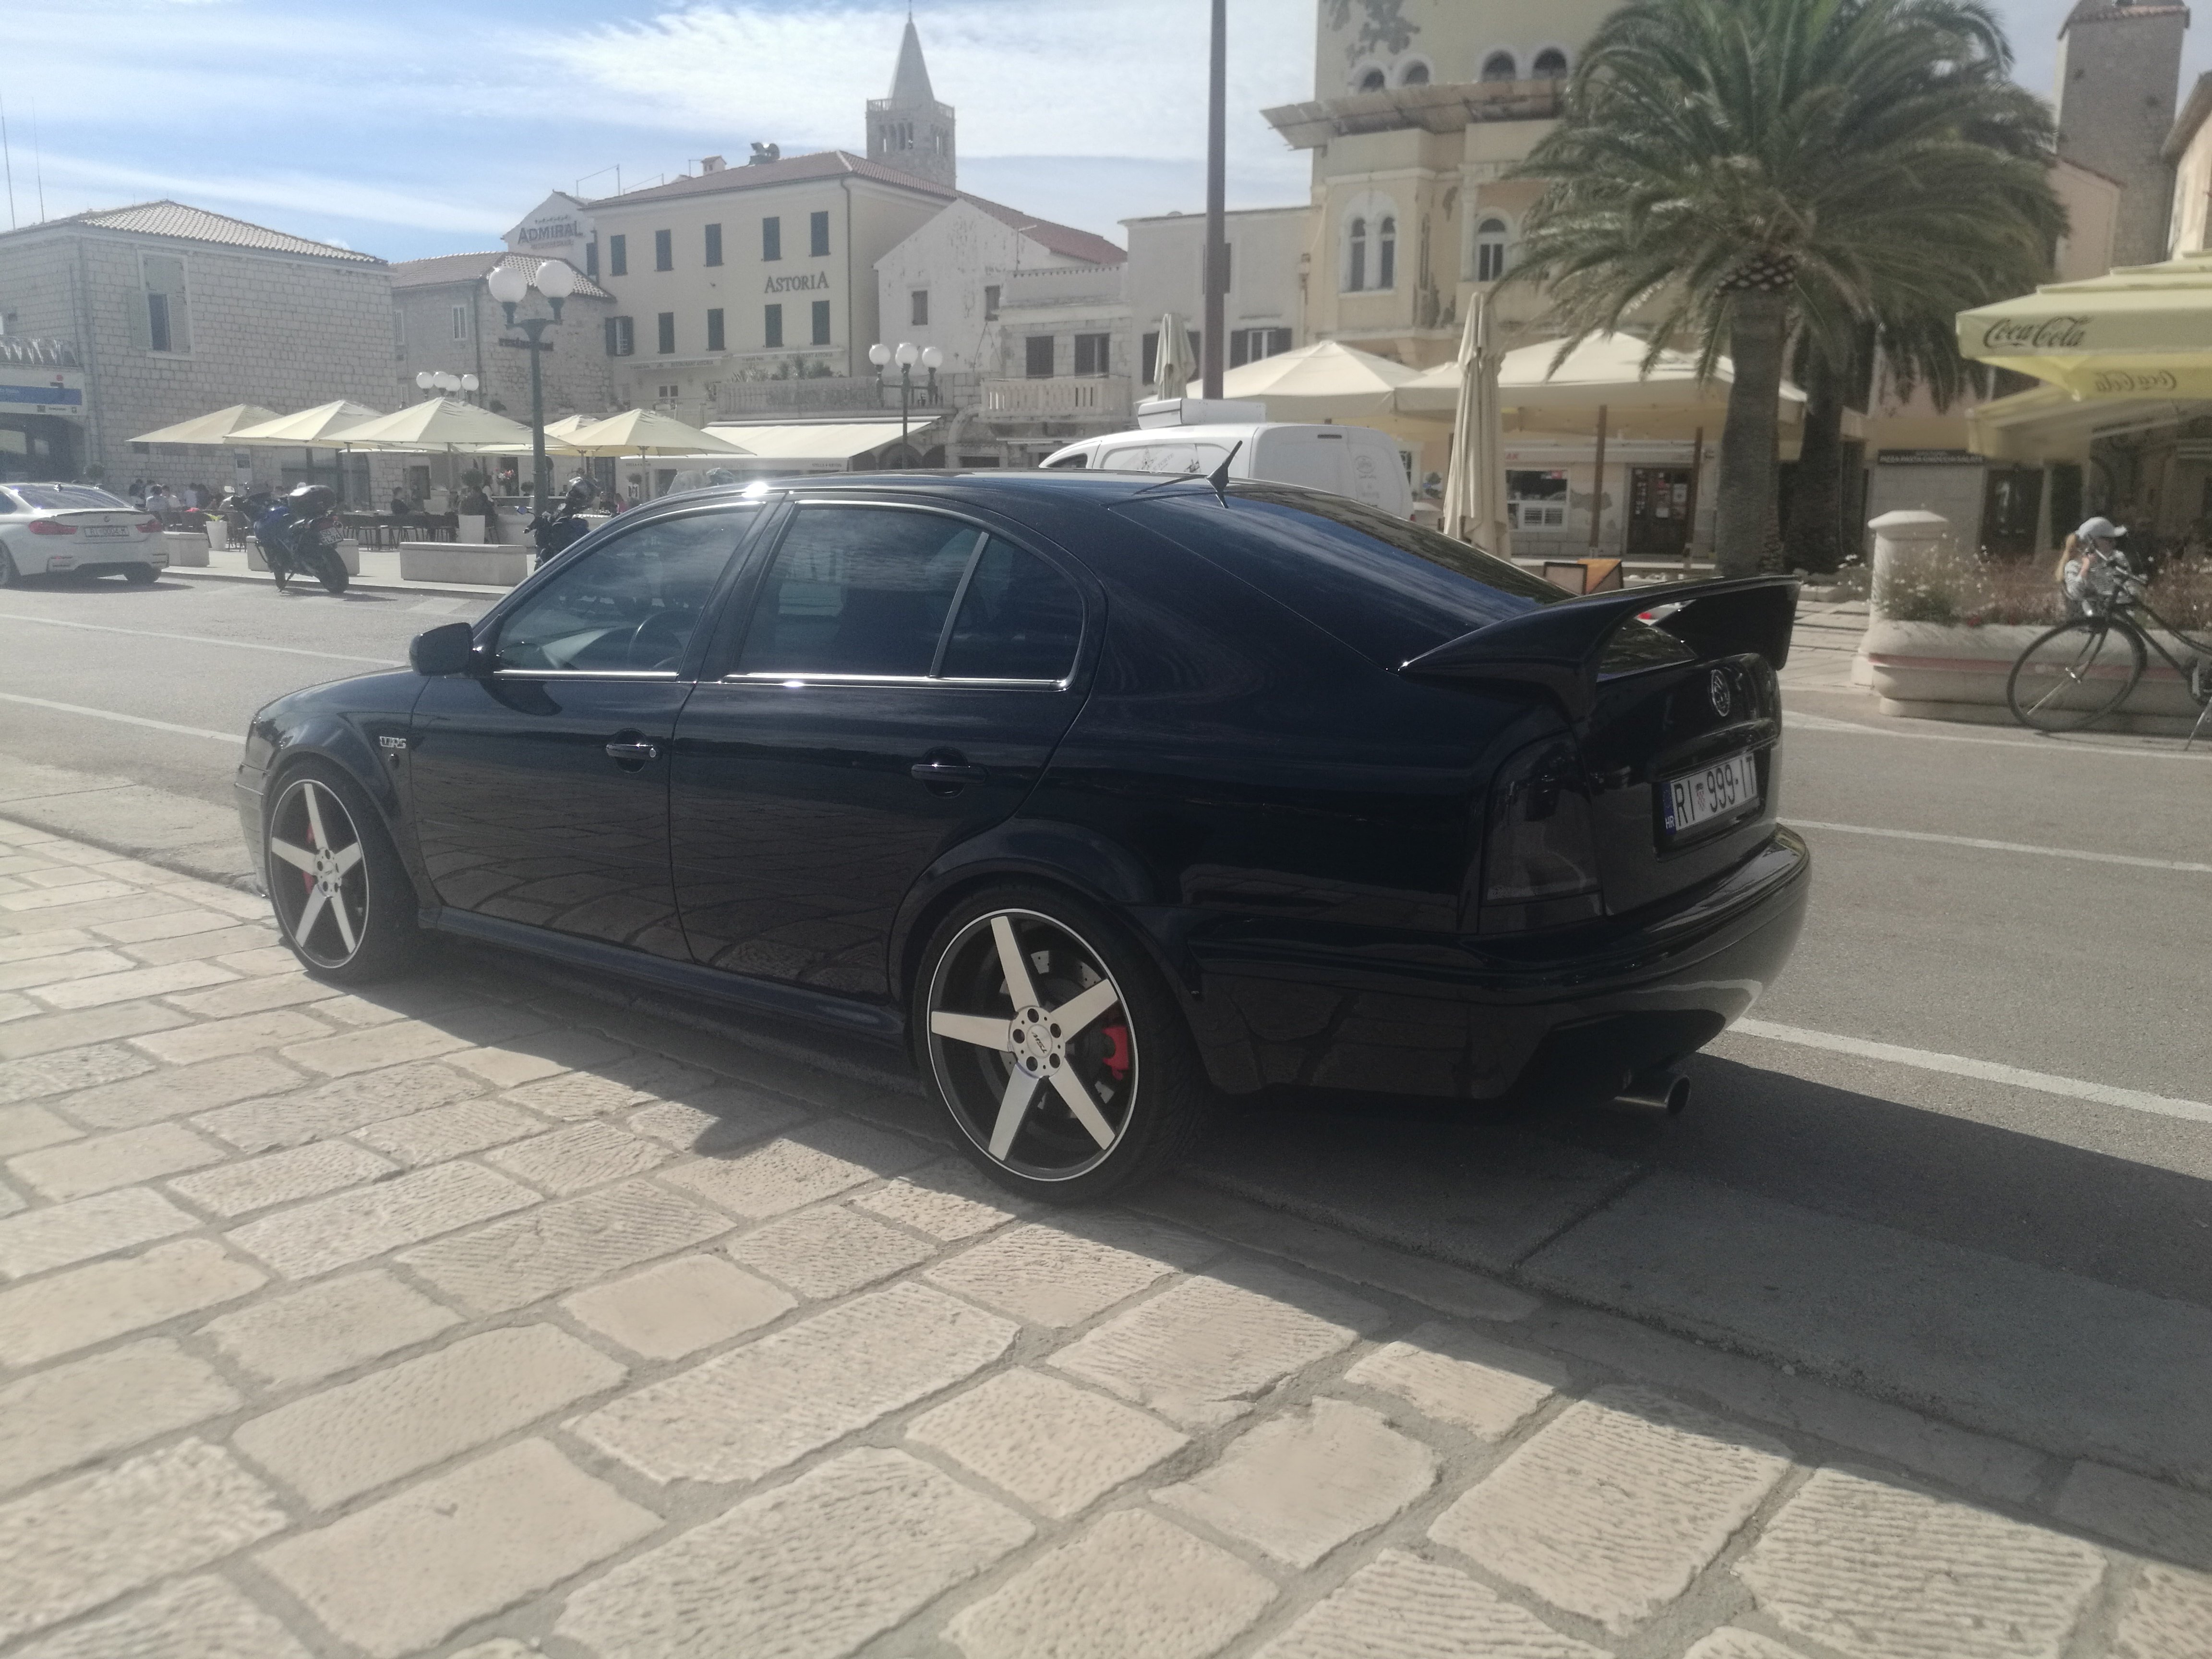
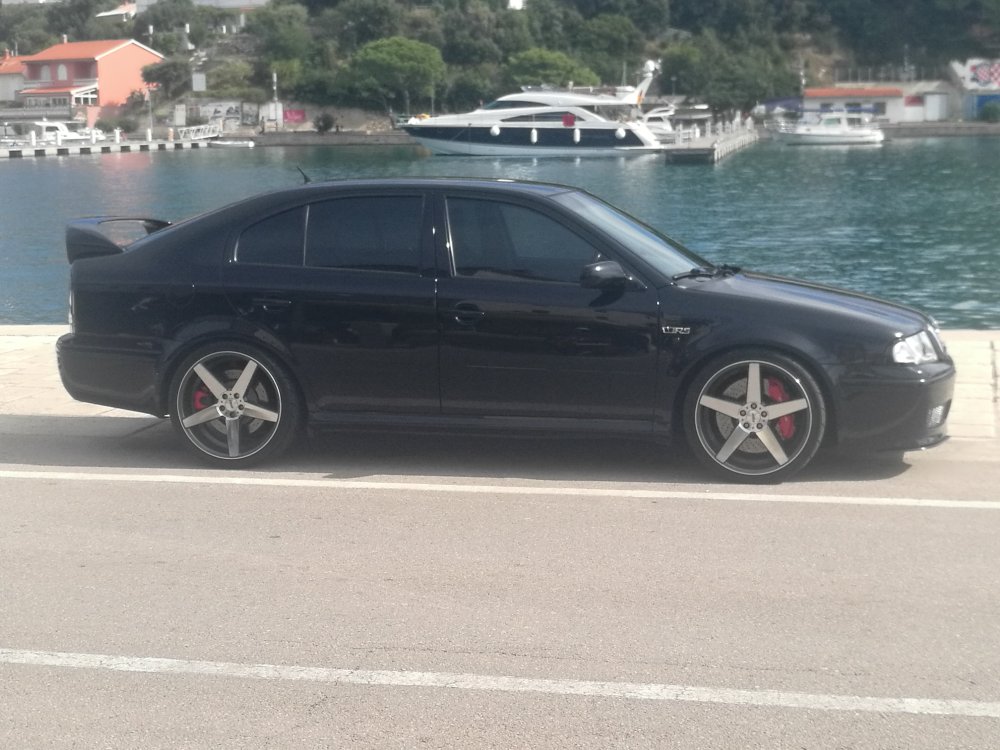
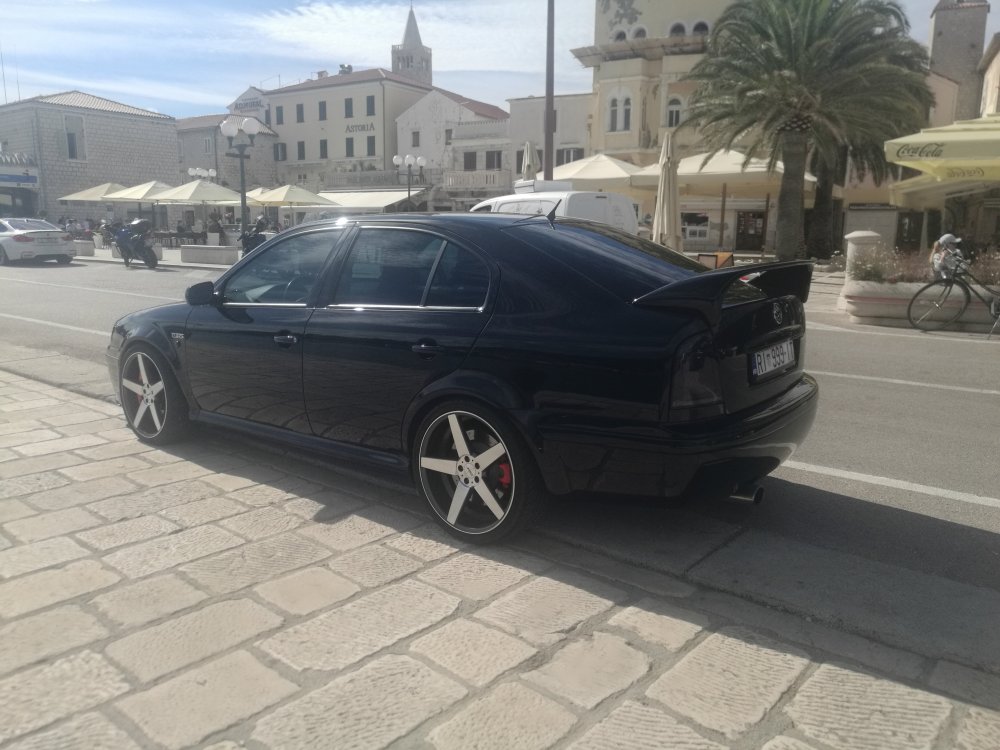
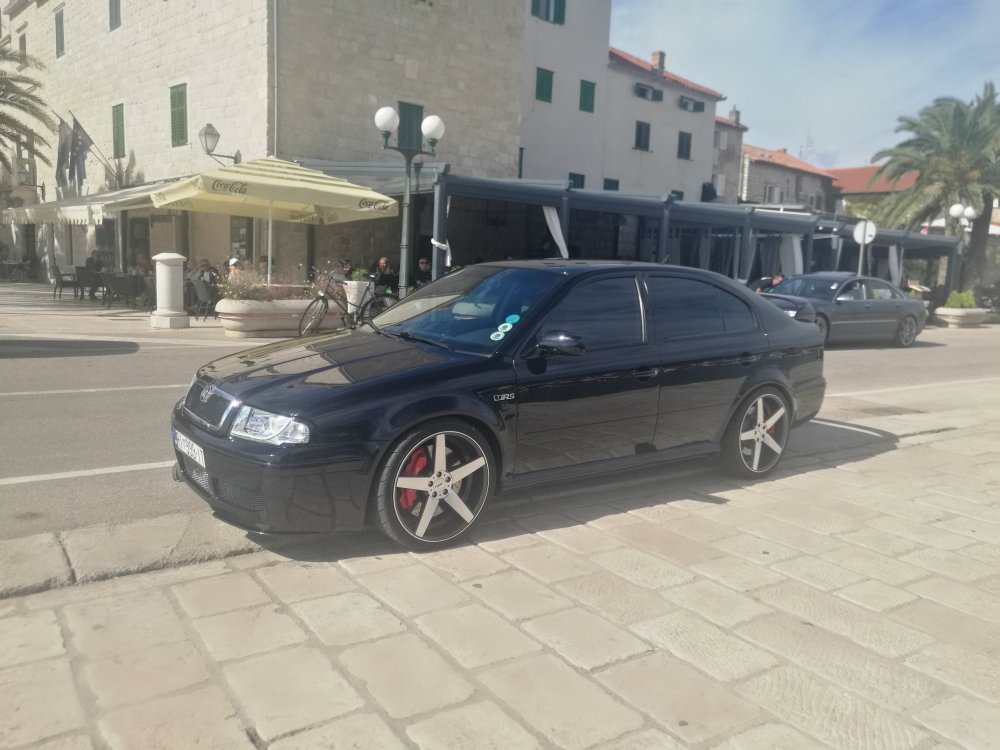
1 pointSecond time on Island Rab BEST ENGINE BAY on 5th TUNING CREW RAB SHOW. Honestly she was by far most completelly tuned car in every segment and quality of work done so far away from the rest, most of them are only for watching from distance of 5 and more meters😉😉 video-51b953727b3b2e1e2cdab1f644a0b24b-V.mp4
 1 point
 -
1 pointRecently I created my own custom diffuser for the Scala. Main reason for this is that I bought the Maxton Design rear Valance to fit to the stock lower bumper panel, and it didn't fit flush and had an overall cheap feeling to it. Sure enough after only a week it cracked, as I had put it under so much stress trying to fit it as flush as possible. Instead of spending another 100+ on a new one I decided to approach skoda for the lower rear bumper and to my amazement the whole section was only 65GBP. So decided I would rather purchase that and the materials and have a go at making a custom one. Here is my journey. I don't have pictures of the early stages but essentially I measured out the mid section of the bumper panel between the exhaust dummy ports, I then divided this up for where I wanted the diffuser fins to be, used a depth gauge to get a profile shape onto cardboard and then cut that into shape as a template. The rest is as follows Cut fin shapes out of ABS 12mm plastic using jigsaw, then use a rasp/file/80p sandpaper to refine. The 2 center and 2 outer fins were the same shape. Using masking tape to check fitment I then pre-drilled holes for standard VAG hex screws using small spring clamps, cleaned the area with isopropanol and lined the joint with Gorilla Epoxy glue and mounted the fins into position Fin mounted using screws and epoxy All fins mounted on and panel sanded down with 180P sandpaper, waiting for a small strip of ABS to arrive to extend the bumper 3mm ABS strip arrived was cut to shape and placed to extend the bumper (purpose of this is to hide underglow LED strips as bulbs were previously visible when mounted) Using U-pol Plast-X filler to fill holes, and refine the shape. This stuff stinks! Immediately took it outside. Initial pass with filler, definitely put too much on, but learning as we go. After a lot of sanding, using 80p, 180p, 340p and 420p sandpaper Excuse the dark dots, it was raining as I got it in the car to take for priming/painting. For the final stage, I got the good fold at Berkhamsted Bodyshop to use a builder primer, do a final sand pass ready for painting and the paint it in gloss piano black. Here are the results It is not perfect, and there are things I would do better second time around of course. But it is hand done, by me, fully custom one of a kind. I love it, think it looks way better than the Maxton one. Hope you all enjoy seeing the process. Oh and I am a 3D artist in his late 30s with an interest in DIY, I am by no means skilled at this type of thing, just watched some youtube tips and tried my best. If you have the time, don't be afraid to give things a go.1 point

.thumb.jpeg.1949ec3dd08b7eb4c57424f1758dcc8a.jpeg)
.thumb.jpg.f83a46b9b3c0d976b9dbffbb523c9874.jpg)