Leaderboard
-
MikeTheThinker
FREEDOM16Points8,484Posts -
.jpg.1006585dfe4e2977315b67c3d642e37b.jpg)
Guest_
FREEDOM11Points83,824Posts -
Lady Elanore
FREEDOM11Points24,875Posts -

Lee01
FREEDOM7Points36,164Posts


.thumb.jpg.9dd3f612ba7f13d10be5c518d3c8d255.jpg)
Popular Content
Showing content with the highest reputation on 03/06/23 in all areas
-
https://ecologi.com/briskoda I cannot believe I've not done this for over a year... and a half. Where does the time go? Like honestly where did it go... Added 1k trees to cover of ffreedom subs and other stuff as outlined with a bit of rounding up quite a bit, but 414 seemed like a naff number. https://ecologi.com/briskoda?tileId=647b3e30f10746587a7353d2 Just passed 10k trees. Now to figure out the last few months...5 points
-
5 points
-
3 points
-
That was my post, and whilst the advice on the water pump is indeed incorrect, the UK’s 5 year or 135,000 miles interval for (my) 1.4 TSI was also confirmed more recently by my local dealer.2 points
-
2 pointsIt should stay attached to the bumper and not come off, then be fitted as a complete bumper and tray to the car. The tray is in two pieces and they both slot inside eachother. There is 2 screws that hold the lower section to the bumper then the upper section just slots in above it. Once its all attached to the bumper and the bumper refitted to the car then 4 screws secure the tray to the front panel.2 points
-
2 points!5" is the size of the Spare for any Mk2 Fabia including any engined Monte Carlo or vRS, so the brake size is not an issue.2 points
-
If its a pre 2020 car with mib2 AA or Car Play enabled that can be enabled by FeCs. Post 2020 it's a mib3. Skoda didn't vary from the VAG brand. The issue is with Mib2 standard and high units which Skoda call Amundsen and Columbus respectively. There is a toolkit and firmware updates that will give you AA / Car Play. They are developed by a network of enthusiasts that have unpicked Vag software. Something similar exists for standard unit. A retrofitter can enable the FeCs if the model was sold with navigation but not AA / Car Play and its a mib2 standard or high. Basically it's the units which ran from 2015 - 2019 mib2s which have fallen into the TMC trap. Post 2020 models including 2020, namely mib3 got connected services but you pay for them with a renewal license.2 points
-
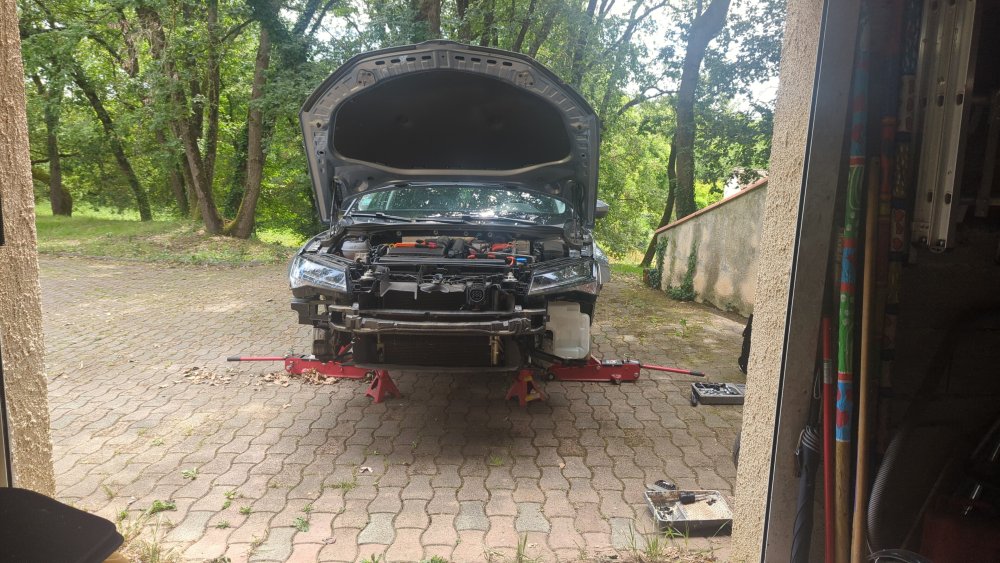
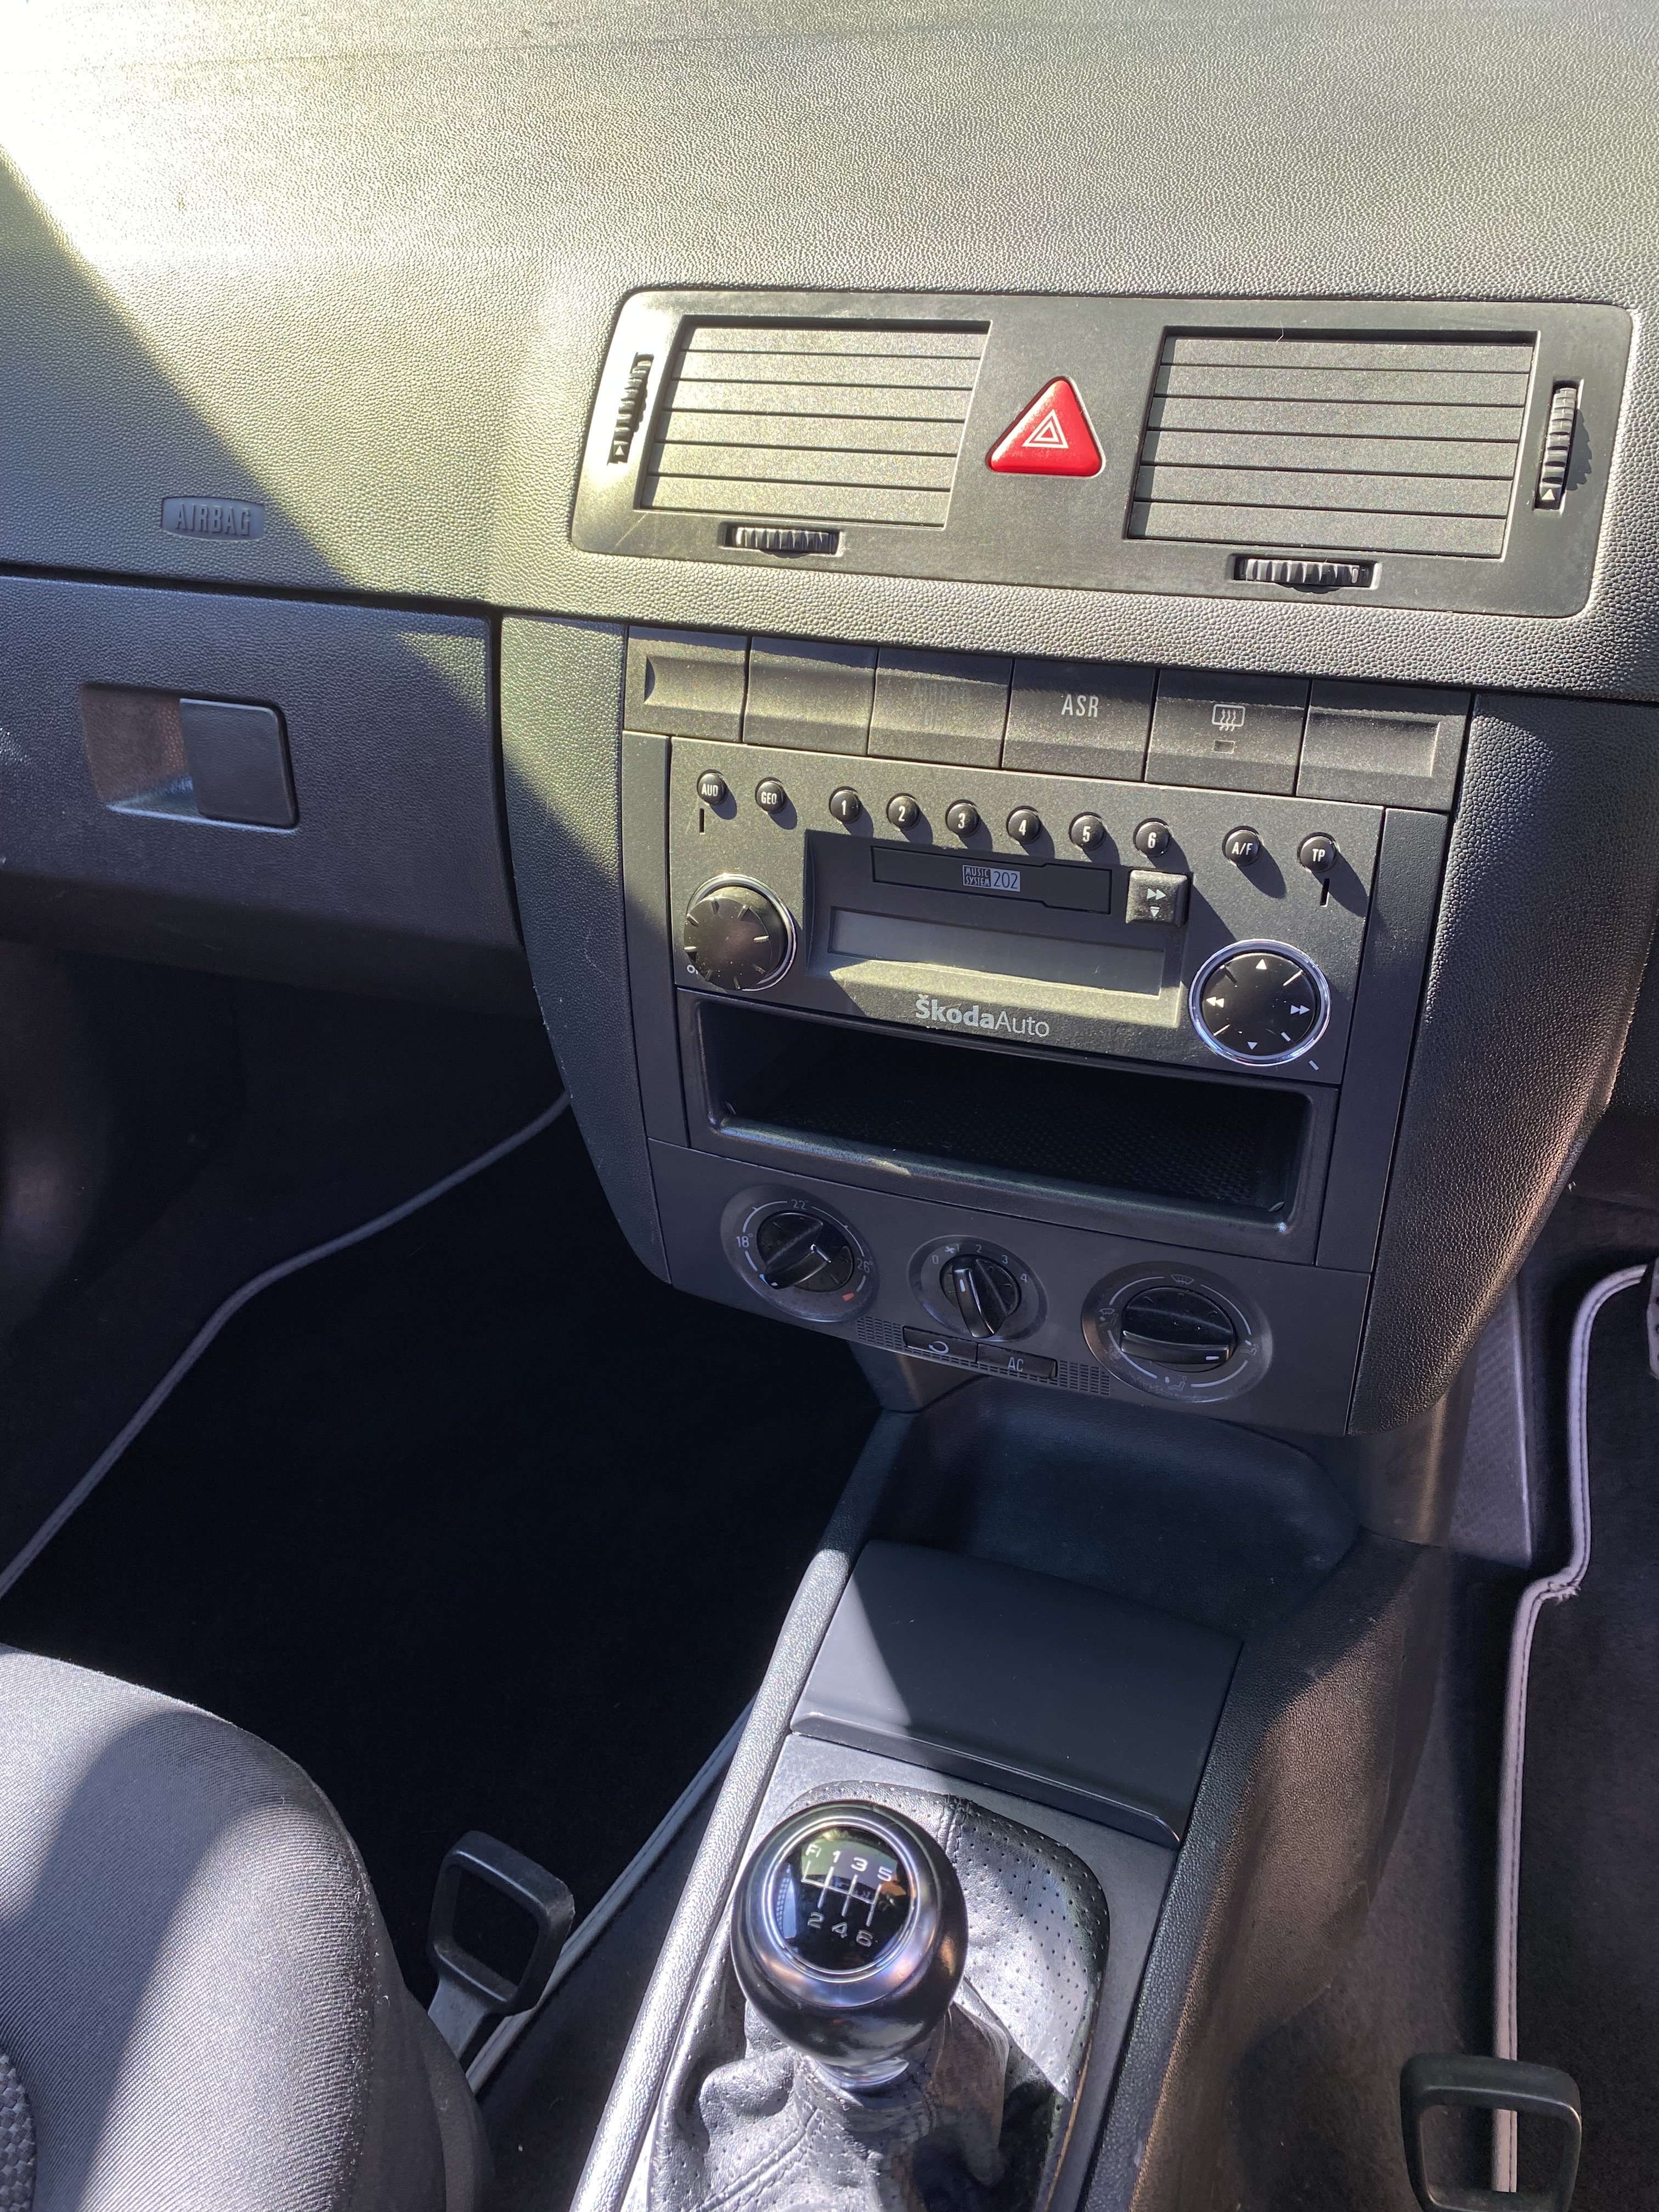
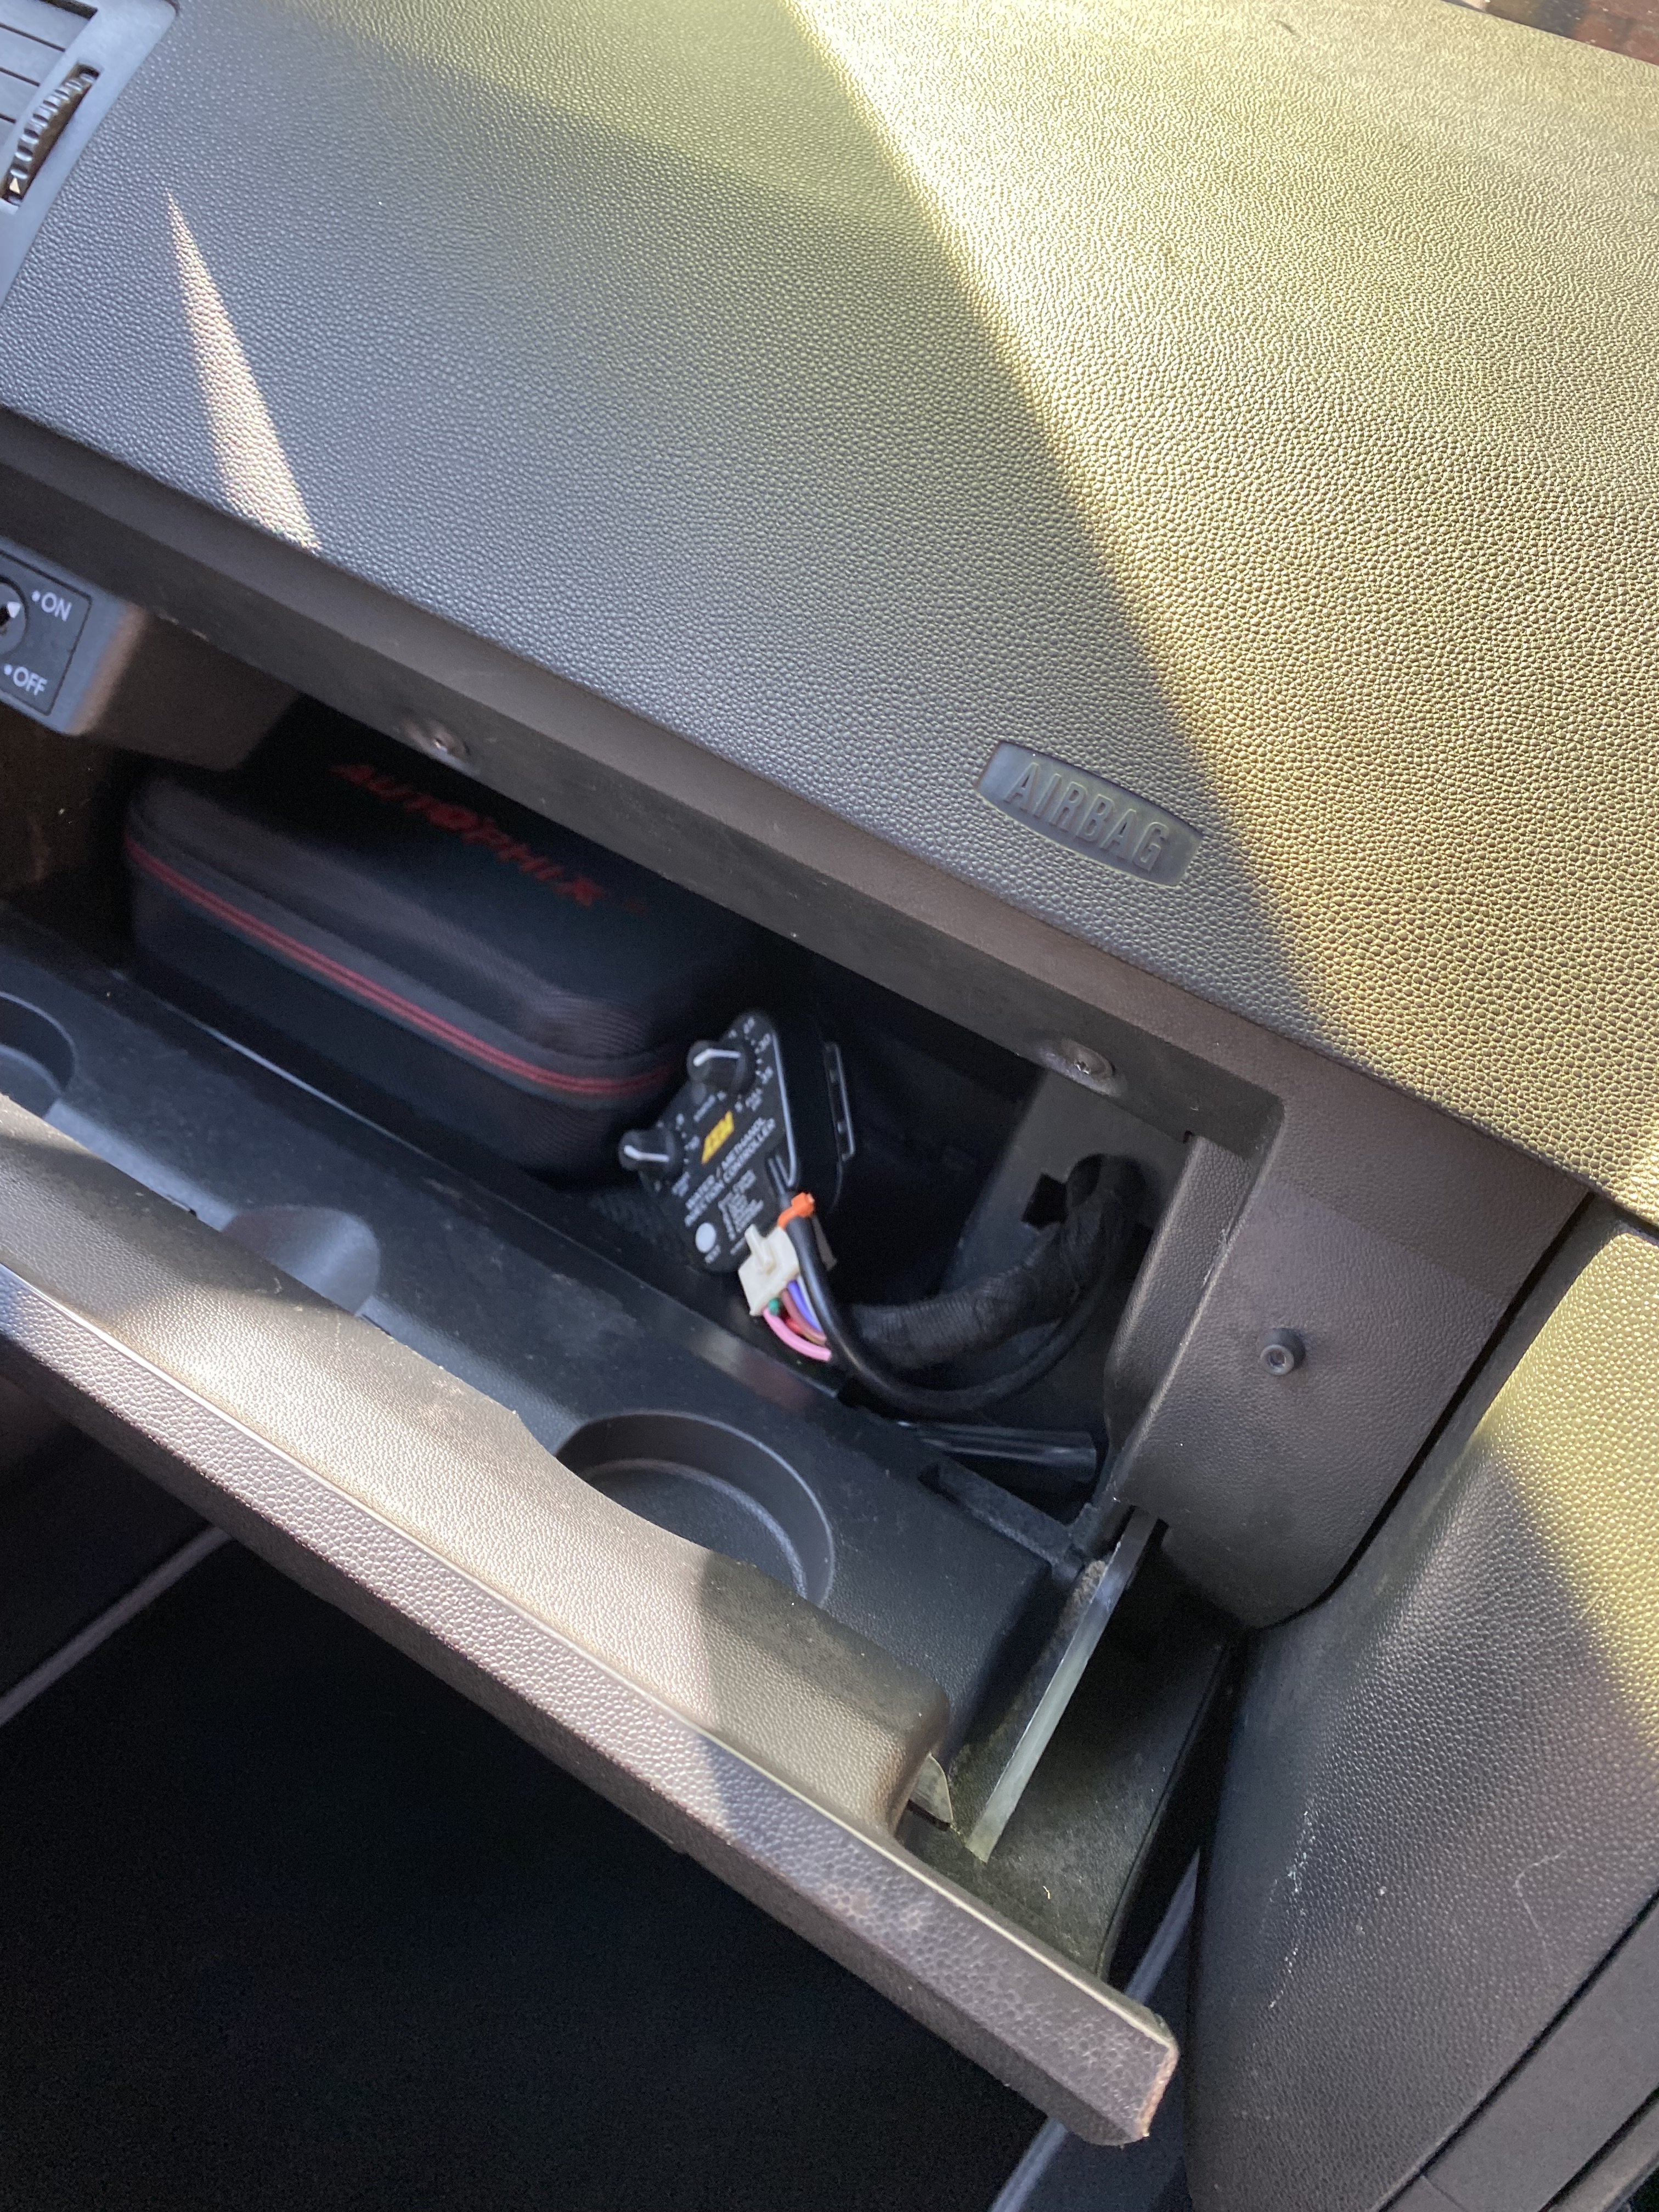
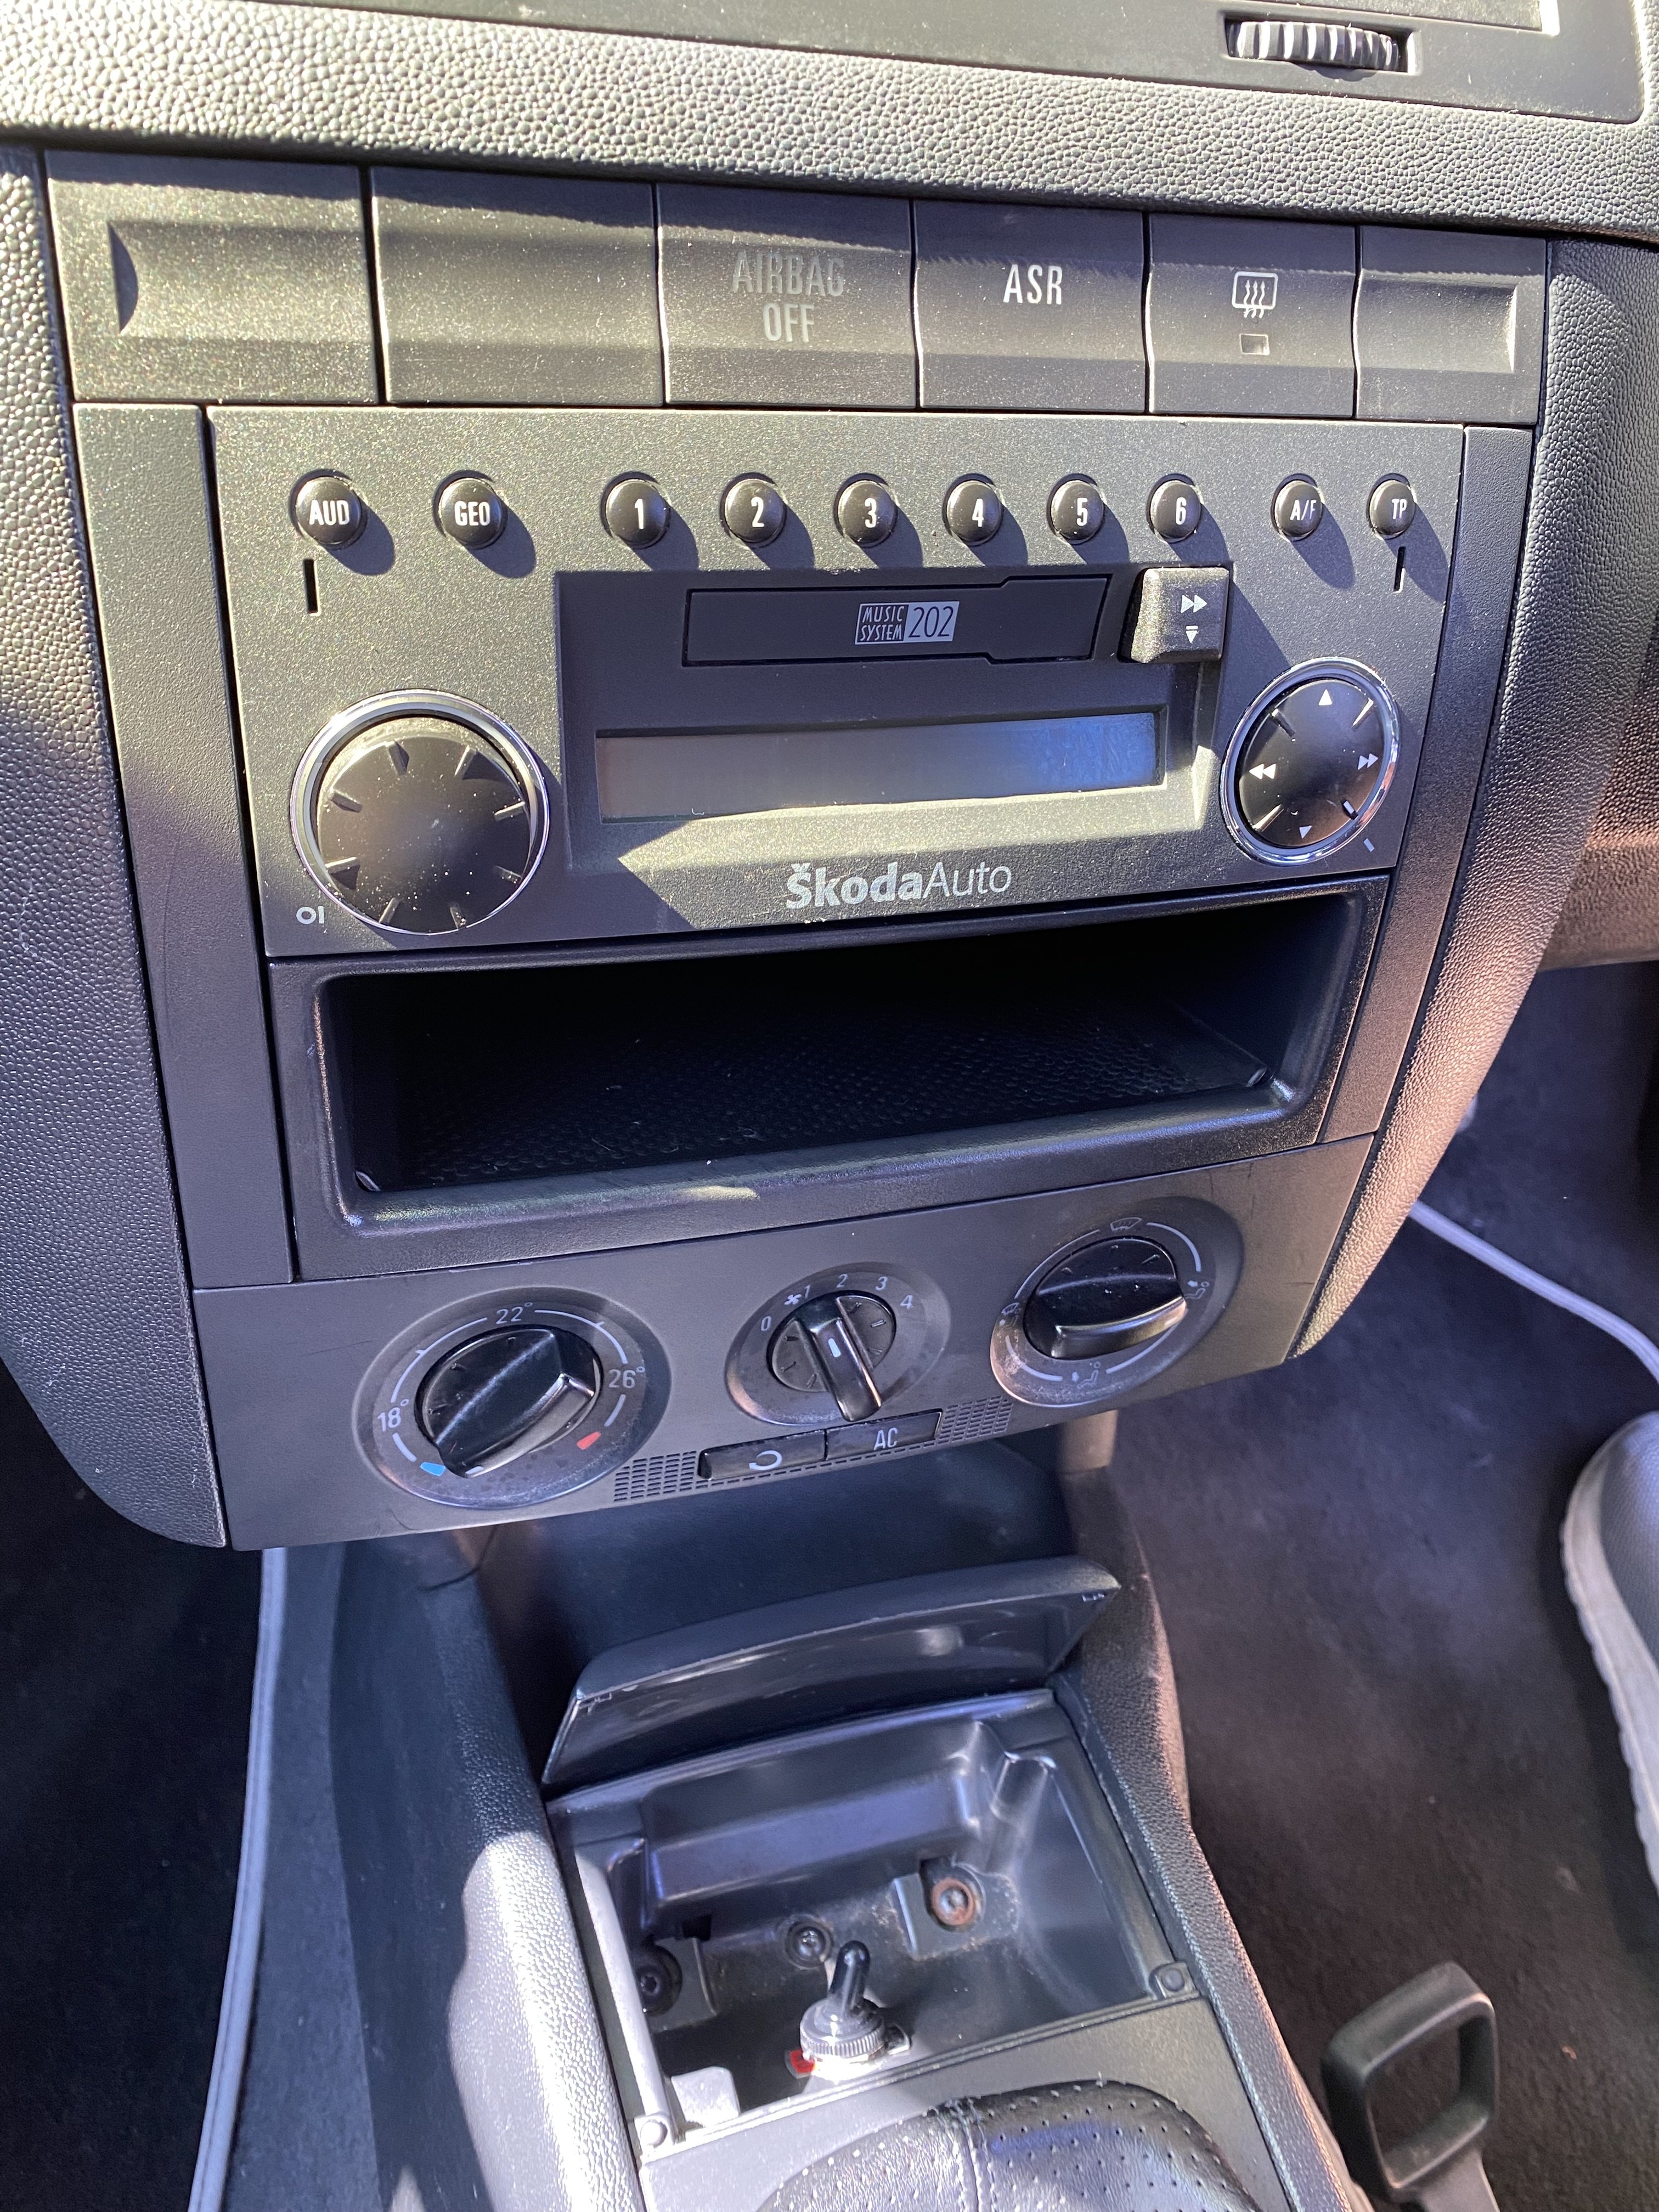
Dropped the front bumper off to fix a leak in the washer bottle, and re-attach the outer parking sensors to the bumper.
 2 points
 -
2 points
-
Well my 2017 Skoda would support Android auto if I paid for Smartlink to be enabled (£150?) however I feel I already paid for a working satnav that I was, until earlier this year very happy with and I had no inclination to go down that route.2 points
-
2 points
-
2 pointsI agree. Looks good though when kept clean. Black also looks good but needs cleaning regularly to look it's best (i have a Black Superb). IMO Greys are the best to hide day to day road grime.2 points
-
2 points
-
Yes you should leave the ac on everytime your closet your Windows. Mine is always on Auto. It will dry the air in the car. The fuel consumption doesn't change a lot, for me it is insignificant. On the highway at 130 km/h I an between 7.1 and 7.8 l/100. Do that, change your filter every year and use an a cleaning kit and you will be good2 points
-
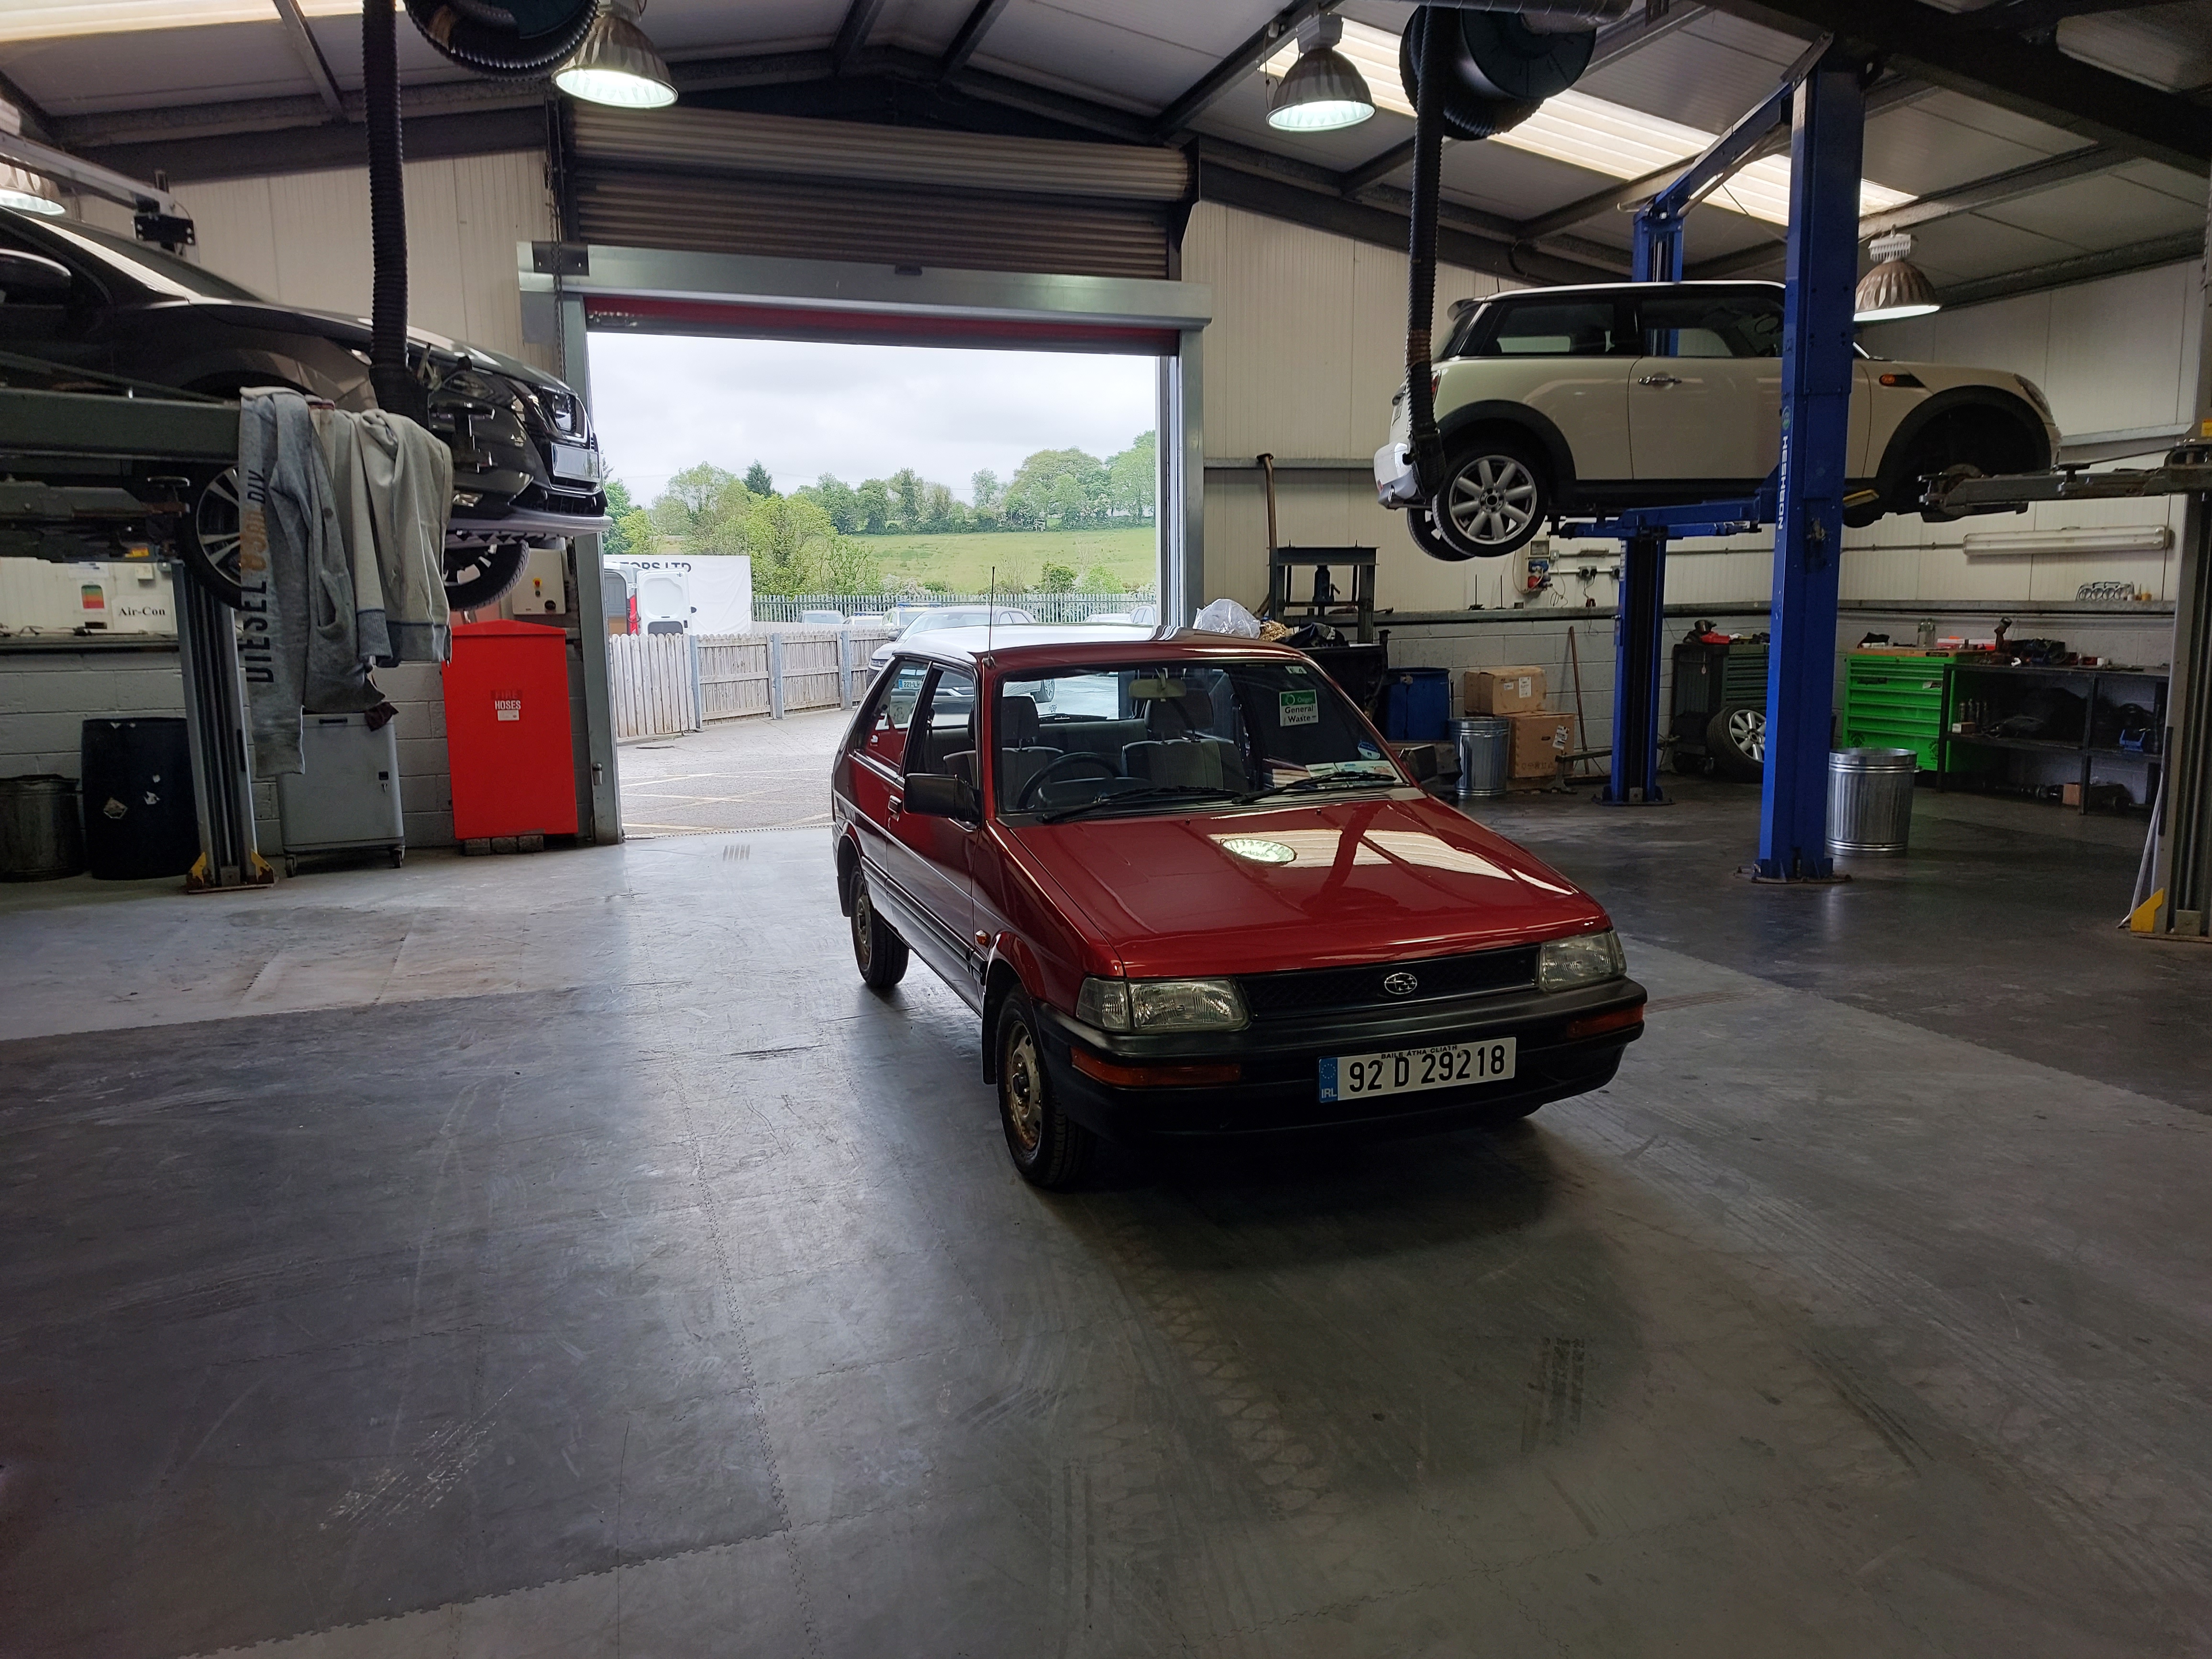
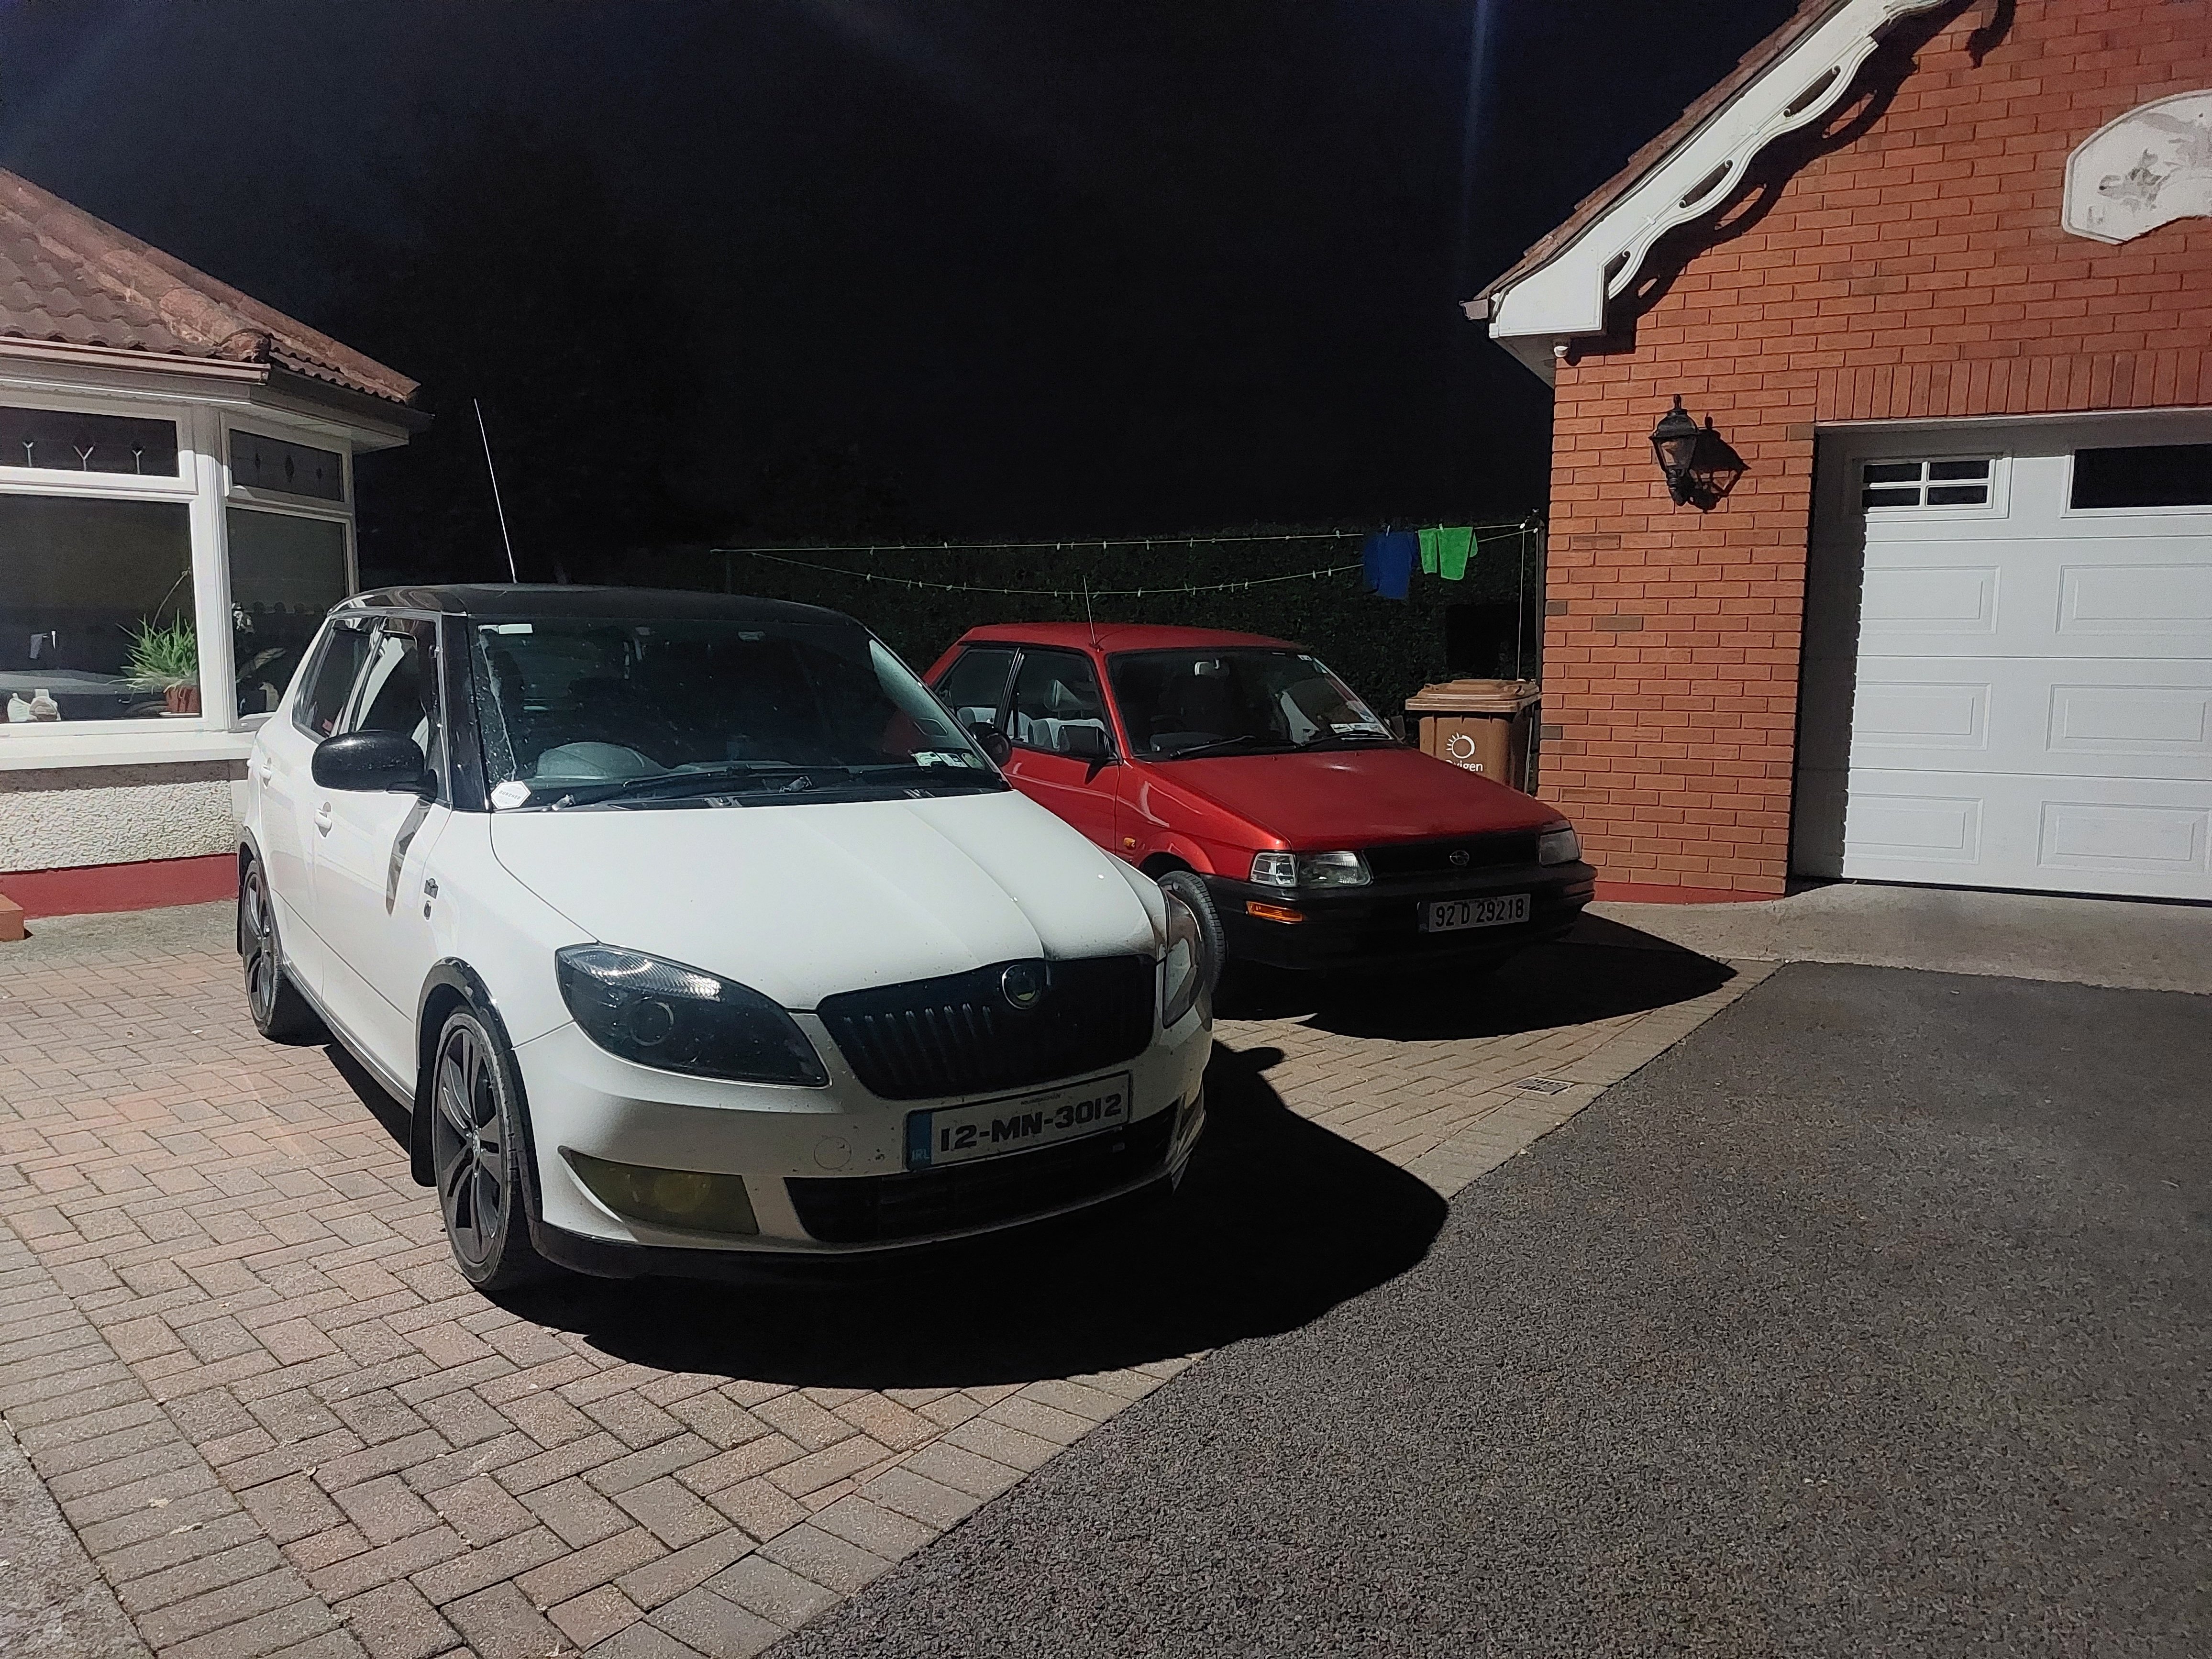
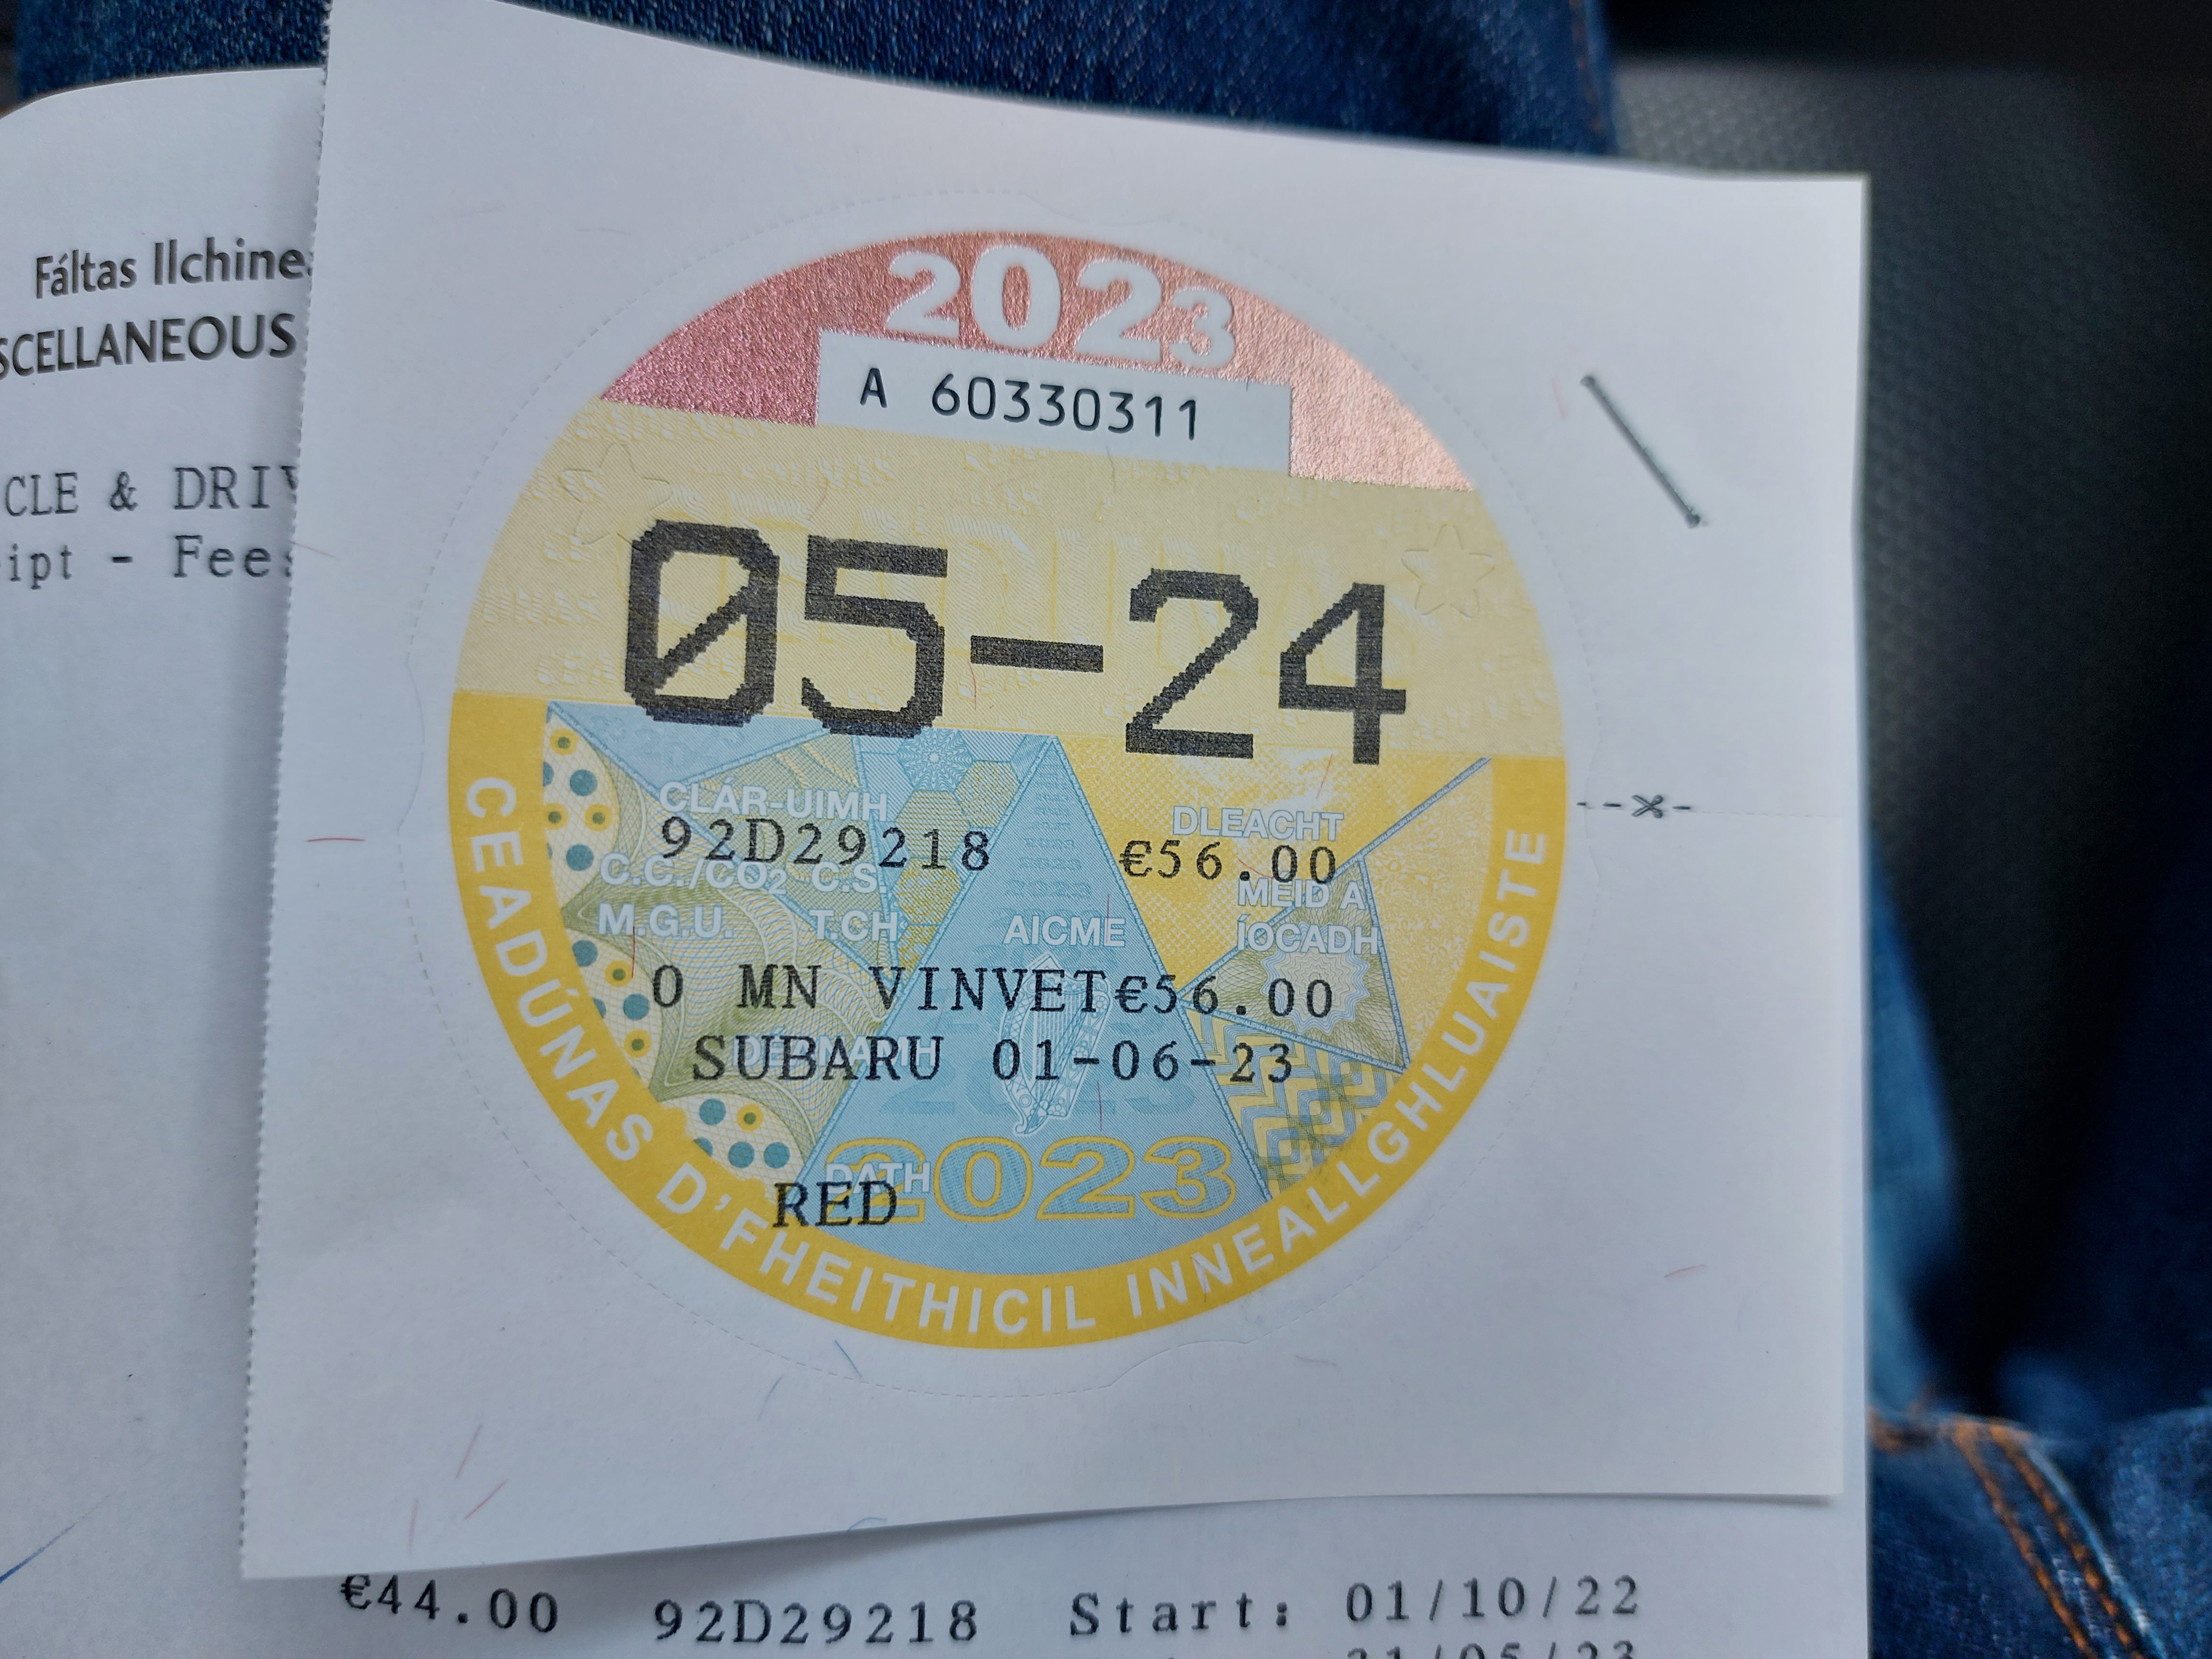
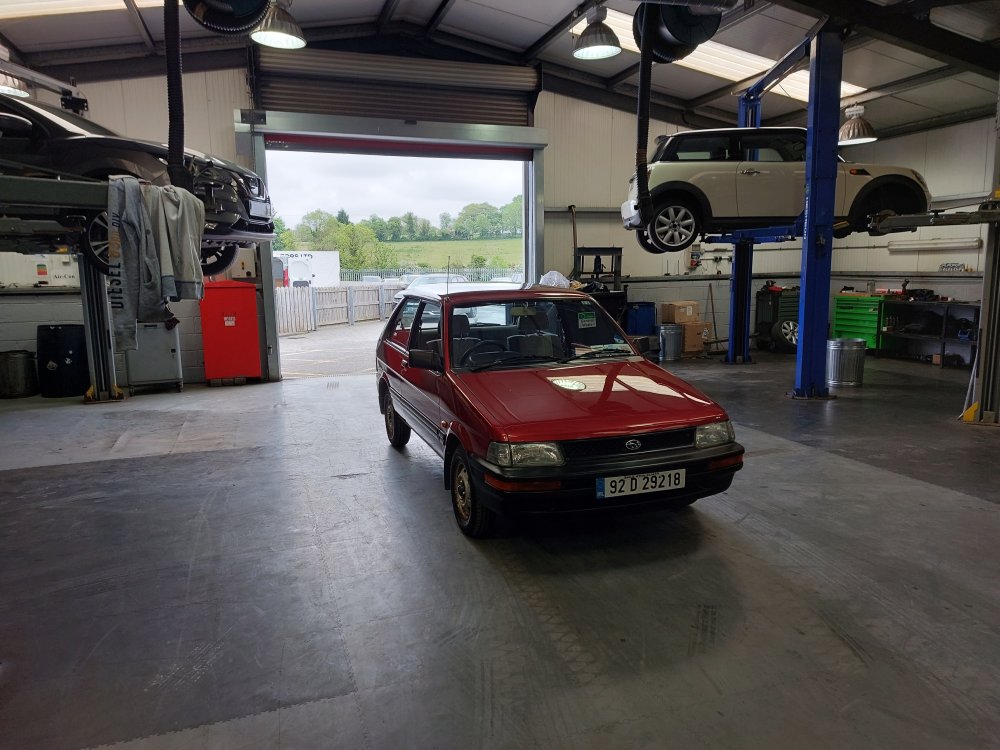
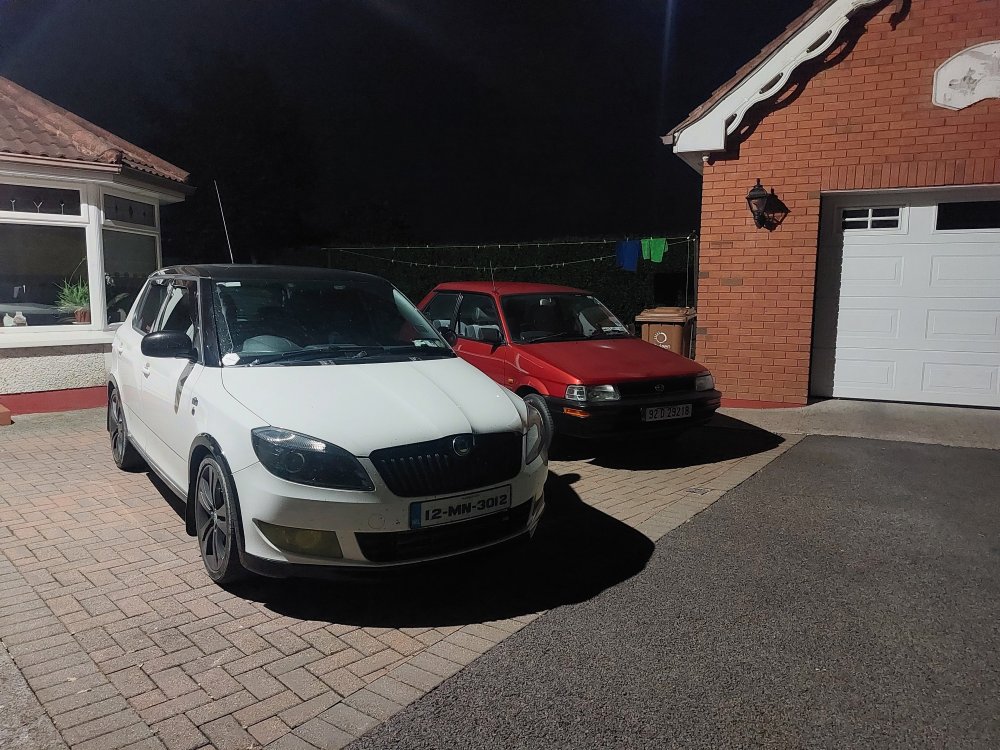
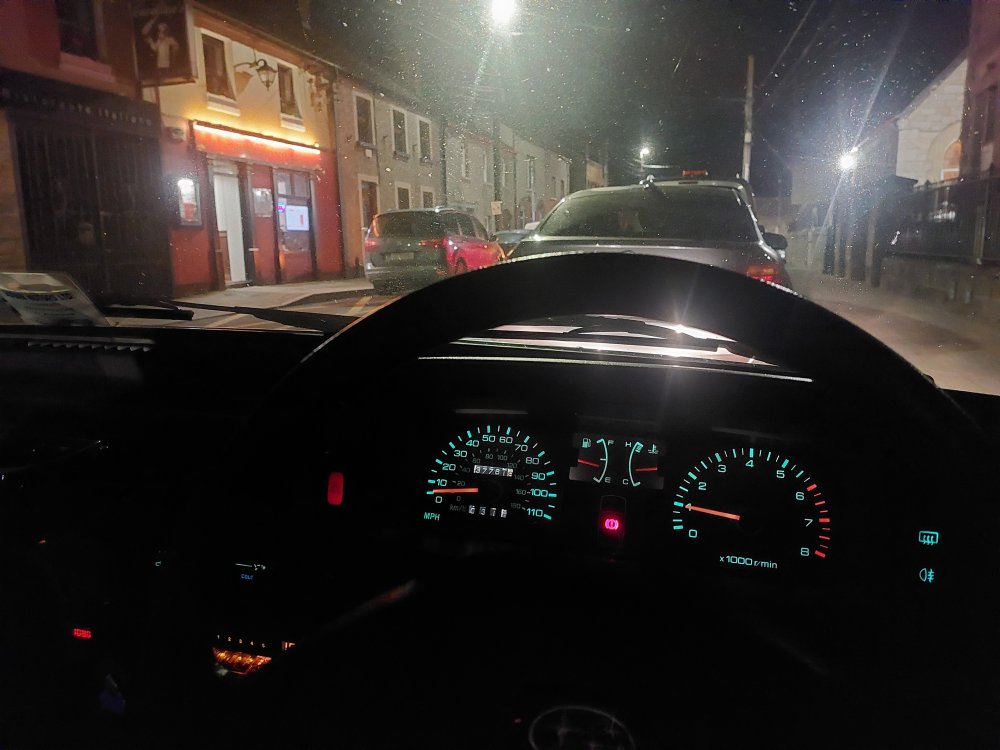
2 pointsSo It's now taxed and insured. 190 a year insurance, 56 euro tax Been driving it about locally to make sure its running right. Drives out great comfy, pretty sharp handling, tyres good, brakes are fair. Small bit of stumbling at times but I think I've the idle mix set a touch lean, for nct. Fatten that up and see. Looks are deceiving, it's covered in an inch of dust cause the garage is full so it's been sat outside for over a week. 20230602_234559.mp4 Radios fantastic in it. I'm sure its gonna break constantly now its back in service, but for now I'm happy. Again, not cost me much to get it on the road and insurance and tax is very cheap, figure it's getting about 40mpg so it's not hard to run. Considering that the Monte is getting on a bit now it's nice to have a useable second car.
 2 points
 -
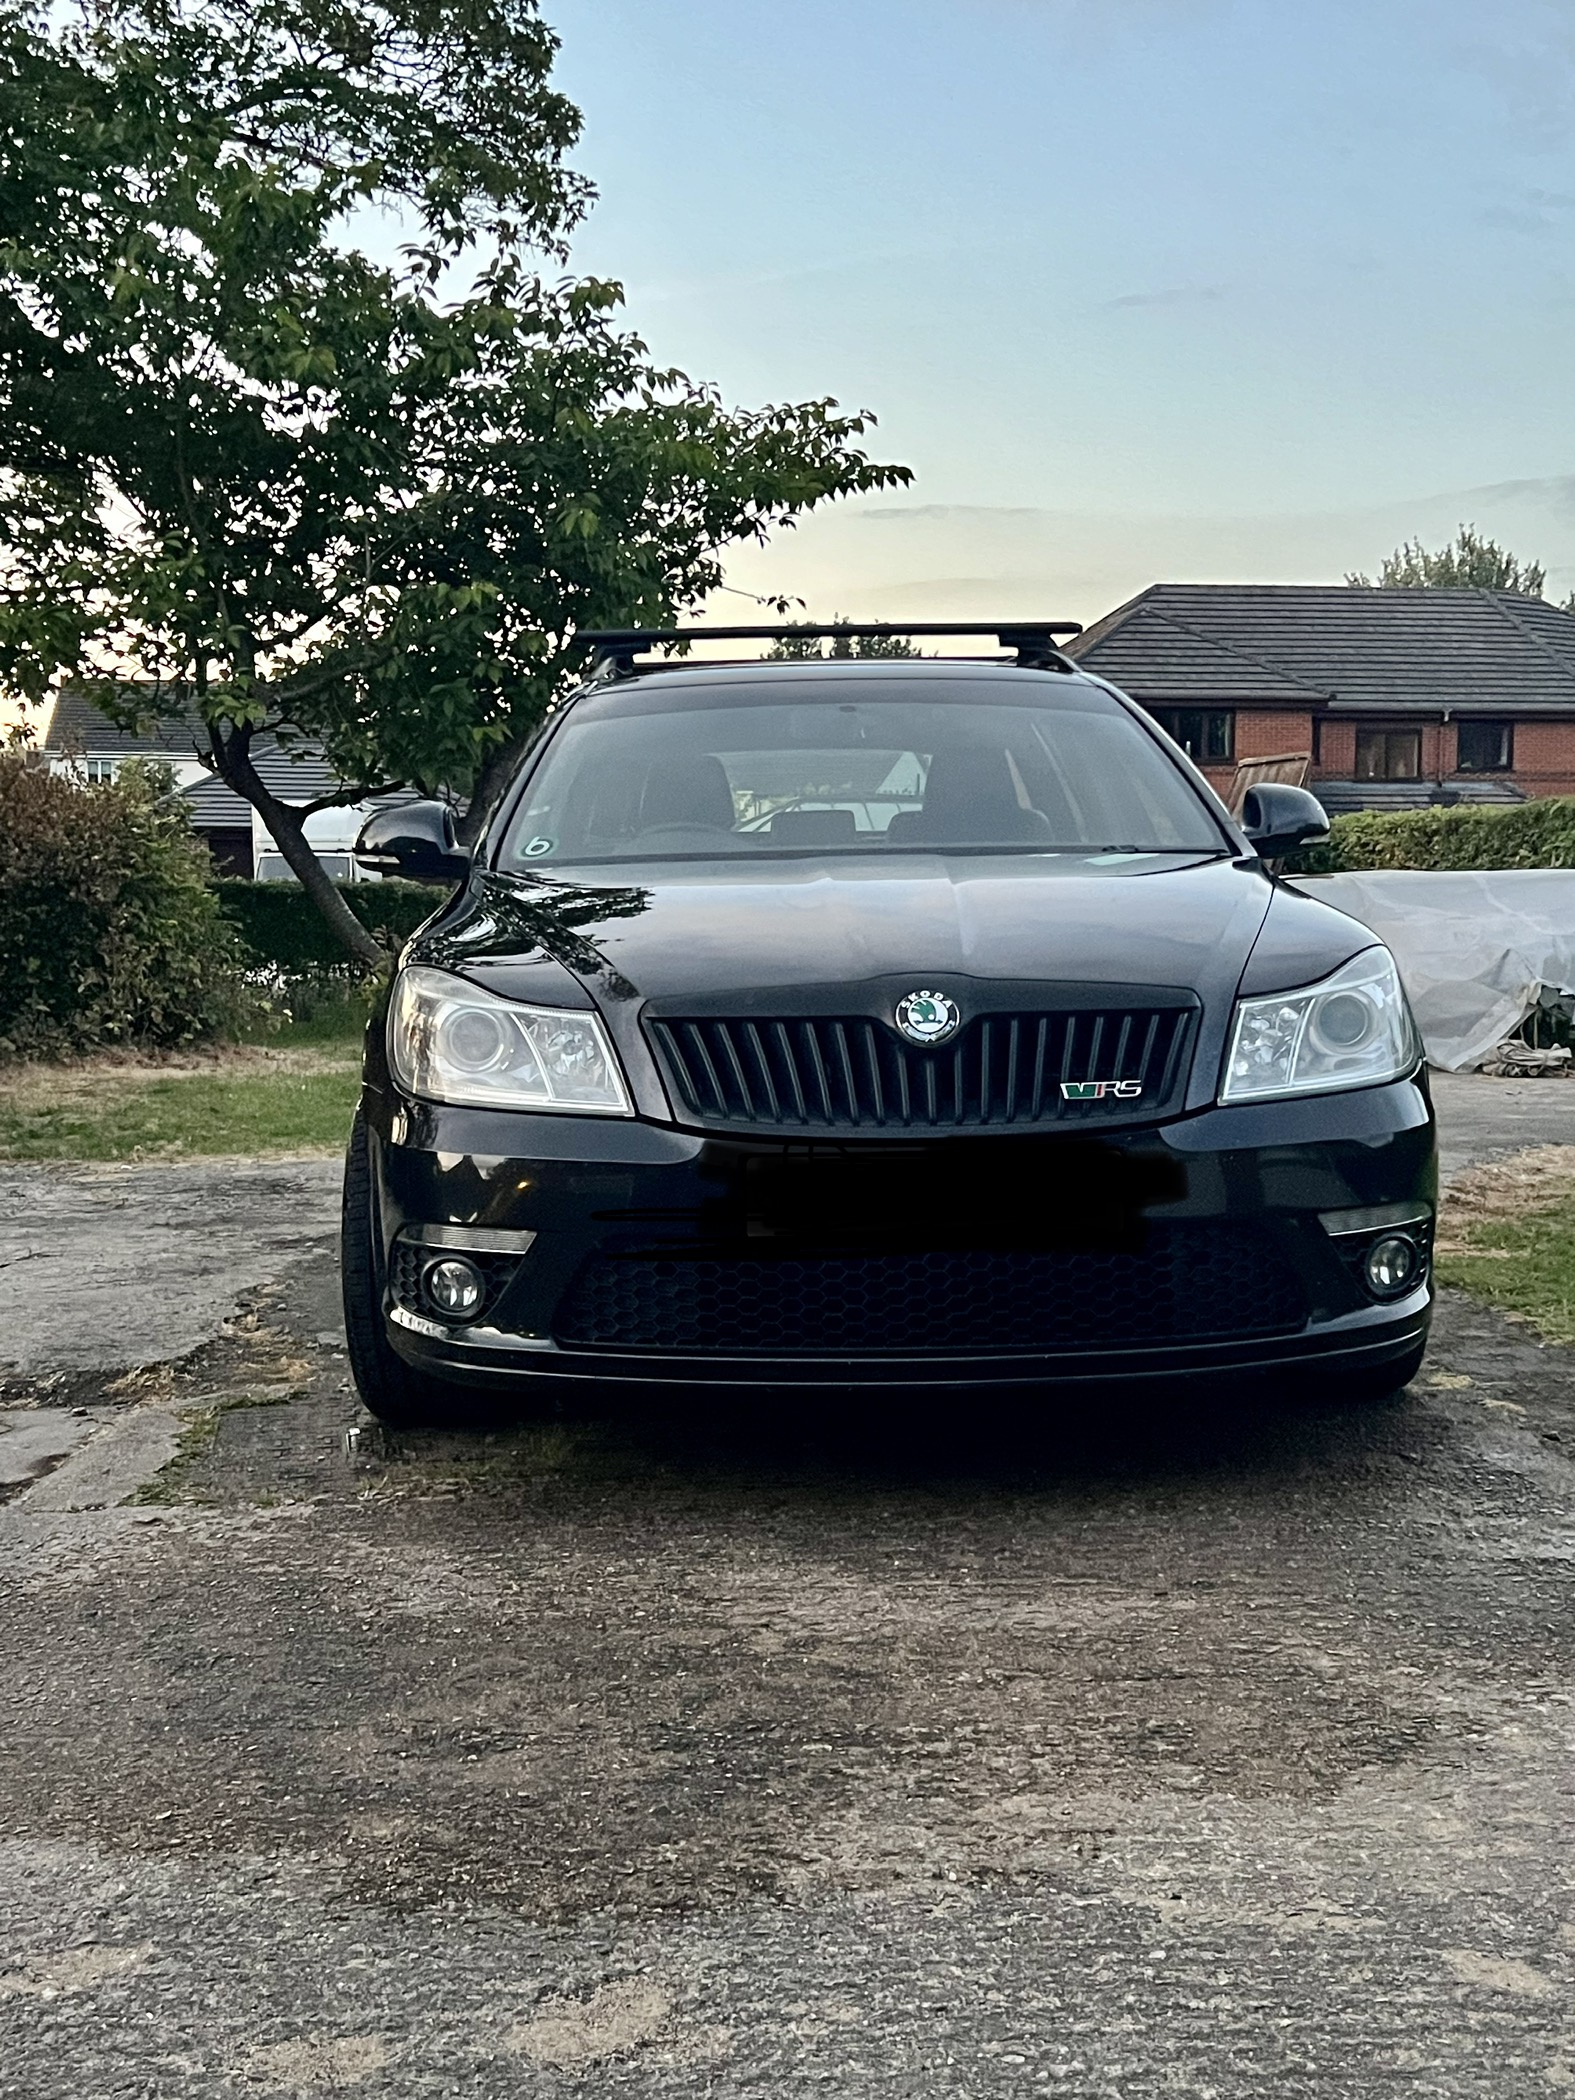
2 pointsHi guys, Had the Octavia VRS now about 12 months, love it, it’s a black, blackline estate, small subtle visual mods slowly being done. Added 15mm spacer all round and Briskoda Stickers last night, washed and polished. best car I have ever had and wanted one for many years. All my previous cars used to get a flash, hazards or something from fellow drivers, I have an older Skoda guy I see most days blue estate VRS, he and one other is the only one to give any form of love for the Skoda. Really shocks me, I understand they are a top spec model like some golf GTI owners buy them just because, but I really thought there would be a bigger fan base. I must look like a tool flashing or hazards and they drive past and it’s an old man or middle aged women with no idea how cool their car is. Shame really doesn’t matter mine still makes my heart skip a beat kind regards Fisher
 2 points
 -
Hi all, As many VAG cars, my Superb Mk3, is fitted with a DSG6 (DQ250) gearbox. Here is a tutorial to change its oil and filter on your own. You'll probably tell me: What's the point with it? Just have a look on Google or YouTube and you'l find plenty of them! That's true, but having done this exercise, I could see that it is very rare to have all information in a single tutorial. I will therefore try to be as exhaustive as possible. Here a list of some Skoda models also DSG6 equipped (I nevertheless let you check on your own, since depending on engine type or MY, some may be DSG7 fitted⚠️ instead of DSG6) ! - Octavia 2 - Yeti - Kodiaq - Superb 2 - Superb 3 First of all, here is the DQ250 gearbox: We're going to focus on the following items: #17: Filter housing - Tightening torque : 20Nm #18: O-ring - P/N N910 845 01 (normally sold with the filter) #19: Oil filter - P/N 02E 305 051C #26: Oil pipe - Tightening torque: 3Nm #27: Seal ring - P/N N 043 089 2 (normally sold with the sealing plug) #28: Sealing plug - P/N N902 154 04 - Tightening torque: 45Nm Not shown on this pic: DSG Oil - P/N G 052 182 A2 - 6l - Difficulty : 2 - Time needed : approx. 2h - Number of person needed : 1 - Necessary tools : ¤ VCDS software (or similar, To be confirmed) ¤ 24mm socket ¤ 8mm and 14mm Hex ¤ Torx 25 and 45 ¤ Ratchet or classic wrenches for disassembly ¤ Torque wrench(es) to apply specified torques (3 / 20 / 45 Nm) ¤ Short and intermediate extensions for ratchet or torque wrenches to enable easier access to screws ¤ Small flat screwdriver ¤ Filling hose VAS6262 ¤ Wooden toothpick ¤ Small fork ¤ Slip joint pliers ¤ Oil drip tray ¤ Twine (about 80cm long) or an old metallic hanger (wire one) ¤ Wide masking tape ¤ Rags ¤ Lifting means Concerning VAS6262, you can find one on numerous website at various prices. Without switching to a much more expensive pump model, I suggest taking a filling hose with a 1/4 turn shut-off valve close to the adapter on the can side. These ones are less widespread but still at affordable price and of course easier to use, since you can work without being 'showered' with oil. I've chosen this one on toolstogo-uk.com https://www.tools2go-uk.com/13664247/gear-oil-filling-hose-for-vag-dsg?g…=&Lng=en Dealing now with the DSG oil kit, you really have to be careful on the kit content ⚠️. Indeed some kits only content DSG oil and oil filter, but no sealing plug nor seal ring! ⚠️ Warning: Prices can really be different from a website to another (starting form 90€ up to ~200€ !) Chose the right one! After hours of searches and checks, I finally bought the Febi-Bilstein kit, which can be found on autodoc.co.uk for 100€-ish https://www.autodoc.co.uk/febi-bilstein/15821763?search=FEBI BILSTEIN Transmission oil change kit (171762) It effectively contains: - 6l of gearbox oil - DSG oil filter (#19) and its O-ring (#18) - Sealing plug (#28) and 2 seal rings (#27). By the way, I still don't understand why 2 rings?🤔 Note: I did not take time to ask for OEM spare parts prices by my local dealer. Step #0 : Preparation You need to lift the car high enough to get under the car and to get enough space to move your arms comfortably around the gearbox. Note: Though you've lifted the car, it needs to remain horizontal to make a proper filling with right oil level (see step 7). Step #1 : Air system removal Start with removing the air box. You first have to remove the 2 T25 Torx screws (#1), then unclip the cover on the rear face (#2) and lift it by rocking it as shown by arrow to avoid breaking the 2 lugs at the front side of the cover (#3). Finally simply push to the rear to release the lugs (#3). You now have to unclip the 2 lugs, where the 2 torx screws you have just removed where tightened (#1). Be careful for this step, since these 2 lugs may break. I've seen 1 or 2 pics of broken lugs on this forum. ⚠️ Then, you need to push the airbox backwards, so that its front side can 'rip' other the bonnet slam panel. Then unclip the hose (#3) and with a rocking motion back and forth, release the front side so that the airbox can be fully removed. However, do not hesitate to put one hand on the back of airbox to be able to pull forwards more easily (#4) and take the airbox out, which is quite large. This being done, you need to remove the air filter housing. This is simpler. Start with unplugging the small hose (#2) at the air filter housing outlet and unplug the air flow meter connector (#3). ⚠️Be careful: There's a small grey latch on the connector (if equipped) to unlock before pulling the connector off, otherwise it won't come out or you risk ripping it off. Now, remove the metal collar (#4) on the large air hose downstream the air flow meter. Use a slip joint plier for this. You can now unclip the air filter housing, which is simply fitted onto 3 shock absorber pins (#1). Pull vertically upwards. Don't hesitate to pull hard (continuously and not jerkily), it holds up really well! The 3rd pawn is under the air box (dotted circle), but it comes out quite easily when the other 2 are already out. Once the air filter hosing has been unclipped, all you have to do is disconnecting the large hose, downstream from the flow meter. Be careful to 'close' the hose to avoid any foreign object damage or even just dust towards the engine. Masking tape will do do the job! Step #2 : Battery removal To take it out, you need to remove a 13mm hex screw, which tightens a retaining bracket et holds the battery in place. This screw is on the front of the battery (#5 on previous pic). Then remove both battery terminal covers (by lifting vertically) to access the clamping nuts of both battery terminals posts (10mm Hex socket). Warning⚠️: Start disconnecting the "-" terminal post before disconnecting the "+" terminal post! For more safety, wrap them with masking tape as well if you want. Battery can be then removed easily, even if it weighs! Step #3 : Battery fixing plate removal You can now access the battery fixing plate, which is held by 2 10mm Hex screws (blue squares) and one 10mm hex nut. Sorry, the latter is out of the pic, but it can be found easily (just follow blue arrow). Be careful don't be too quick at this step, several fixing staples are indeed attached to the battery holder. You might be tempted to cut the tie-wraps, but these are attached to small brackets, which are simply stapled (red circles) or clipped (orange circle) to the battery fixing plate. Staples can be removed by simply pushing them with a flat screwdriver, while the clip-on holder can be pulled out with a small fork. There is now a small Control Unit attached to the battery fixing plate. Unclip the small lug (red circle) and pull the control unit vertically (as suggested by arrow) to remove it from the battery fixing plate: The battery fixing plate can now be removed. Step #4 : Oil draining You can finally access the DSG oil filter housing: A 24mm hex socket is necessary to remove it. Once done, protecting the filter location against foreign object damage or dust is necessary. Aluminium foil will do the job. FYI, here is the difference between a new filter and a filter with 60,000 km on the clock. Now remove the sealing plug with the 14mm Hex. Once done, the oil flow will be very thin, due to the oil pipe. Remove the oil pipe, using a 8mm Hex. After that, the oil flow is more important. Step #5 : Oil filter replacement Once the gearbox is empty, you can put back in place: - The Oil pipe (still using the 8mm Hex. Tightening torque = 3nm). If you don't have a torque wrench complying with such a low range. Take it easy! Just to give an idea, it is roughly the same order of magnitude as for closing a jam jar lid. (Sorry, this is the only simple image I found quickly ...). Well just keep in mind, it's light !! - The new DSG oil filter (don't forget to moisten the O-ring in its hole) - The new O-ring on the filter housing (don't forget to moisten this one too) - The filter housing, which must be tightened at 20 Nm (with the 24mm Hex socket) Step #6 : Reassembly Steps #1 and #2 can be processed in the reverse order to reassemble : - The battery fixing plate (and the small control unit) - The Battery - The air filter housing and the hoses - The airbox. Step #7 : Oil filling The filling hose can now be screwed in the sealing plug thread At the other end, donc forget to shut the 1/4 turn valve, before screwing it onto the oil can. To make it easier, you can attach the can to the bonnet with a 80cm long twine or an old metal hanger (wire one), that you can shape to transform it as a can holder. If you want to fill the gearbox faster, you just need to make a little hole in the can bottom (now upside down ) to enable air getting in the can. Of course, don't forget to open the 1/4 turn valve. http://img.xooimage.com/files1/b/e/c/whistle-1bb1.gif You have to fill approximately 5,5l. Once again, don't forget to shut the 1/4 turn valve upon each oil can change http://img.xooimage.com/files1/b/e/c/whistle-1bb1.gif. Warning: Do not make a hole in 6th can, otherwise there could be some side effects... http://img.xooimage.com/files1/3/e/0/33-2bc7.gif When the 6th can is half empty, shut the 1/4 turn valve, remove the can from the filling hose. Put now the free end of the filling hose into the dip tray. You can now open the 1/4 turn valve to start adjusting the oil level Step #8 : Oil level adjustment ⚠️ Now, start the engine and keep your foot pressing the brake pedal. Move the gear lever in accordance with the following sequence: P to R, wait 3s R to N, wait 3s N to D, wait 3s D to S, wait 3s S to D, wait 3s From this point, most other tutorial suggest getting back directly to P. I personally rather got back step by step, still waiting 3s after each step. Once back to P, you can remove your foot from the brake pedal, but keep the engine idling. Now, connect your VCDS cable and select the gearbox controller (02 Auto Trans): Once in the gearbox controller menu, there are 2 options: 1) Either get into "08 Meas. Blocks". then in the new window, get into "Group 019" and check the Temperatur cell of "ATF (Auto Tranmission Fluid)" parameter. This is at least what I've found in several other tutorials. But though owning an official VCDS cable, the "08 Meas. Blocks" is greyed on mine. (may be my Micro-CAN version starts reaching its limits). Hence I had to use option #2 below. 2) Or get into "Adv. Meas. Values" menu: From this point, type "trans" in the search cell to find all parameters related to the gearbox. In the results list, tick "ATF temperature - Transmission fluid temperature": Now with the engine still idling, just wait for the oil temperature to get between 35 and 45°C. It may take several minutes. Be patient. When oil temperature is close to 35°C, you can remove the filling hose completely. Don't worry temperature is increasing really slowly. The oil flow from the oil pipe starts decreasing. Once the oil temperature is within the 35-45°C range, you can observe that a slight amount of oil flows out via the overflow tube every 30 seconds, independent of the oil level. This is caused by oil pulses, which cool down the coupling. According to workshop manual, this oil quantity is not a criterion to determine the correct oil level. Therefore, they must not be taken into account when assessing oil level. You can now screw back the sealing plug (with 14mm Hex). Tighten it at 45Nm. From this point, you only need to stop the engine, disconnect your VCDS cable and put the soundproof housing back in place under the engine, and... That's it! Well, non counting the specific tools, you've just saved ~200€! Note: I'd also like to write special Thanks to @J.R., who helped me to translate some technical words I was missing! Much appreciated.👍 _1 point
-
The belt lasts it's lifetime. be that a 5,10, 15 or 20 year lifetime. Maybe it would be the time the queen lived. The tensioners, bearings etc also last a lifetime, but that might be many years less than the belt. They will cover the parts (& labour) for 2 years.1 point
-
So if skoda recommend 120k miles and the belt snaps before then, would skoda be liable for repairs?1 point
-
1 point@wyx087Obviously it can. But millions will be like me and not have a smart meter or a 'offpeak / ev tariff' or solar or anything and maybe can use a 3 pin charger or not even that and only can 'public Charge' So that is where the issue is at now with the cost of vehicles and the cost of Public Charging and why the likes of Fiat have offered a 'Grant' to get overpriced 500 EV's flogged. http://briskoda.net/forums/topic/504974-domestic-charging-points-a-new-social-dividing-line1 point
-
1 pointSorry to hear that George. There's noway I would go back to a fossil car now, they're just crap in comparison1 point
-
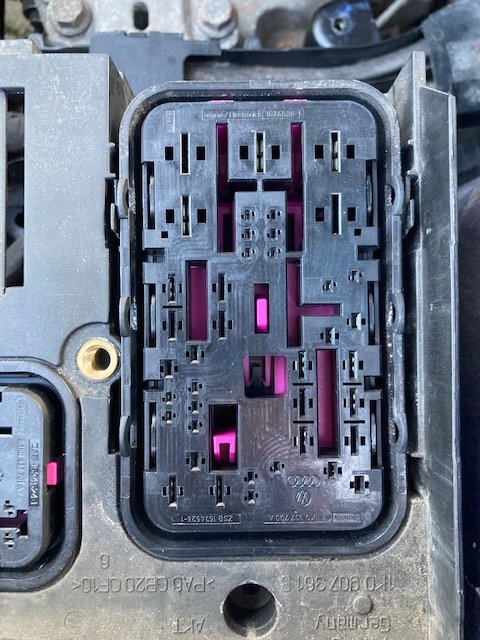
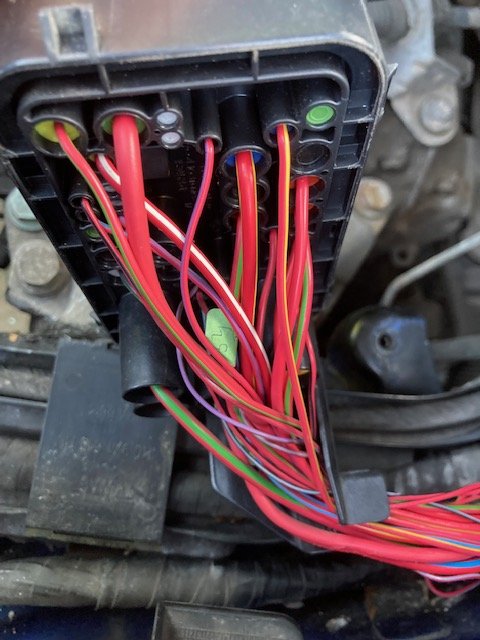
1 pointP0685 ECM/PCM Power relay control circuit/ open circuit (J271) solved! 👏 Pete, thank you very much for your quick and insightful help. Once again proving how great a forum like this is! Final update for those interested: I checked the engine bay fuse box numbers (underneath so you must remove) and the pins Pete mentioned were clearly visible (images attached) and I could trace the Red/Black wires he mentioned. Visually checking the loom I found the smallest of 'nicks' in one of the wires not far from the fuse box and having opened the black electrical tape and followed it back to the box this was indeed the power supply to the relay wire, it had exposed the core of the wire and had gradually corroded to a point where it simply wouldn't pass current anymore. I had changed the battery for a brand new one at the end of last year and removed the battery box to have a good clean in there and must have just caught the loom ever so slightly when putting it all back together so I replaced a section of the wire to completely cut out the corrosion, retaped the loom with a good quantity of tape and thank God (mine is Jesus) it started instantly! Phew. Once again a MASSIVE shout of appreciation to MicMac and BreezyPete for taking the time to help and hopefully this thread may help others in the future. All the best.
 1 point
 -
With the Kodiaq as with other models and TSI's when asking for quotes or booking in you really need to be sure that Service Desk staff know if it is a 1.4 TSI, (or 1.4 TSI ACT with cars with those or 1.5 or 1.5 TSI's. ) Prices and quotes are all over the place.

 1 point
 -
Be aware that if you choose to get your cambelt changed at a Skoda main dealer, it now costs a whopping £780 for the 1.4 TSI. I phoned around three of my nearest dealers, they all quoted the same (or very similar), all blaming Skoda UK’s new ‘menu pricing’. It’s a long story so I won’t bore you, but I booked it in at a local VAG specialist instead (£450), but they rang me up halfway through telling me they couldn’t change it, their alignment tool wouldn’t fit. This is despite them changing more than 8 cambelts on the 1.4 TSI this year already without issue. Seems my Kodiaq timing is unique! Reluctantly I’ve booked it in at Skoda, after they offered me a whopping £40 discount. Even more galling is the fact that it’s only us in the UK that have to change it at 5 years.1 point
-
1 pointWhat tyre sizes are you interested in? Eleven possible tyre sizes 165/65R15 175/60R15 175/65R15 185/55R15 185/60R15 185/65R15 195/50R15 195/55R15 195/60R15 205/50R15 205/55R15 What specification rims are you interested in? Eight possible rim specifications 5Jx15 ET28 6Jx15 ET29 5.5Jx15 ET34 6.5Jx15 ET34 6Jx15 ET35 6Jx15 ET38 5.5Jx15 ET40 6Jx15 ET431 point
-
1 pointI pay my van monthly on the drip with Lloyds Van Insurance and last year it went down to £19 a month from £24 which was nice and this year it went to £25 a month & that was them brokering it & now with Ageas and with key cover.1 point
-
1 point
-
So all VAG group model's with Satnav are now NOT FIT FOR PURPOSE1 point
-
1 pointHave you paid yet?, send me a PM and I'll ping you back a dedicated link that may get you a better price, well worth a try.1 point
-
1 pointGraphite grey here, looks great when freshly washed but that said doesn’t show the grime too quickly, currently sporting a nice layer of dust though thanks to the dry weather.1 point
-
1 pointThe Phoenix Orange was an unknown quantity regarding washing. I was pleasantly surprised. Today it needs a wash but it is way too hot. It still manages to look nice and shiny even when its very dusty. The Business Grey was good too, but sadly gone as a choice.1 point
-
1 point@Superb01- reliability should b fine given the DQ250 can handle up to 600Nm with software tuning alone, by dealing with clutch pressure points and shift algorithms. Above 600 then u need to upgrade the clutch. The torque values were higher than I expected. Not sure if it's because of the Hi-torque tune combined with the DSG tune. No, sadly I don't have times apart for the 0-100 and 80-120 4th gear test. Being a FWD, traction off the line is no good with that much power. Best time was 5.9 sec. The best time for the 80-120 was 3.10 secs. Happy with this.1 point
-
1 pointVisible smoke is a failure for MOT, plod could pull you over and make you provide a new MOT. This forum is for making Skodas better, not worse and illegal to drive on the road. Try one that isn't full of grown ups.1 point
-
Morning all Thanks to everyone who provided advice on this topic. For reference to help anyone else who might come across this problem replacing my oil cooler solved the issue. David1 point
-
1 pointGood gain in power but even more impressive in torque. Your tuner really squeezed allot of torque out of it. Realiability wise is it safe now for engine/long term? I suppose the gearbox can handle it. Also noted that high values of torque/power ar indeed reached at lower rpms, which match with what our colleague said about a similar remaped engine on Skoda Karoq. So the non 280 engine with different turbo hits different in those low rpms. We're you able to measure some acceleration times/top speed to?1 point
-
1 point
-
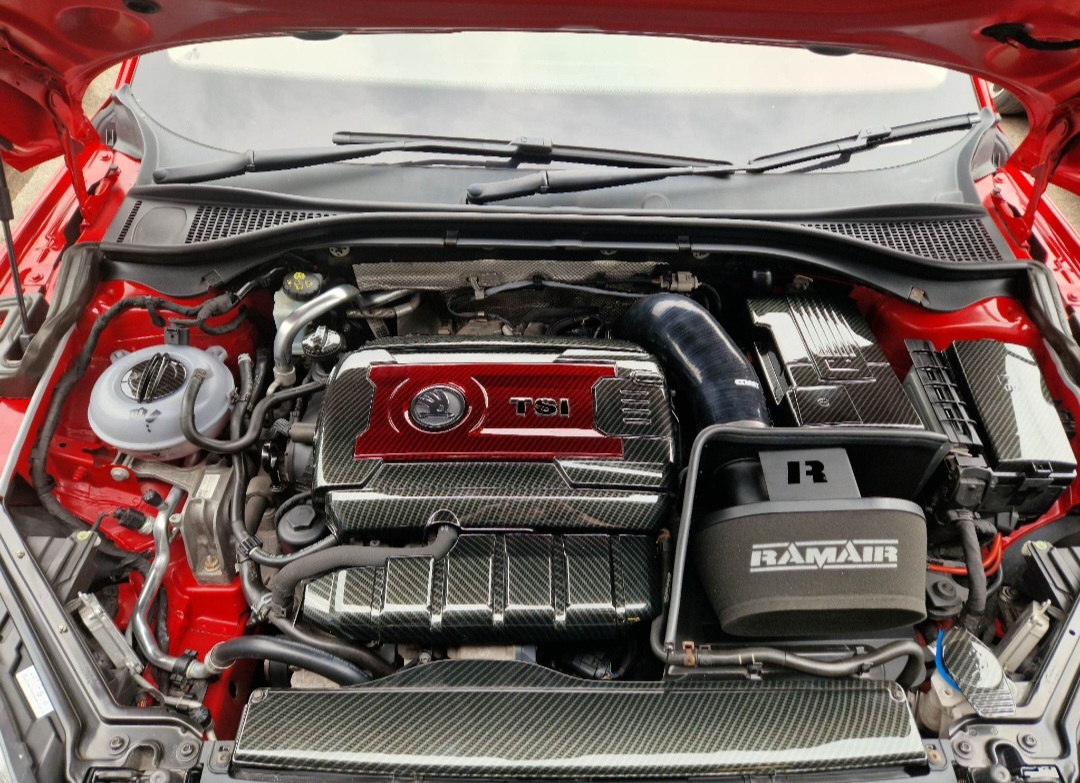
1 pointThis is my 220 MY17 Superb with an APR Stage 1 Hi-torque tune, and an APR DSG tune. Did 3x runs, each run produced similar results - 220kW (300hp) 530Nm. Outside air temp was 20°c. U can see in the graph that the small IS20 running out of puff after approx 4800 rpm. The IAT gets higher each time too, making the ECU limit power after a while.
 1 point
 -
My 6 yr old MY17 has no squeaks creaks or groan around the dash, or anywhere else. Although recently, the rear parcel shelf is starting to creak when taking bumpy corners.1 point
-
1 pointI had a similar comparison a few years ago albeit re a Skoda Superb. I agree the 1.9pd was a great engine. I owned a mkI 1.9 pd Superb for 10 years from 18 months old that mechanically was brilliant - rust was an issue though sadly. I know it's a bigger car but when I drove the 1.6 diesel Superb mkII it felt flat although I'm sure it would have been fine cruising at 70mph. The 2.0 diesel version felt way way better however I noticed a good deal on a 2014 1.4tsi petrol at the time (2015 pre dieselgate) so I tried that and loved it. Not quite as low down torquey as the 1.9 pd (still reasonable though) but rather interesting as the revs rose. I was worried about the economy but on the local test drive it was showing 44mpg and after purchase my average was about 46mpg but 50mpg+ is possible on a gentleish run. However the big difference were the engine noise levels - the petrol was soooo quiet in comparison. Re Octavia mkIII my son has a 2016 1.2tsi and it's surprisingly lively - I'd say the 1.4tsi Octavia is worth a try! Clearly the 1.6td would be the most economical though.1 point
-
I do remember watching some of your videos on BOF on yertube channel1 point
-
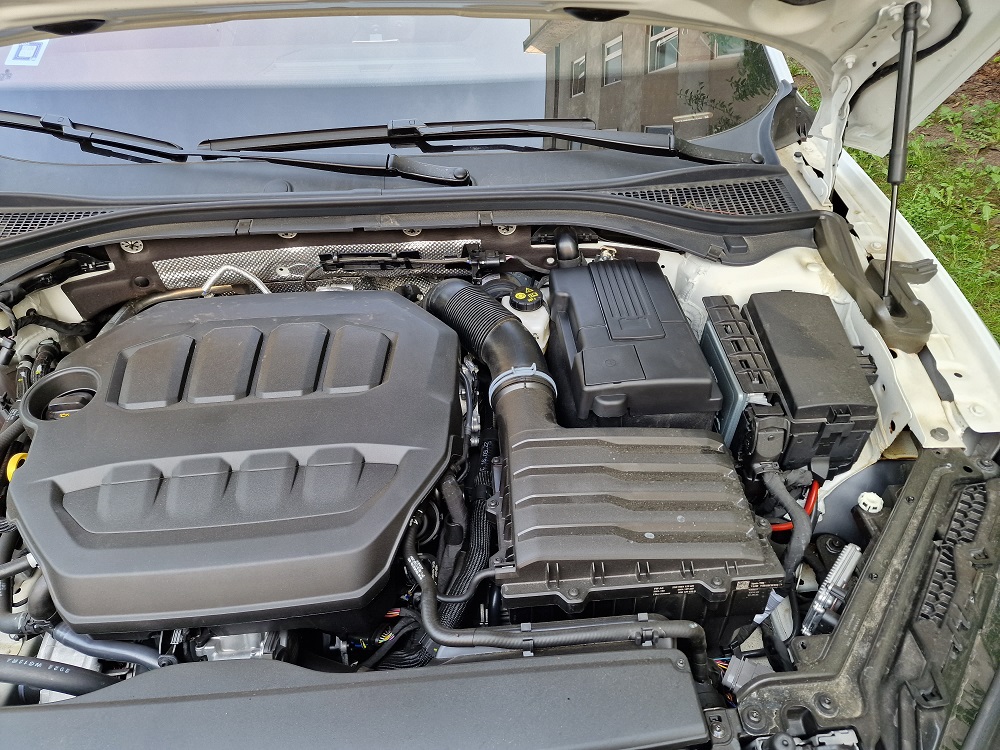
Electric Suction Door 2pcs https://www.alibaba.com/product-detail/Soft-close-automatic-auto-body-systems_60795154530.html video -> 2023-05-29 at 19.12.53.mp4
 1 point
 -
Great haul from the scrappie today, glove box Stereo complete central trim Drivers panel with headlight surround gearshift surround also picked up a airbag deactivation switch that goes above stereo I’m hoping I can wire that in to be my water meth indicator, and I’m going to hide button for boost gauge out of site too black bonnet hinge bolts as I’ve removed the spacers. Found a Uber rare cassette player too from early Fabia for some retro goodness so hopefully inside Will look 100% oem got lots of wiring conduit and fabric tape too to hide all the wiring. Looking forward to a good bit of time on her tomorrow 😀1 point
-
1 pointIf it's not too late have a look on following link. - Briskoda VCDS Owners Map (click me)1 point
-
1 point@Alie there are three things that contain oil... Front six speed gearbox, rear haldex coupling and also rear differential. What exactly are you trying to drain and refill?1 point
-
From what I can see the clever guys already updated the MIB3 Infotainment to 1941 on VW Mk8: Is anybody aware of such procedure for SK too? Related Article: https://www.golfmk8.com/forums/index.php?threads/infotainment-hardware-and-software-updates.391952/page-721 point
-
Front right rim finally replaced today. I found a brand new one on ebay.de for €300 (including shipping costs). The very slight remaining vibrations have disappeared. 🙂1 point
-
1 pointThe designers of cars have considerable problems when trying to set up the seating position for all shapes and sizes of drivers. I'm not being sizist, but a car has to accommodate the tall and the short (I'm the latter) the slim (that's me again) and the increasing proportion of drivers who are overweight. If you are short in the leg (me) then you have the seat fairly well forward and possibly set higher than someone of more substantial girth. So, opinions about how a car fits a driver are almost wholly dependent on the body dimensions of the driver. One size definitely doesn't fit all. The relative positions of the seat, the armrest, the handbrake lever, the gear stick, the steering wheel and the pedals are all a compromise designed to fit the "average" occupant and with the best will in the world, will not please everyone. Like the OP, I find the armrest doesn't move far enough forwards when I'm on a motorway, but when I'm driving on other roads I slide the armrest right back as I feel it gets in the way when I need to use the handbrake. And no, I don't know of any way of extending the armrest forwards.1 point
-
another cover has been add under bonnet €9,38 Battery Cover
 1 point
 -
Too right. I’m on 1896 but the last 2 or 3 ota updates in the last 2 weeks seem to have fixed my travel assist errors. Though occasionally I get the undertaking error again now, just once on a journey and then corrects itself after tapping the throttle.1 point
-
1 pointI found an official workshop manual for the mk3 online for purchase. It covers everything that the dealer needs to do prior to delivery and everything related to servicing and maintenance of the vehicle. It wasn't too expensive to buy £15ish but it's got over 8000 pages with detailed instructions on how to do everything on and in the car. If anyone wants a copy use this link1 point


.thumb.jpg.06721e8c8b33ed0eea16572ff131b291.jpg)