Leaderboard
-
Aspman
Resident Member11Points21,151Posts -
Lady Elanore
FREEDOM10Points24,875Posts -
MikeTheThinker
FREEDOM8Points8,481Posts -

Lee01
FREEDOM7Points36,160Posts


.thumb.jpg.9dd3f612ba7f13d10be5c518d3c8d255.jpg)
Popular Content
Showing content with the highest reputation on 31/08/21 in all areas
-
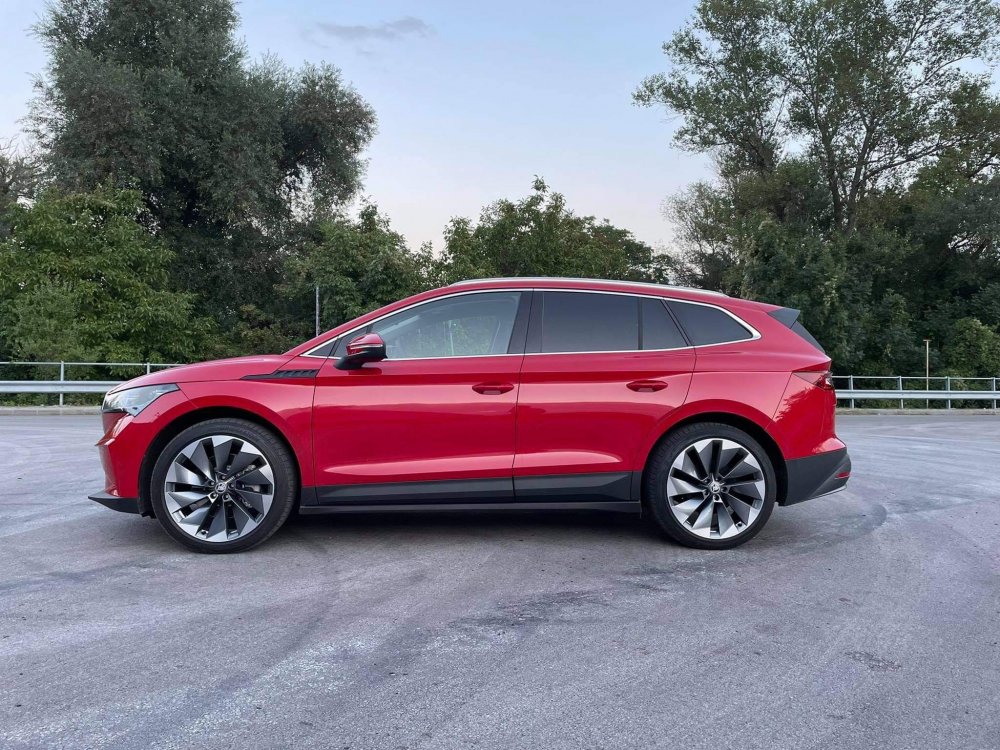
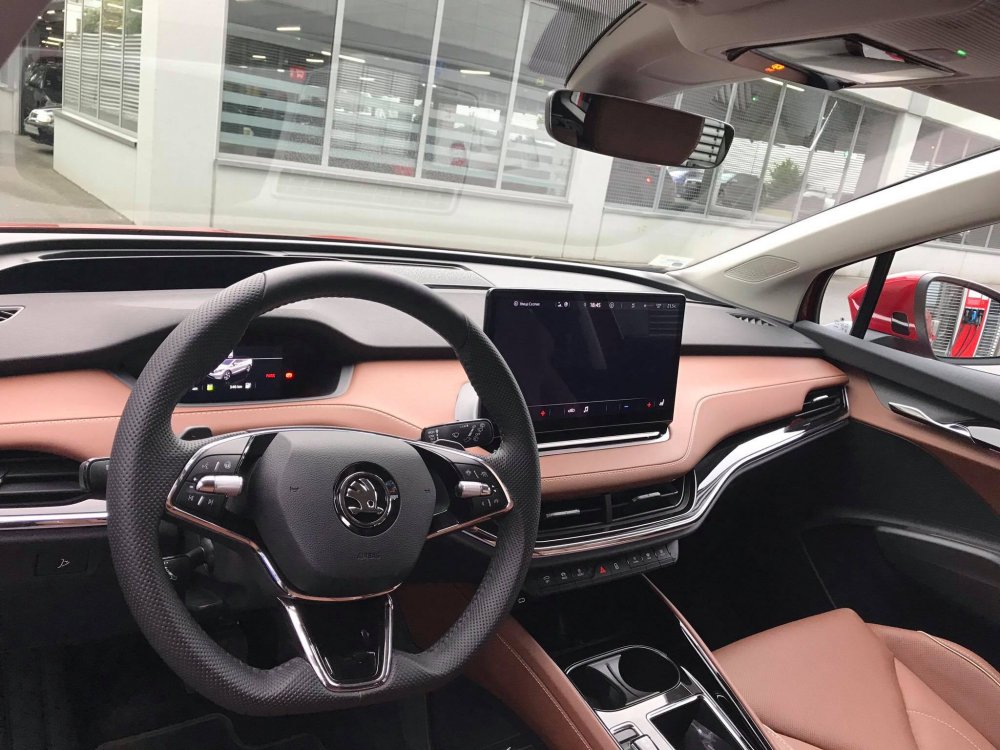
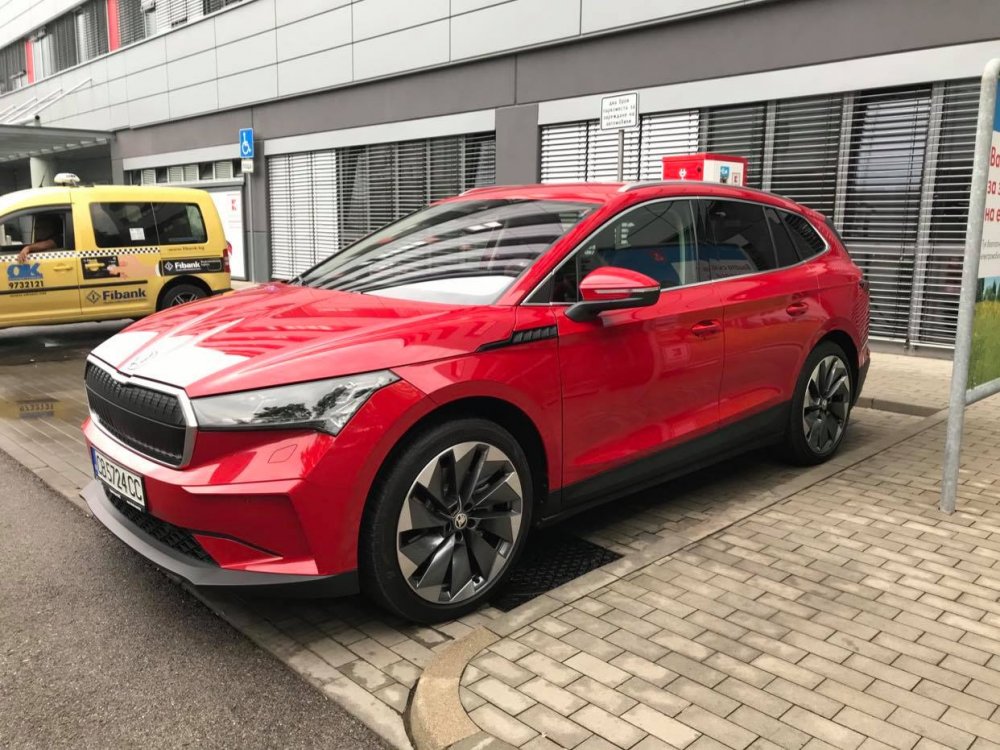
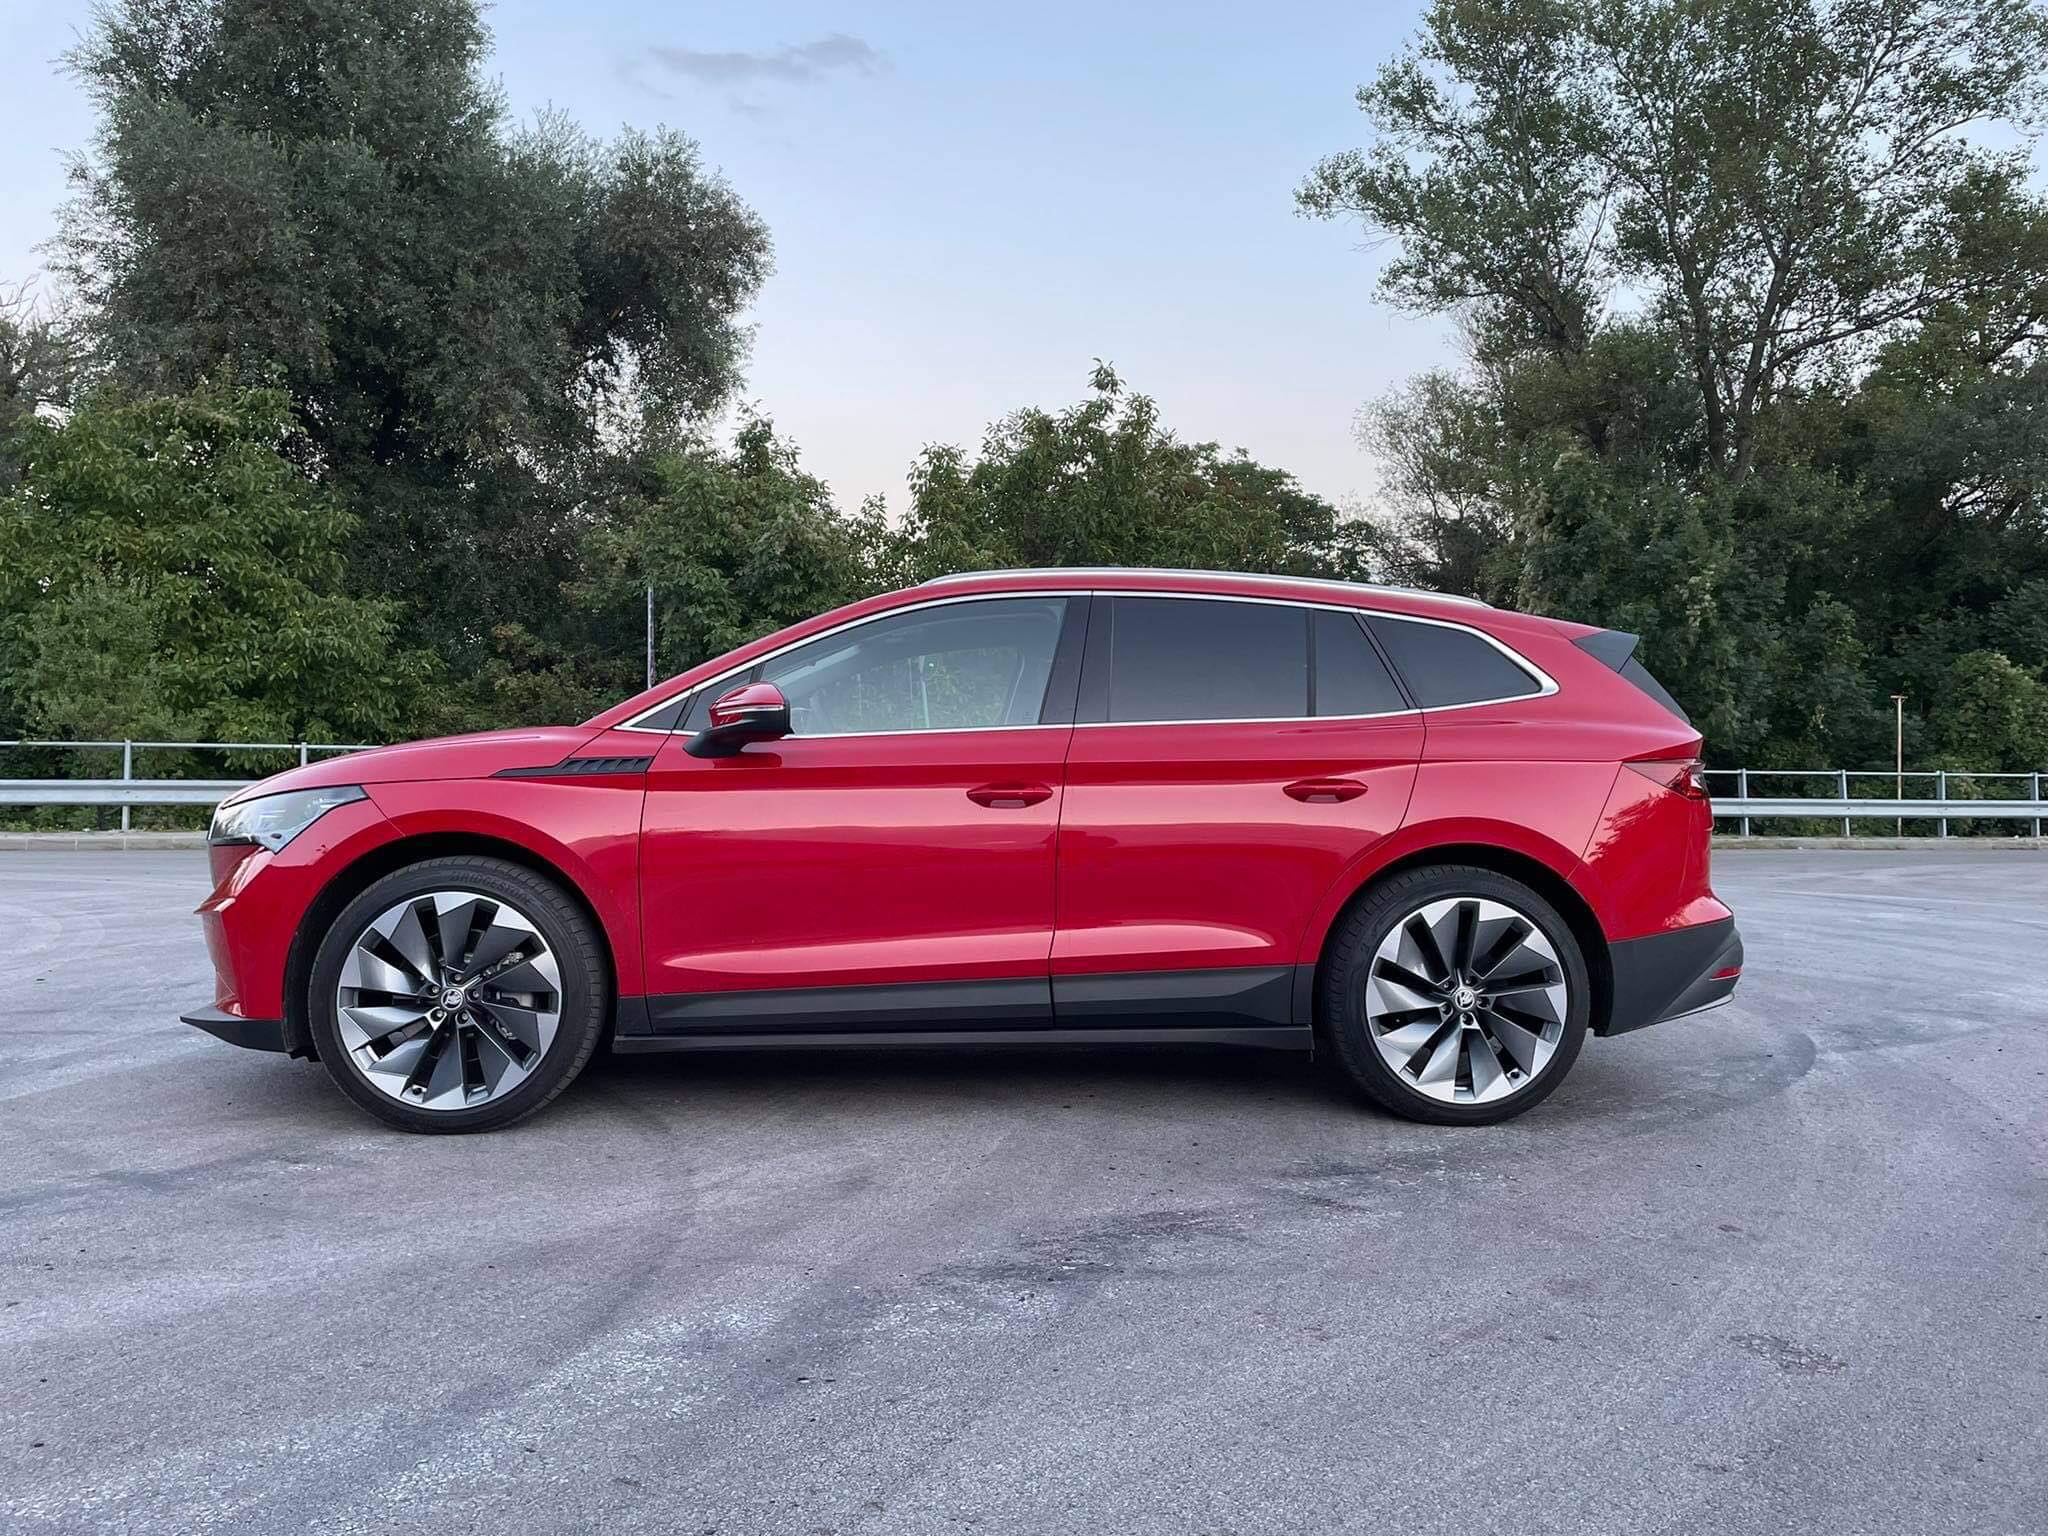
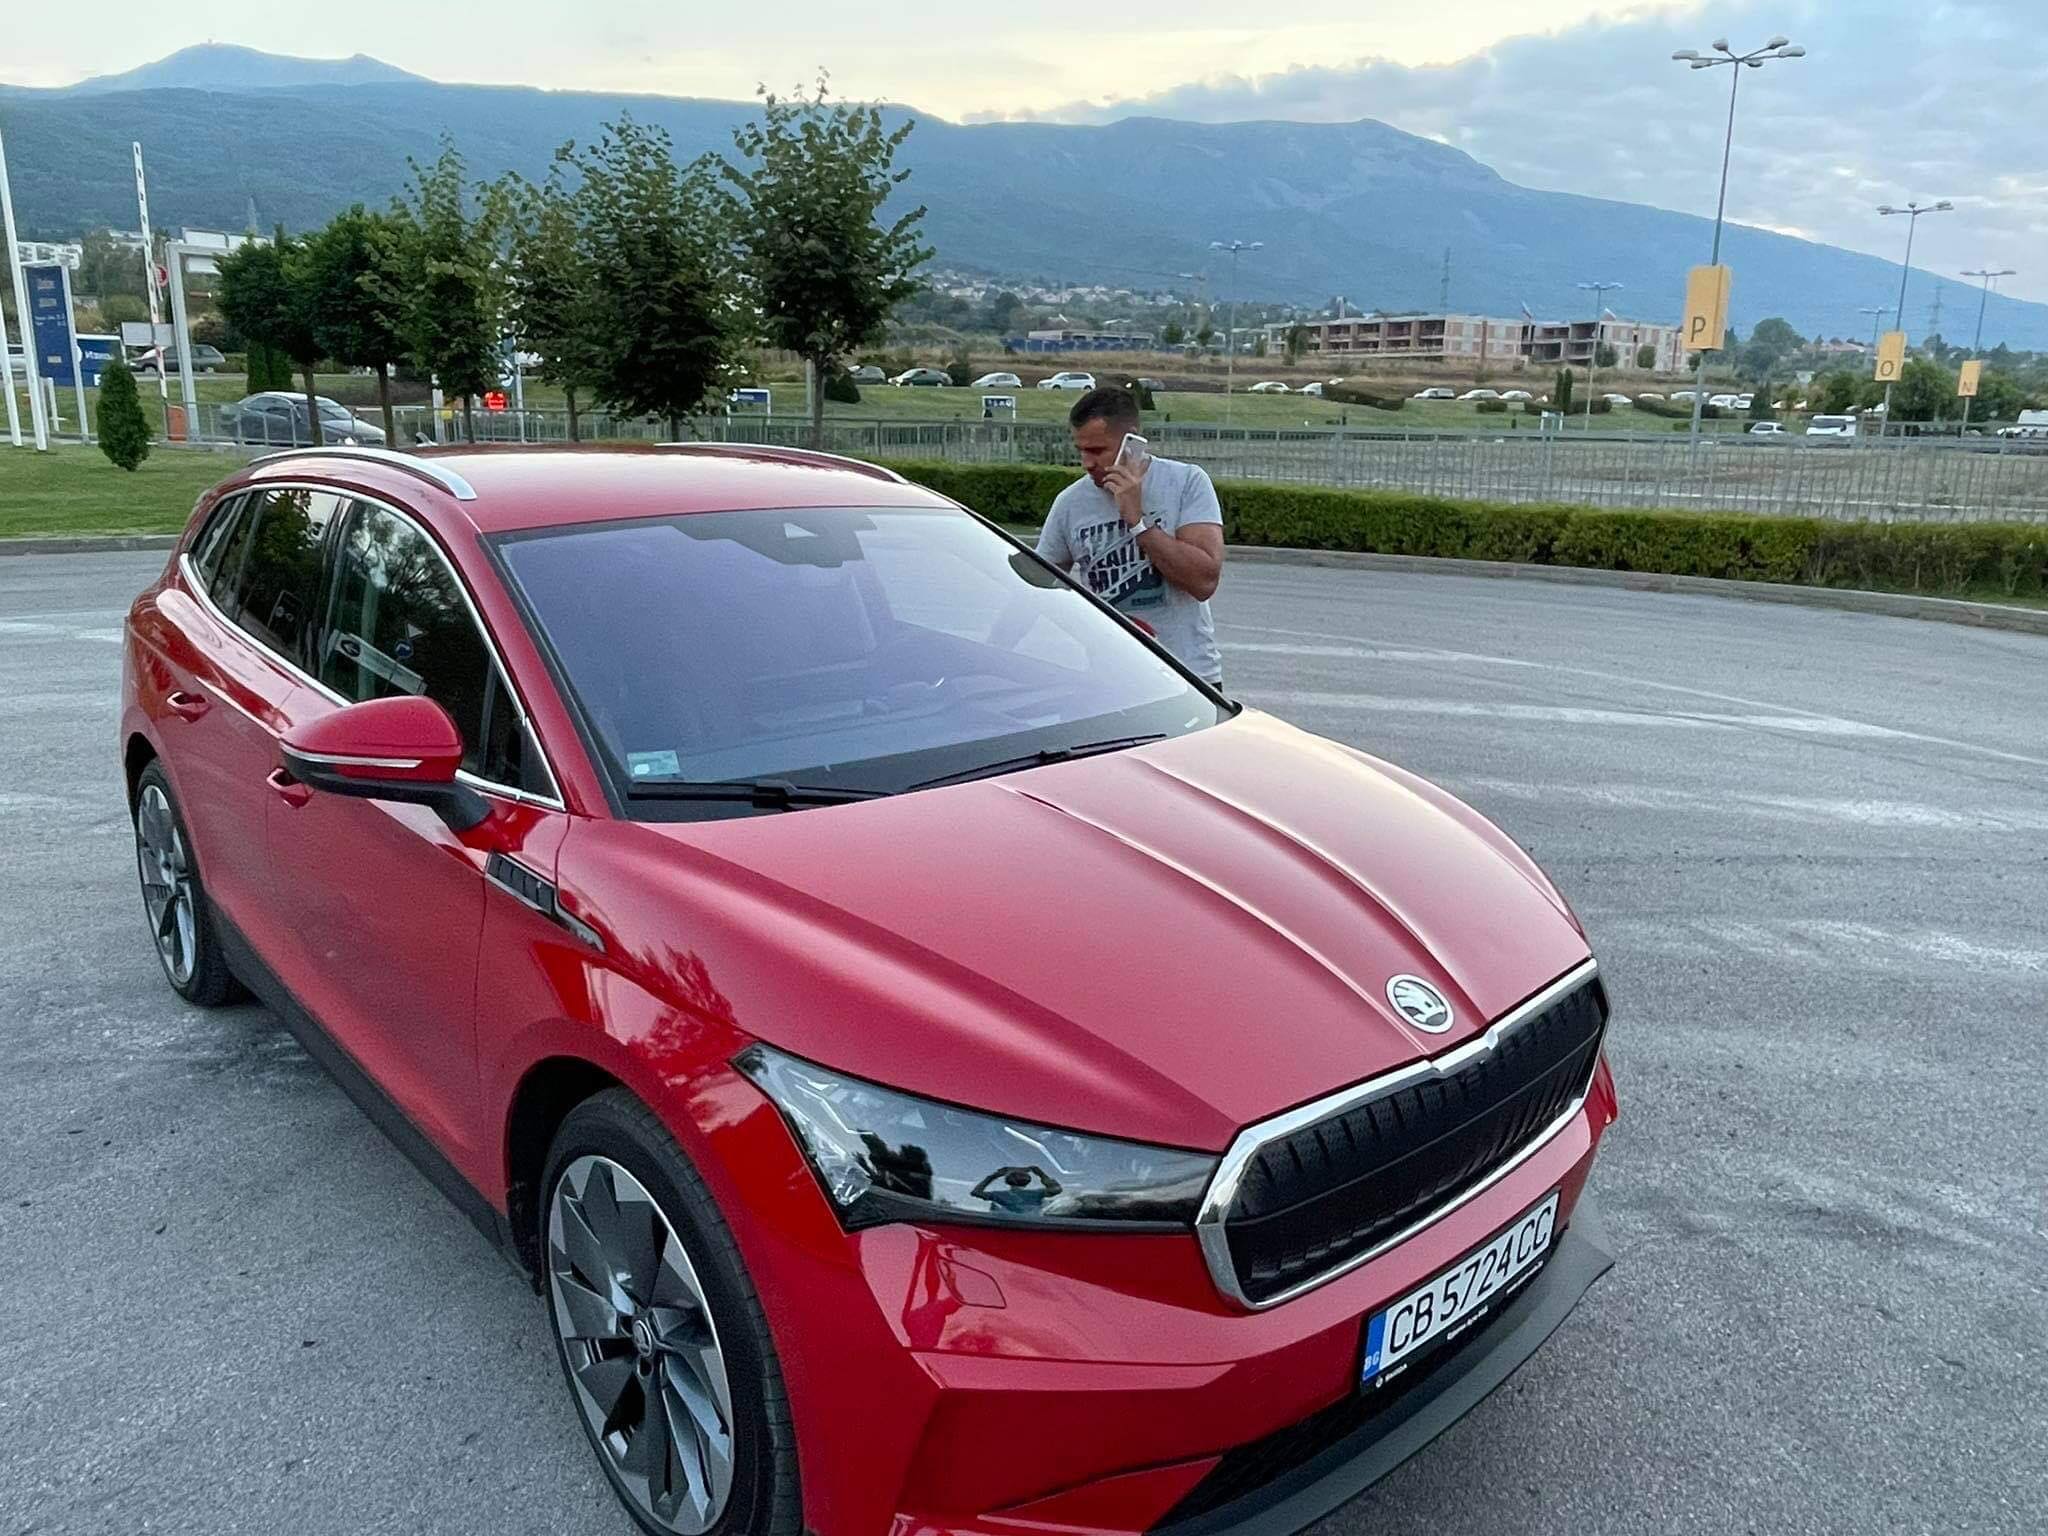
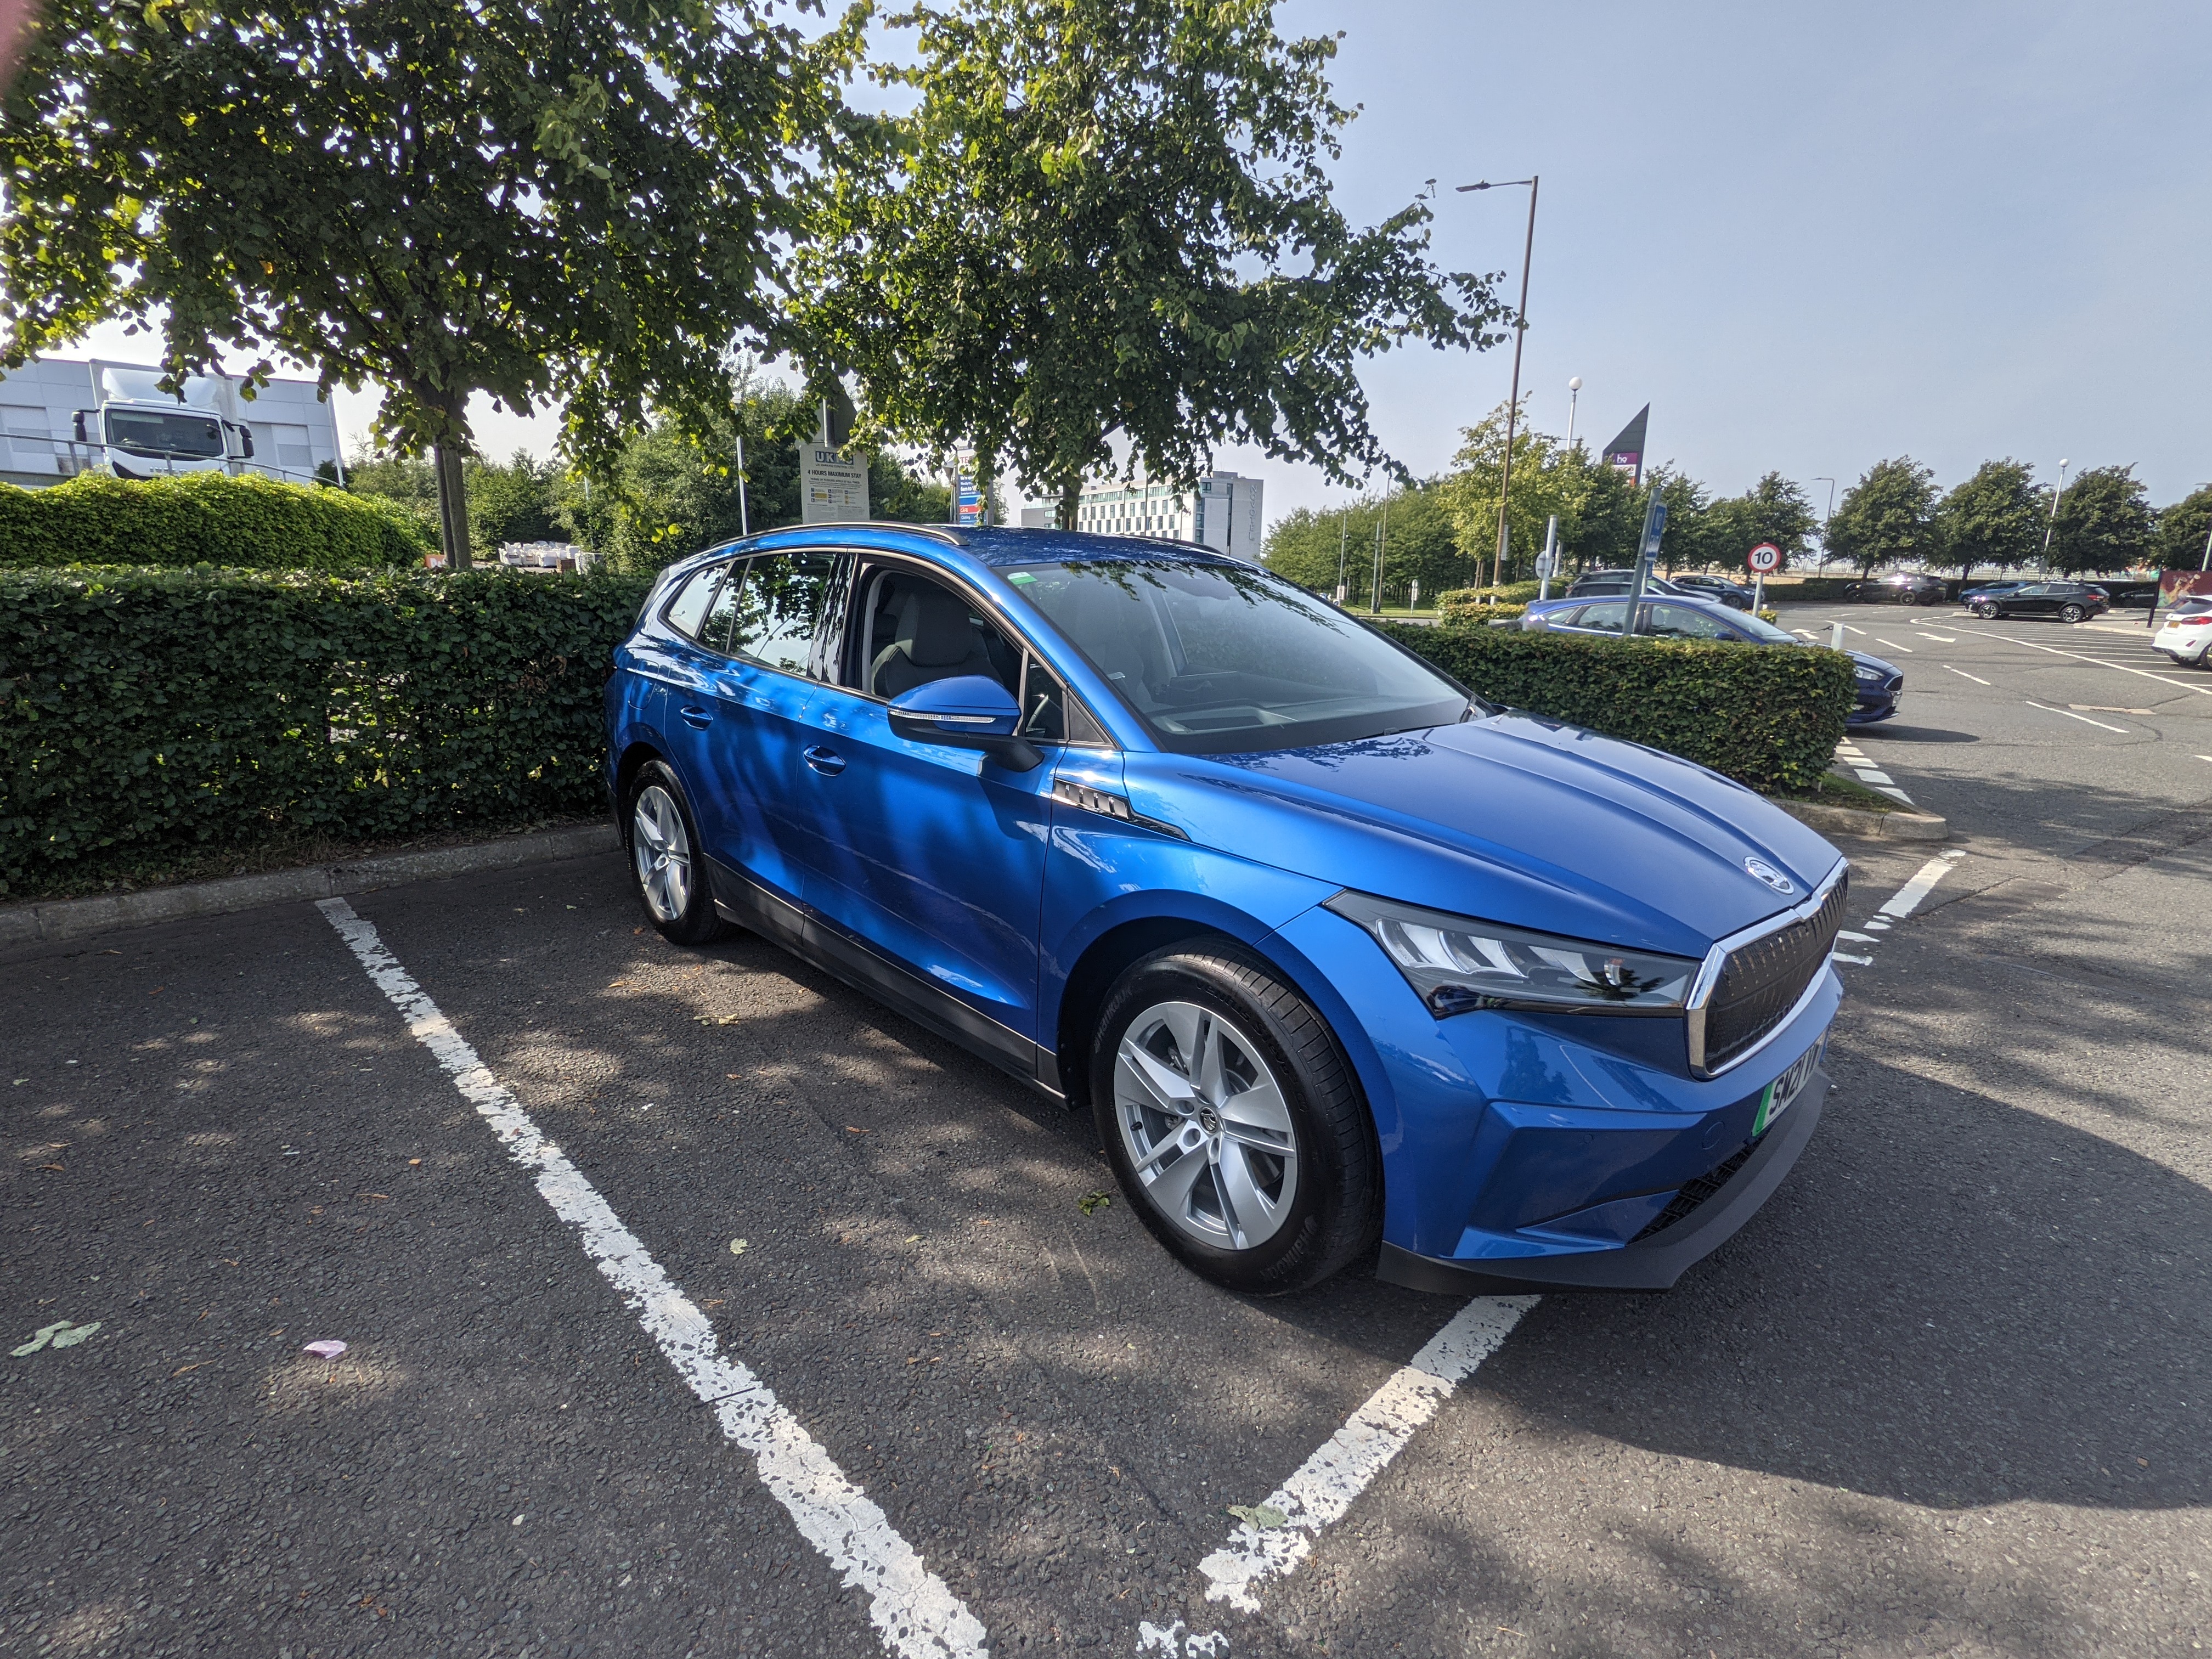
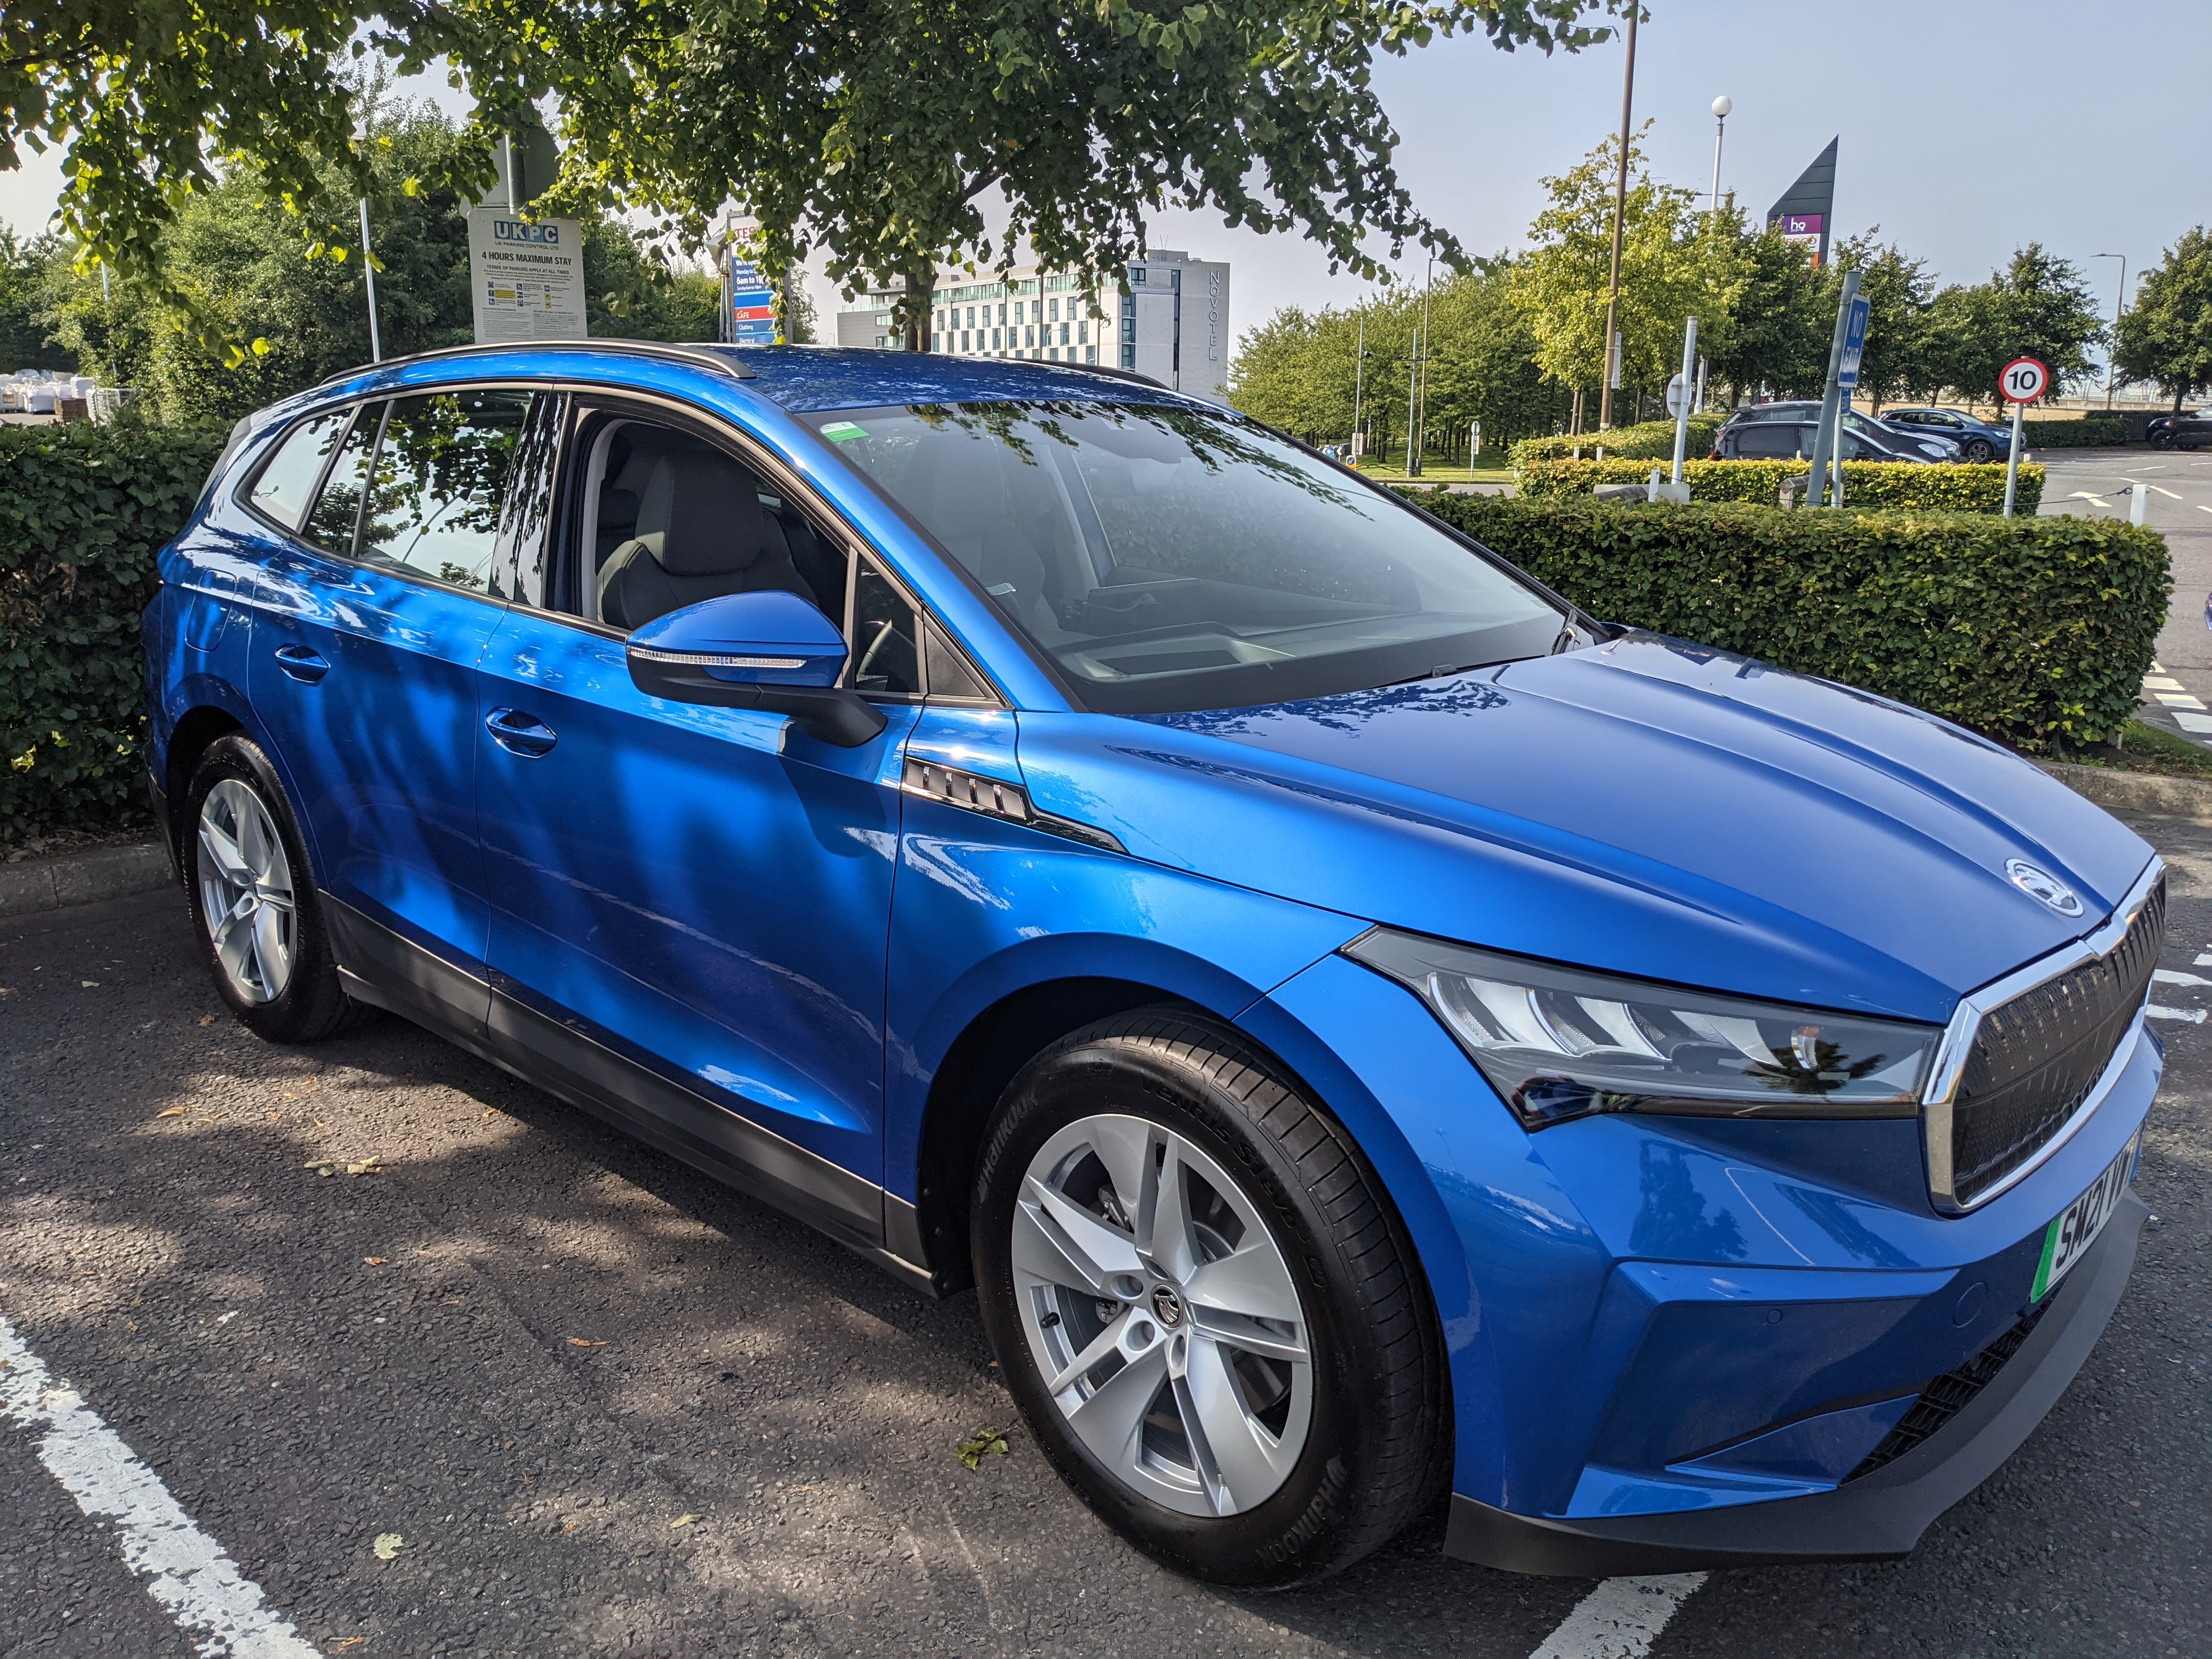
3 pointsHello, Here is mine Enyaq iV 80 Package - HIGH (WQB) Color: Velvet red Rims : '21

 3 points
 -
2 pointsOriginally I planned to get my Tesla Model 3 ceramic coated but I never managed to get Tesla to fix the paintwork to a point where I could get the job done. So today after 4 days with the detailers I picked up my Enyaq after it had been ceramic coated with Gyeone Quartz dual ceramic coating, Very impressed with the result.


 2 points
 -
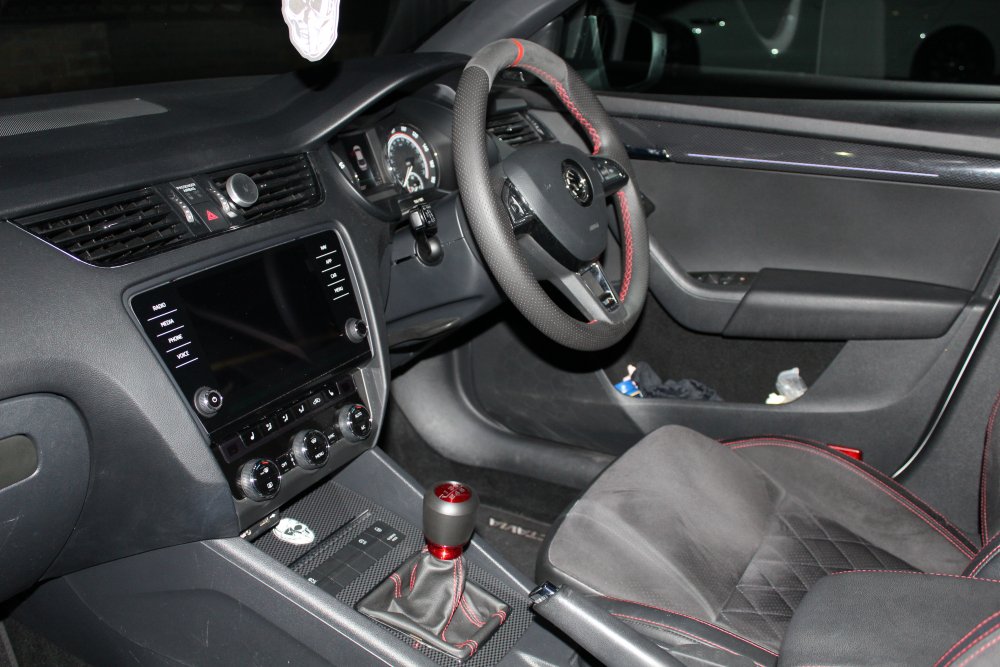
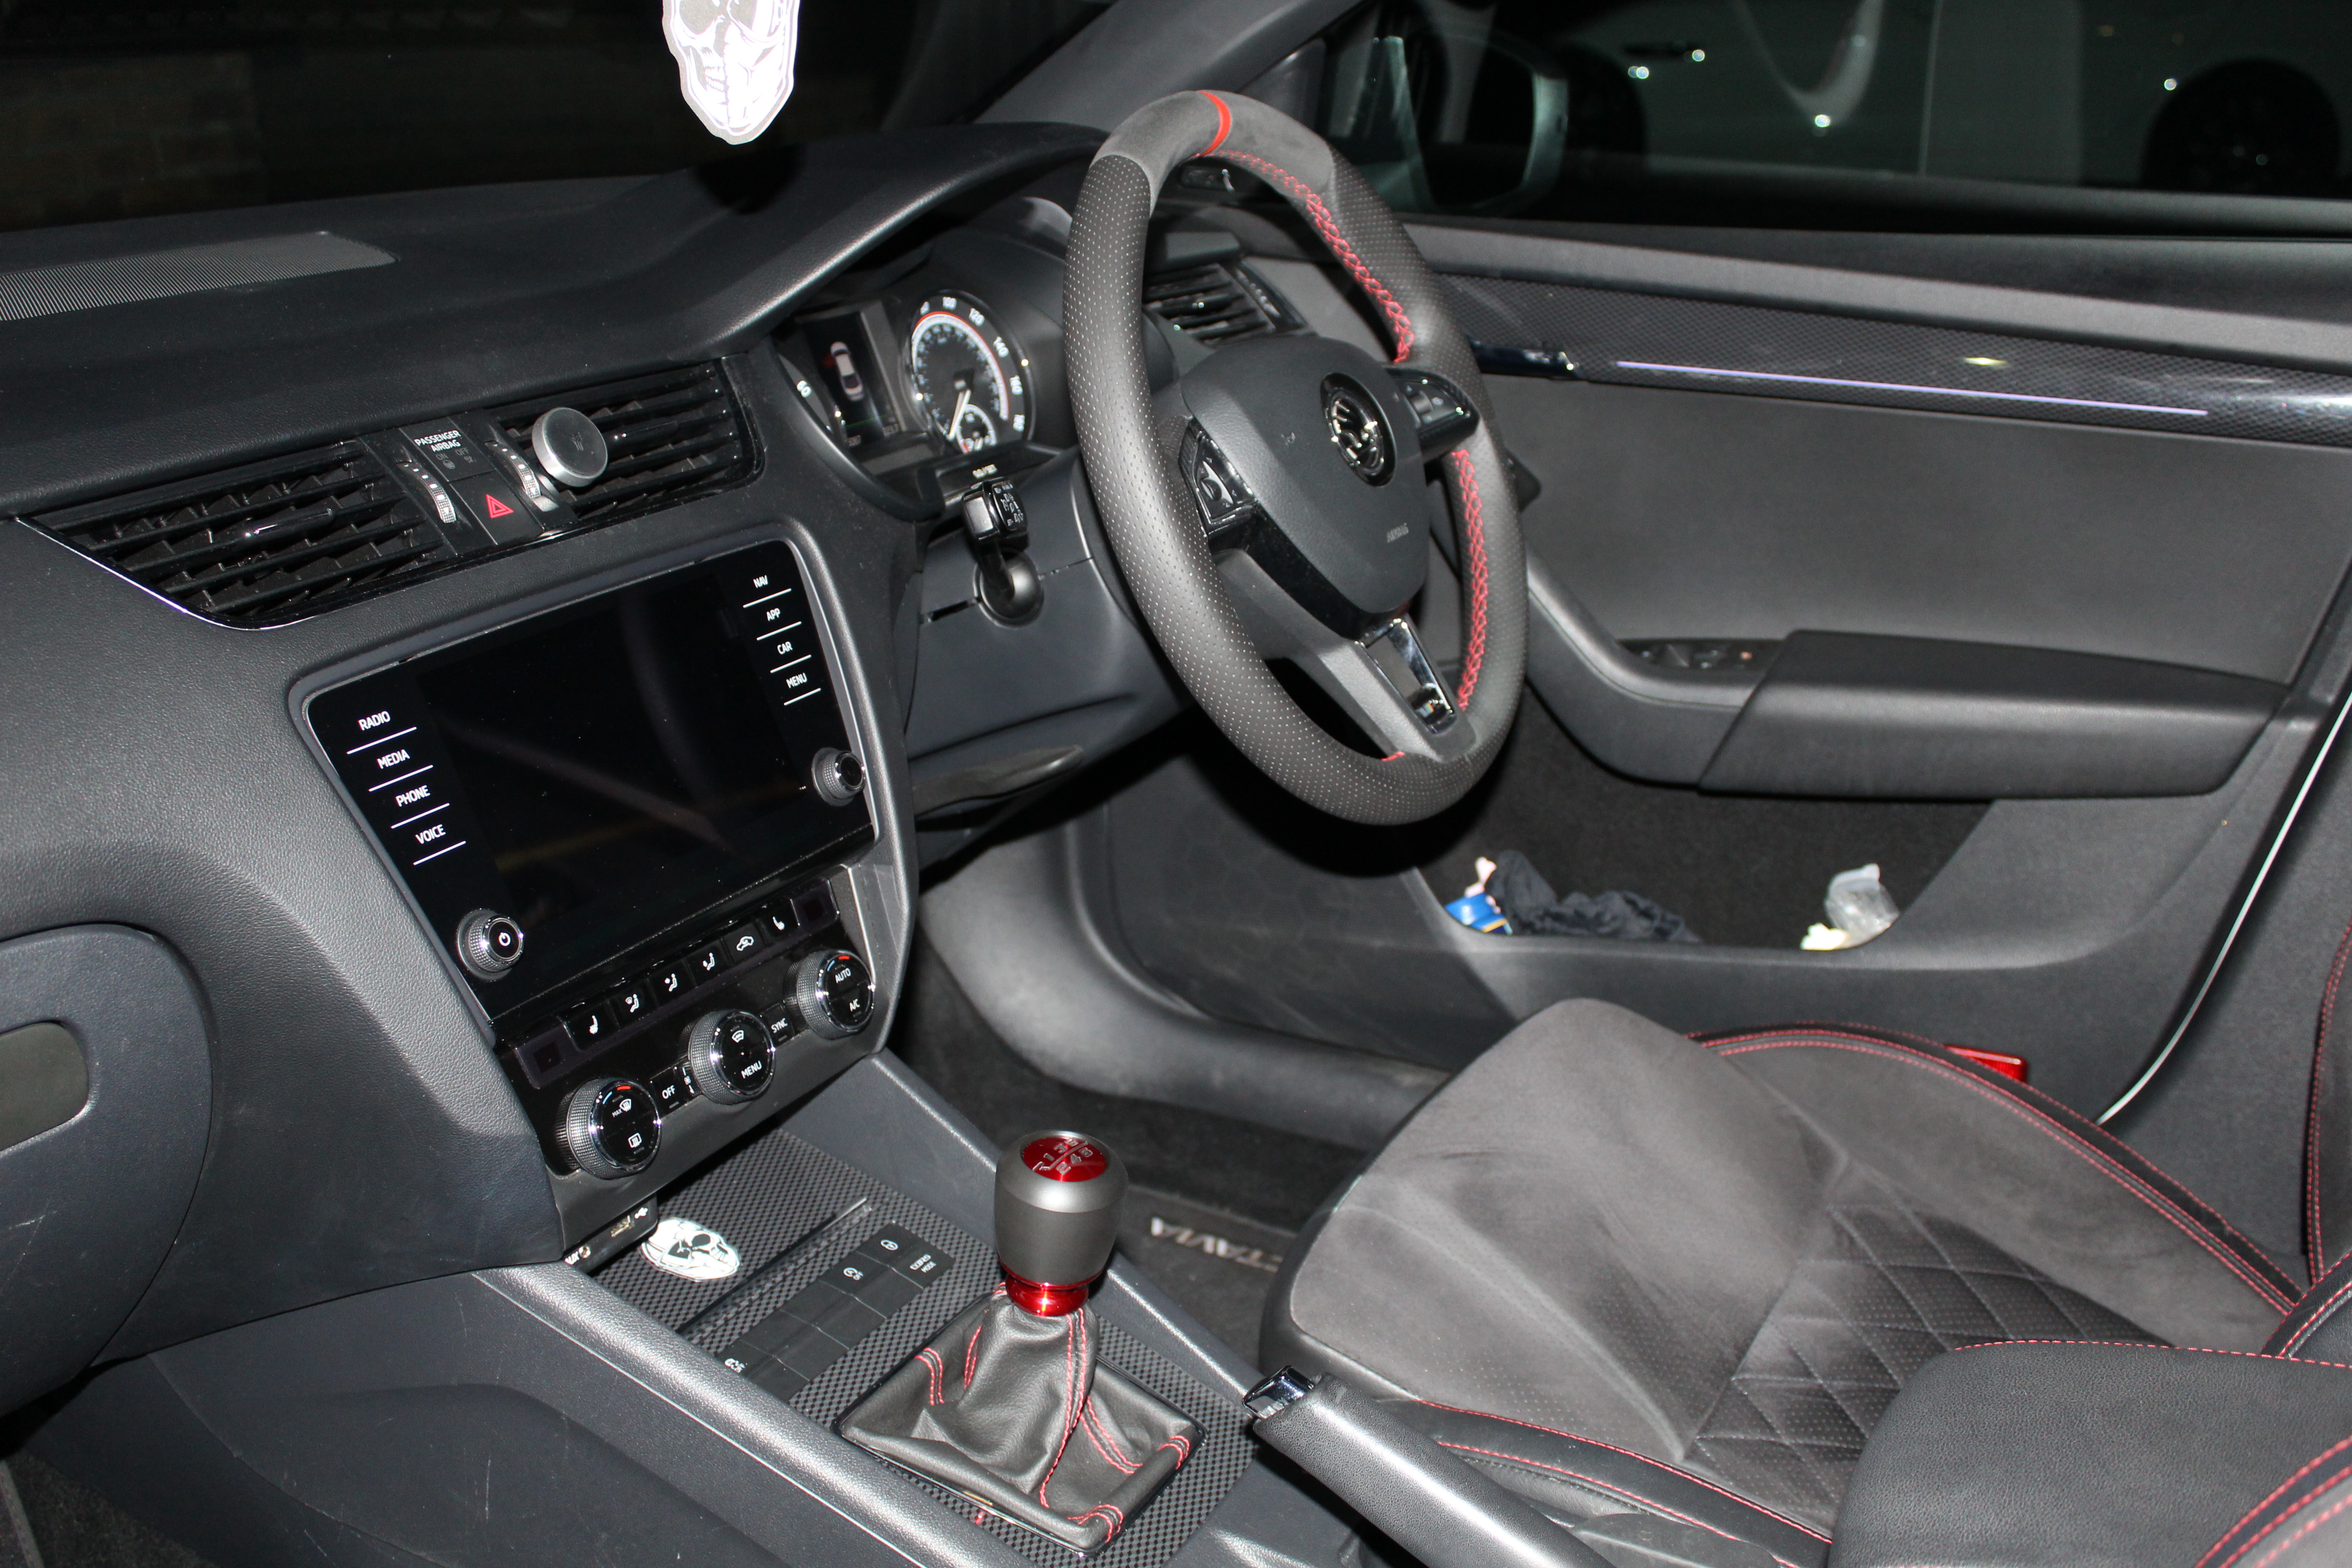
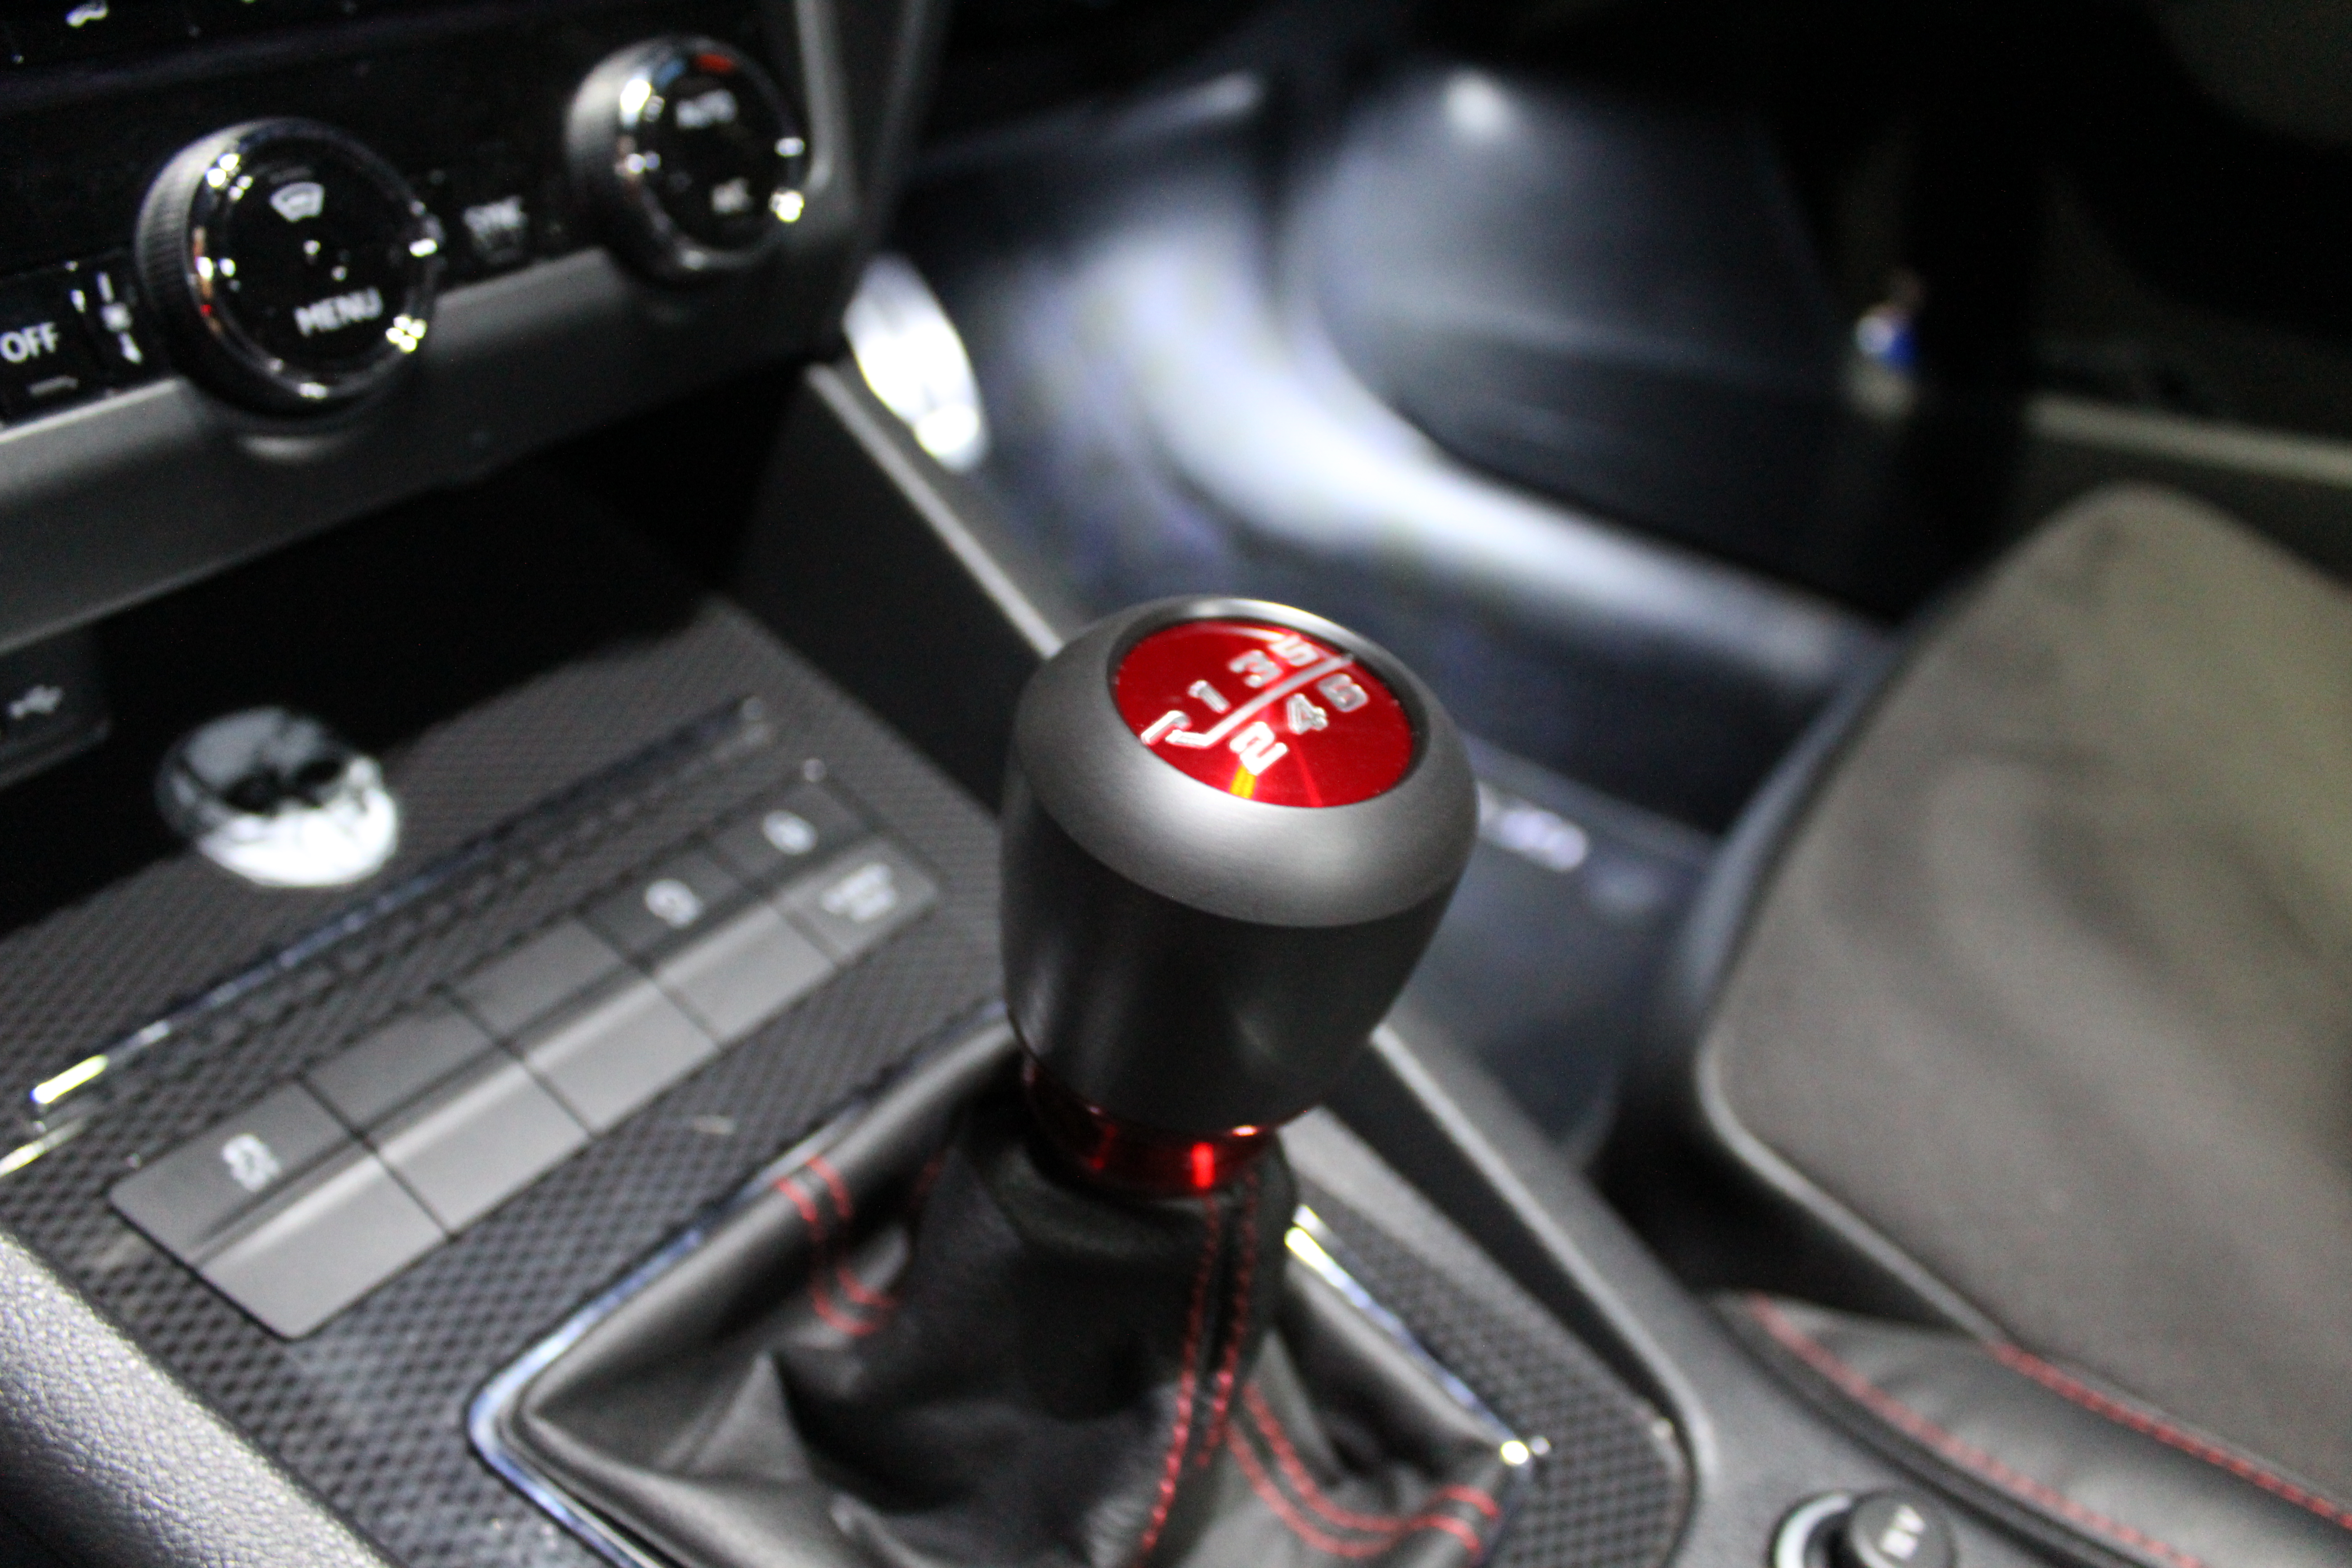
2 pointsDon't seem to be many options for the VAG manuals. Boomba racing and Black forest industries seem to be the main known ones. Not keen on the design of those though so ended up getting a Raceseng as I'd ordered one for my other car too and they look great. Very easy to install. Shorter height, much chunkier and massively heavier than stock. Plus looks great too and aids shifts - not that it needed it TBH. Think the gearboxes in these MQB cars are really good (and I've had plenty of snickety manuals).
 2 points
 -
2 pointsInformation for anyone whose interested in DIY'ing their own brakes, I guess these cars are still quite new. Applies to All Superb MK3 (3V) MQB Chassis Might I recommend Parts in Motion (Great Service, They Check your Compatibility and Offer Free Returns, Often Next Day) https://www.partsinmotion.co.uk/ I have a 65 Plate (Now wearing a vanity plate) registered early 2016, my vehicle is a 1.6TDI 120PS, Manual, Hatchback. I went for Juratek Discs with Blueprint Pads. Disclaimer - For Information only, I am not responsible for damage to yourselves or your cars. The Fronts - Chock Rear Wheels Apply Parking Brake Ensure you are on a level piece of ground ideally concrete that will support the jack safely. Position Jack Under the Correct Point on the sill (Note there's an embossed arrow, the jacking point is obvious, use jack pad if you wish to protect the underseal) Do not jack up yet Remove plastic caps over wheel bolts (There plastic tool in your spare wheel kit for this) Ensure you have the locking wheel nut key at this point. Use a 17mm deep socket and a breaker bar to crack loose all wheel bolts including security bolt. Jack the vehicle until the wheel will spin freely (providing not a DSG in park) or until you can safely place under an axle stand (I put this under the subframe) Behind the Front Control Arm Bushes. Remove 17mm wheel bolts completely. Remove tyre, can be tricky if rusted onto the hub (use a rubber mallet if necessary on the back of the wheel) Safely stow tyre rim side up so as not scratch it and so it isn't a trip hazard. Remove the T25/T30 Torx retaining screw from the brake disc. Use a pair of vise grips of similar to prevent the nut on the end of the slider boot from spinning. Undo 2x 13mm bolts from the caliper carrier (There should be replacement bolts with your new pads dependent on the brand you bought, you can reuse with Loctite re-applied) Remove the caliper and hook safely out of the way, I found on the top of the shock was a good temporary mount (pay attention not to twist the brake hose etc) Remove existing pads using a flat bladed screwdriver, note the orientation, the pad is chamfered on the bottom to go with the contours of the brake disc. If you put the pads in the carrier the wrong way, They will catch the brake disc. Note that the little tab on the pads needs to be compressed and go within the carrier not be forced so it is bent and on the outside of the carrier. For the front you need to remove two 21mm bolts for the caliper mounting bracket these are tight (use a suitably sized breaker bar and a lump hammer if required) there is debate as to whether these should be reused as with all VW bolts, I reused mine with thread lock applied. (Someone to add correct torque settings) Once the mounting brakes is removed you can now remove the brake disc, dependent on levels of corrosion it may need rotating whilst you tap the rear with a mallet. Take care not to distort the metal dust cover. Whilst the caliper mounting bracket is off the car, thoroughly clean it of any debris and dirt, ensure that the area where the pads sit is free from corrosion etc using sandpaper, a dremel etc. Ensure the hub is also clean, I put a smear of copper grease on the hub to ensure easier disassembly in future. Remove the rubber slide boots and clean out with brake cleaner, wipe any old grease off and replace with red rubber grease or similar, do not use copperslip etc on slider pins and it will increase wear and swell the rubber boots. Thoroughly clean your new brake disc with brake cleaner, some makes have machining oil etc on them. Install new brake disc and replace T30 retaining screw. Replace Caliper Mounting Bracket 2 x 22mm bolts (can be tricky to line up, careful not to cross thread) Install new brake pads. Note the driver side is the one with the wear sensor if fitted, the passenger side does not have this. The wear sensor simply unplugs and should be fitted to your new pads as necessary. Ensure that you compress the metal retaining pin when you install the pads, make sure it doesn't bend out and ensure the pads follow the curvature of the disc, they can be made to go in the wrong way, which will catch the inside of your new disc and score it. Use a brake rewind tool to push back the piston on your brake caliper (standard right hand thread tool works for both front and back calipers) Note there is no need to open the bleed nipple. It is good practice to open the bonnet and extract some fluid from the brake res so it doesn't overflow. Install caliper and new 13mm bolts or reuse with Loctite (as applicable) Refit road wheel, remove axle stand, slowly let down jack, torque wheel bolts, replace plastic caps. Repeat for the other side, when satisfied, depress the brake pedal to ensure the caliper piston is hard against the pads. The rears - For this I used OBDeleven (There is a manual way involving, releasing the handbrake and removing the motor from the epb, I have not tried this) First chock the front wheels and put the car into gear/park (as applicable) Use OBDeleven, connect to the car go into Brakes/ABS Module, Basic Settings, Then run "brake lining change" the motors in the electronic handbrake will whir for a few seconds, then the dashboard will light up with ESP and ABS Faults. People state to connect a battery charger to maintain the battery I did not do this and it was okay as the job was quick. I kept the ignition in the accessory position with the ODBeleven connected Safely Jack the vehicle and support using a axle stand and then remove rear wheels as discussed. Remove T25/T30 Brake Disc Retaining Screw (Reuse) Remove two rubber dust caps from rear of caliper to expose two slider pins. Use a T45 or Appropriate Allen Key to remove the slider pin from the caliper, these are different from the fronts, you remove the whole tubular slider pin Remove caliper and support as appropriate (take care not to strain or twist the brake hose) The caliper simply pushes back as per the front calipers once the brake lining change command has happened. Remove the existing brake pads (note that there is a pad with a spring and a pad without a spring, the pad with the spring goes at the back (away from you), the pad without the spring goes at the front (nearest exterior of the car) I did not need to remove the caliper mount in order to remove the rear discs, the simply moved out of the way being a thin solid disc unlike the vented ones on the front. If you want to remove this you need a special M14 ZXN Type Socket. Ensure all mounting surfaces, such as the hub and pad carriers are cleaned use sandpaper, a dremel etc to ensure there is not dirt or rust, clean backing plate etc. Apply a smear of copper grease or similar to the hub before installing the disc. Ensure discs are cleaned with brake cleaner/alcohol of all grease and oils. Install disc and retaining bolt (t25/t30) Install Pads into carrier (spring one at the back) Ensure slider pins are clean, use sandpaper, apply red rubber grease. Reinstall caliper Ensure that rubber dust plugs are installed once slider pins are tighten. Refit wheels Pump the brake pedal to push calipers back out OBDEleven back in ABS/Braking Module, Basic Settings, "brake lining end" the motors will whir to close up the rear calipers. Test Drive Upon first use of the brakes there will be little braking effort, this is due to them needing to bed in. Essentially there needs to be a uniform amount of brake material applied to the surface of the disc to produce better adhesion and friction. Find a empty road. Warm up the brakes essentially, drive at 40mph and brake down to 10mph, repeat this 10 times with 30 seconds in between, do not stop. Stopping causes hot spots on the disc and uneven pad material transfer (This is what people mistake for warped discs) Repeat from 60mph to 10-20mph 5 times. Drive the car normally until a safe place to stop, when you exit the vehicle you should hear the metal tinkering of the brakes being hot, place the back of your hands near a wheel and you should feel the heat. Leave the car to cool down preferably overnight. Drive carefully for the first 100-200 miles, avoiding emergency/hard braking. You will gradually feel the brakes get better and better. Note, I do not put copper grease or any other grease on the rear or sides of brake pads. The only place any grease goes is on the slider pins and between the rear of the disc and the hub. Putting coppergrease on pads, just attracts brakedusts. Good pads will always have shims etc that will stop rattling and squealing, IMO no coppergrease is needed on the pads or pad carriers of these cars. Always ensure that discs have been thoroughly wiped down before use, noting that some brakes now have a coating that is worn off on first brake, this is to prevent corrosion. always read the manufactures instructions.2 points
-
2 pointsBecause when you make a car breath it's own farts (eg send the exhaust into the intake), then the leftover exhausts gases and water vapour being cooled and pushed back in act to dilute the cylinder gases. This reduces the ignition temperature of the cylinder. Lower temperature = less NOx formed. Also there is a reduction in the excess oxygen hanging around (Subject to the engine load/gas requirements), which reduces the opportunity for NOx to form. The trade off, and why you need ECU control, is if you inject too much exhause gas or do it at the wrong time, then you can increase CO/particulate matter and can reduce engine power output. A couple of useful links which may explain some of it: https://x-engineer.org/automotive-engineering/internal-combustion-engines/ice-components-systems/exhaust-gas-recirculation-egr-complete-guide-introduction/ https://dieselnet.com/tech/engine_egr_emissions.php https://mbjarvie.co.uk/egr-valve/ On the supermarket fuel front, I would genuinely love to see a double blind study where people and engineers can tell the difference to the car and it's engine. Be nice to put it to bed once and for all. Sure poor quality fuel/off fuel can massively effect a petrol car, but a branded fuel sat in a storage tank for 3 months is likely to be more problematic than fresh fuel in a supermaket tank. Not saying it's all perfect, but I personally am confident it's not what some think it is. Same goes for fuel additives. They have their place, but you need to be careful, as evidenced by the issues I've see on other peoples cars. For a while I used shell almost exclusively (it was cheapest) and it made no difference when I changed away when prices went up. When i tried a few tanks of the v-power derv, the MPG was noticeably down. I've been running diesels for years and EN590 is way above the fuel requirements for some areas where these engines are sold and used, so I'm more than happy with it. The standard has minimum additive quantities and sulphur levels etc. No car I've ever run has had an issue caused by using whatever fuel I get. At the end of the day it's your car and your money, so it's your choice. Edit: Adding a useful link from a lambda (O2) sensor manufacturer, which details red/white deposits: https://www.denso-am.eu/media/10216/dneu-lambda-sensor-poster-420x594-uk-lo-res.pdf2 points
-
2 pointsRip your CDs to a lossless format such as FLAC then copy them to a USB memory stick to play in the car. I use a free PC app called Exact Audio Copy for this.2 points
-
2 pointsIt's used (as a volumetric substitute for fresh air) so that there is an absolute minimum of excess oxygen in the combustion chamber that could form NOx.2 points
-
Those wheels really suit the car, wise choice!2 points
-
2 pointsHere's one: Skoda Parts catalog - ETKA Online, Skoda EUROPA, original Catalog Skoda EUROPA (7zap.com) In fact, judging by the watermark across @langers2k screenshot, it's the very one he has used above. 5Q0413023FH doesn't seem to have been superseded by any other part number, although I don't have access to bang-up-to-date info.2 points
-
1 pointSo have had my Kamiq for 9 months now and the number of rattles and creaks is becoming a joke. Honestly its the worst car I have ever had for this. Its been back at the dealer a few times but they never seem to be able to fix the issues. The latest one is a twanging sound coming from the central arm rest area. It's like something is loose inside the arm rest. If I thump the arm rest on the side it makes the same noise. It was in the dealers last week for this and they said, though they could hear it, they didn't think replacing the arm rest would solve it???? Anyone else having this issue?1 point
-
1 pointfixed my boot lock thanks to this site , don t have to slam it to shut it and show as closed on the dashboard . 😀1 point
-
1 pointHi guys, new to this section but not new to Briskoda or indeed Skoda’s in general having owned an Octavia and three Superbs in the past. I should be taking delivery of my Enyaq 60 in about a week and a half to two weeks time and I’m really looking forward to getting it. It will be my first foray into electric car ownership. I’ve had a quick look and I hope I haven’t missed it but I didn’t see a thread with real world range. Anyone care to share what sort of range they are getting and what sort of driving they are doing to get that range? I’ll be putting mine on as a taxi so as such the vast majority of the driving will be stop start short journeys, so I’m hoping I’ll be able to eek out decent mileage to a charge. Cheers, Ivor.1 point
-
1 pointDepends if you're going to do serious towing or not, e.g. regularly towing a caravan long distances. If so I would say go for one with the vehicle-specific wiring as the car can detect when a trailer is connected and does lots of clever things such as disabling the rear fog light on the car, disabling the rear parking sensors, activating trailer stability control, it even protects the trailer against theft (the car alarm will go off if the trailer is disconnected). If you're just casual towing small stuff infrequently you can probably get away with a cheap universal bypass electric kit, I have the Witter SK26U towbar on mine with quantum vertical detachable neck and folding electric socket, the whole thing is invisible when you don't need it. I wired in the 13 pin electric socket myself, I ran a 30A supply from the engine bay for the battery charging pins and a 10A supply from the fuse box for the lights, the bypass relay and audible relay are tucked neatly in behind the nearside panel in the boot, and the feeds for the lights are all spliced into the wiring to the clusters. The bypass relay does not interfere with the bulb failure warning system. As for fitting the actual towbar it's not too difficult, you need to remove the rear bumper. The towbar frame slides into the chassis rails and two big bolts go in each side from the outside. The nearside was a little tricky as the exhaust and heat shield is in the way but I managed to do it with a very long extension bar on an impact gun and I didn't have to completely drop the exhaust down although you do need to move the heat shield out of the way. From memory there are a couple of rubber grommets to run the electrics through. In total it cost me about £120 and 4 hours work - I bought a 13 pin electrics kit on eBay for £30 and also got the full SK26U towbar kit with detachable neck for £90 on a clearance sale from Witter directly - normally the detachable neck is £180 on its own! If you take it to a professional fitter you will probably expect to pay around £500 for something with universal electrics or £800 for vehicle-specific electrics.1 point
-
1 pointIf '34F7' was done since early 2014 on the DSG there is a sticker in the spare tyre well or there should be. No matter if not done or if it was the DSG is still working 7 years on from the Service Campaign being called. http://skoda-auto.com/services/recall-actions If the mechanic never picked up on any noises or issues with the engine then you can just cross your fingers. eg.
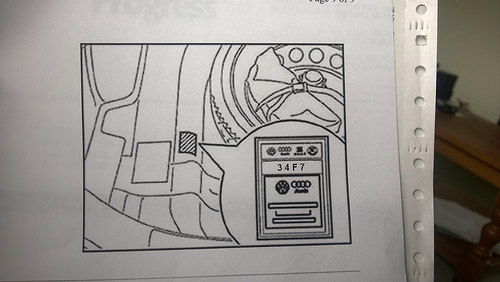
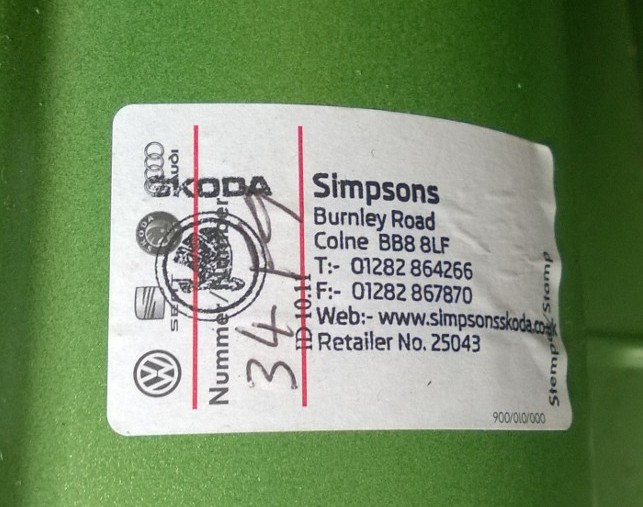 1 point
 -
1 pointThank you for your replies. I have test driven the car an hour ago and it looks really in a very good condition. I also took a mechanic with me (ex Audi and Porsche worker). He checked the chassis, this and that and then connected the car to the machine for any permanent error codes. He then also confirmed that the car is in a very good condition. Thanks to you that you brought up TSI engine issues and dry clutch DSG issues. 1) How can I learn if the engine was touched for a fix? 2) How can I confirm that change from change from Synthetic Oil to Mineral & Software Update was already done? Any suggestions is much appreciated.1 point
-
1 pointBrush & then smooth over..this after the primer & before the top coat.... Look around 4:29 here on the factory film of the MK7 Golf being built. HOW IT'S MADE: Volkswagen VW Golf 7 Car Factory Production Plant [GOMMEBLOG] - YouTube1 point
-
1 pointTo be honest I left the taxi trade last October due to covid killing it, but talking to a few mates who stuck at it, they are saying it’s back now and stronger than before due to a lot of drivers (like me) leaving the trade. my plan is to do about 60 hours a week and the mileage will be I guess about 120-140 miles per day. I plan to install a home charger but I haven’t got round to that yet, so when I do, I’ll be starting every shift with a full charge. If I work a particularly long day and find myself running low on charge, there is a 50 kWh charger in the town where I work so I can always pop on that for 30 minutes or so. Location wise, I’m down in South Wales.1 point
-
1 point
-
1 pointHas your service indication come on. Look in settings car look for service it will tell you there how long left in days and miles if it is set to variable that's 18500miles 2 years if fixed thats 9500 miles or 12 months the first is for people who do more than 10000 a year. If variable ask to have it set to Fixed1 point
-
1 point
-
1 pointSame as the cars owned thread: Boardman 9.8 air elite with campag chorus group Trigon full carbon time trial with dura ace and rear disc. Single 54 t chainset Btwin 900AF with 105 Felt 650 cyclo cross bike with 105 Specialised allez s winter bike with full mudguards Lightweight foldie being converted to drop bars... And favourite ride: Los Cristianos at sea level to paramor del teide 2500+ metres altitude, via villaflor.1 point
-
1 point
-
1 pointMy 2016 Sportline has a Columbus unit in it that comes with a CD player in the glove box. If you hit a pothole or a speed bump, it skips. My wife is proud to say she is a Luddite. There is simply no helping her... Good luck in your quest! 🙂1 point
-
Thank you! I was aiming for a set of the 14" 5 spoke ones from certain Elegance spec (ideally pre-facelift) models but there weren't any local or on eBay at the time, but these do the trick! That's exactly what I did, I grudged paying £20 for tatty ones pinched off a set of alloys off of eBay but Amazon were advertising these ones from China for just shy of a tenner so I bought 'em. Sounds pretty scary if you ask me!1 point
-
1 pointI may have to correct myself: After some more digging around it looks like my memory let me down on this one. The 15" wheels did fit on the mentioned models, but it looks like they were never officially approved by Skoda. I know however of quite a few people who did use their old 15" winter wheels (195/65R15) on these models without issues.1 point
-
1 pointNo worries on the information. In terms of fuel, just do what you're comfortable and happy with as you are the owner/paying for it. If you're in warranty read what is said about fuel and additives in your manual/warranty information as a new car warranty is worth a lot more than a few litres of fuel.1 point
-
Yeah the 103s were certainly a bit wakky an very big for a bookshelf. Unfortunately they were fried by an Amp that decided to put mains voltage down the speaker terminals so I only heard them a couple of times. The crestas he had wall mounted and they were usually blasting out classical music whilst he was cooking in the kitchen.1 point
-
1 point
-
Seat dye 100 percent. Stupid cause i'm guessing the cheap stuff would come off onto someones sweaty behind on a hot day1 point
-
I've ordered 2 sets of caps for both my fabias, coming from China so probably wont get them for a while! The spyders I picked up were missing the caps and the original ones on my monte are pretty poorly. Don't be like me and get stick one ones, they were great for about 4 months and then they slowly came off one by one. Heard one of them shoot off the car at 60!1 point
-
I've just got mine with the oem tyres fitted. As soon as they are done... which may take a time, its back to the uniroyal rainsports for me. IMHO a fantastic set of tyres, which really brought my old mk3 vrs to life. Can't fault those tyres.1 point
-
1 pointThat is front assist you can set the sensitivity in settings set it to late. Lane assist does not yank the steering wheel it gradually turns and you can stop it by holding it1 point
-
1 pointThat is not correct. They were approved for some early 1.9 diesels, and maybe also for the 1.6 successor? The versions with larger engines (1.4 TSI, 2.0 TDI and up) have 312 mm front brakes and need at least 16".1 point
-
1 point495 grams, delrin outer cover with stainless steel core, in translucent red with brushed gear markings
 1 point
 -
1 pointOrdered mine may 21 had 3 dates up to now.last one came off skoda uk 5 November.the other dates came off dealer.so hoping that getting a date off skoda uk I may get it on this date or around them dates.seems strange you ordered yours before me and you have had no word about delivery date off dealer or more importantly skoda uk.i would be chasing it up if I was you.godd luck1 point
-
True, i had not taken that into account, however i have seen the same degree of MPG loss over the rest of the tankful whilst using it up :). Its slightly annoying, but 42mpg on a 2L turbo petrol still isnt bad1 point
-
1 pointI do seem to remember the seam sealer looking as if it was painted over in other cars. Of course that may depend on where it was and it’s always less obvious on silver. There’s a thread here with water in the box section that had some close up pictures.1 point
-
1 point
-
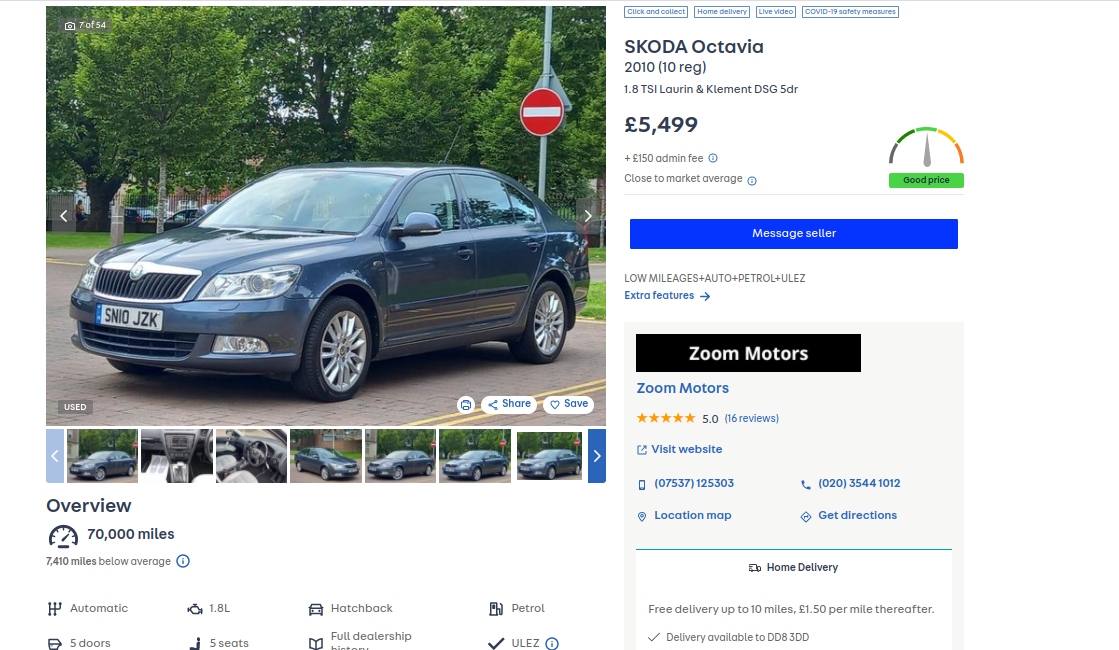
1 pointA one owner with that mileage will only start to rise in price. my opinion, keep it and see what happens with the prices.1 point
-
'kinell!!!!!!!!!!! If you look at the patches of grey showing through it looks like the Kevin has painted the seat inserts, I reckon he did the same on the door cards and it has either covered better or retained its colour better. Painting or perhaps dieing cloth seats that was never going to end well. Takes me back though, I bought some shiny nylon padded seat covers in the 70's for my HB Viva that looked just like those, well better actually but still sh1te in hindsight.1 point
-
1 pointNo 28 from new fully serviced full MOT, I have had all maintainance from new and replaced cam belt twice, Now at 77k miles and the drivers side window has shattered needs new glass and a regulator and recently put on four new original alloys I still love my Fabia MK 1 VRS, but am not using it much now I am old maybe 200 miles a year for my grosersie shop 😞 We buy anycar has made a fair offer IMHO but not selling yet1 point
-
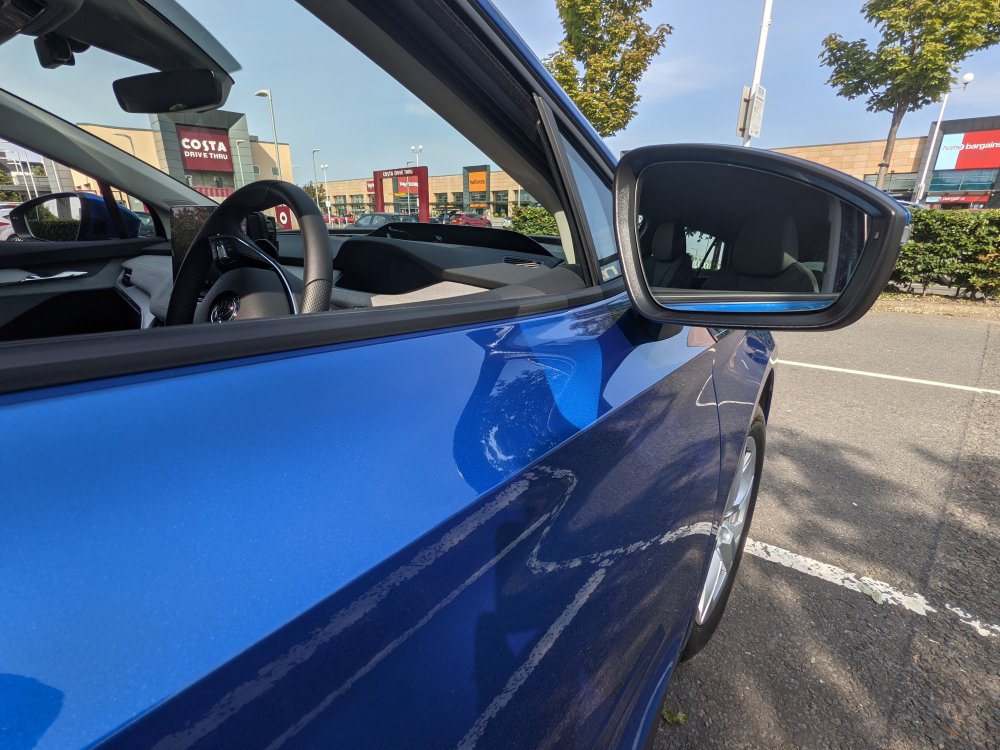
1 pointI like the contrast of the black mirrors and badges against Race Blue paint. Against a black car, it just all gets too black for my liking Chris1 point
-
1 point
-
1 pointTwo points:- 1.Dealers are allowed to repair up to three panels that have been damaged on a car in transit from factory to dealership, without any obligation to inform the customer.. 2. HPI checks are useless, pay for a Vcheck & you'll know everything from taxi, salvage, insurance, etc... Vehicle History Check | Salvage History | Ex-Taxi Search (vcheck.uk)1 point
-
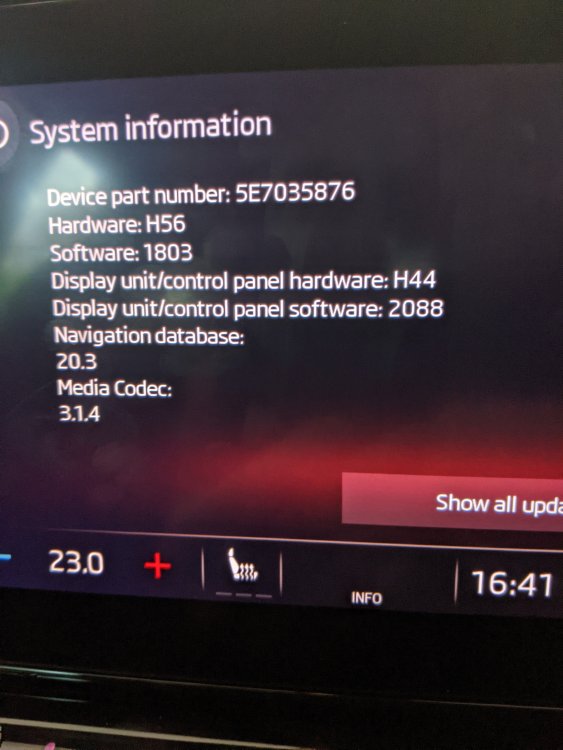
Three months after I first reported the problems and 9 weeks after they offered to replace the relevant hardware, I am a happy customer again. My RS Wagon spent today at the dealer. They supplied me with an Octavia 110TSI Mk3 Wagon for the day. They replaced the Infotainment control unit and updated the software to 1803. That fixed all 3 of the problems. To remind you, they were: Voice control never completes start-up. Inbuilt satnav spoken instructions do not work. Inbuilt maps do not show speed limits Naturally, since the system was reset, I had to re-pair my phone, re-enter my home address, set my favourite stations etc. In the process I noticed that the device appears to my phone on Bluetooth with a different name. It used to be something like "My Skoda nnnn". Now it is "My MIB E929". So perhaps that confirms that the device changed significantly. Anyway this may provide a bit of hope for those of you who have strange faults. Perhaps instead of hanging your hopes on software updates the cause may be something more basic - a faulty module that needs replacing. Now I look forward to trying out the voice control. I will probably start another thread to document what I learn since it does not seem to appear fully anywhere else.
 1 point
 -
1 pointIn 2016 I changed from an RS4 Avant to an Octavia 3 estate (retirement meant I needed smaller bills). The big plus points of the Octavia for me are the greater rear legroom (due to the longer wheelbase) and the larger "boot" space (due to the more vertical rear hatch). If you're not worried about badge snobs I would go for the Octavia.1 point
-
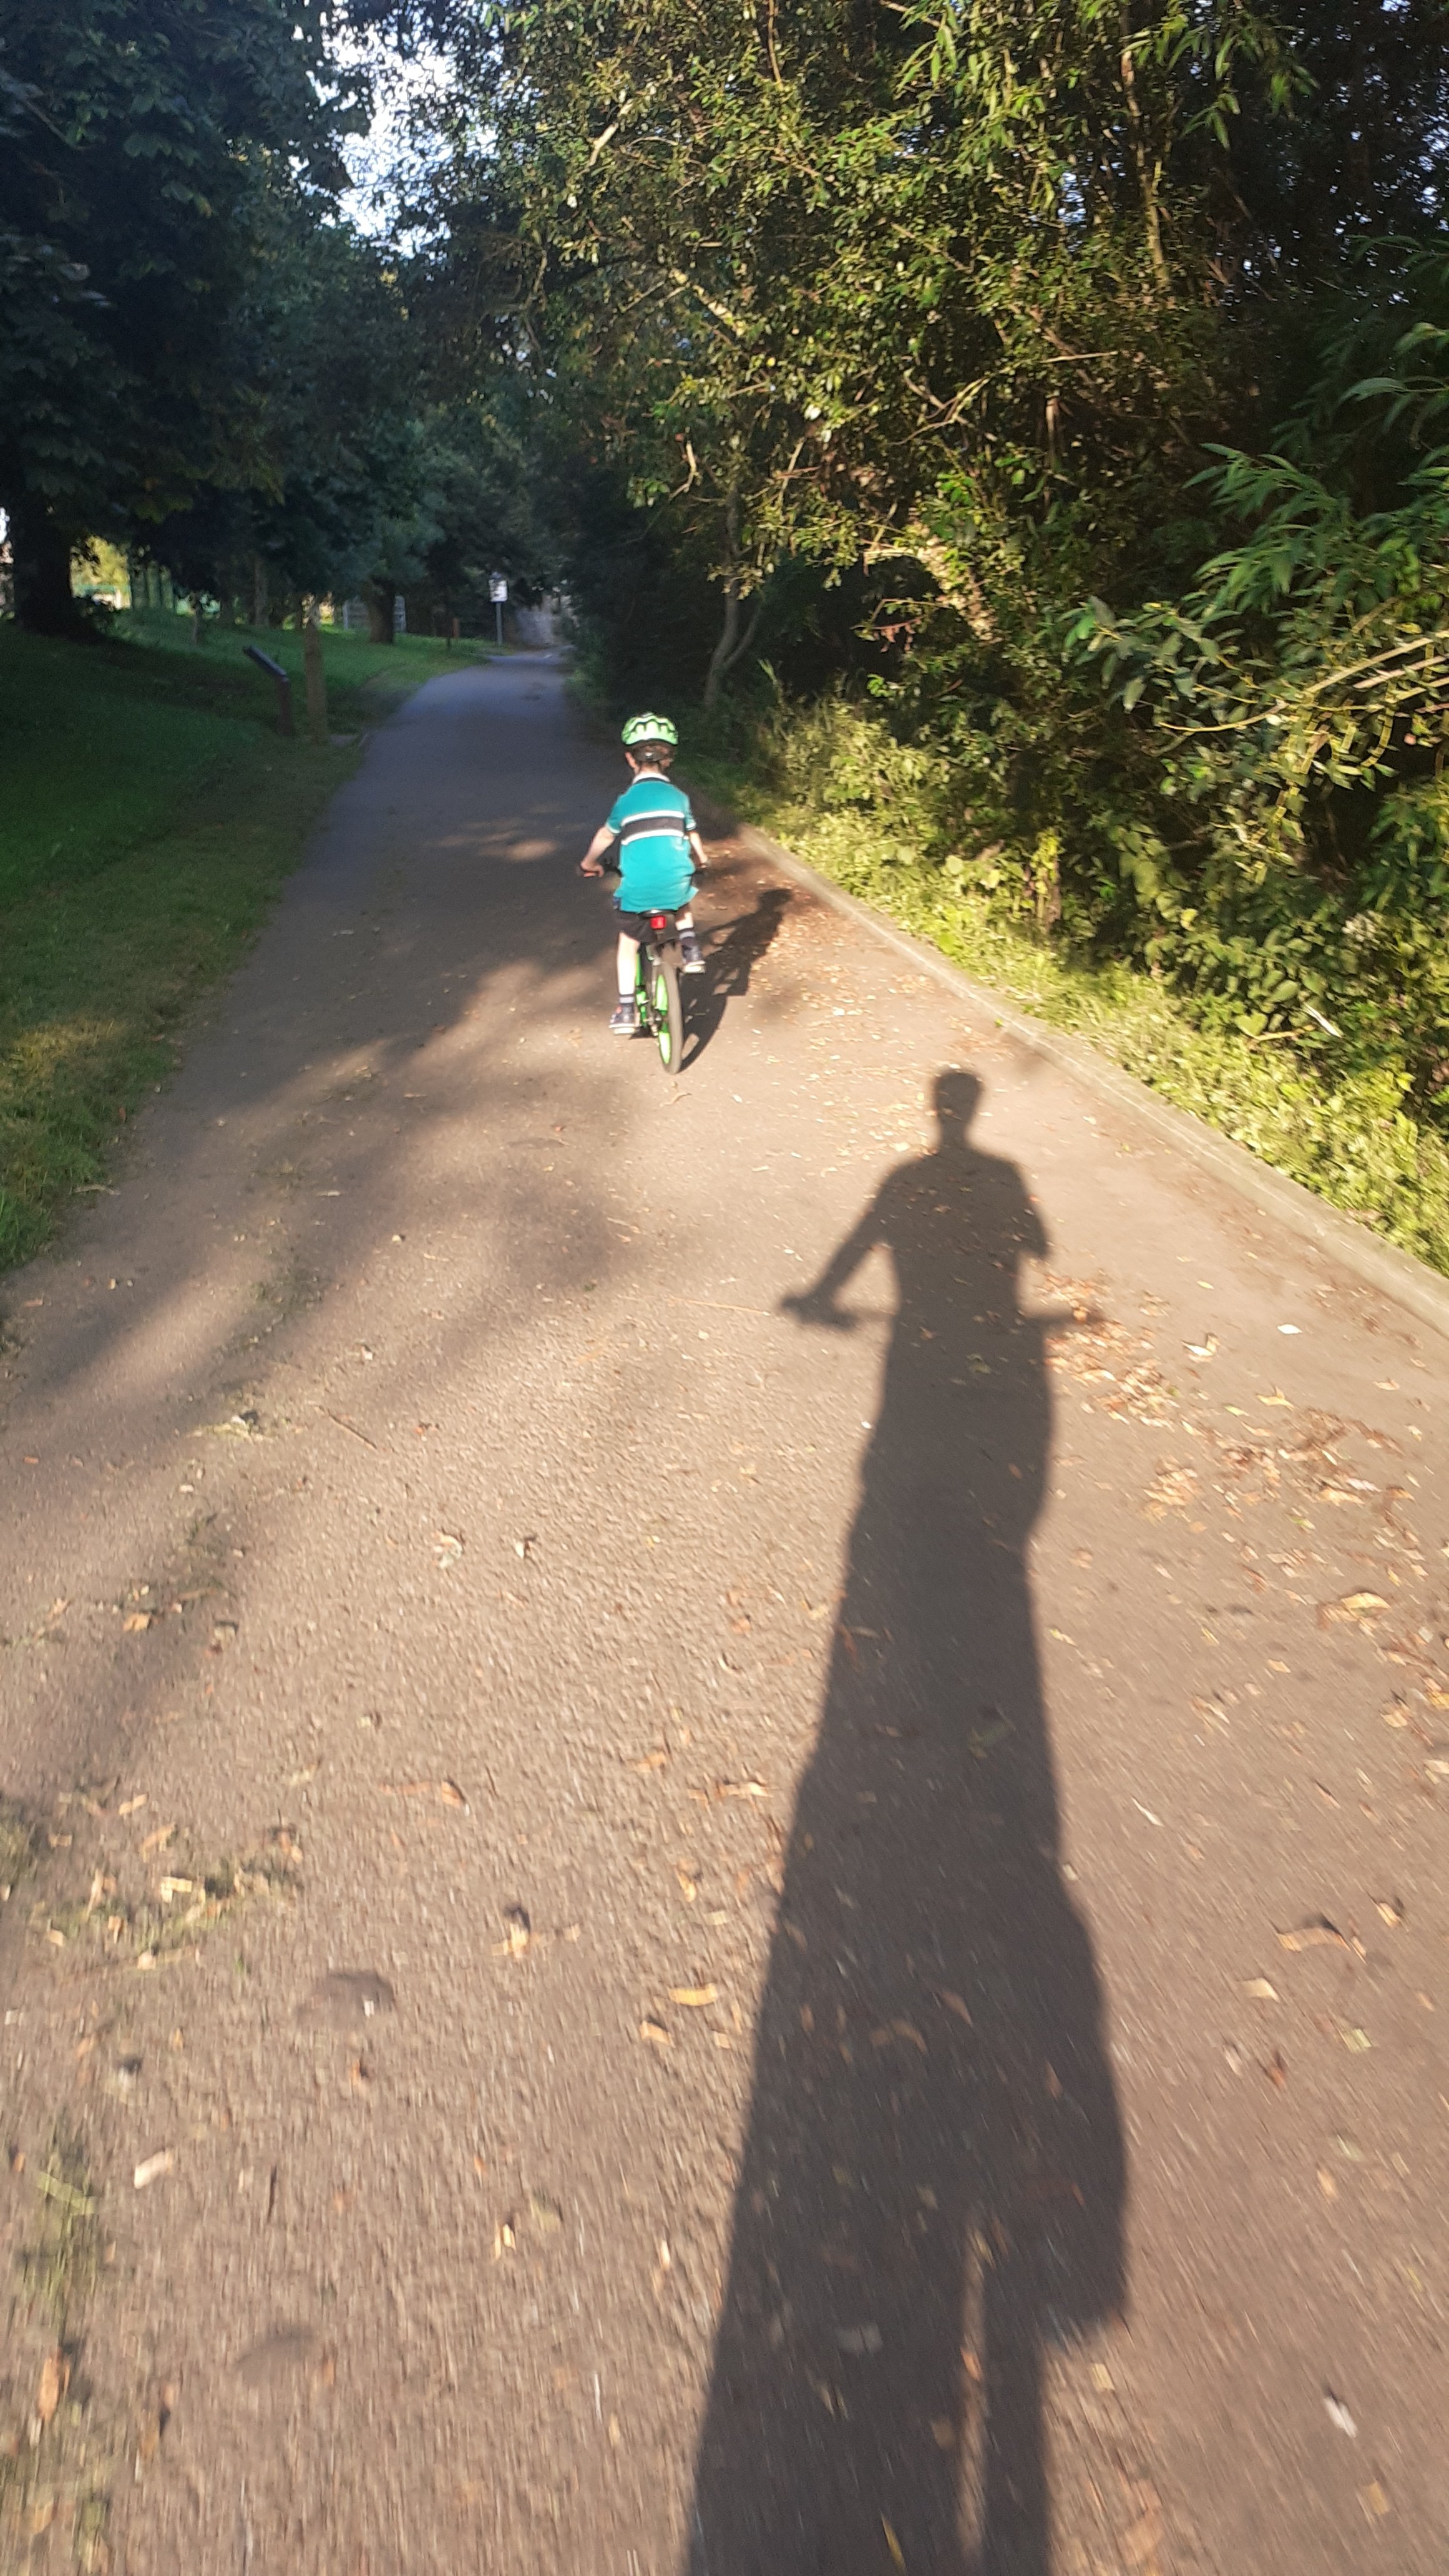
1 pointSpud Sr on his first Blue Way adventure last night... 6 1/2, got the bike last summer but the winter was fairly **** for pedalling, and he wasnt really feeling it, so stabilisers only gone 2 months ago... and an 8.5k cycle done even let him drop down the rough stuff of the embankment when we were at the park. its maybe a 5ft drop it was colossal thing for him no pics of that though,
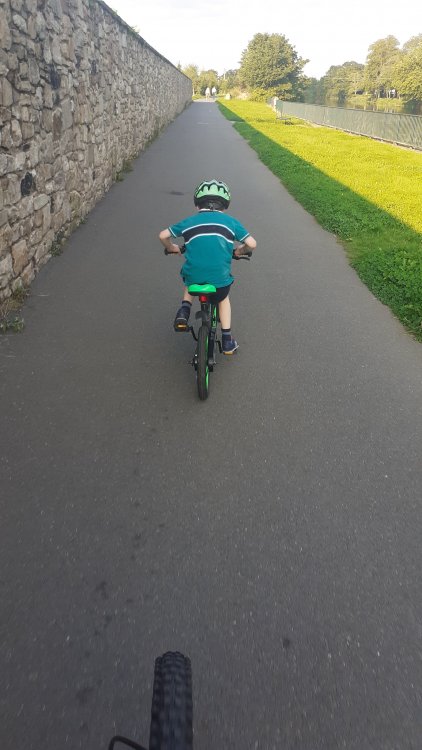
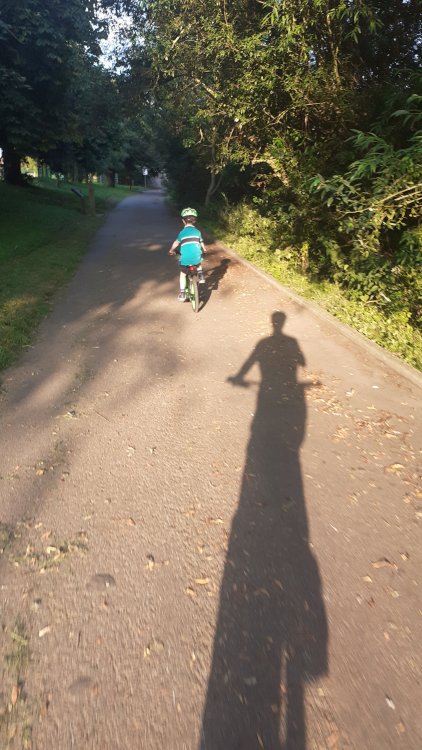 1 point
 -
You see, weight fixes everything. That's why cottage pie makes you feel better, where as a green leaf salad doesn't.1 point
-
1 pointDoorsill scuff plates fitted from ali express - look good but not sure about durability!
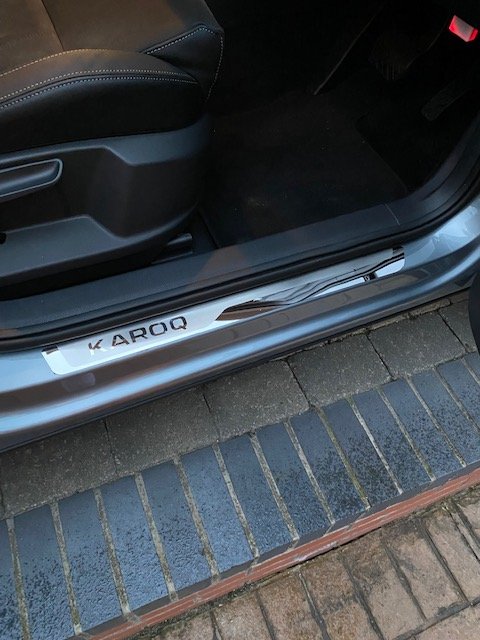
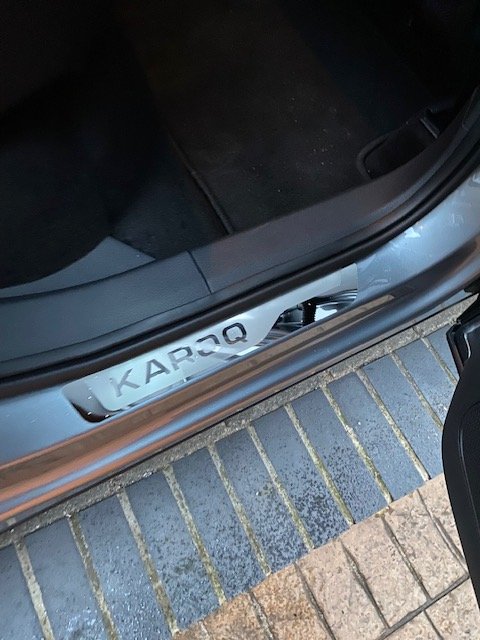
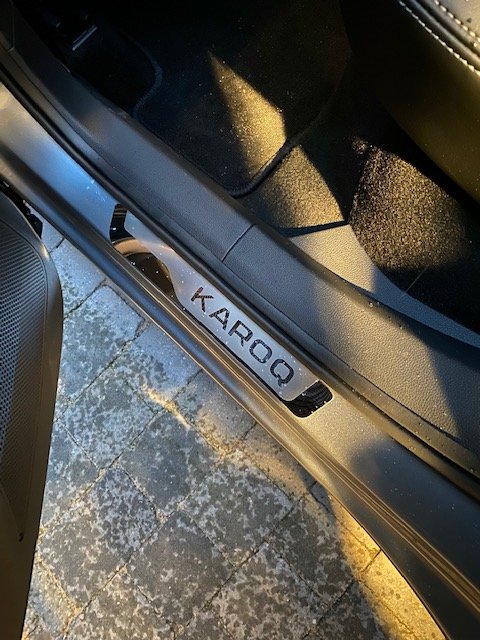 1 point
 -
1 pointI just got my 2021 280. My brother has a 2017 280. Most motable differences I found in a week: 6 vs 7 speed, Xenon vs LED, analog vs digital dials, new steering wheel AND, happy to report, the car IS faster. I have a racelogic and timed both cars. Old 280 - 5.7 0-100km/h. New one - 5.3 It feels punchier down low, I guess due to the extra torque, and one more thing - It is noticably quieter!1 point


.thumb.jpg.06721e8c8b33ed0eea16572ff131b291.jpg)


.thumb.jpg.f83a46b9b3c0d976b9dbffbb523c9874.jpg)