


Leaderboard
-
JR RS
FREEDOMLite8Points4,412Posts -
MikeTheThinker
FREEDOM8Points8,481Posts -
AMD87
FREEDOM6Points1,535Posts -
Lady Elanore
FREEDOM6Points24,875Posts


Popular Content
Showing content with the highest reputation on 05/05/21 in Posts
-
6 points
-
Haldex oil change and screen cleaning Actually I'm lying since I did this a week or so ago but I didn't find the time to post it here too, still i think it'd be interesting for others to see what a Haldex screen looks like after just 22K km and 2 years of age, (albeit one that has seen its fair share of Launch Control) Remember, this is an item that is supposed to never be disassembled and cleaned during the lifetime of the car, just an oil change is foreseen every 30K km... It'll be on my private maintenace schedule every 12-18 months depending on usage and signs of clogging (trumping during launching or when the AWD should be fully engaged). The Haldex reset after cleaning seems to have helped too.
.thumb.jpg.9739ac36fdb141409b7e91bc5d9a4c39.jpg) 3 points
3 points -
3 pointsThe contact phone numbers for mytyres.co.uk are now working again. Apparently it's Brexit related. Let's hope everything gets back to normal soon.3 points
-
2 points
-
2 pointsYeah cause the standard drums have the best handbrake in the world and don’t sieze. watch you don’t break that mirror2 points
-
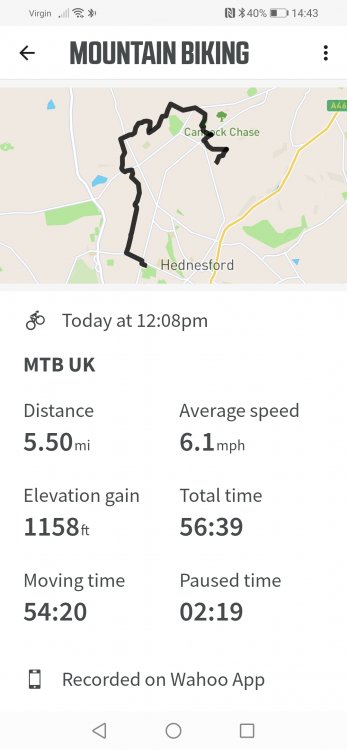
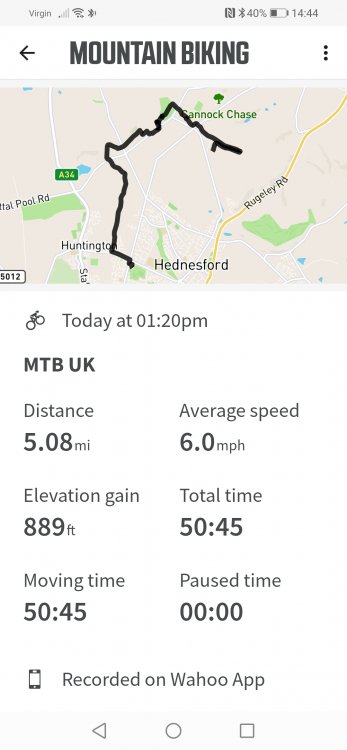
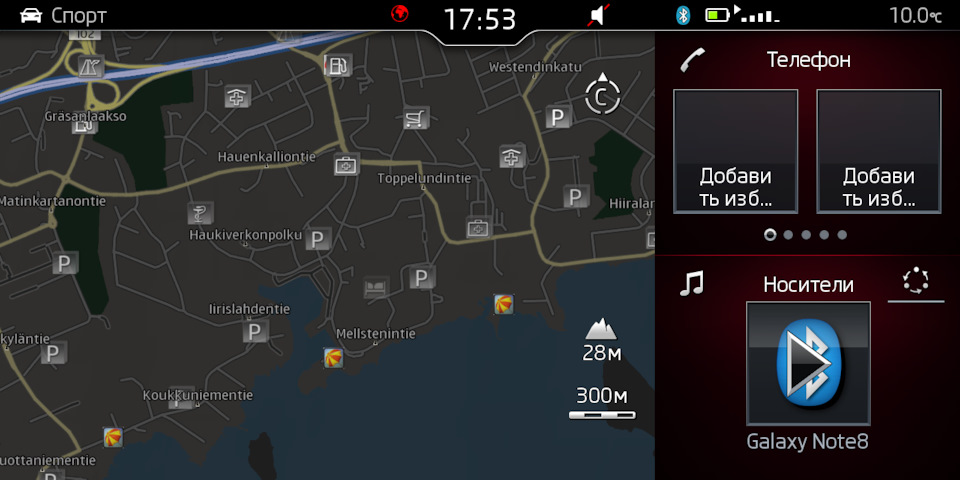
2 points1 point1 pointHe really doesn’t. I can’t even count how many times in how many different threads he’s had to be corrected.1 point1 pointNice vid. As someone mentioned above, I do like physical controls for controlling heating, unlike some new cars, although near end of vid it has controls on touch screen. Shame no volume knob though. One thing I noticed. There is a USB-C socket at the back of rear view mirror, could this be for powering Dashcams, can't think what else it could be for?1 pointI’ve reviewed my behaviour this afternoon and yep, as you both suspected, it’s completely OE! I have been pulling the gear lever back too hard and the DSG has correctly been going into S. What a twit I am! So thanks for your help and patience.1 point1 point4. There are a couple steep hills near me, how will this cope with them? I test drove on a hill with 3 people inside ,including me and it felt normal. I normally drive a 1.6 l car .1 point1 point1 pointTake a look at my posts. My 1.6 has huge mileage (now 250k) with almost nothing but regular maintenance. Not the same for all but mine is great.1 point1 pointBottom Hose Waterpump Drive belt Pulley bolts Mounting bolts Anti freeze Plus labour (which was £69) Plus VAT Total bill £279. Could have been worse and I trust the fella.1 point1 point1 pointA ride of 2 halves.... 2nd half in hail but just beat the snow as I got home Le Col challenge completed, 105mins left of Mammut to do
 1 point1 pointI know enough to know an idiot when I see his handiwork. Rear discs on slow cars are pointless, they rust out, give you a crummy handbrake and the calipers seize. Why would you want them?1 point1 pointI have used a universal pulling tool. You keep the nut on for leaverage. Do not apply force to the thread. Oil and wriggling might work, but mind the spindle is part of the motor.1 pointHehe, why do I get the idea you have been driving the car exclusively in D mode for all these years? Or if having driven it in Sport you've only done so by setting the entire car in Sport mode? Again, as I said in my first message, there is a differentiation between the DSG's D and S modes, these ONLY concern the shifting patterns and gear holding limits, nothing to do with car's modes. The "correct" way to switch between DSG modes is directly flicking back the lever while in D position, not via the car's modes, this is an indirect and un-necessarily complicated approach. You can be having the car set in Eco, Comfort or Normal (for the respective DCC and engine response behaviour), while at the same time having the DSG in S in order to hold on to gears longer and exploit the power if desired, for example while an overtaking. This can/should be achieved by this instant flicking i describe, not changing drive modes. Furthermore, there is a dedicated P, R, N, and D position for the DSG lever, but there is no separate S position as you are assuming in your post. The same position can have the DSG set in either D or S, and you switch between them by flicking the lever back briefly (it will always return to the position marked as "D" in the console panel, but it will show "S" in the dash). I bet this is what Kenny R meant too, not that you are putting the DSG lever in "S" position, as there is simply no "S" position, but that during your moving of the lever from P to D you are maybe pushing a little bit more and the lever enters D position and further flicks back (only takes a little bit of force) and so switches to S1. Which actually sounds like the only logical explanation for the car to be in S after turn off, happens to me too sometimes if I am really in a rush during say a reverse maneuver, i can pull the lever all the way from R to D and a further back, then this spring-movement is engaged and it switches to S. I'm eager to hear if that was the case or if you were aware of all what I write already and something else is going on.1 point1 pointI am struggling to again understand your comment.......... What I have i NOT accepted are different ? and as I stated earlier, and you have just posted............."plenty of threads"......................still doubt theres any official documentation in any of it. Only mention of PQ25 in my Scan is under the BCM, nothing else.1 pointMirrorLink has been abandoned by most of car and phones manufacturers. As this is your new car then I assume you will be using it for some time so I do recommend to rather change the unit than buying an old phone.1 point1 pointYou’re only getting drawn into it as you don’t seem to want to accept they are actually different. if you use the search box at the top of the page you’ll find plenty of threads with the differences. Also if you plug in vcds you’ll see that nearly all the modules will come back saying PQ25 and not PQ24.1 point1 point1 pointFor those of you that are going through a rejection process or thinking about it. I spoke to a consumer law solicitor today and they were very helpful in their advice. Basically put, you have a right to full refund or replacement if you reject you car within the first 30 days. That 30 day period is put on hold the moment you request the seller repair the issue until the repair is completed! Which means that even if the seller takes weeks / months to try and repair or fix the issue, they cannot then ask for a depreciation markdown once the rejection takes place. Also, there is 2008 unfair trading regulations which apply to being sold goods misleadingly, if if they knew of the issue and did not tell you about it. This act provides for more series penalties under the trade standards including a criminal offence. If you are a member of Which they can provide you with a template letter for rejection and also provide legal clarity on your situation.1 pointI just tested it and it showed up around 6mA. Guess I was just ran into a bad quality battery then...1 point1 point1 point1 pointThat looks amazing mate and certainly adds some Euro appeal too.1 point1 pointNever knew that, you're the first person to mention that workaround - and I've been posting my advice for the last 10 YEARS!!! You learn something every day1 point1 pointYou can use Windows to format above 32GB but not with the format dialog box. Use either the Disk Management interface , or in a command prompt use FORMAT or DISKPART. Open a Command Prompt. On the Command line type "format /FS:FAT32 D: /q", assuming D: is your SD card. Alternatively also in a command prompt type, Type "diskpart" then press Enter Type "list volume" then press Enter Type "select volume x", where x is the drive letter of your SD card. Type "format fs = fat32" and press Enter.1 point1 pointInside, on top of the diffuser. The pic below shows the placement, but of course it's mounted inside.
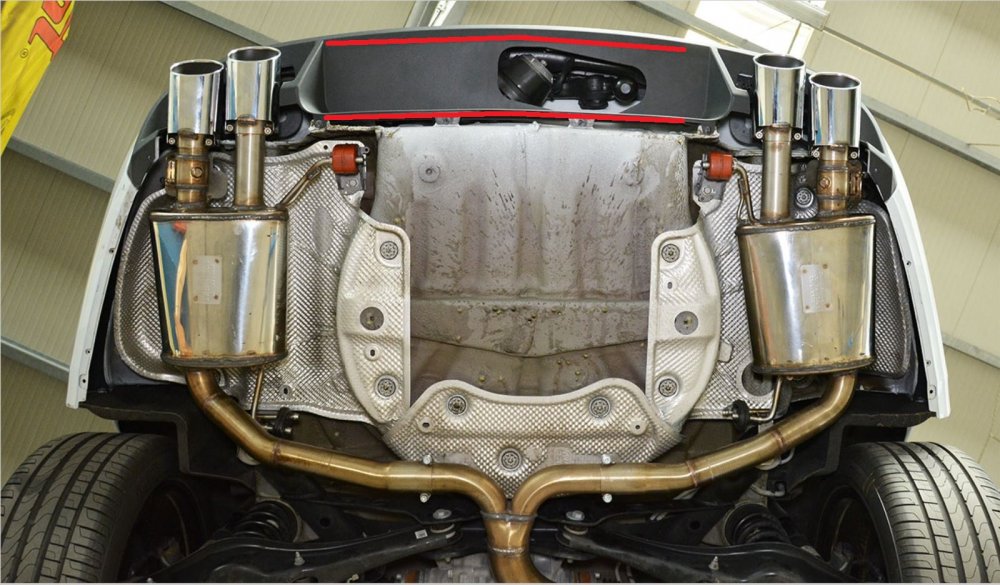 1 pointYou used to use option C in a manual... no reason not to continue in an auto, the risk you mention is the same regardless of gearbox.1 point1 pointNo it's a switch in the gearbox. If you look Here it explains it. Not many people get this fault, seems to be a bit random. It may even be eliminated on the later models.1 pointYes, I slipped the window rubbers back and that was easy and give a perfect finish line to the seen part. I managed to curb any OCD failings to the line you can only see when the door is open, it's good but not perfect! The final shape was also dictated a bit by the window frame shape (edges and fold lines) to ensure the Fablon stuck down nicely. I did the long runs in single pieces then short bits for the tighter curves. The black absorbs light well which makes the pictures difficult but you don't see the joins in real life. I used masking tape for the initial templates, pencil line, cut out and transfer to the Fablon backing and use that Fablon piece for the mirror image for the opposite door. When I had the Yetis I was always going to do it but never did. The first Yeti was white so wasn't too bad and I coped with the bronze of the second two Yetis (L&K brown leather interior) and with the Citigo there was no choice - there was more red paint on the inside of the doors than black panels. With the really high quality Sportline Plus interior on the Superb, it had to be done. It came out better than I thought and am very pleased with the finished job.
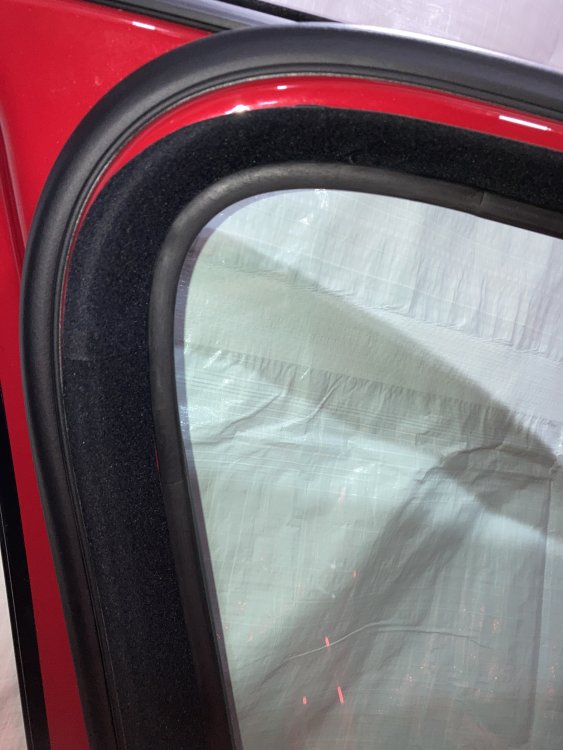
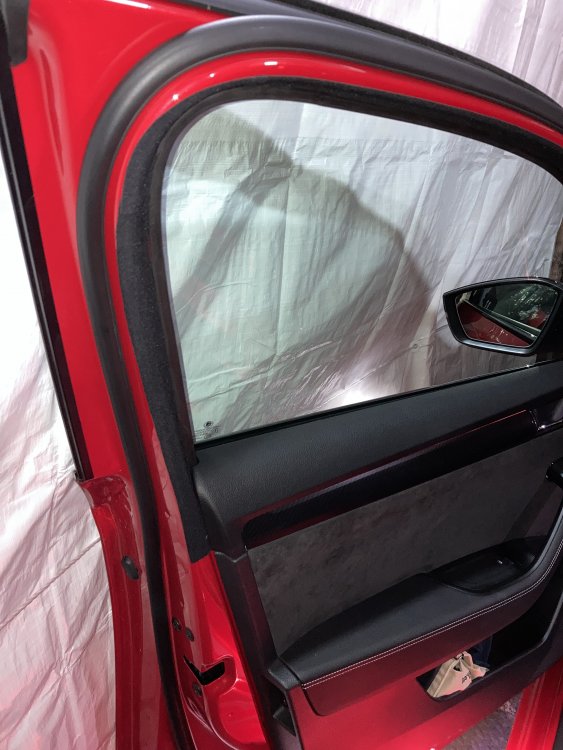
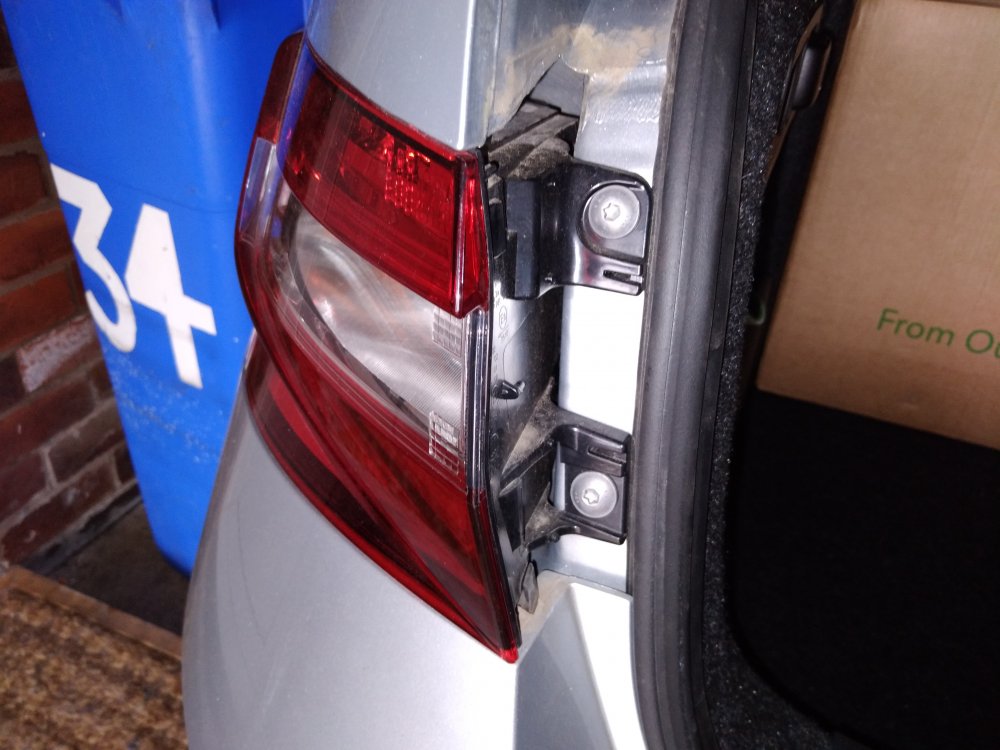
 1 pointSo not only Skoda dealers forget to properly prep the car...Mercedes/AMG also does it. https://youtu.be/xl9kyPg9lWs1 point1 pointWelcome to the forum. VCDS is a diagnostic program made by Ross Tech and normally run on a laptop. It gives almost dealer levels of diagnostics and module programming. Link to their website ROSS TECH1 point1 pointmy first one I bought for £24k - two years and 15,000 miles laterI sold it for £21k My second I bought for £6k and sold it 2 months later for £6500 My current one I bought for £42k a year later it iseastimated as being worth £37k to £38k all depends on supply an demand, currently there is more demand than supply1 pointNo, the issue is rare and unrelated to the make and model.1 pointGentlemen... I have now replaced the regulator on my 2011 Superb, using the usual web based training courses on Youtube (unfortunately I don't speak Russian/Polish/Serbo-Croat so didn't understand a word), and sourcing the parts from Ebay. I was astonished that the Skoda dealer quoted me well over £100 MORE for the part than the equivalent on Ebay: https://www.ebay.co.uk/itm/194054042937, so I decided to risk the cheaper version. To all intents and purposes, it looks and feels the same as the original; maybe the cables are not as strong, but I think they'll last the life of the car. Importantly, everything fitted as it should, so it was £60 well spent I hope. The door card was pretty straightforward to remove, although as usual there are two fiddly wiring connectors which were really annoying - a very small one needed an electrical screw driver inserted to lift the plastic to separate the connection, The other point I found was that the plastic pins that locate in the holes in the door were mostly broken away from the door card; the result of previous removal I think. But there are 5 screws (two large, 3 small) holding the door card on, so they don't really contribute much. In my case the cable had frayed and properly jammed the spool under the motor, so when everything was removed (unclipped wiring, regulator, electric motor, and steel plate) I had to cut the cables to be able to move the window into position to remove the dowels. Tip number one: with the window freed, I used a few strips of very wide Sellotape looped over the top of the door and stuck to the window to keep it in position. If you make sure you have put a tag on each end of the Sellotape, you can lift the tape off, reposition the window and replace it. This is essential when fitting the new regulator. Tip 2: the Torx screws holding the regulator "arms" do not have to be fully removed; the holes are slotted at the top, so the screws can be loosened and the arms lifted up and away. A bit of a fiddle, but stops the screws falling into the void at the bottom of the door. Which brings me to... Tip 3: Do yourself a favour and lay a large rag or towel along the bottom of the door, over the foam rubber buffer (this I tried to remove, but it was REALLY well stuck down). I did loss a screw or two, and a window dowel, into the depths of the door skin and it was murder trying to get them out. My arm looked like I had been attacked by a razor-slash gang. If the window is "floating" without support, it does have a tendency to slip out of the front channel. Yes, this happened to me before I thought of the Sellotape trick, and this means removing the stuck-on plastic cover towards the front of the door to fiddle it back into place. I just taped it back into place after the job was done. Other points arising: the window needs lifting to a position where the white plastic dowels/roll pins can be removed from the carrier on each side. Don't loosen the screws on the arms before taking out these dowels/roll-pins. There is an inner and outer pin going through the carrier and window, and these are just drifted out using a shouldered drift, small for the inner pin and larger for the outer. But don't go too mad with a hammer on the drifts; you are trying to move stuff through glass and shattering the window doesn't bear thinking about. When fitting the roll-pins back into the new carrier and window, slightly loosen the screws on the arms to allow a bit of float to locate the roll-pins better; it's still a bit of a struggle, and you may need something solid to push the pins in from behind. So, not an easy job but worth noting the tips above. Good luck guys!1 pointAny Skoda dealer can access the online service history and print it for you - some say they can't but they are either incompetent or lying.1 point1 pointHi Noms, the steel wire hook in the spare wheel tray is used for (besides other things) removing the plastic cover on the rear tail light cluster to get to the two torx screws, there is a small hole in the cover which the tool hooks into, insert the tool and pull towards the boot lock, It will unclip from the cluster revealing the two torx screws. BTW I thought it was for removing the plastic wheel nut covers untill I saw the plastic tongs in the spare wheel tray, DOH! Cheers Terry
 1 pointOdd, when I login i just hit this and the drop down appears for Digital Service Schedule and it asks for a VIN and then takes my to my service records by clicking OPEN DSS button. .
 1 pointGood to know. I drove a MkIII Octavia yesterday was was impressed how much better than my old MKII it was. I'm sure the superb is a step up again.1 pointHi Sload, welcom to the forum - did the dealer supply you with a 2nd key? Some Timsons branches are able to code replacement at half the price Langers quoted.1 pointDid try map style from Porsche VW Audi Seat Bentley on mine Columbus. Decided to use Porsche one.
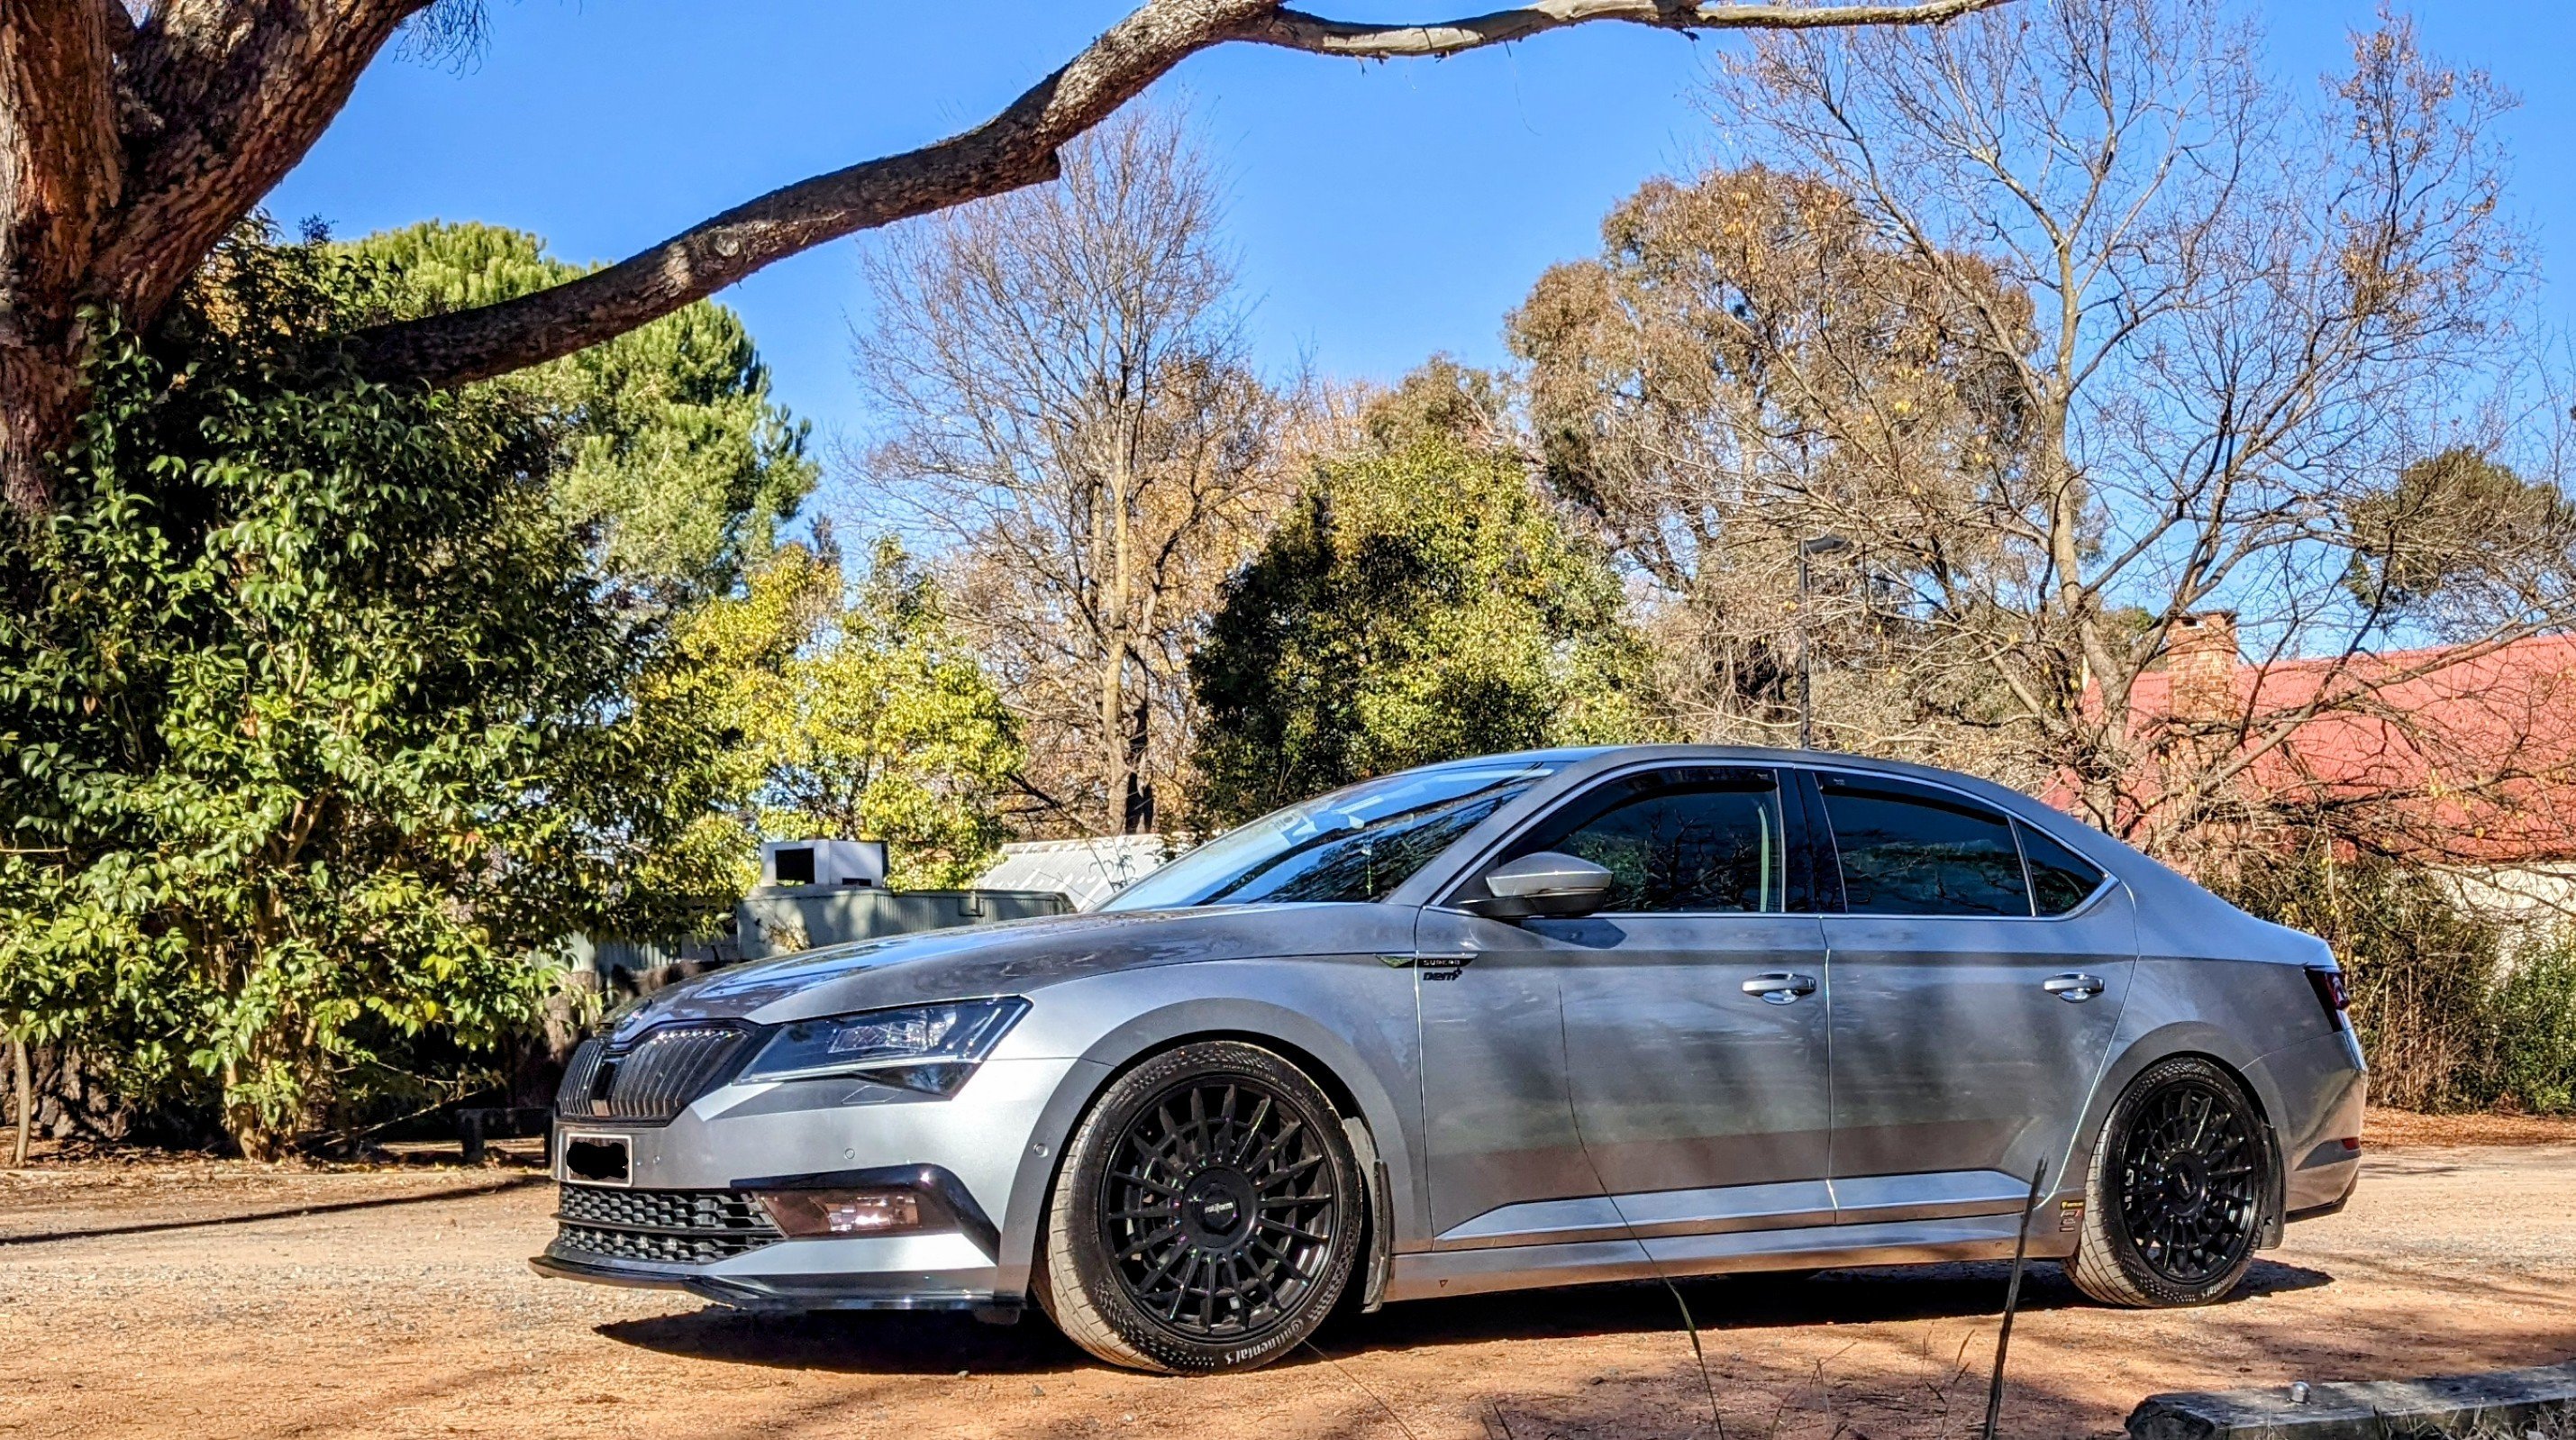
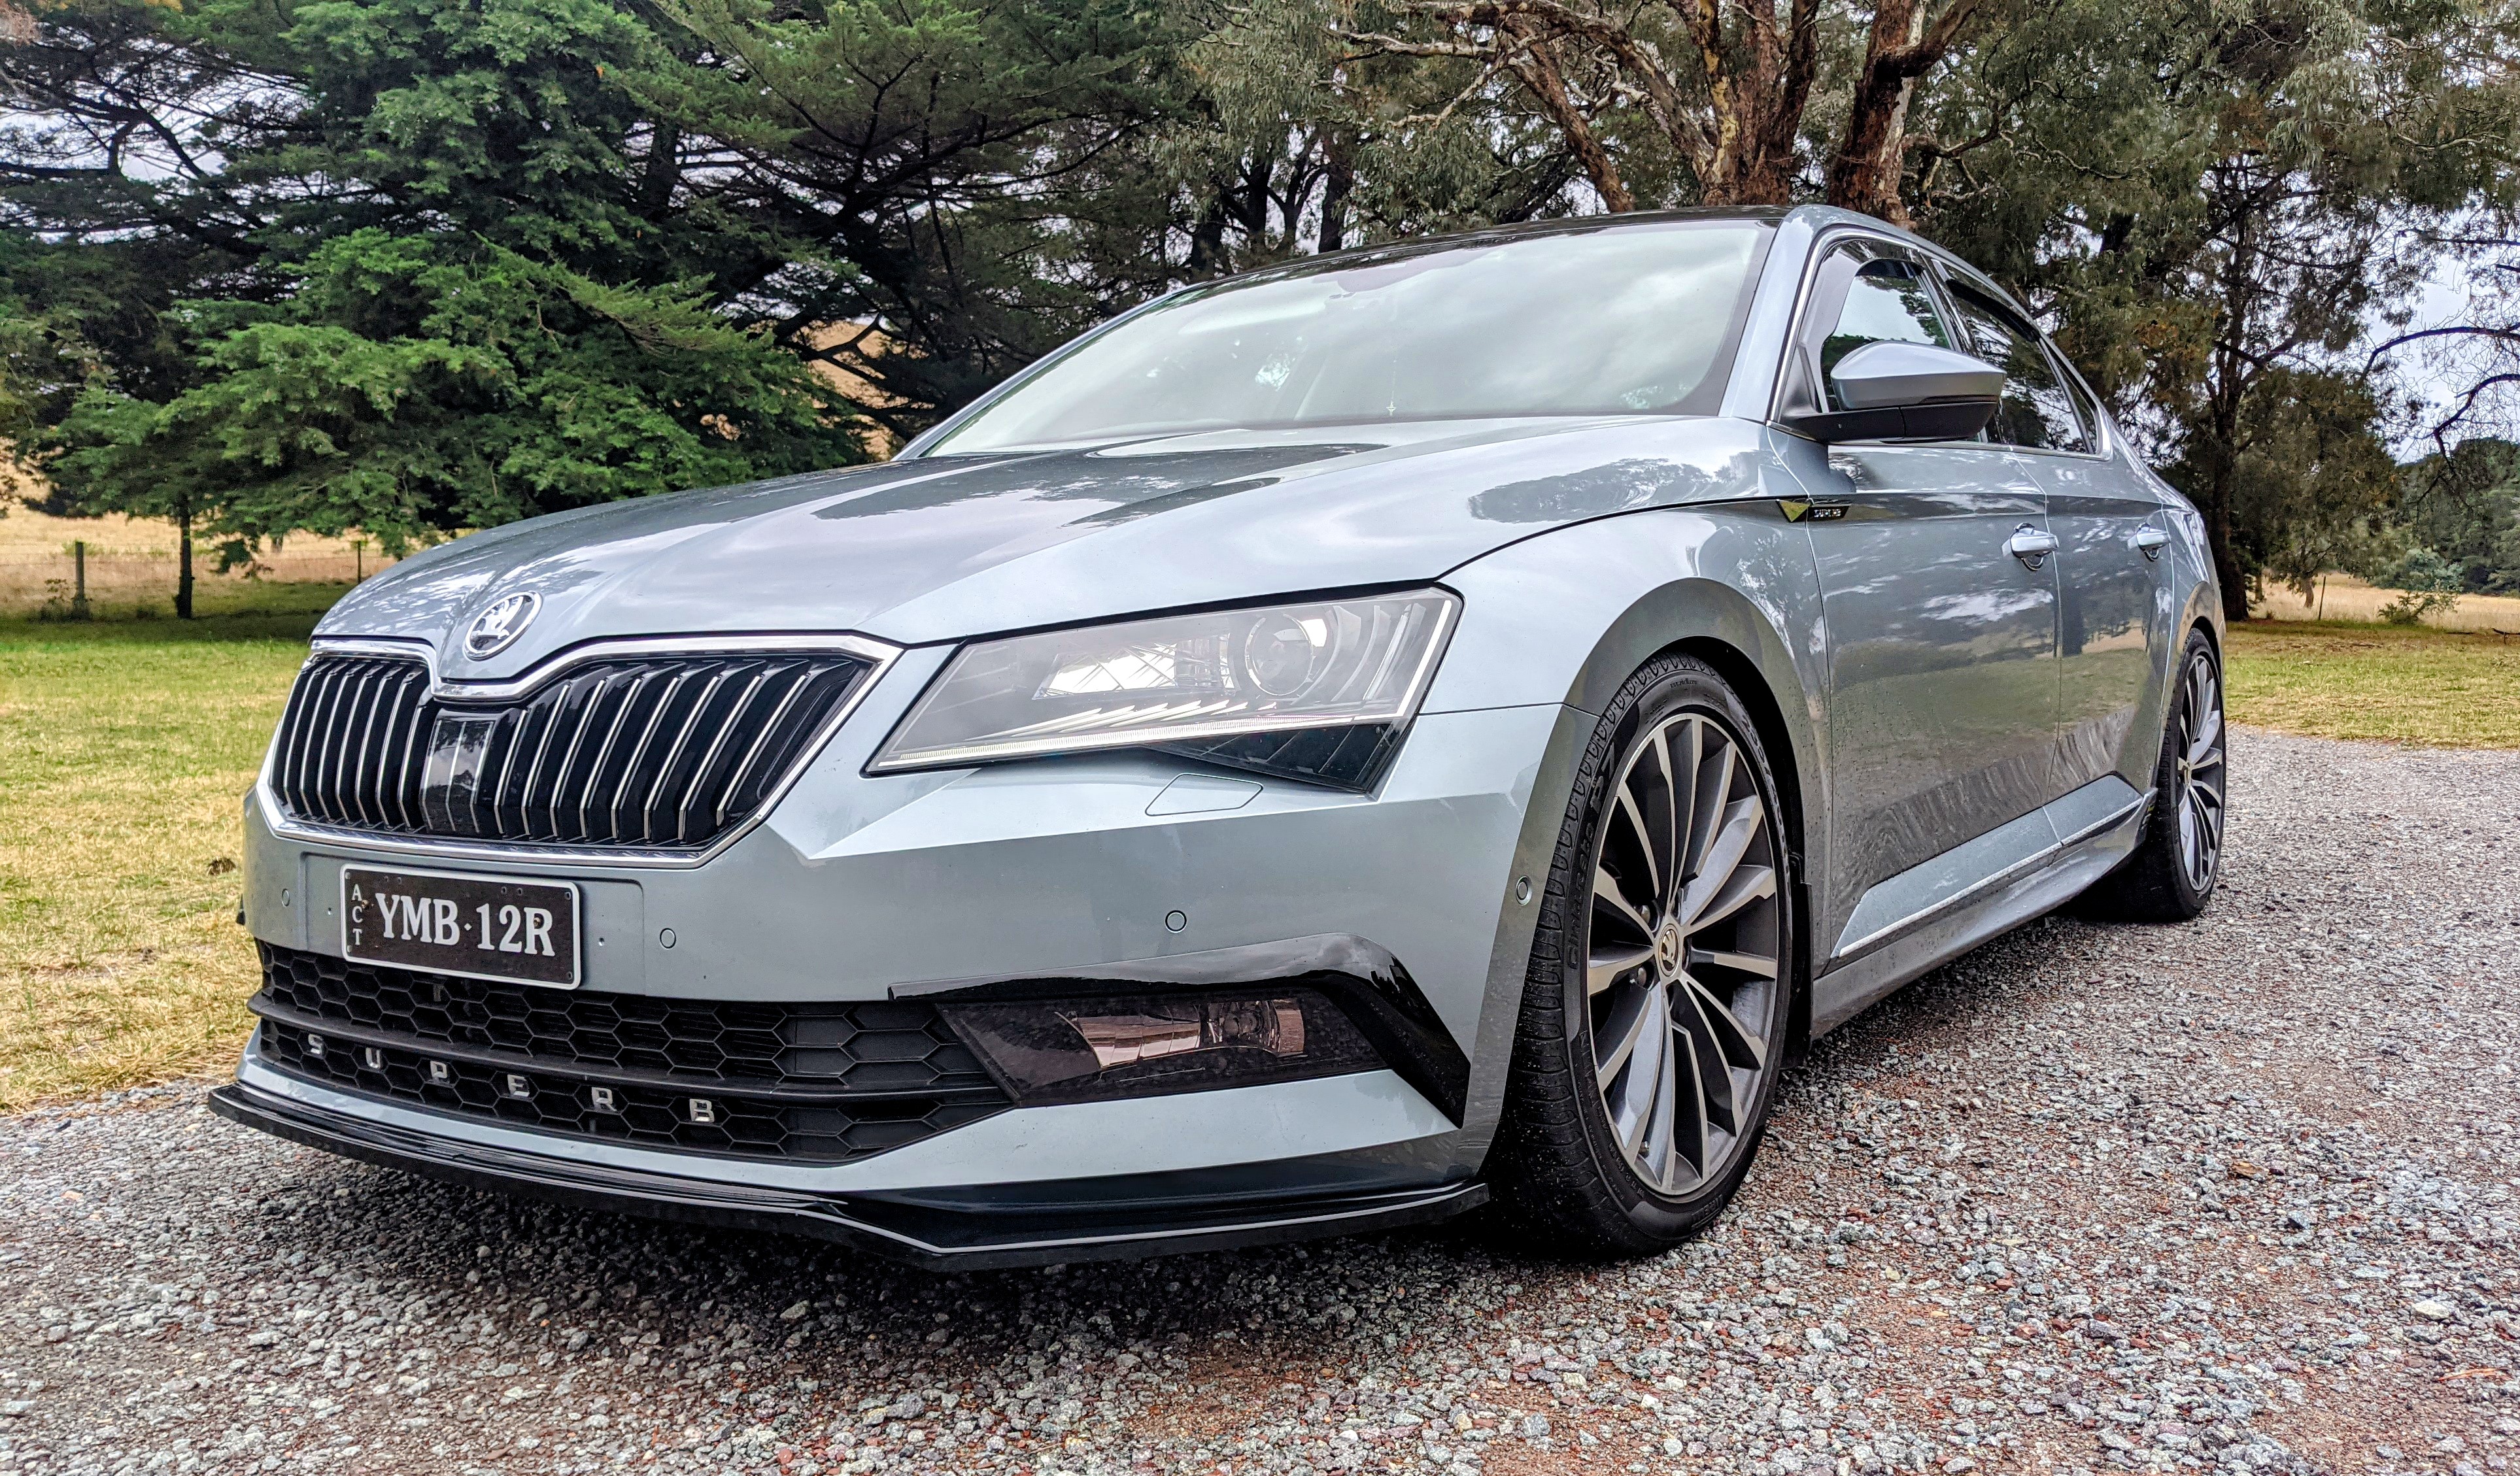
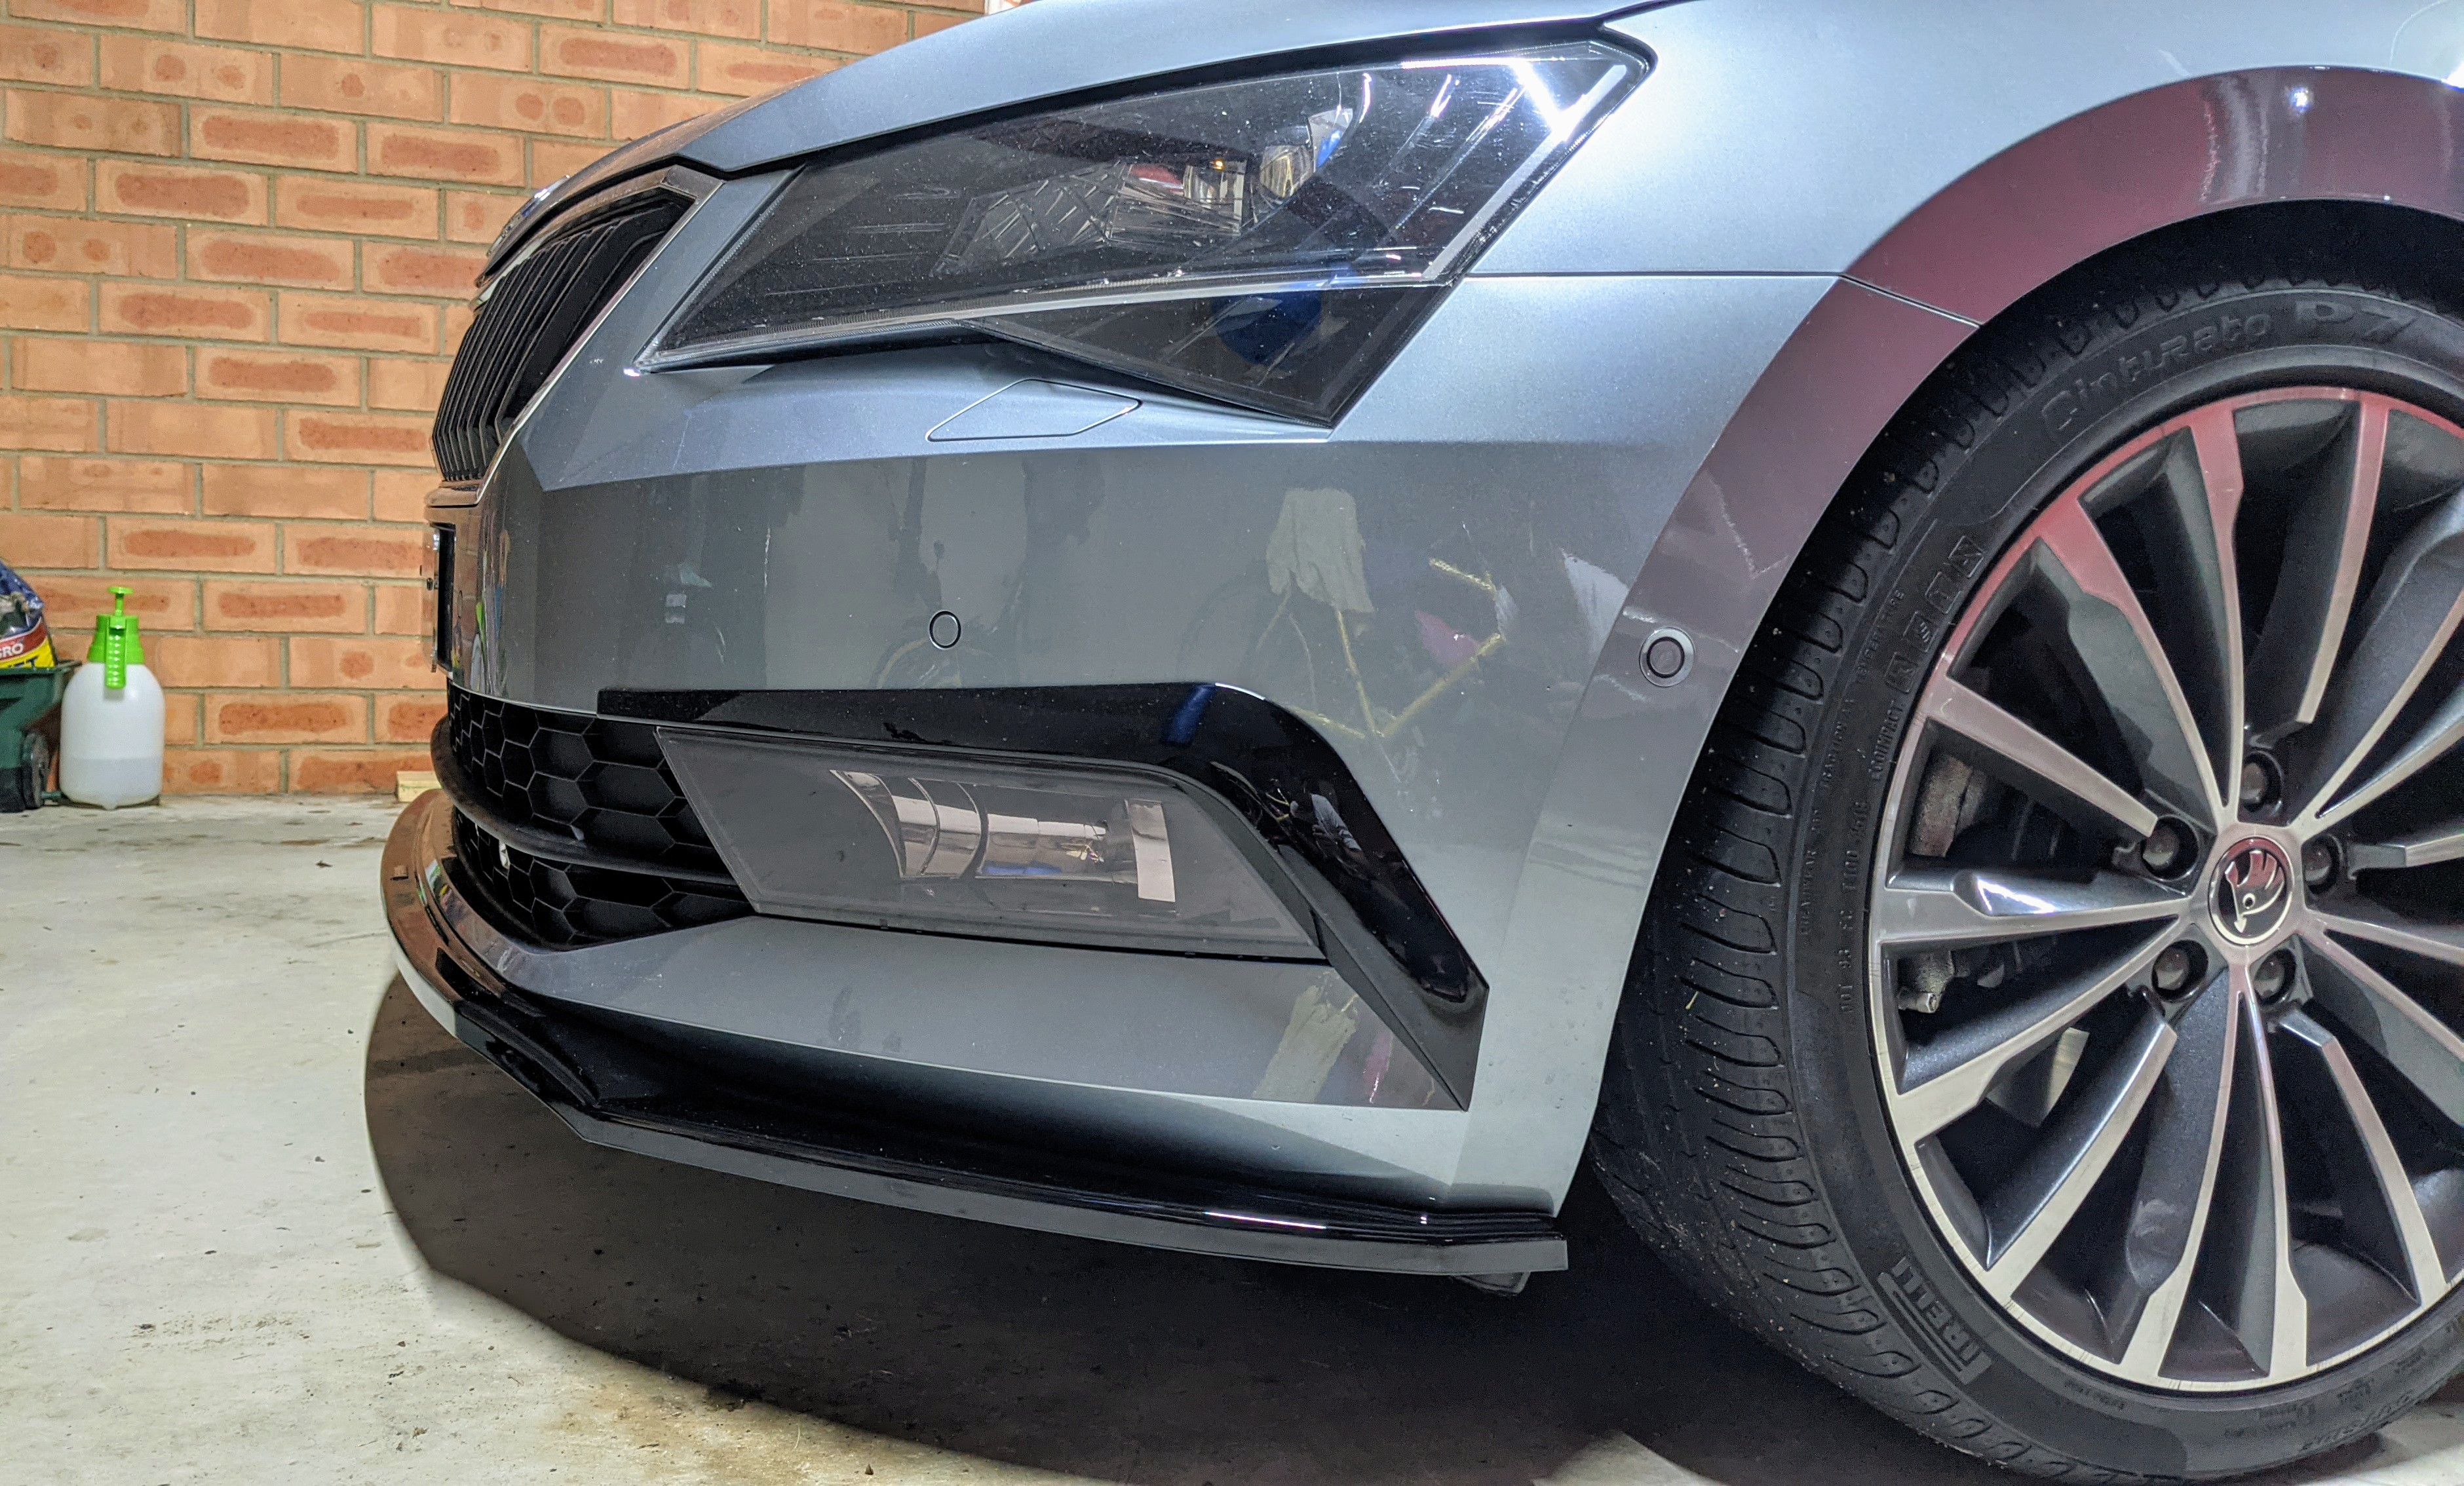
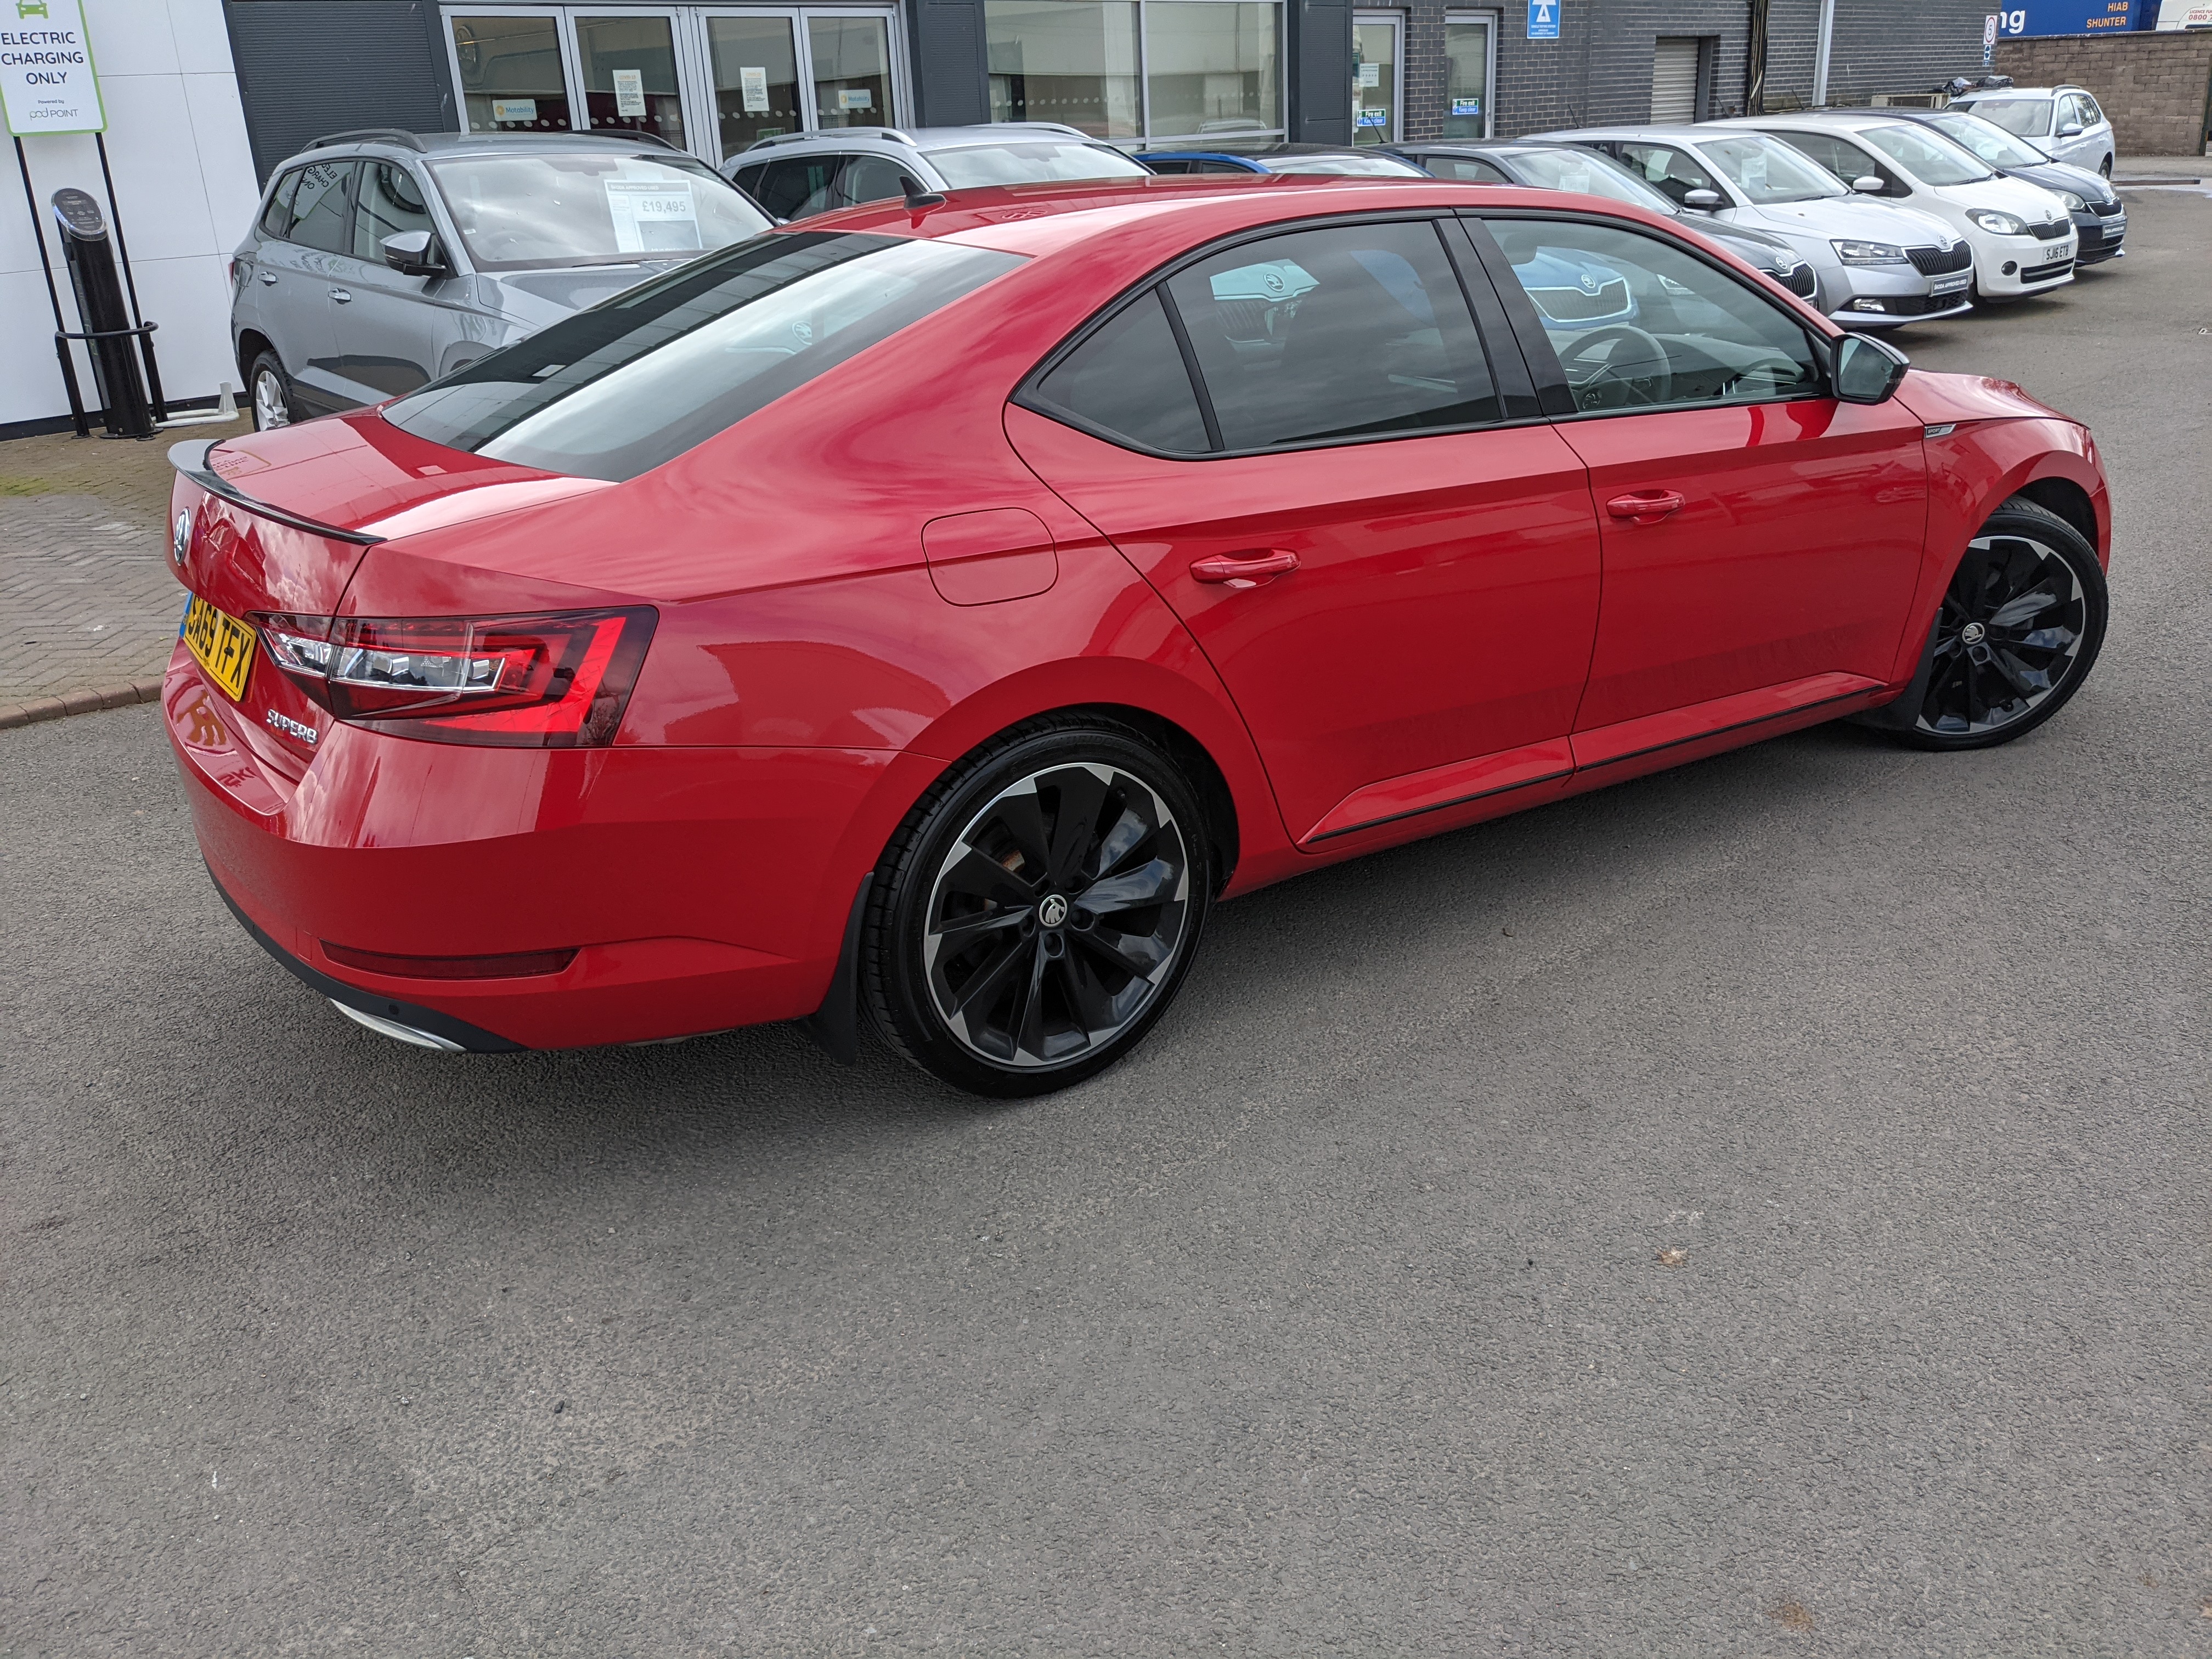
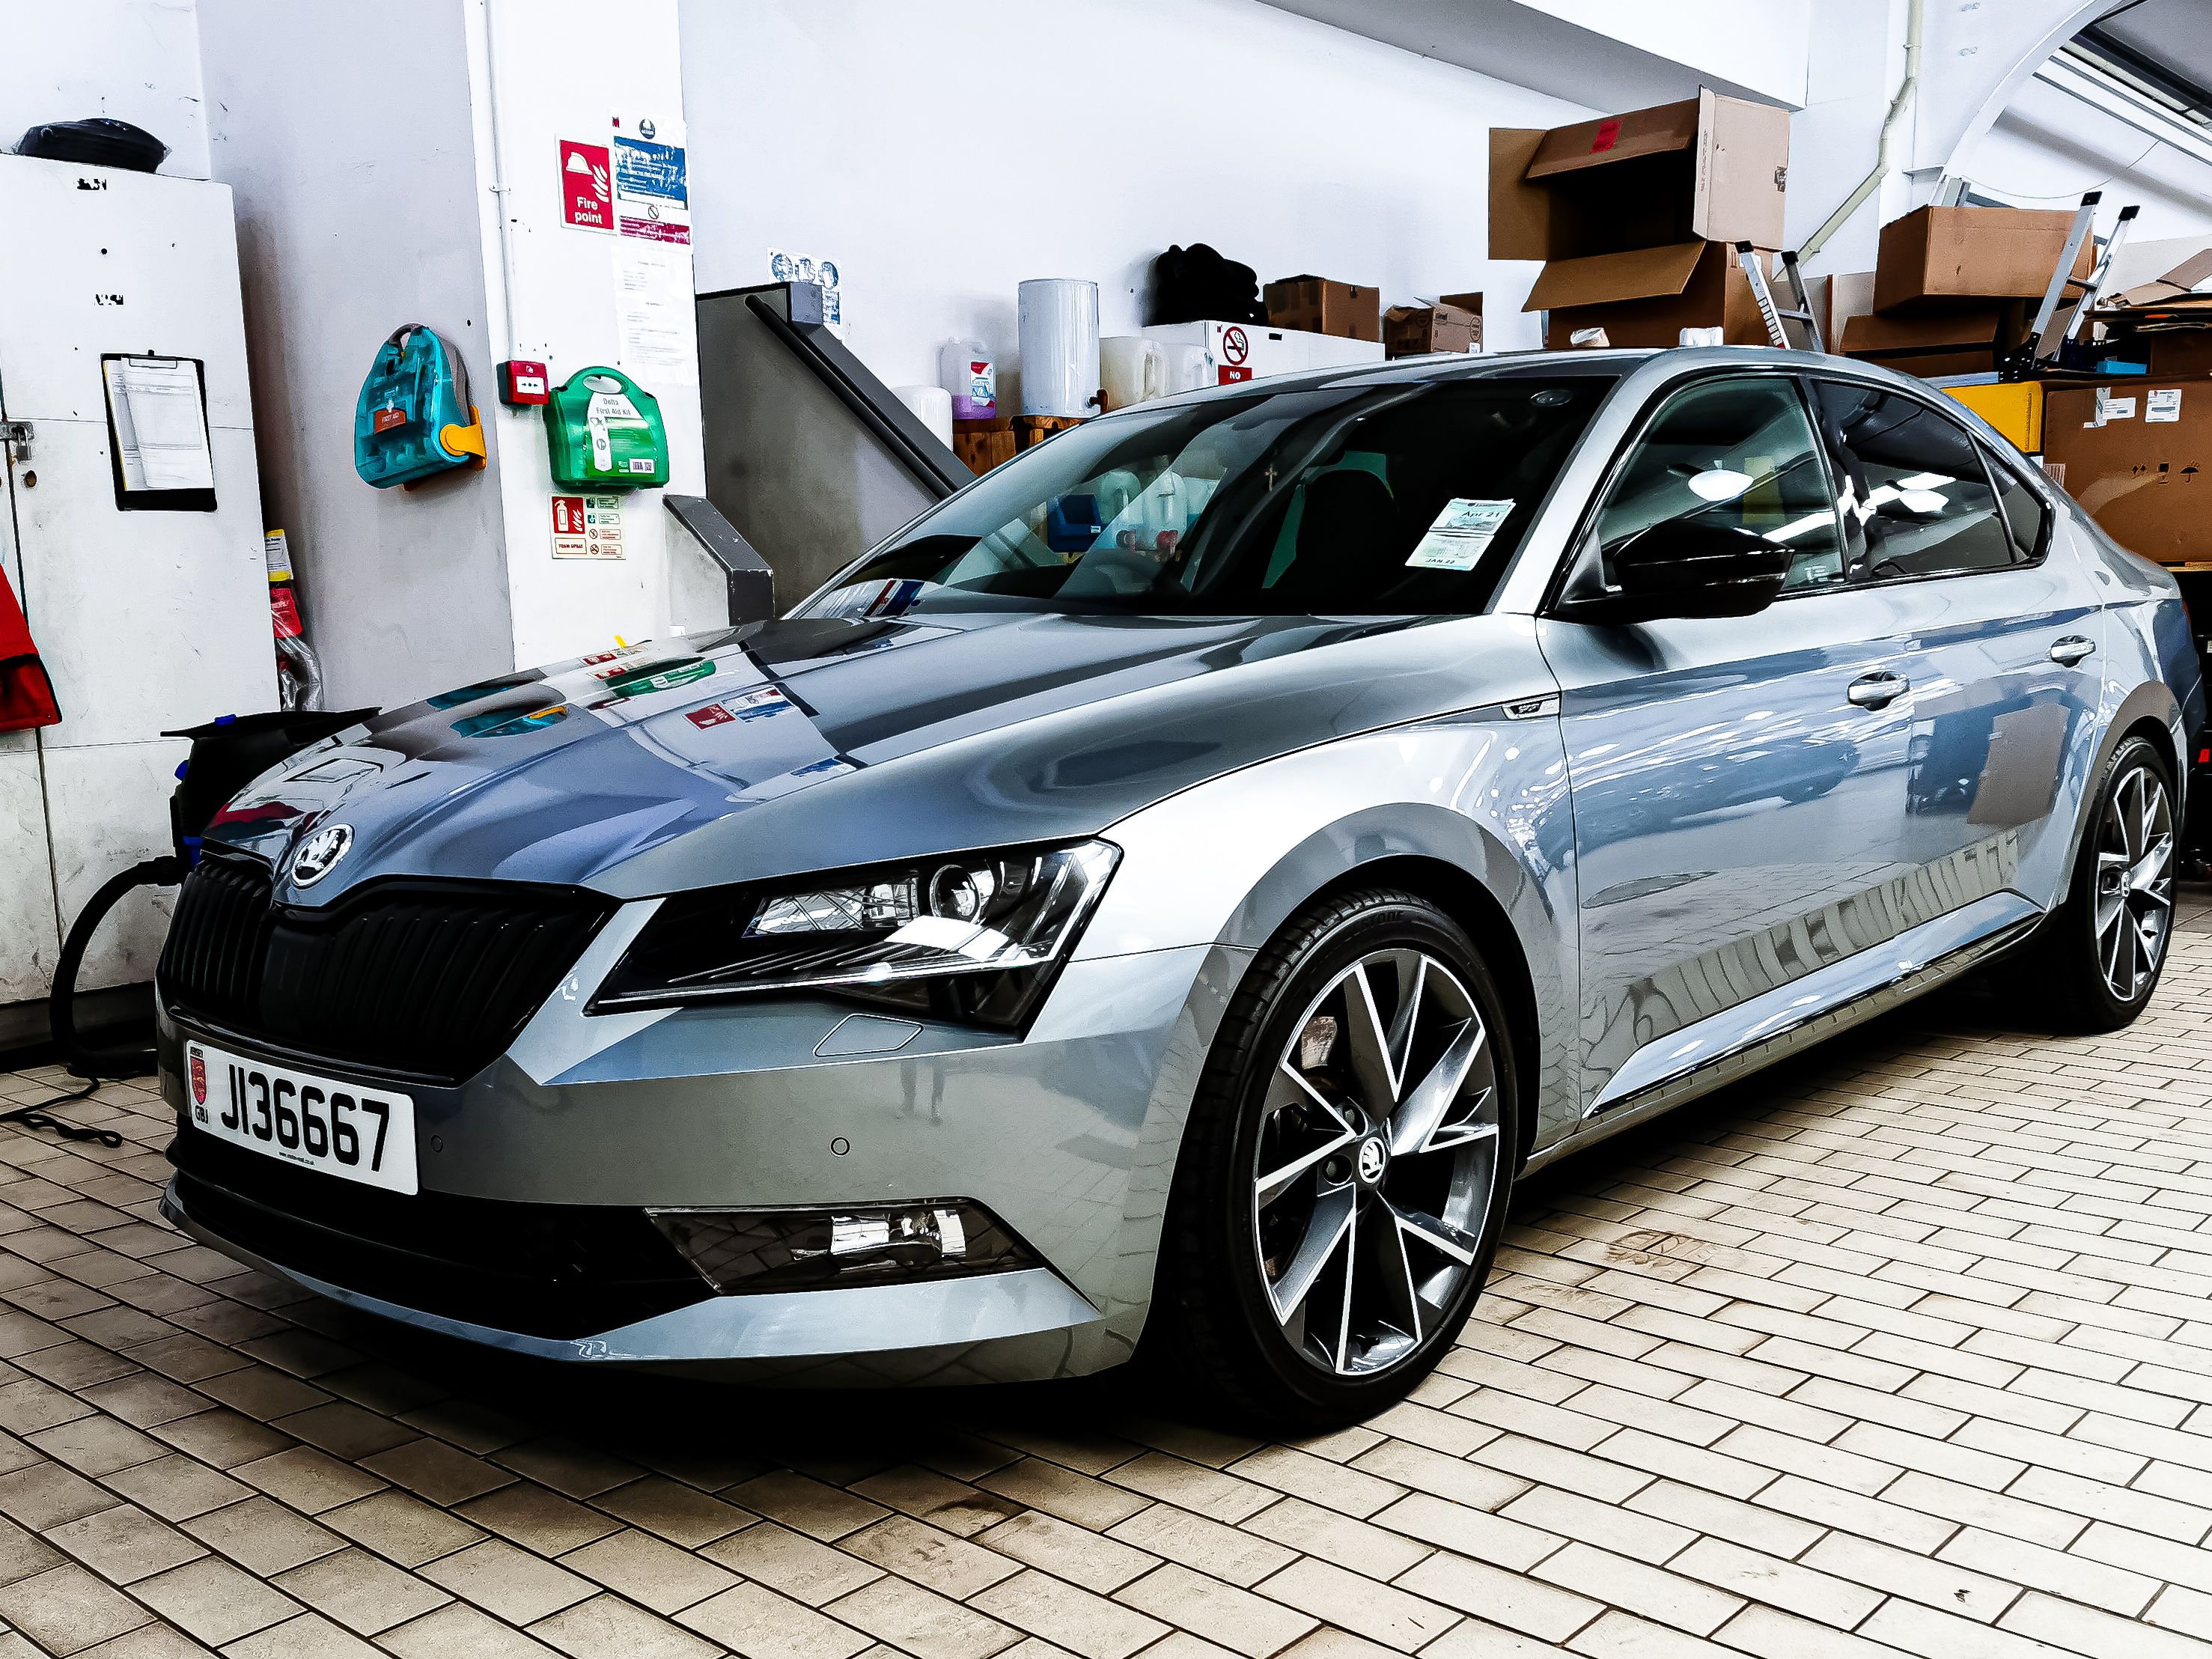
 1 point1 point1 point2018 sportline 280 in business grey... Jb4'd, this is picture from today after I've ceramic coated her...scrubs up well for a 3 year old girl 👀
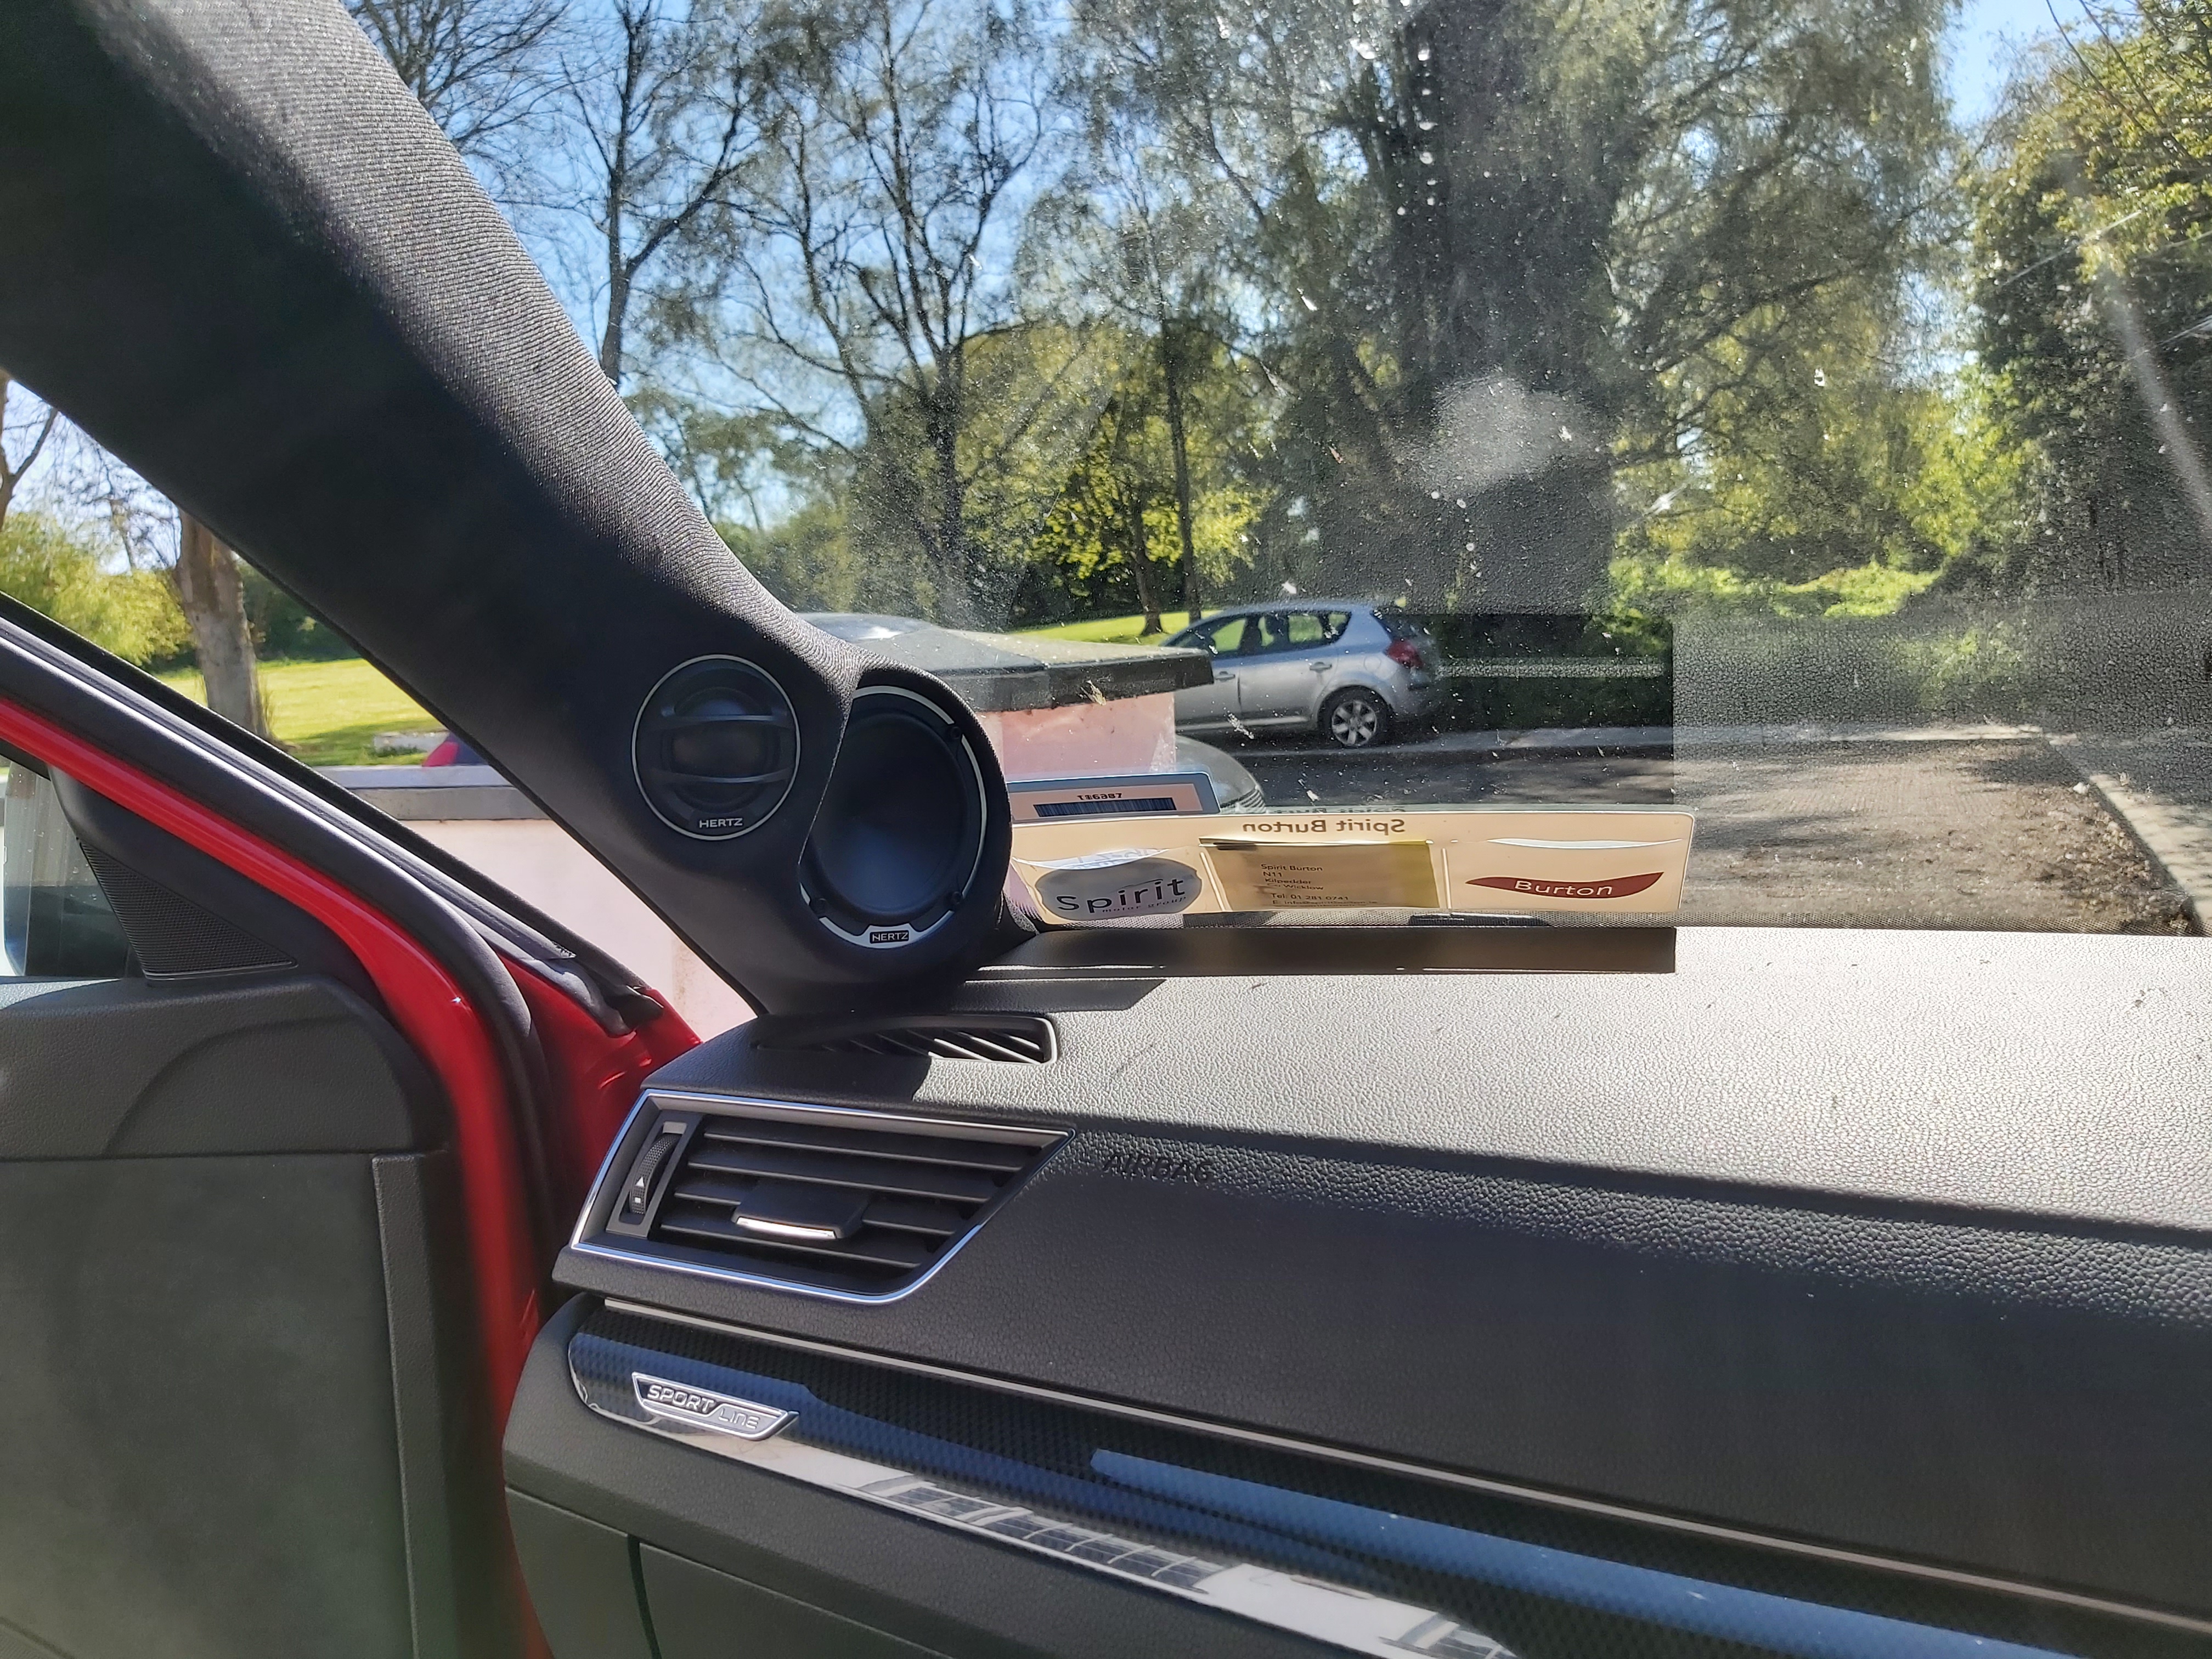
 1 point1 pointYou don't see the door woofers, but can be seen in above picture. A pillar builds look the part and really work.
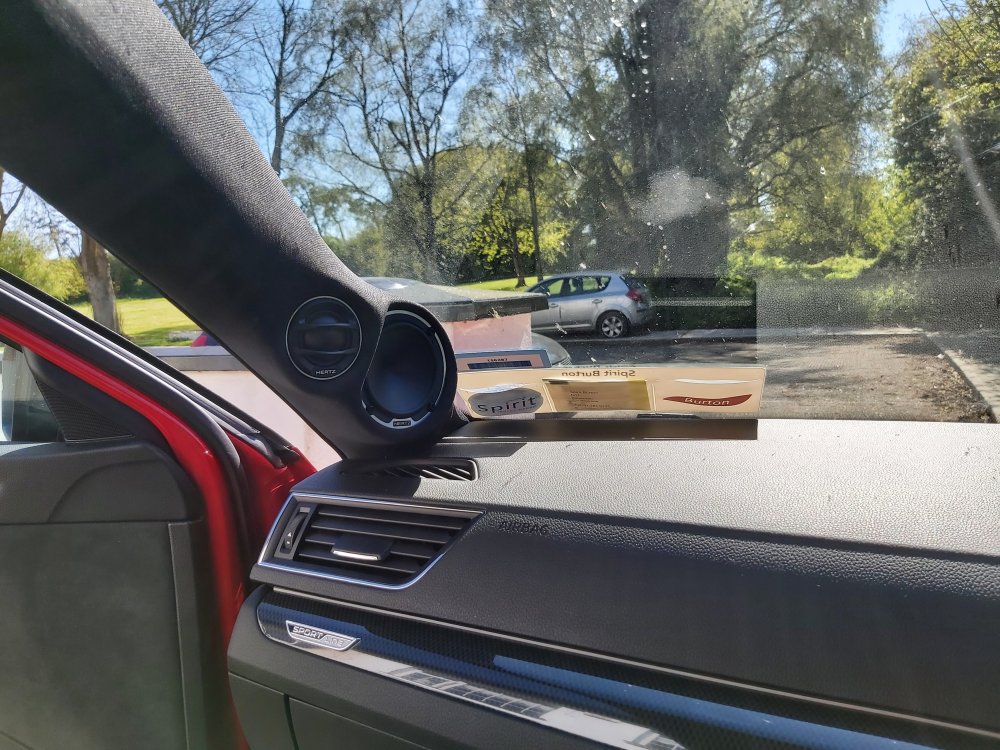 1 pointStop/Start can be a blessing in a traffic jam, but a real nuisance in rush-hour traffic at a roundabout. Even if you learn to finesse the throttle so as not to engage the stop/start, it can feel much safer just to switch it off. At least, that's what I do.1 point
.jpg.1ae3da21b21e6cccf36c8cf8041339f9.jpg)


.thumb.jpg.f83a46b9b3c0d976b9dbffbb523c9874.jpg)


Important Information
Welcome to BRISKODA. Please note the following important links Terms of Use. We have a comprehensive Privacy Policy. We have placed cookies on your device to help make this website better. You can adjust your cookie settings, otherwise we'll assume you're okay to continue.