


Leaderboard
-

Lee01
FREEDOM19Points36,160Posts -

mac11irl
FREEDOM12Points16,636Posts -
AnnoyingPentium
FREEDOM12Points5,646Posts -
Titanium_Man
FREEDOM12Points5,993Posts
.thumb.jpg.9dd3f612ba7f13d10be5c518d3c8d255.jpg)


Popular Content
Showing content with the highest reputation on 15/04/22 in all areas
-
3 points
-
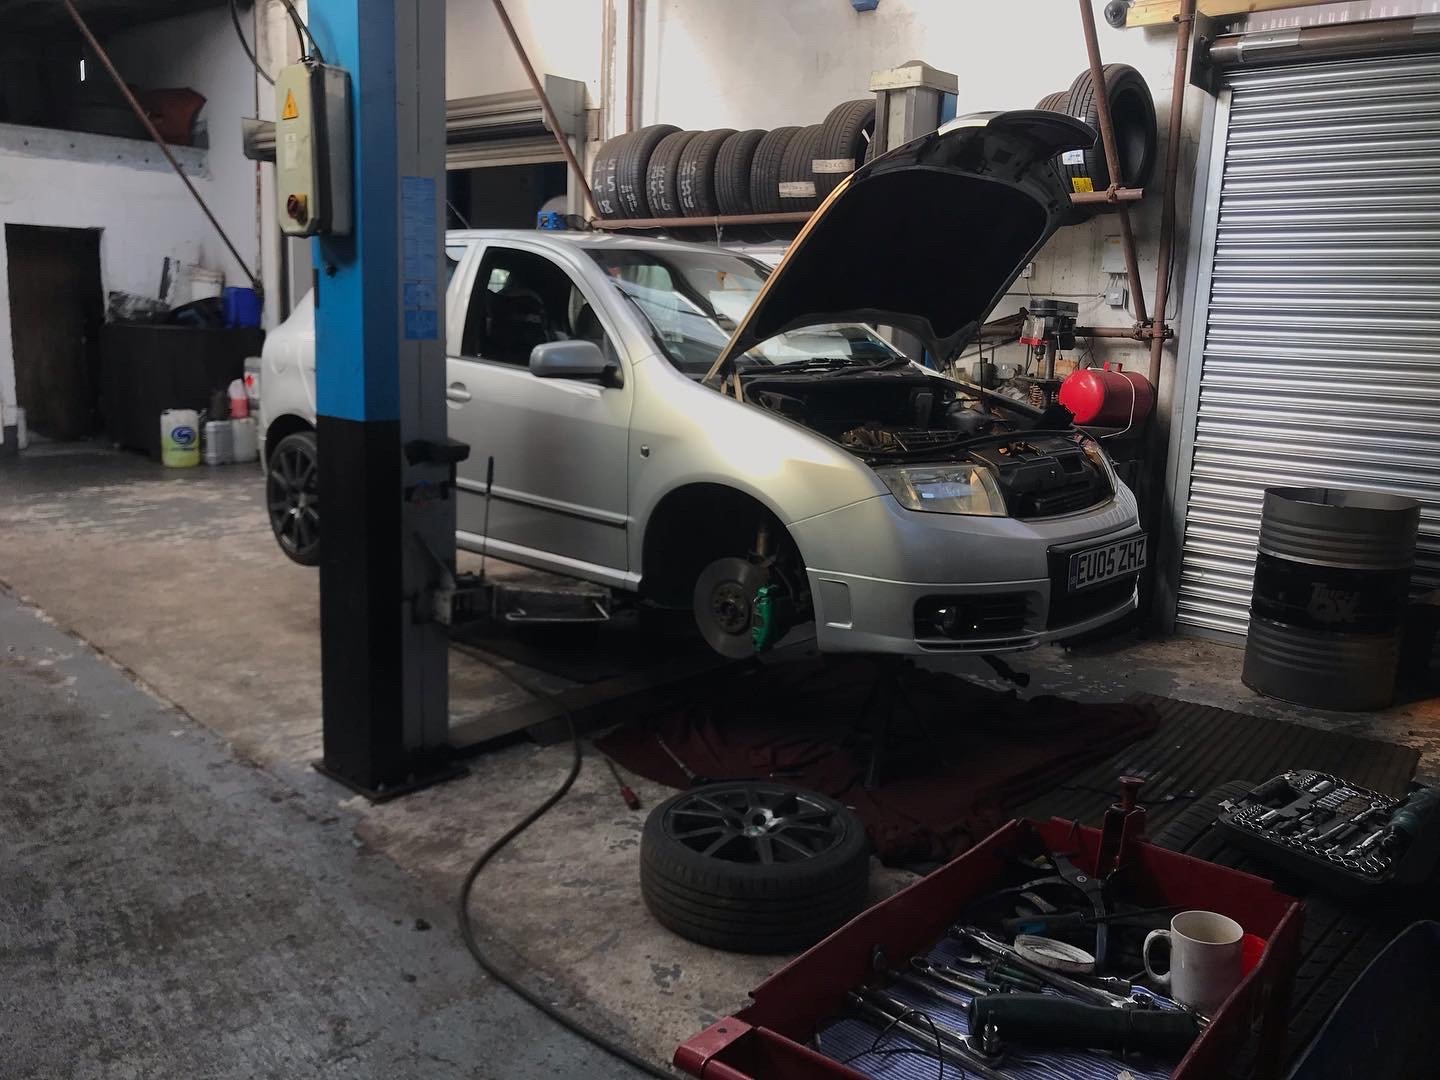
3 points3 points3 pointsCheers mate. Just arrived with me McDonald’s brekkie and will get going. Couple more pictures won’t hurt ☺️


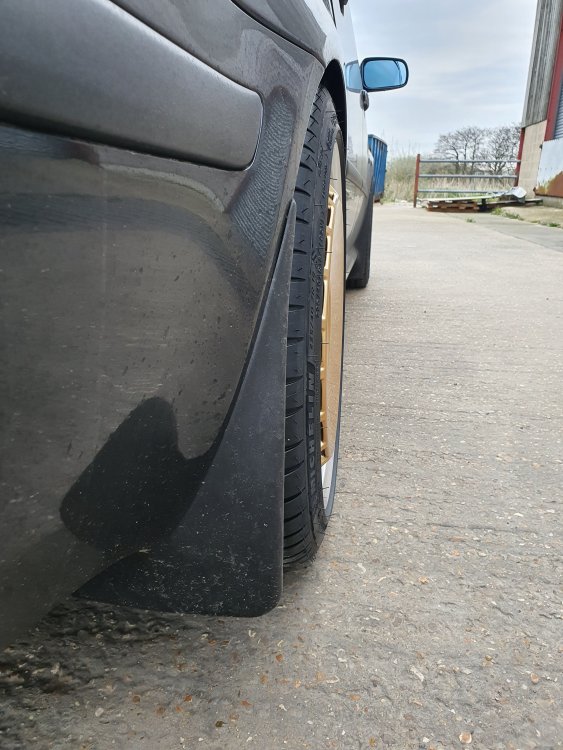
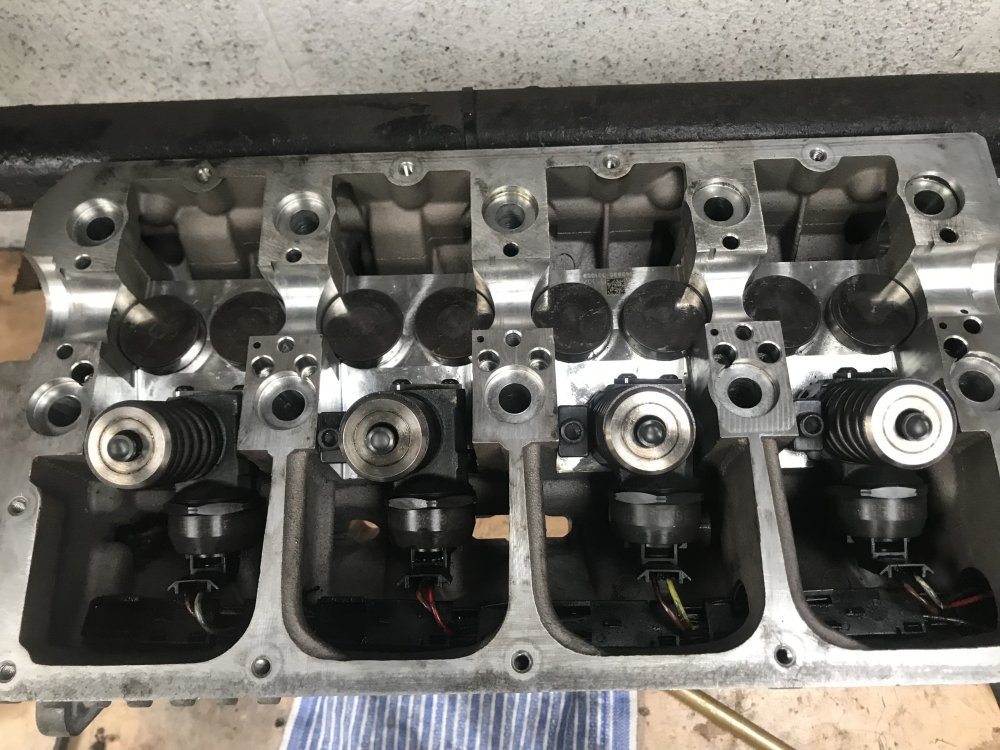
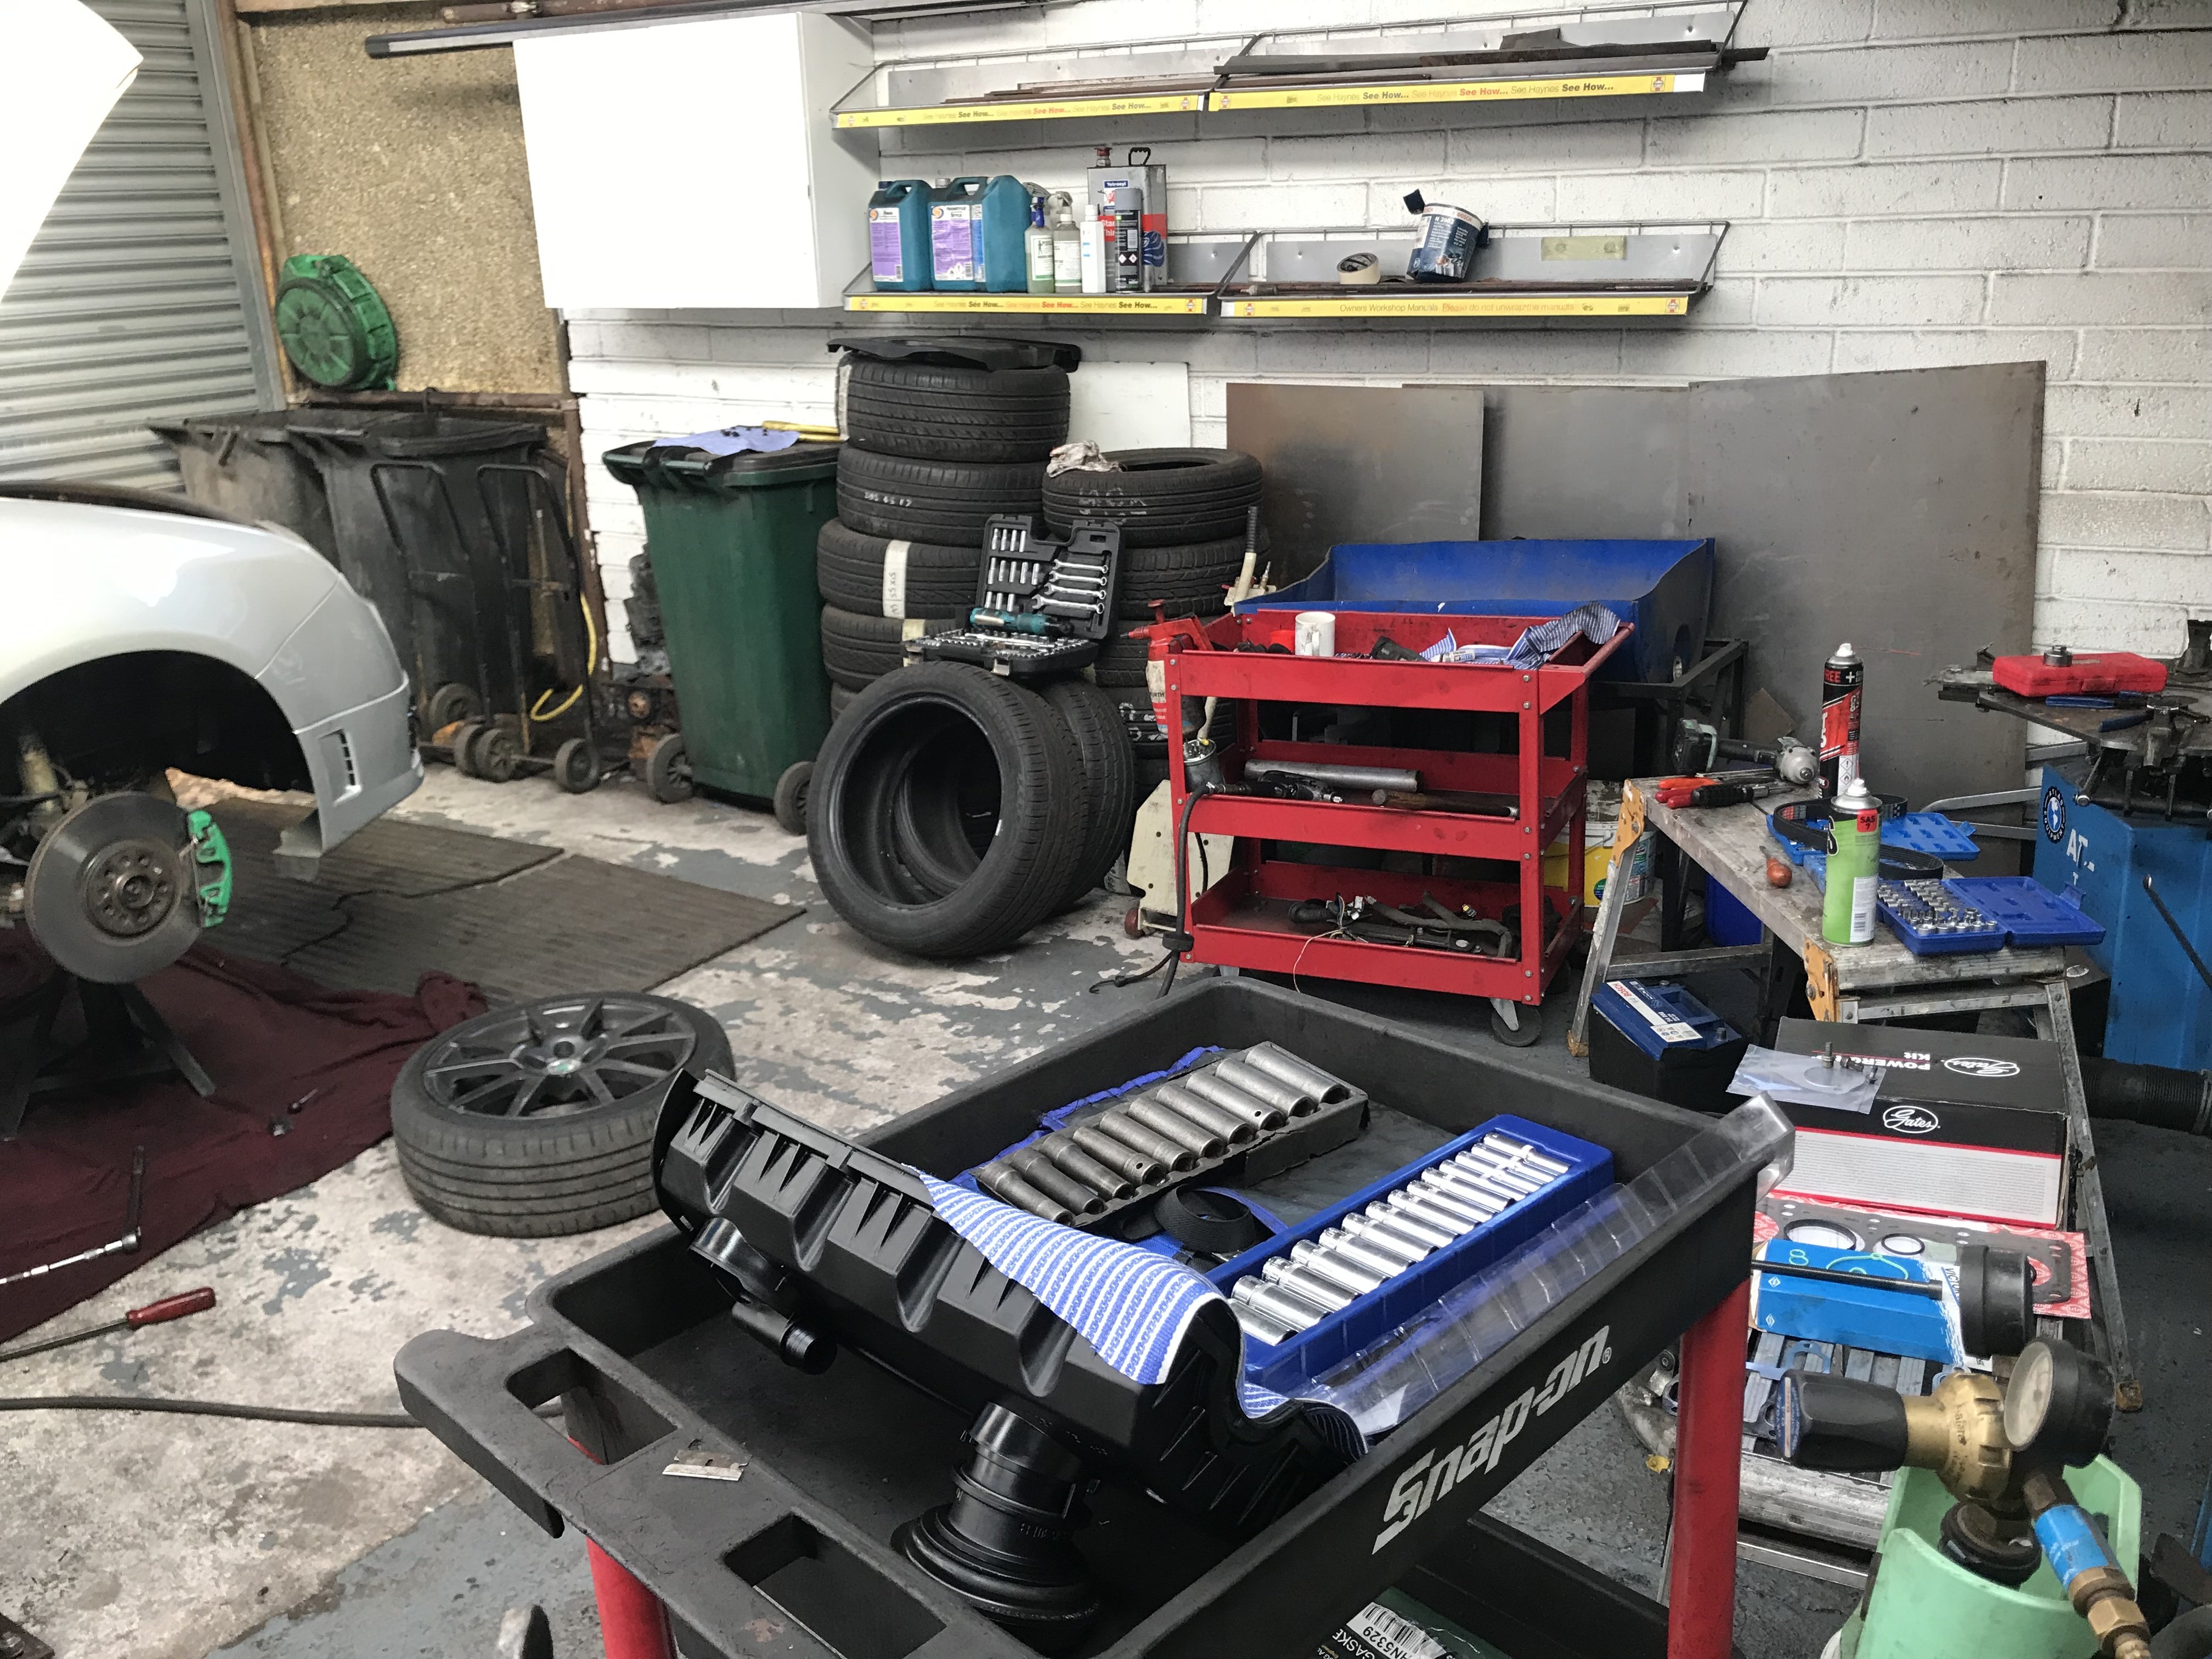
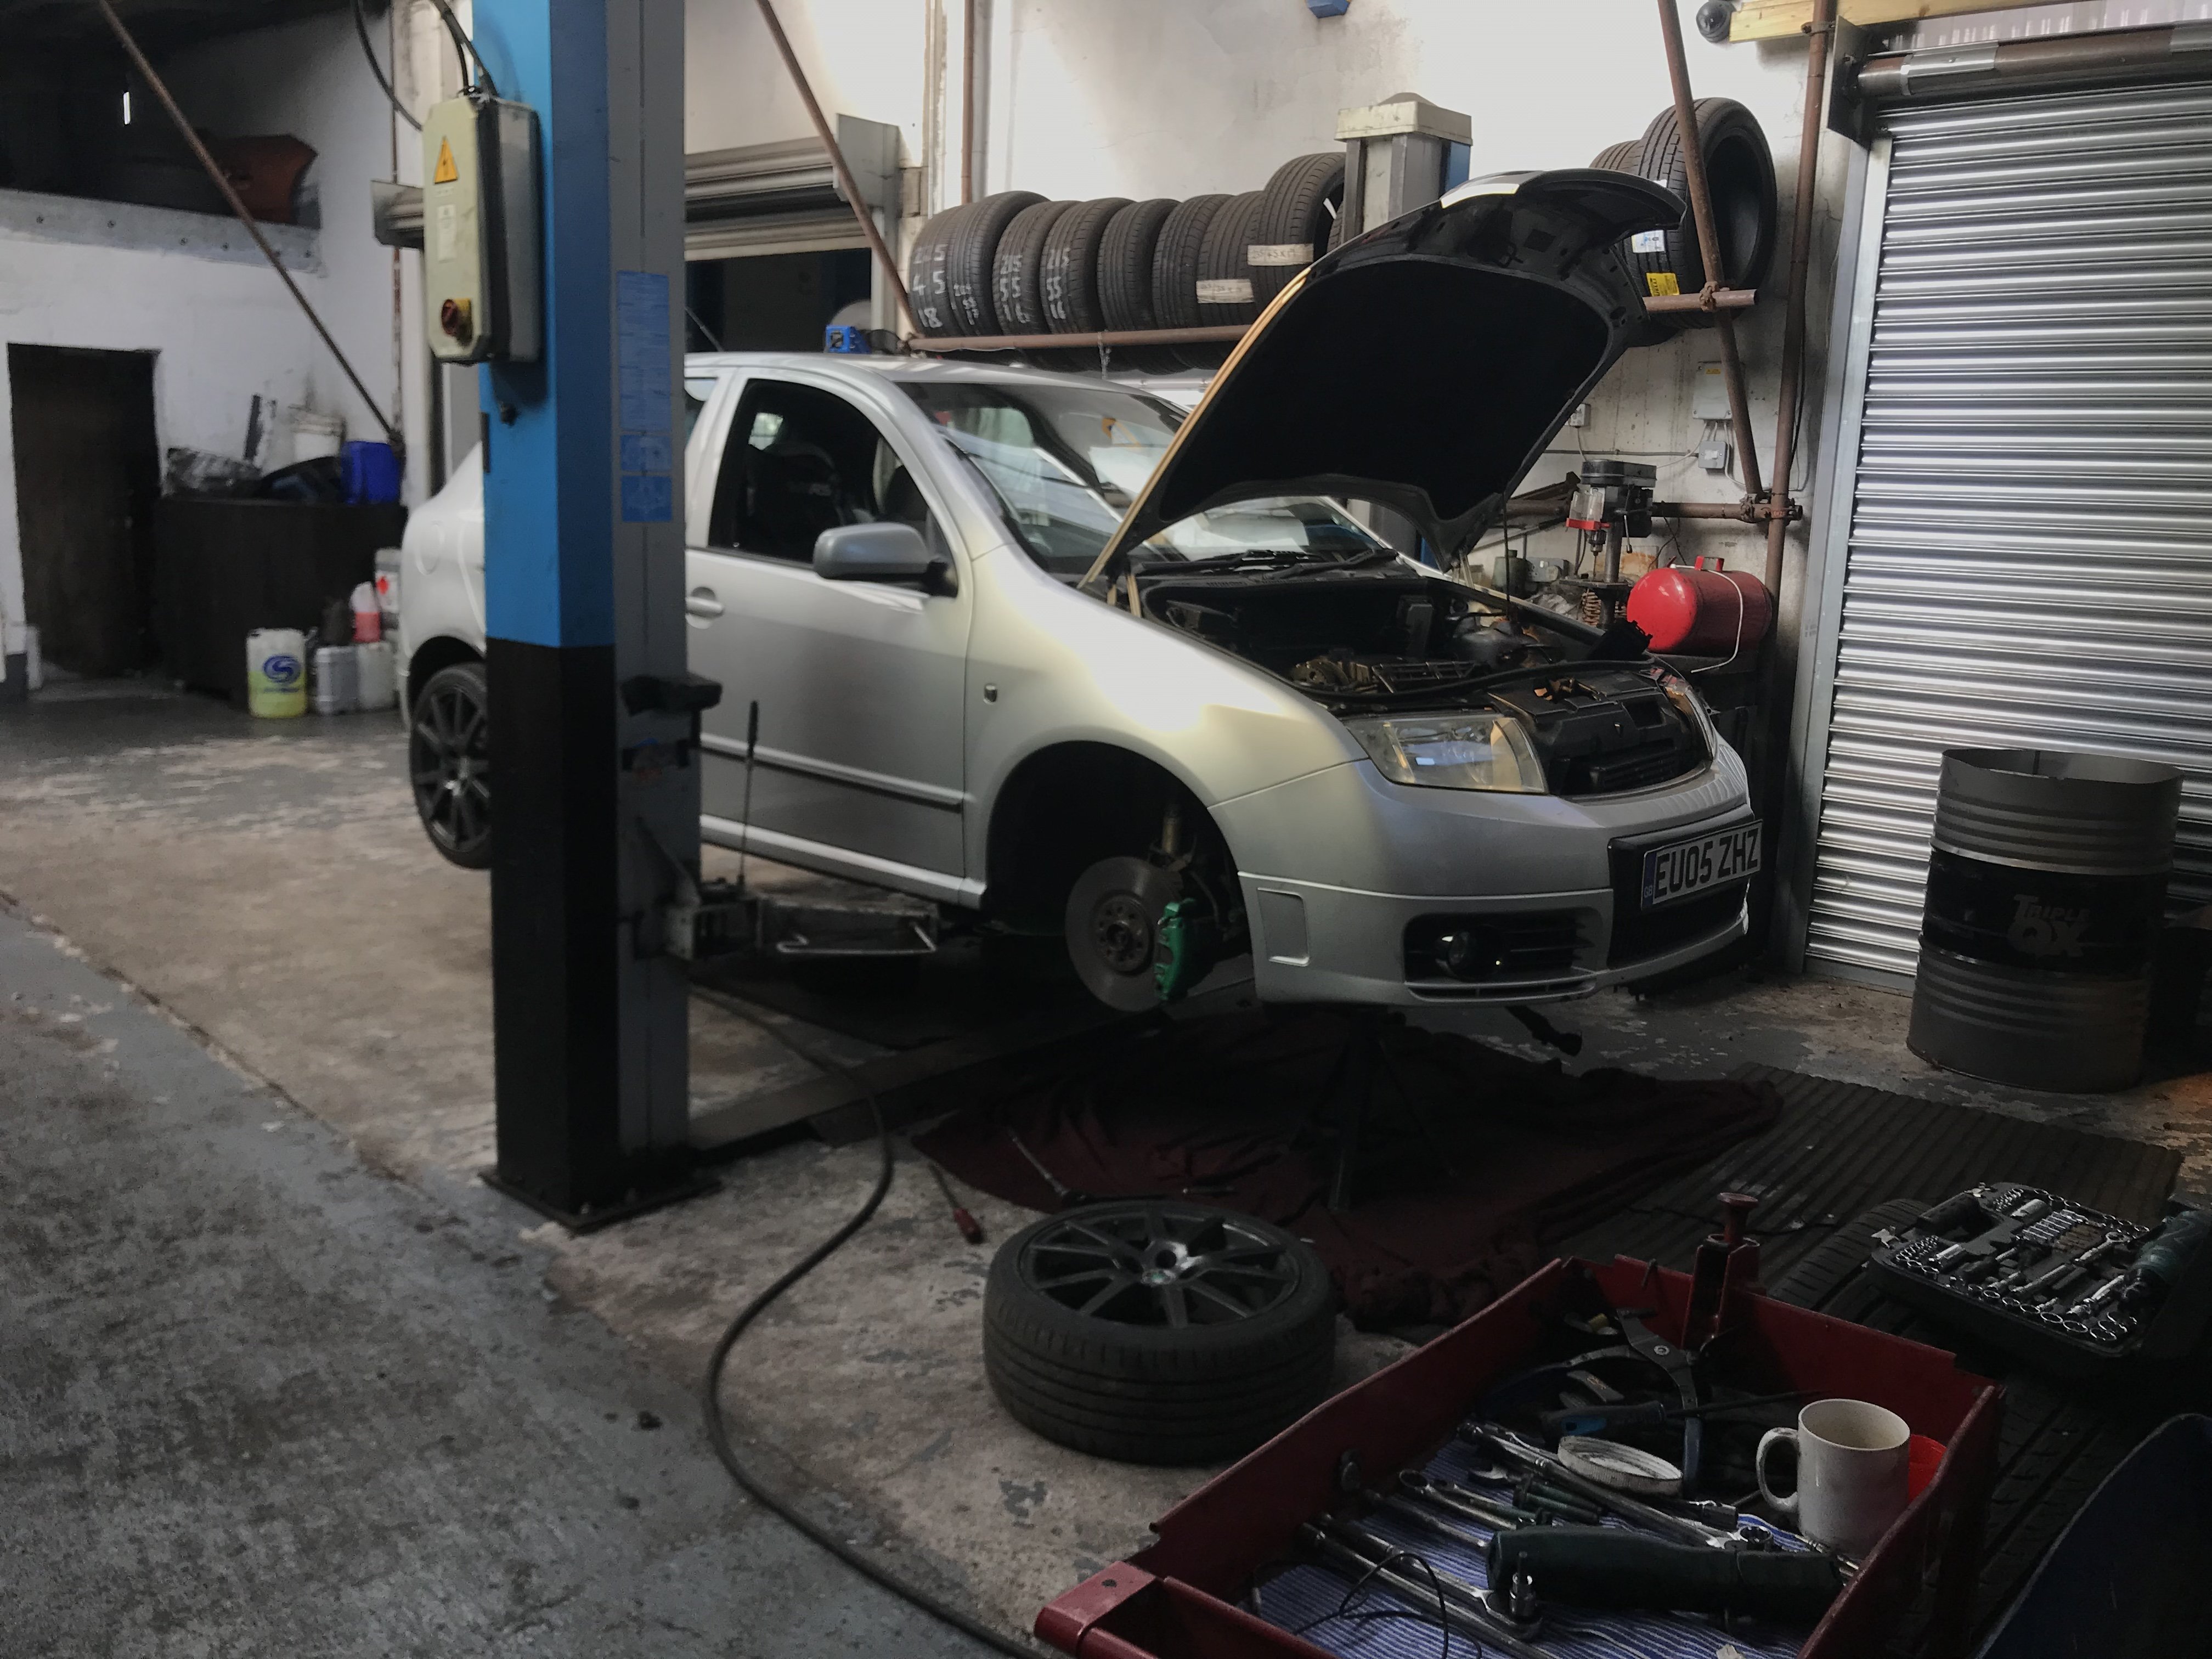
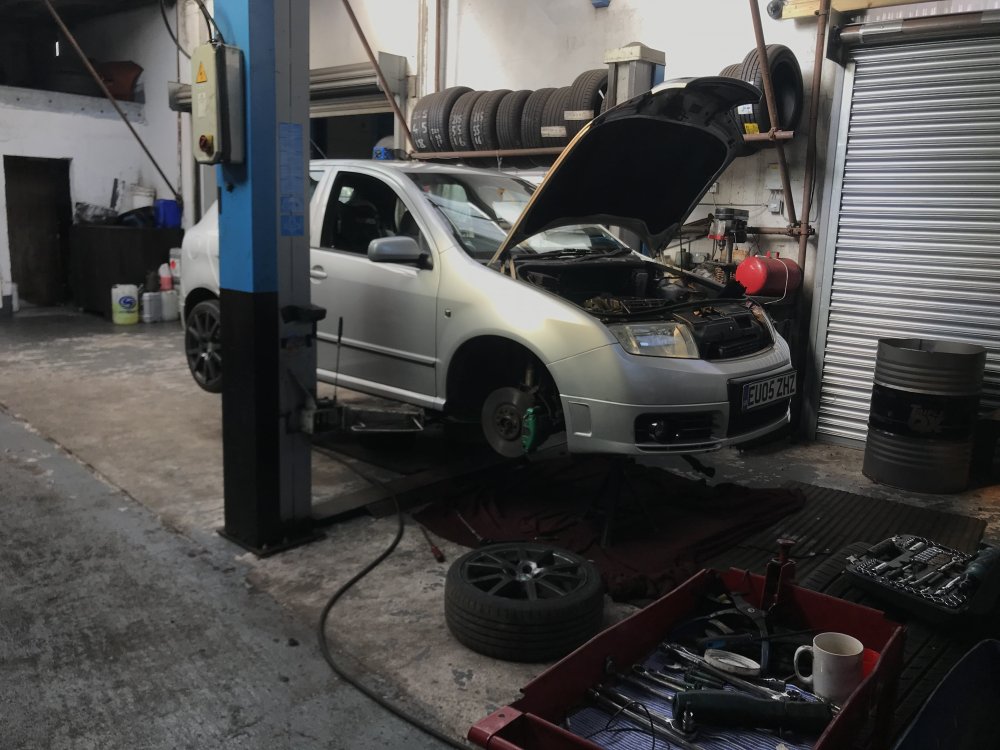 3 points3 pointsStarted the strip down yesterday. The first job was to take the car for a blast to get it warm to make the glow plugs and exhaust bolts easier to remove. Tested all 4 glow plugs that came out the head attached to my car, which were all good. The 4 that came out the doner we’re also good, so got me some spares At this point I decided against pulling off the exhaust as there was too much in the way for my liking, so set up the DTI gauge so to set the injector lash. I also swapped the front left engine cover bracket as the one on the doner was all rusty. I did consider painting the new head whilst it was off, but this isn’t ever gonna be a show car so why bother!? After procrastinating for a while, I made a brew and got on with the topside stuff; removed the battery & tray, air box and pd160 intake pipe, the intake manifold, egr delete and boost pipe, unscrewed the vacume box so I could take the coolant expansion tank off its bracket and move it right out of the way and fuel filter pipe work. Raised the car halfway to remove the drivers wheel and arch liner, then took the ramp to the top. Immediately saw lots of oil that needed cleaning up 😞 Removed the boost pipe from turbo to behind the fog, then took off the bottom radiator hose and drained the coolant. The back topside to take off the TIP and unbolt the CTS on the passenger side of the head. Once everything was out the way I set about getting it all set up to pin the cam and crank and remove the cam belt. I’ve done a few cam belts now and these are fairly easy compared to some, with the added safety net on being able to pin cylinder 1 at TDC. I’ve been forced to get in to the habit of using tipex even though I can pin it all in place 😛 To get at the cam you obviously have to remove the aux belt. I had heard the odd squeak from it in the last couple of months, but does look like it was on its last legs! New one sat on the side ready to go on. Once I removed the cam cover there was evidence I’m doing this just at the right time; Yup, water pump had just started to leak! Finished the day not quite ready to remove the cylinder head yet as I wanna re-check everything before I pull the head off, plus, I need to take off the tandem pump and fuel lines attached to the rocker cover, but a productive day at the office3 pointsAs per the title, but not on a MK3 Fabia but a 2015 6C VW Polo 1.2TSI - which will be identical to a MK3 Fabia in the area of the support frame bolts. The bolt nearest the ARB mounting clamp on the near side failed, with I think is due to road spray including road salt getting in behind/above the collared bolt head and causing the bolt shank to corrode/waist until the bolt head popped off - and ended up on my garage floor! I can't say when this happened as the sheared face of the bolt remains and the bolt head are heavily rusted across - but the "upper" surface of the collared bolt, ie the face that was in contact with the support frame metalwork is about 80% shiny metal, well maybe less than 80% as the rust is obviously covering what was the over sized bolt hole in the support frame and slight rusting is evident from the outer edge of the collar on the bolt head, but then there is a clean area all the way round the collar - I'm including that point as it seems that this bolt head has ended up closing off any chance of accumulated water getting thrown up onto this bolt, draining back out again. (I had a similar type of thing happen with my old 1991 VX Cav GSI 4X4, but on it, it was the ARM link that failed or its fixing nut and part of the threaded end parted company with the rest of the ARB link - in that case, road spray was able to get in from under the rubbers and stay trapped in the oversized hole in maybe the track control arm instead of draining back out.) I'll be letting my trusted VW Group Indie take care of that as they might manage to weld a bolt/nut to the end of that bolt and get it out, if not the support frame will need to get dropped and the car given a 4 wheel realignment, very annoying. I've not known that to happen to the late 2009 SEAT Ibiza of my wife's old 2002 VW Polo over the time that we had them, 10 and 13 years respectively - but having said that, I would not have been any the wiser until I had looked under this 2015 VW Polo - the rusty bolt head on the garage floor was the clue today! Maybe "check your bolts"!2 points2 pointsHi! Been lurking a little while but not posted. Having had a Superb estate for four years from new, I just got myself a new iV PHEV Superb Estate, and I've never before bought the same car twice. If anyone is unsure about this car I can say for my family it's really impressed us. We just completed a trip to Austria and back and I was a little nervous about mpg, hoping for high thirties realistically, (fully loaded boot, four adults onboard plus a massive roofbox filled with four sets of boots and skis and other holiday essentials!). I was really impressed with how the car manages it's power sources, even after the battery range has been depleted the energy recovery and smooth switching through the gearbox is masterful engineering. Driving at around 140km/hour for about half the journey on autobahns, and between 100 and 130 in France, Belgium, Holland and Austria, the car returned 41.2 mpg. I couldn't believe how good this is, as previously I owned a dreary Mitsubishi Outlander PHEV with a dumb 2 litre normally aspirated petrol engine - on the same trip at similar speeds it returned 24mpg. It never went abroad again after that! I'm happy to say this Skoda is fit for long trips in comfort and relative economy as well as serving my daily commute on nearly all battery. If in doubt, don't worry, this is a great car!2 points2 pointsHi Everyone, Recently bought a 2013 Superb wagon to become my new daily driver. Was previously driving my Chrysler 300 daily but the cost of fuelling a 98 octane-tuned 300kW V8 at the moment is absurd, and I've always appreciated the quirkiness of Skodas, so I welcomed Vaclav the Superb to my fleet. I also own a Porsche Boxster 987, as well as some motorbikes and boats. I believe it's the Ambition trim level, 118kW TSI with the 7 Speed DSG, and high mileage but with a good maintenance history. The 1.8 does burn about 0.8L/1000km but I'm replacing the PCV valve and hoses and going up to a 5w40 grade oil, which should hopefully minimise that. I've already replaced the awful Bolero radio with a PQ MIB2 Composition Media unit, (and done the software mods to enable Apple CarPlay and disable component protection, though I need a new CAN gateway and some coding once my VCDS cable arrives to get it perfect), as well as swap the ugly 16" Moon wheels for a set of 18" Octavia III VRS Gemini wheels with Bridgestone tyres, and changed the steering wheel over from the old style to the newer one, again with a Yeti wheel and Fabia airbag. I may change the Composition Media unit for a Discover Media unit because I've got a lead on one cheaply from the same car my steering wheel came from, and I'd rather like to have DAB+ radio and inbuilt navigation. I also plan on upgrading the rest of the audio system, Alpine make some really nice looking mini amplifiers that will fit nicely in the underseat space my 9W7 Bluetooth module used to occupy. I've also found a very nice set of leather seats for a good price, which will go in too. I'm currently waiting on a heap of new parts - Black Skoda badges to replace the green ones, a new chrome bonnet garnish, Superb III style rear badges, new key shells, LED lighting, and a heap of other little bits and pieces to lift and modernise the car. I'm not a fan of modifications that look obviously aftermarket, so I tend to go with upgrades that look and work like they came from the factory. This forum has been a wealth of info so far, and I'm looking forward to contributing my own as time goes on. Thanks, Elyse. 😁

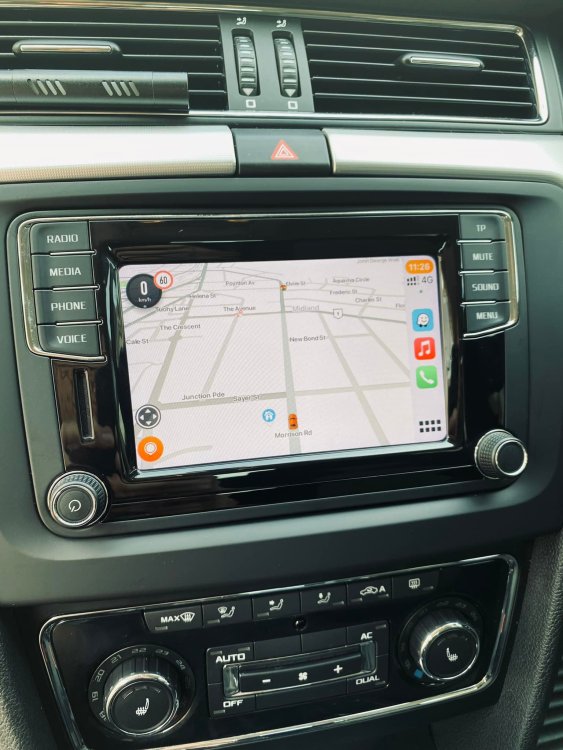 2 pointsAs I said before the CTS has no control over the radiator fans, they are controlled by a thermal switch on the radiator, you can easily test the system by shorting the pins on the thermal switch together, if that proves the fan/s are OK then either the thermal switch is goosed or the water passing the switch isn't getting hot enough and that could be a stuck thermostat, or the waterpump isn't circulating the water but I seem to recall you saying the gauge did read 90c ?2 pointsAs has already been said, the temp gauge can still show normal readings on the dash even though the CTS has drifted out of spec enough to affect running. They are relatively cheap and the same on all Mk1 Fabias (06A 919 501A), so why not just rule it out? If the one you fitted five years ago wasn't genuine it could be defective.2 points2 points2 points2 points2 pointsNo, a much better garage this time haha 😅 I haven't been back to that garage after they messed up my brakes sometime last year. They hadn't bled them correctly twice.2 pointsThe battery is about 0.5kWh and is recharged by breaking. Perhaps you dont break enough to charge it? Do you use any driving modes like eco? Try to break more, since it uses the battery to start the engine from coasting and helps on acceleration. Breaking with engine should recharge it also.2 points2 pointsThe BMS will still think the old battery is fitted, which won't be helping.2 pointsHey there, without getting into much personal details, were you the person mentioning Trailer Assist to the guys at Ebbett Skoda the other day? I was in the Superb and overheard... If that was you, message me and I can get it coded for you as I've got VCDS. I enabled it on our last Kodiaq (Style 2017) - ours had the EMD/Best Bars OEM-spec towbar and I had to enable it myself.2 points2 pointsAn opportunity suddenly show up, due to the Easter or the 1st May i found that i can arrange a small trip to the country and that means: national road and sport driving in mountain routes so what's best to test the new lambda sensor plus to make it work with the factory spark plugs for many kilometres? 400 Km in a row would be far better than the few kilometres of home->work. That's why i was under pressure, i had to find a NGK lambda sensor according to 6U0906265E specification and have it in my hands shortly. @Pete_Ex-Wino : thank you very much sir but the whole procedure plus the delay of paypal confirmation-delay from the seller to ship the item-you must go to post office--delay for the parcel to come to Greece etc very easily could get me off schedule. If i was not under pressure things would be different. @nta16 : thank you very much sir for the suggestion of the Uk store but i couldn't risk to have in my hands a different sensor than the original, that mess of 2 different codes and the lack of information from the seller make me hesitate to buy plus i had the fear that the whole procedure with Royal Mail could take more than 2 weeks. Gentlemen, from the bottom of my heart a big ''thanks", i feel much obliged to you both! As for the record: Till Monday i will have the NGK OZA457-I1 lambda sensor in my hands and i will install it to the car the next days so i would be ready for that trip, first i will measure the fuel consumption on national road-mountain route and later will come the moment of truth, the fuel consumption on city traffic. I have ''bet all of my money'' on this NGk sensor, if the combination of factory specifications lambda and spark plugs won't work as it should be them i think that for 99% i can not find the solution to my problem.2 points2 pointsHere is a pic!
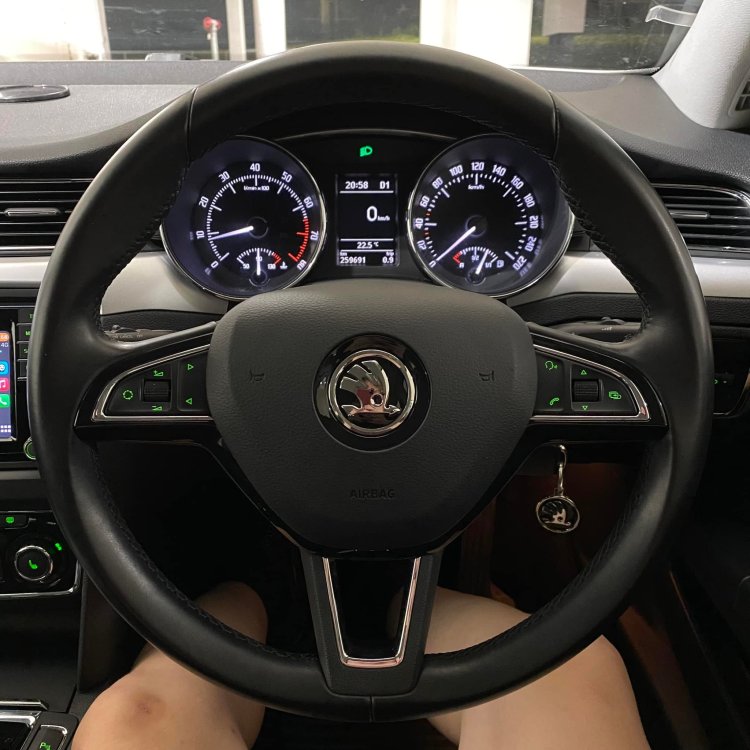
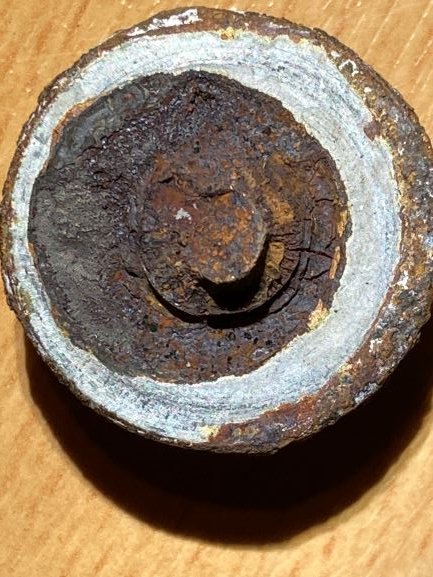 2 points2 pointsGot two OTA updates last week. Didn't noticed anything changed, but mine worked perfectly from the beginning. Software version hasn't changed after the updates. The first one was larger, second one took just few minutes. Attaching photos with my Software version.
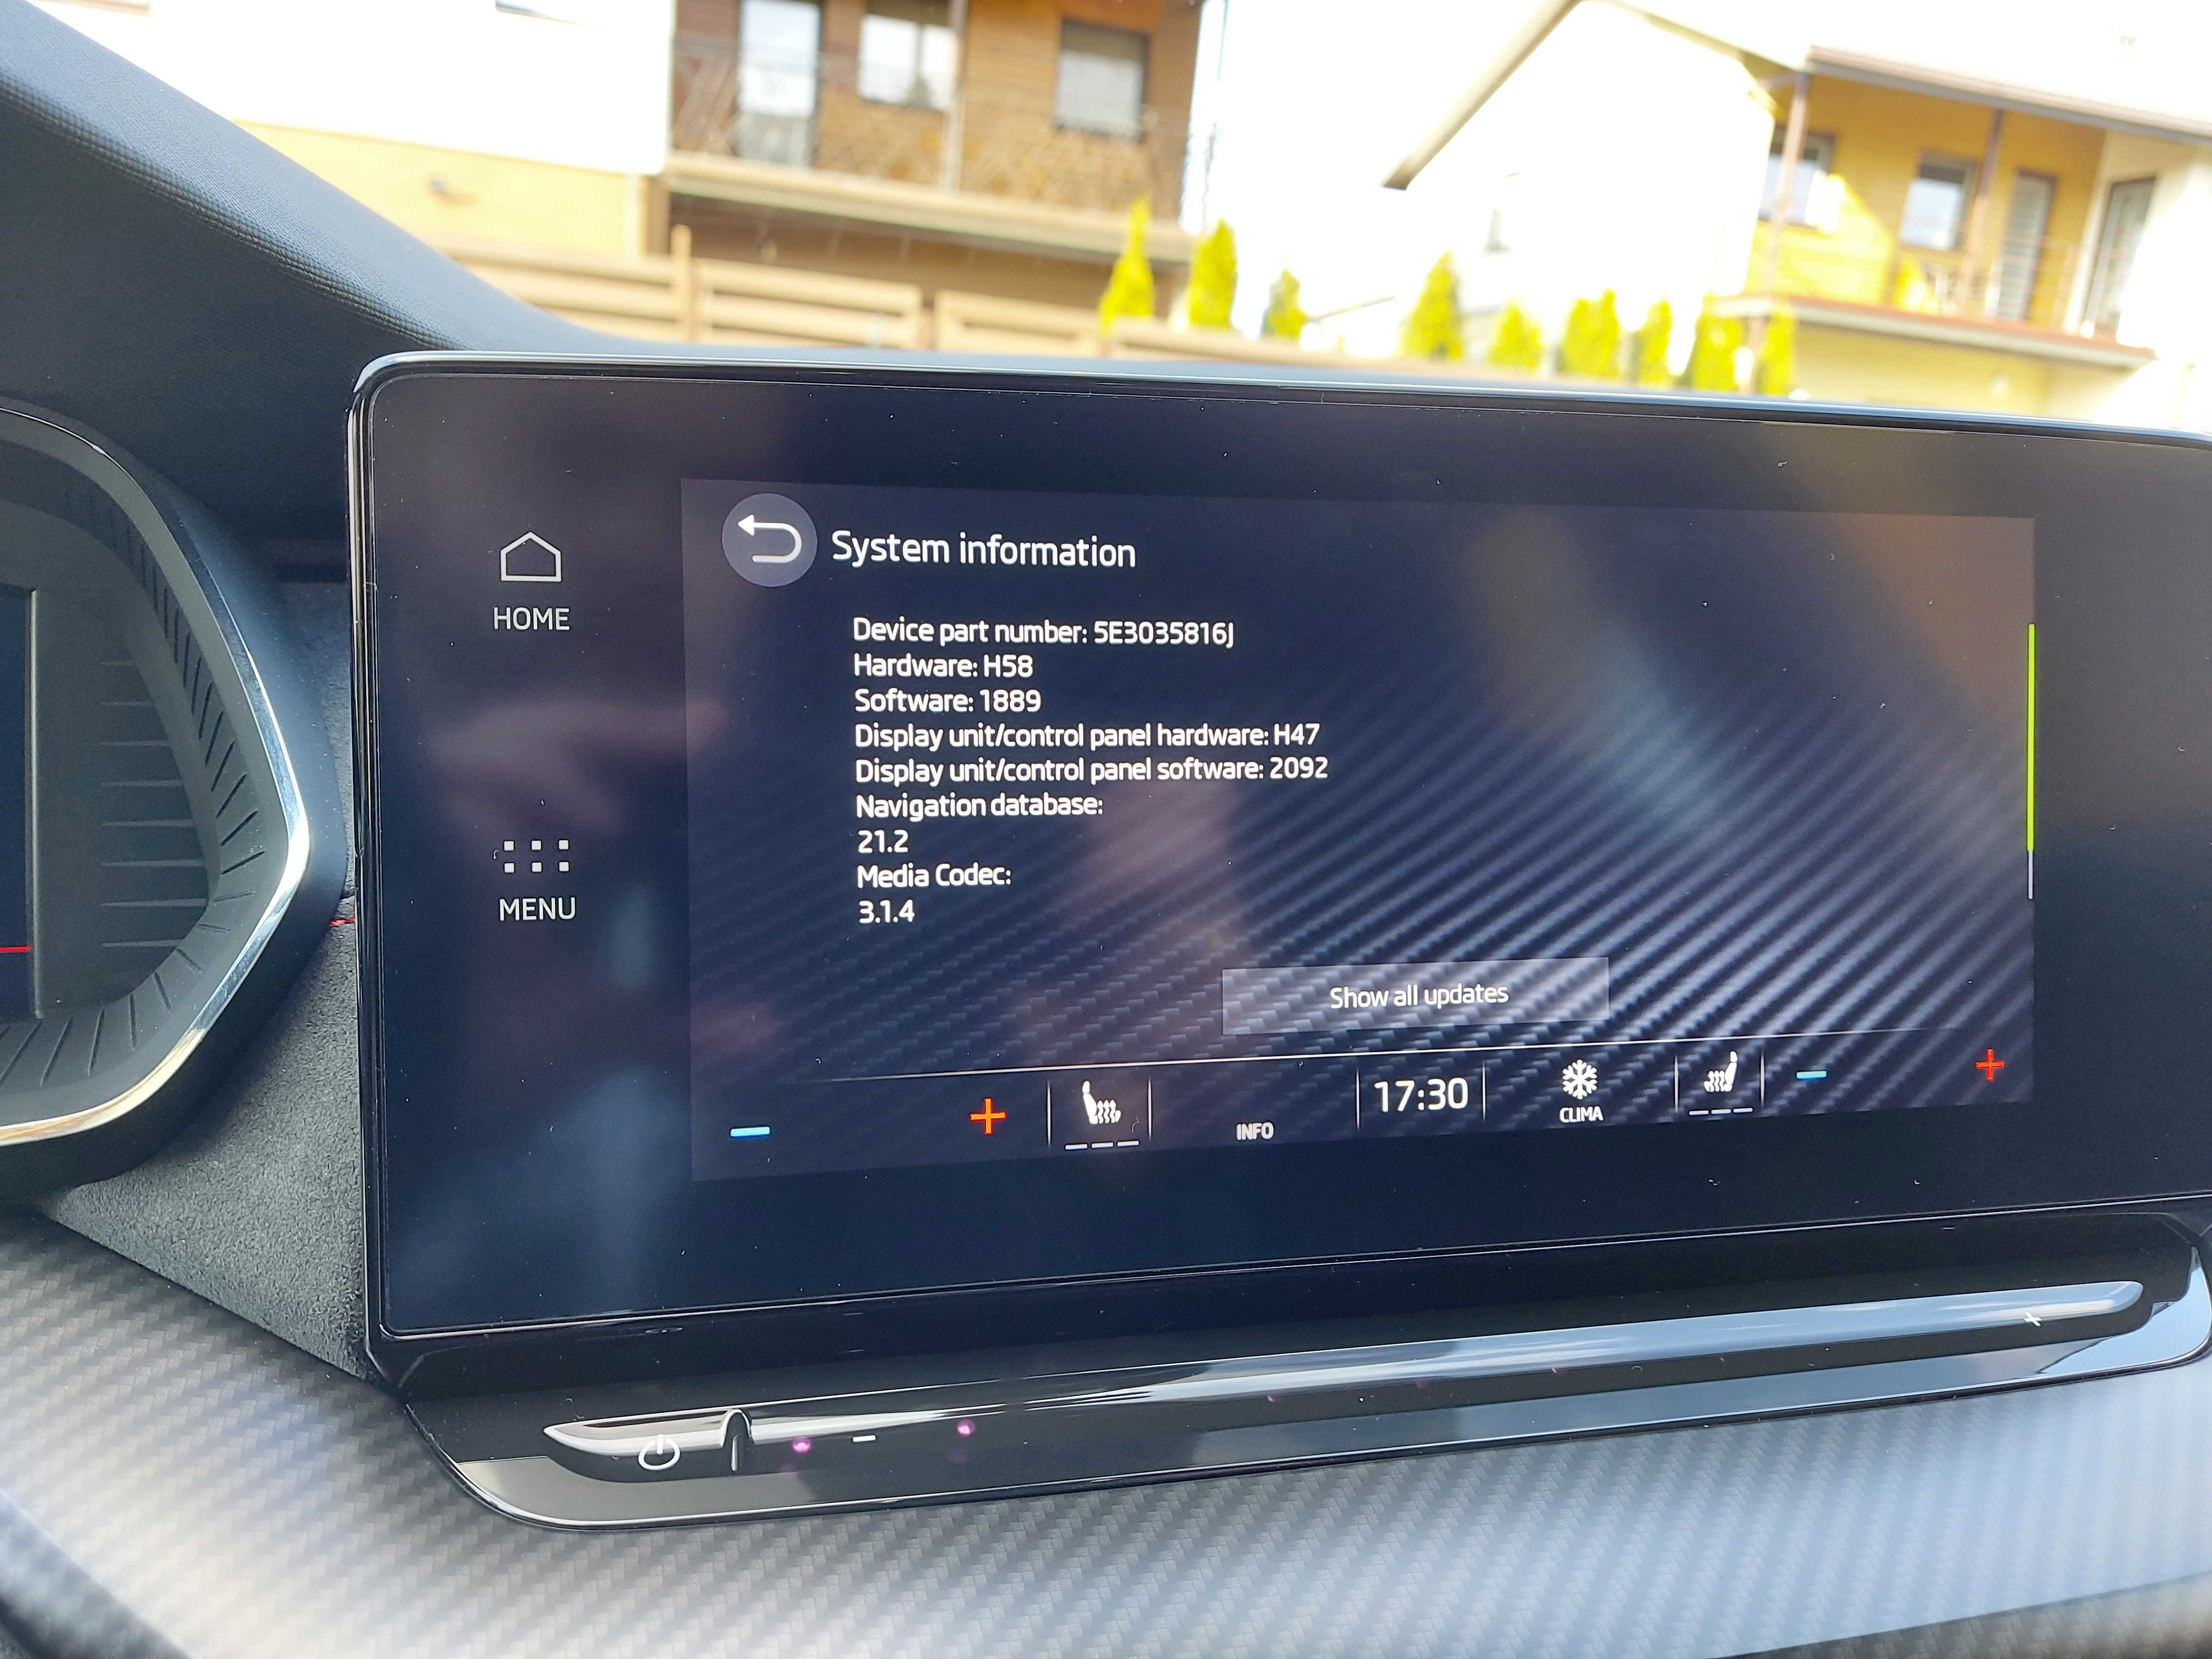
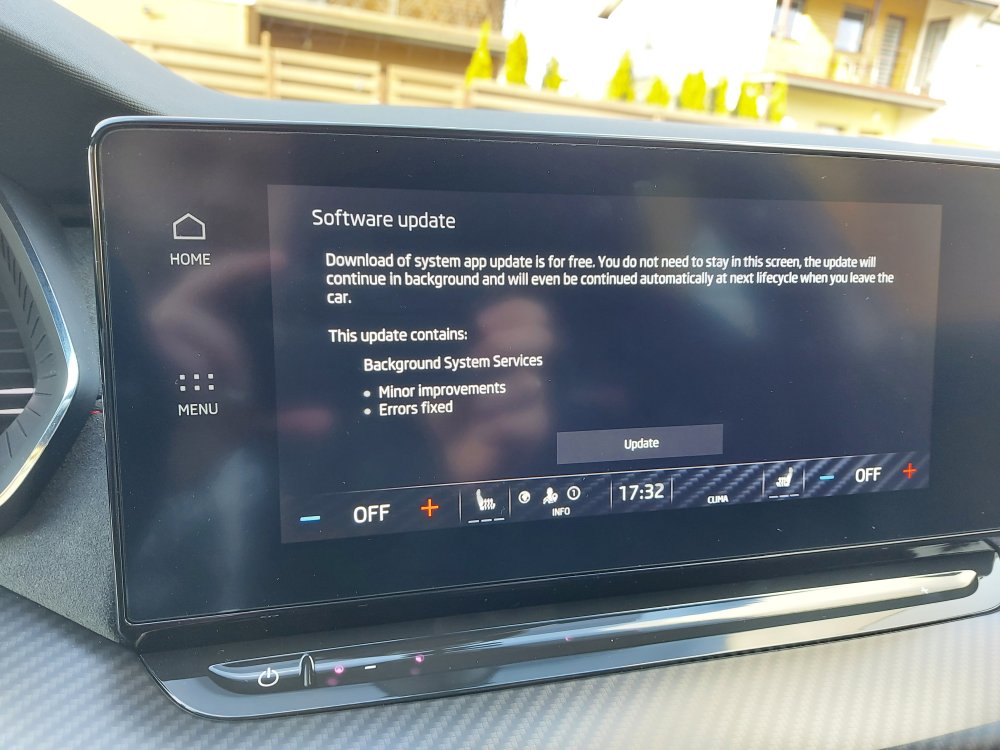
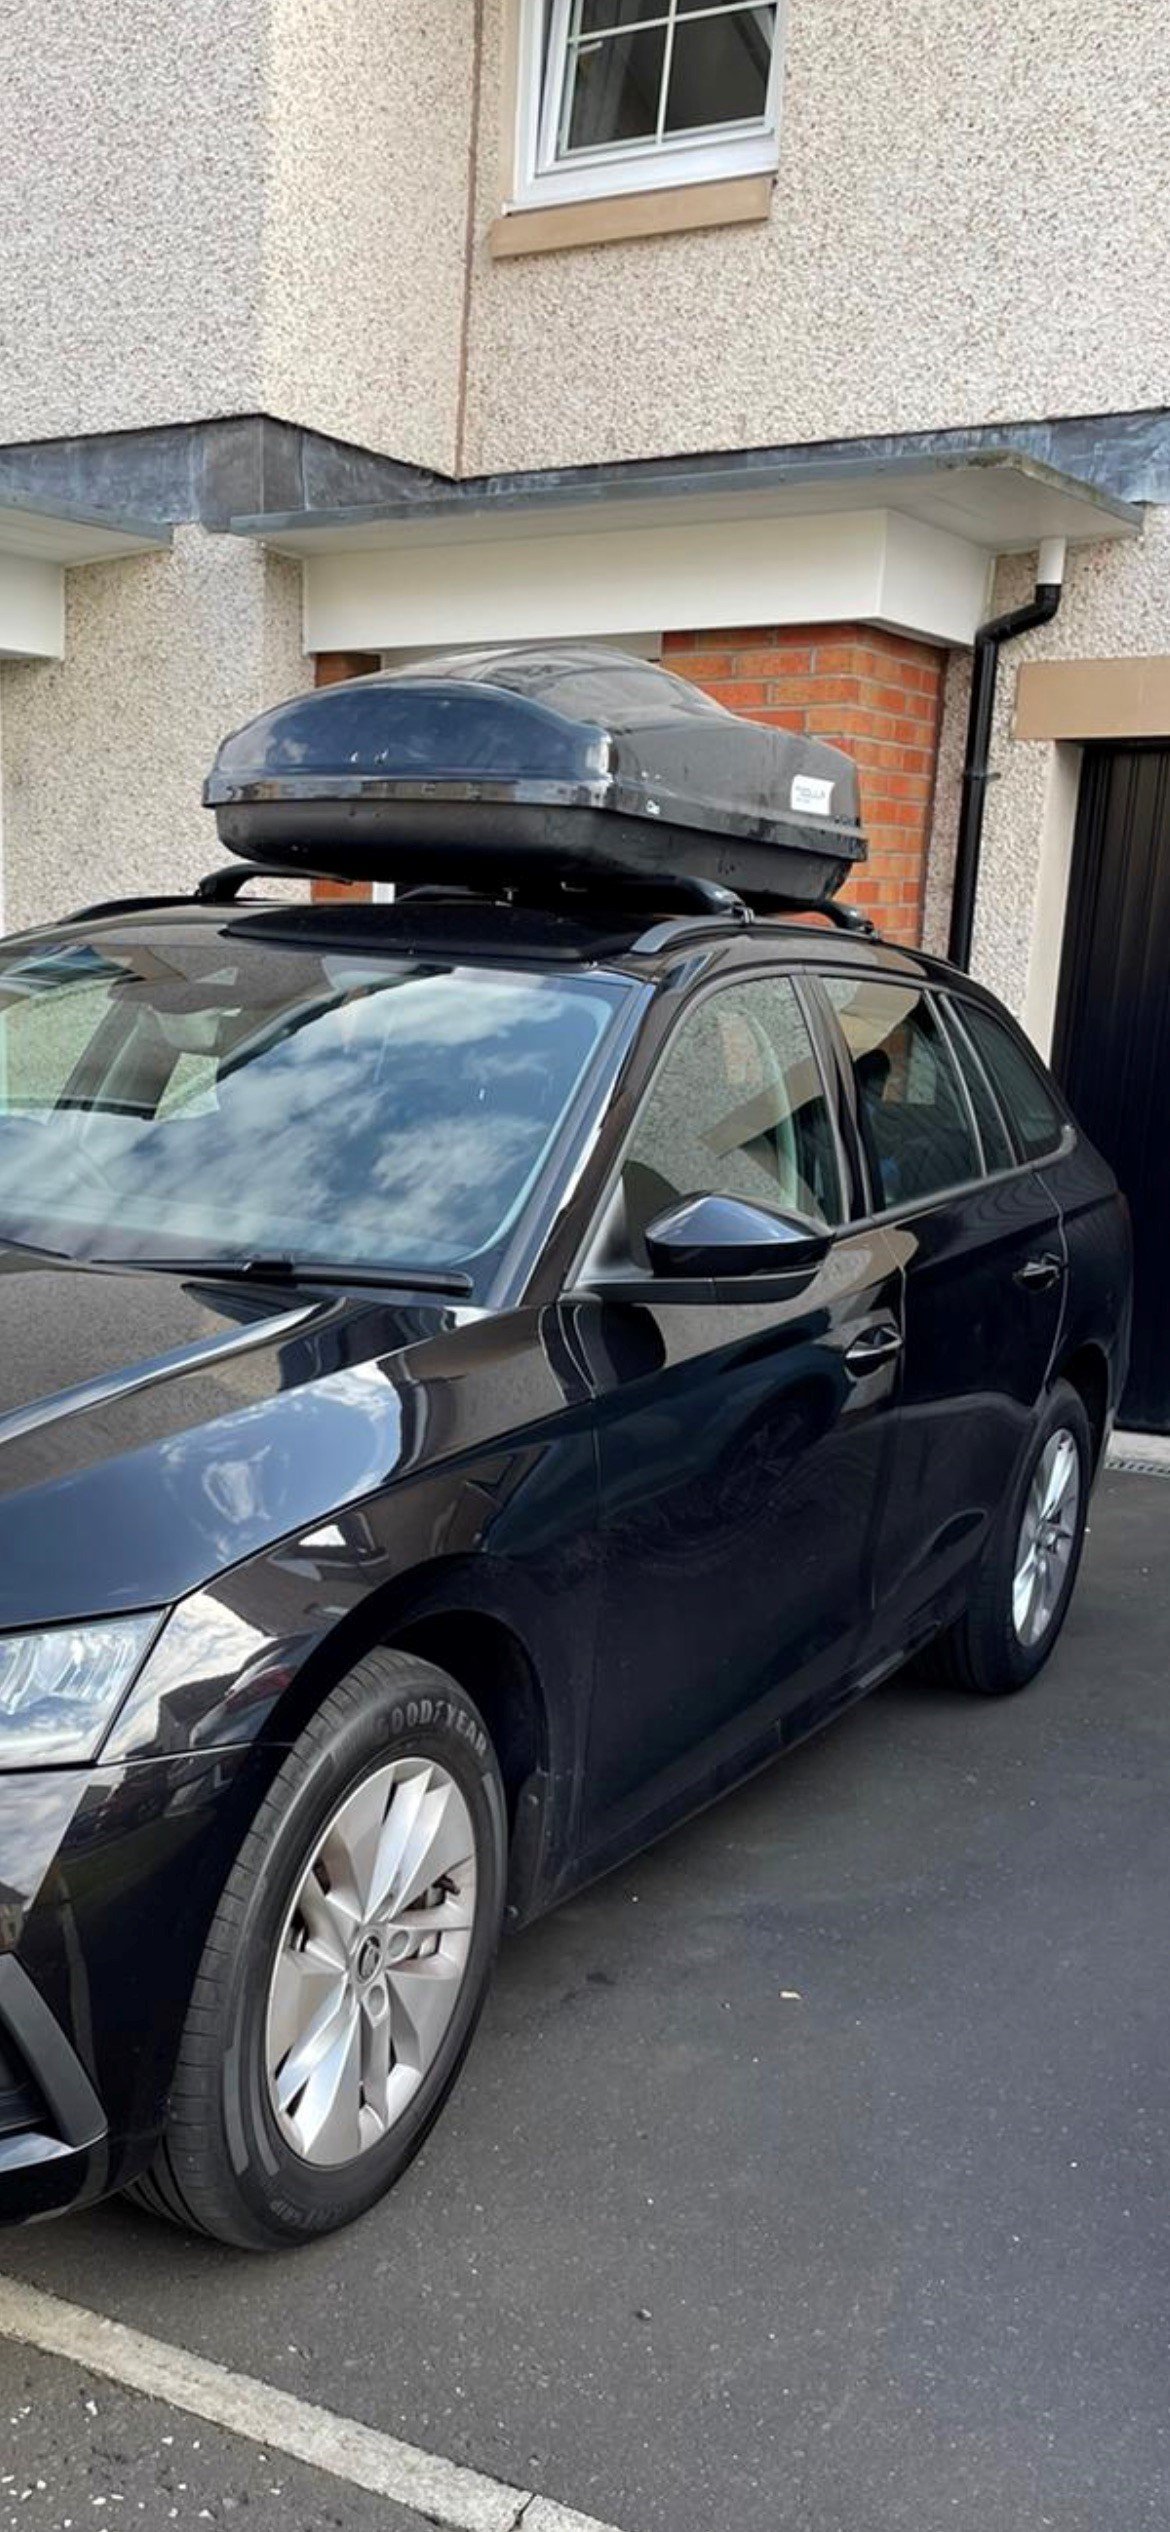
 2 pointsHi All, Below you will find a solution to the handle snapping off from the ski hatch (common Skoda bullpoop for Octavias and Superbs). Mine was quoted 280 GBP for repairs as my 2017 superb was out of warranty. Should take 20-60 mins depending on your DIY experience and . I will post my thought process after the solution to not bore you. Just please, after you have unlocked the ski hatch, instead of pulling on the handle with all your might, push on the arm rest instead to pull the lid away from the seats ! It's a Wonky DIY fix ! SOLUTION - Make your own piston (fixing on a spring): I engineered a piston to pop out into the hole on a spring , securing the handle. I had a bracket intact on the right side, so was just the case of pulling it out to hold the handle there (after lots of messing about) Tools (basic): I had all of my tools in my toolbox (too lazy to go find my cordless drill), scavanged resources as I went: Nail of approx 50-60mm length, strong nail with a small head. Screwdriver , 2 screws approx 50mm long, 1 narrow and 1 wider core (to match or be wider than the nail) OR a drill with a narrow drill bit to accomodate the nail Small (or any really) wallplug which will tightly fit the nail (stop) old or any ballpoint pen spring (worth the sacrifice) tool to cut the spring any tool or screw to pull an existing right fixing (if it is intact, otherwise figure a static fixing yourself) Steps: See video or text below 1. Pull the right handle fixing out of the ski hatch frame with a screwdriver or any other way (hook screw for me). * If you have that broken off, just assess the situation and think which side of the handle you want the spring piston to be attached to. create a static fixing like a screw on the opposite side 2. Drill or screw 3 holes through the left* side of the handle (if your right side is sorted). TRY to align the holes in parallel to the handle face, as I had mine at an angle. Had to mangle a massive hole in the ski hatch frame. 3. Take a spring out of a ballpoint pen and cut it to approx 2-3 cm length. Can always adjust later. 4. Place it on your nail and slide the nail through the holes to see if it pops out after you push it in 5. cut a wall plug with any tool to have approx a 1cm section which will tightly fit the screw 6, place the plug in the large section of the handle and hammer the nail through it to create a brake for the nail, so that it doesnt fly out of the handle (ski hatch has a hollow frame) 7. check if your nail pops out but stays within all 3 holes for stability 8. expand the left hole of the ski hatch with a screwdriver or other tools to fit the head of the nail when it pops out 9. place the handle back into the ski hatch, first matching the right side, then the top ridge, then push the nail into the handle to contract the spring, and finally push the whole handle in 10. check that the nail has popped into the expanded hole, and if it didnt, make the hole bigger 11. Test a couple times if it all works, and enjoy your ski hatch again ! ============== P.S. ======== Sorry if you don't like the track on the video You probably understand my though process now. I thought that it would be nice to have some sort of a springed fixing (piston?) to attach to the handle , then inspected the handle, found a ballpoint pen in my toolbox, thought about a spring , found a nail, spring fit, had an idea. Tried it, worked. You are all welcome! and hope it lasts ! Love my Superb, although disappointed with Skoda for classing this as a Wear and Tear damage on a 4 year old car 😞 GOOD LUCK !1 pointTell that to my partner who recently reversed the car into a gate because "I thought it would stop itself" 🙃1 point1 pointThanks ‘aerofurb’, now I know what it is a Google search explains all - well, sort of all…..!1 point1 pointI've got them out now heated them up problem now is new cables are now metal instead of plastic inserts and they are to tight so I will have to try and dremmel the holes tomorrow to make them a tad wider always something lol1 point1 pointI have already decided to wait a year or two to change the car. Which manufacturer gets my business will depend on who has stock, I am not going to join this factory order delivery lottery. I was much happier 25 years ago when you walked into a showroom and chose what they had, and they would register it and you picked it up 2 days later. Not pre-reg just a good price on brand new. There is lot of satisfaction about being able to see a sold sign put up as you agree a deal. So whoever wants my family’s business needs to get some stock that I can collect, and enjoy, not mythical unbuilt vehicles that will just cause frustration.1 point1 pointI wouldn't touch the 1.2 6V engine, they're prone to burning the valves out and it's an expensive fix. Keep looking, try and find a 1.4 if you can.1 point1 pointAs I only use roof bars a maximum of about 5/ 6 times per year, I didn't see the point in spending £100's on a set. picked these up for just under £85 Modula Black Roof Bars for Skoda Octavia Estate 2020 - 2022 | DriveDen accommodate my roof box perfectly and having never had a set of bars before and not being a particularly 'handy' type, I find these very easy to fit and remove, a genuine 5 min job. the Octavia will be going back in about 6 months time and I'll be getting a similar set for the Kodiaq (if it's ever built)
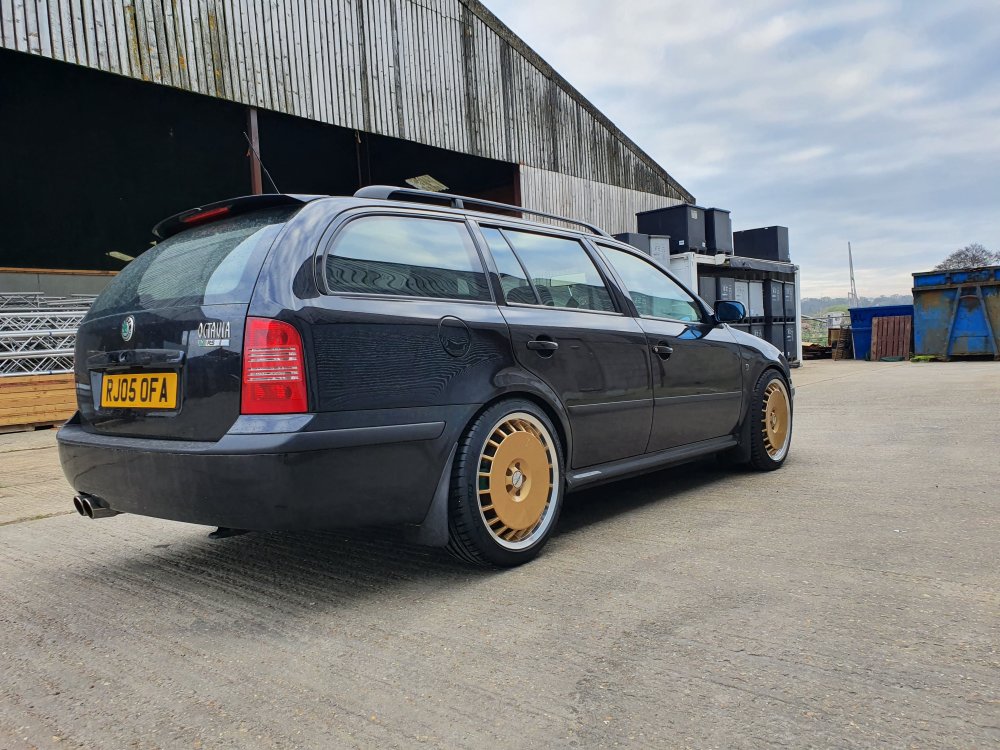
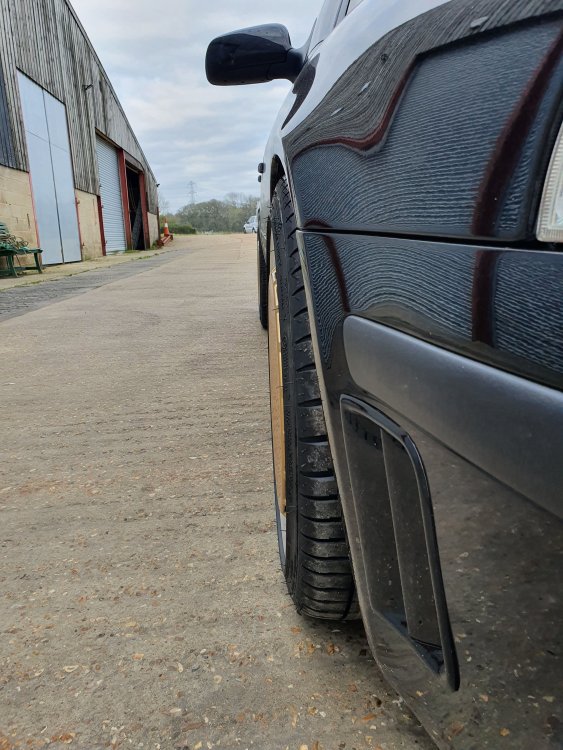
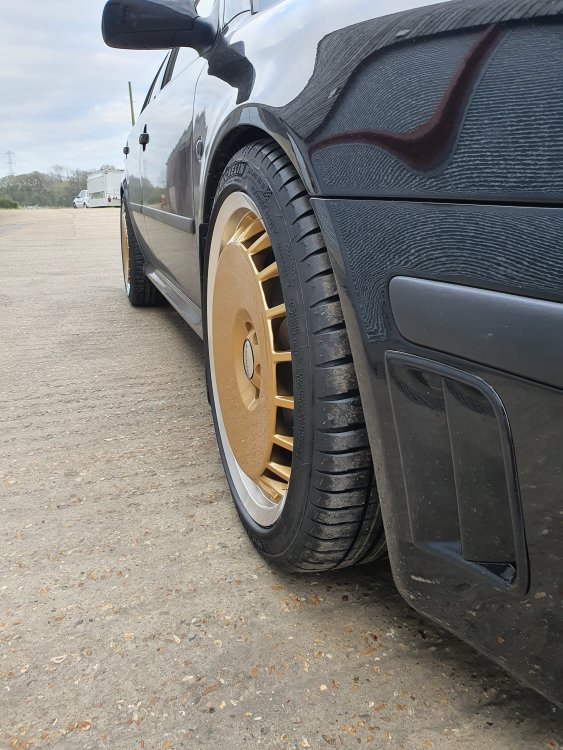
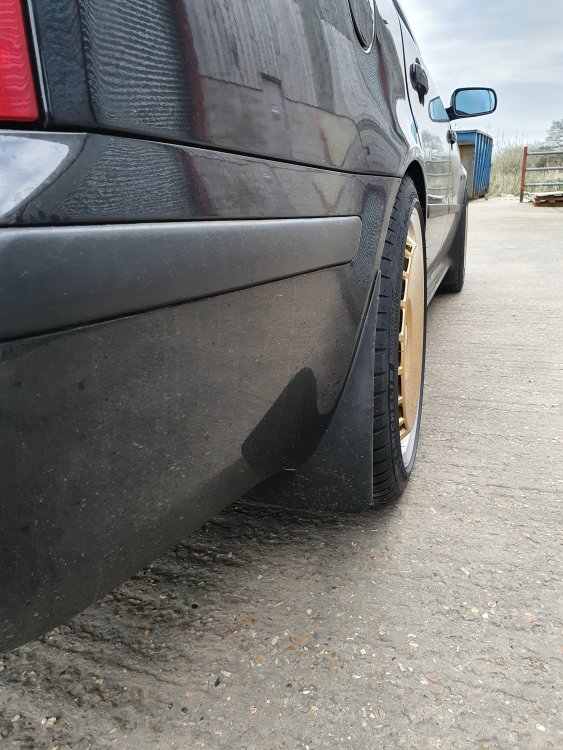
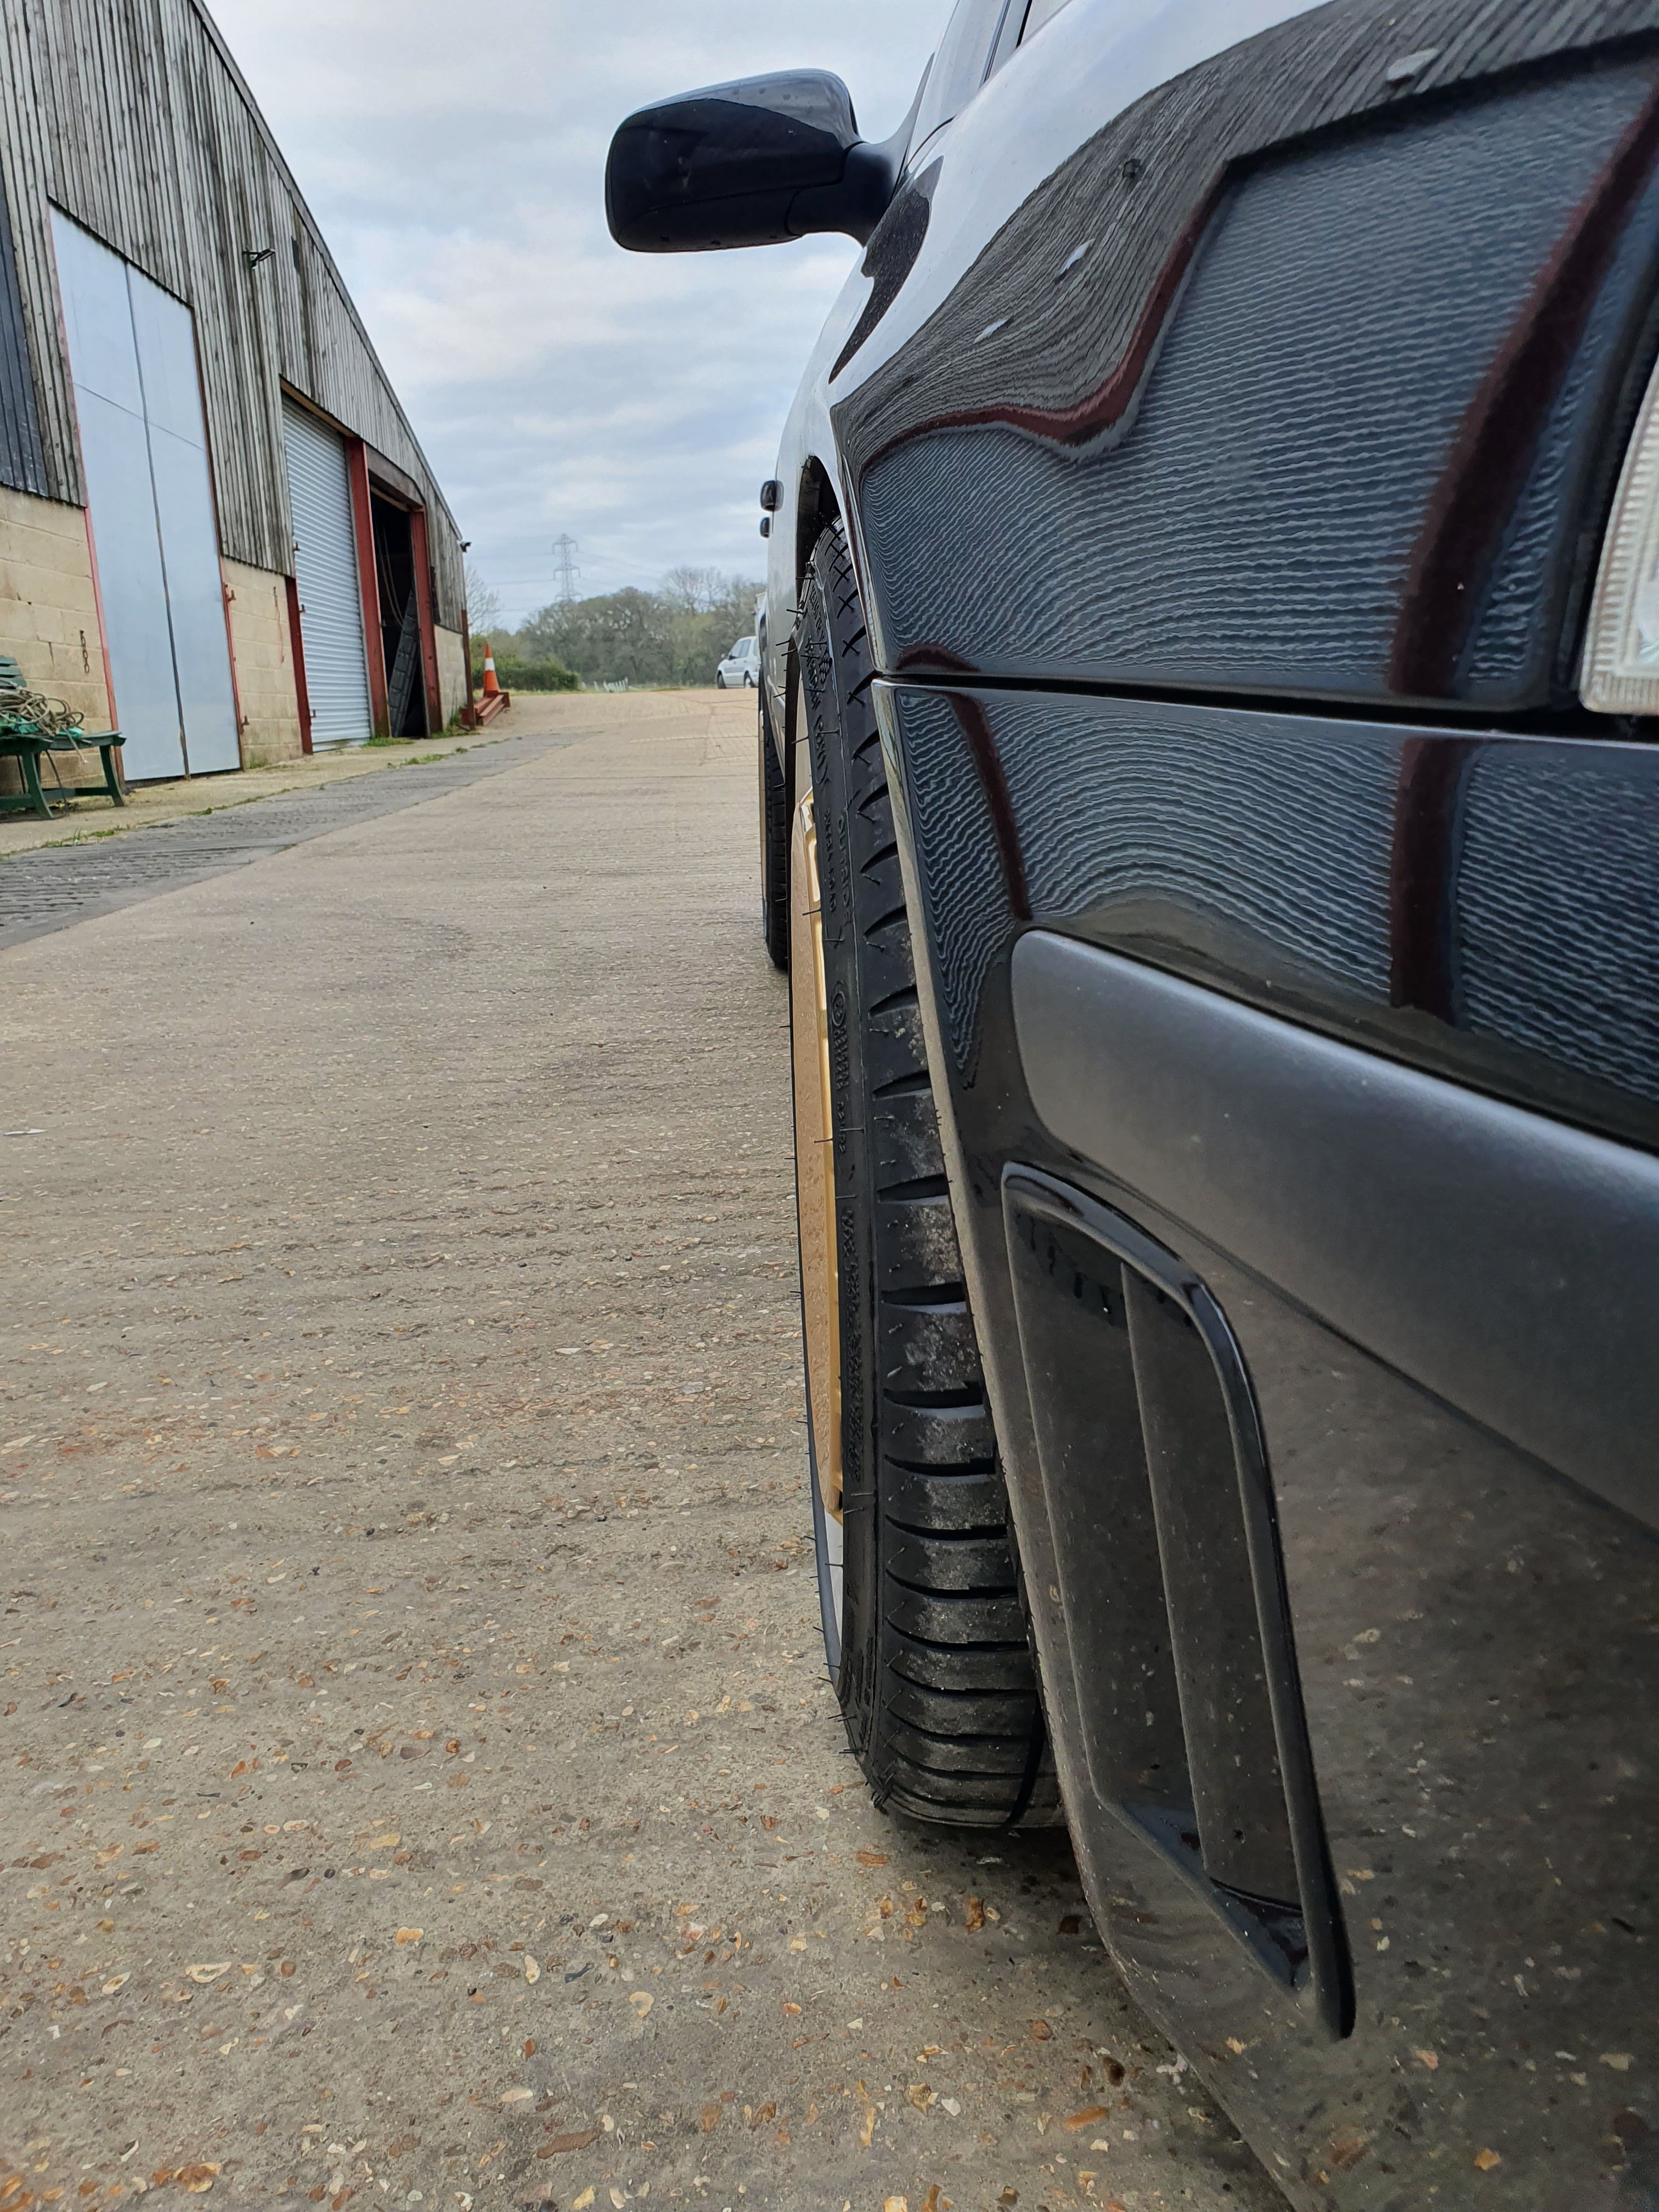
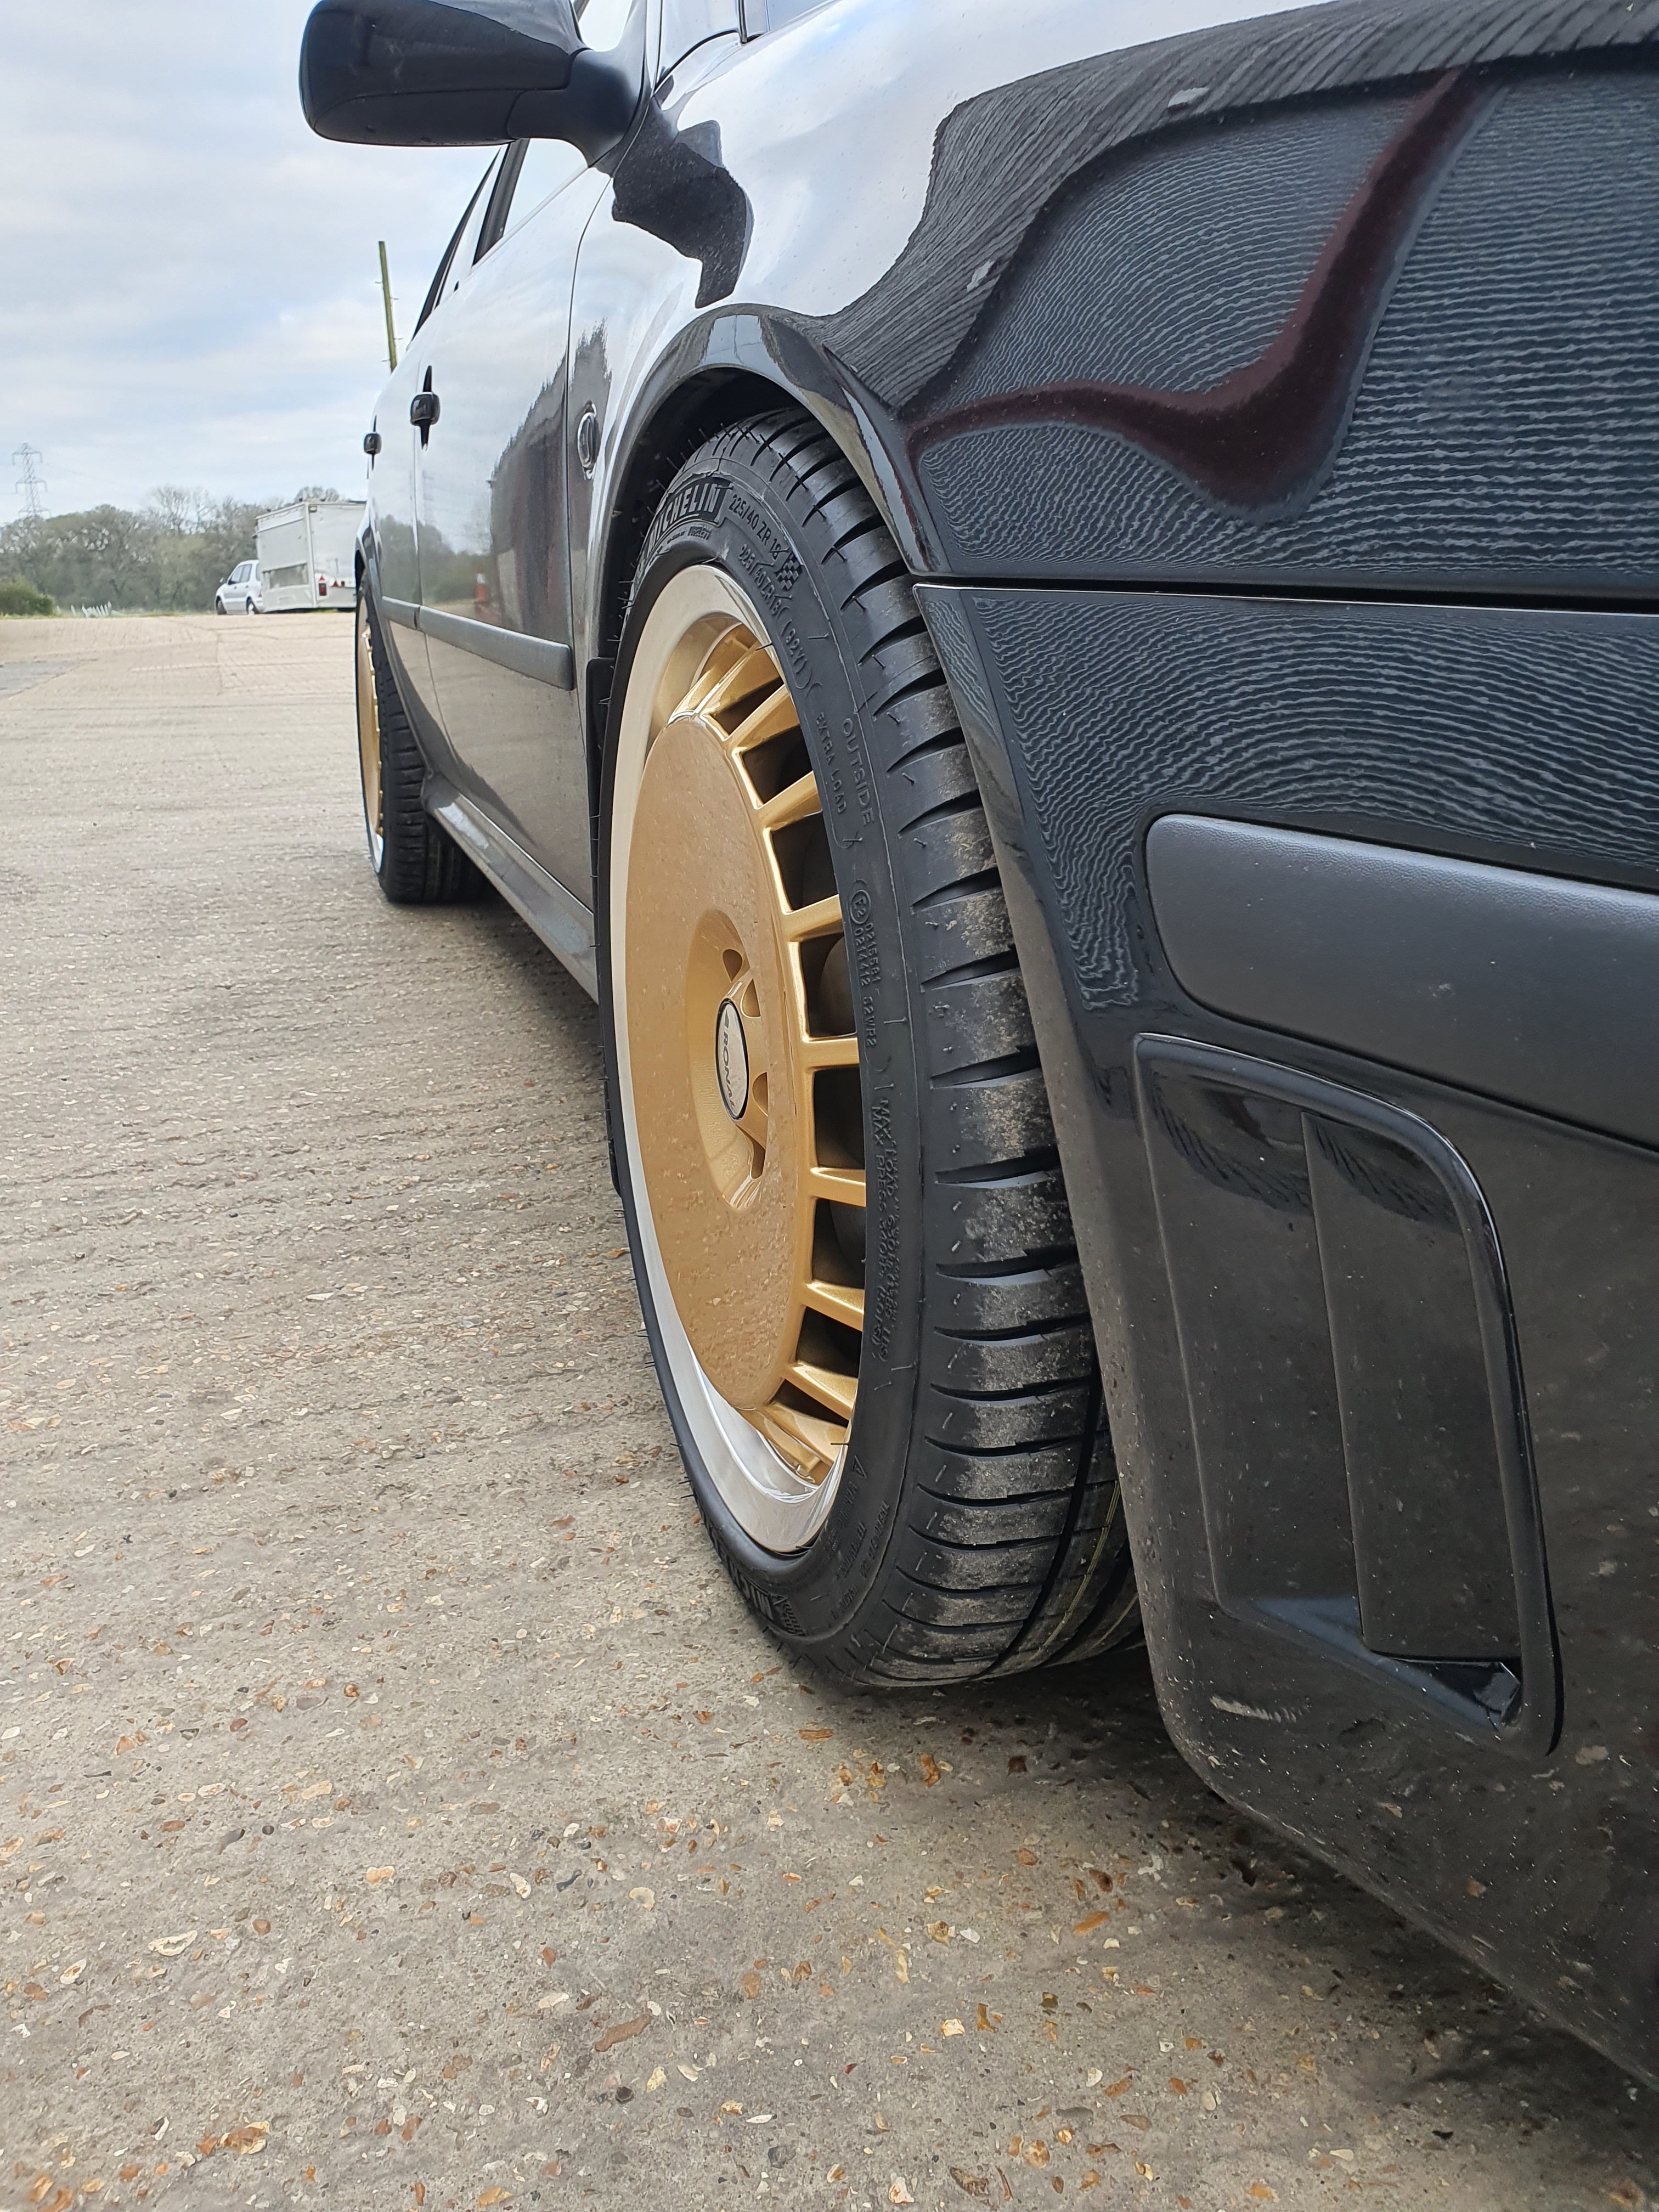
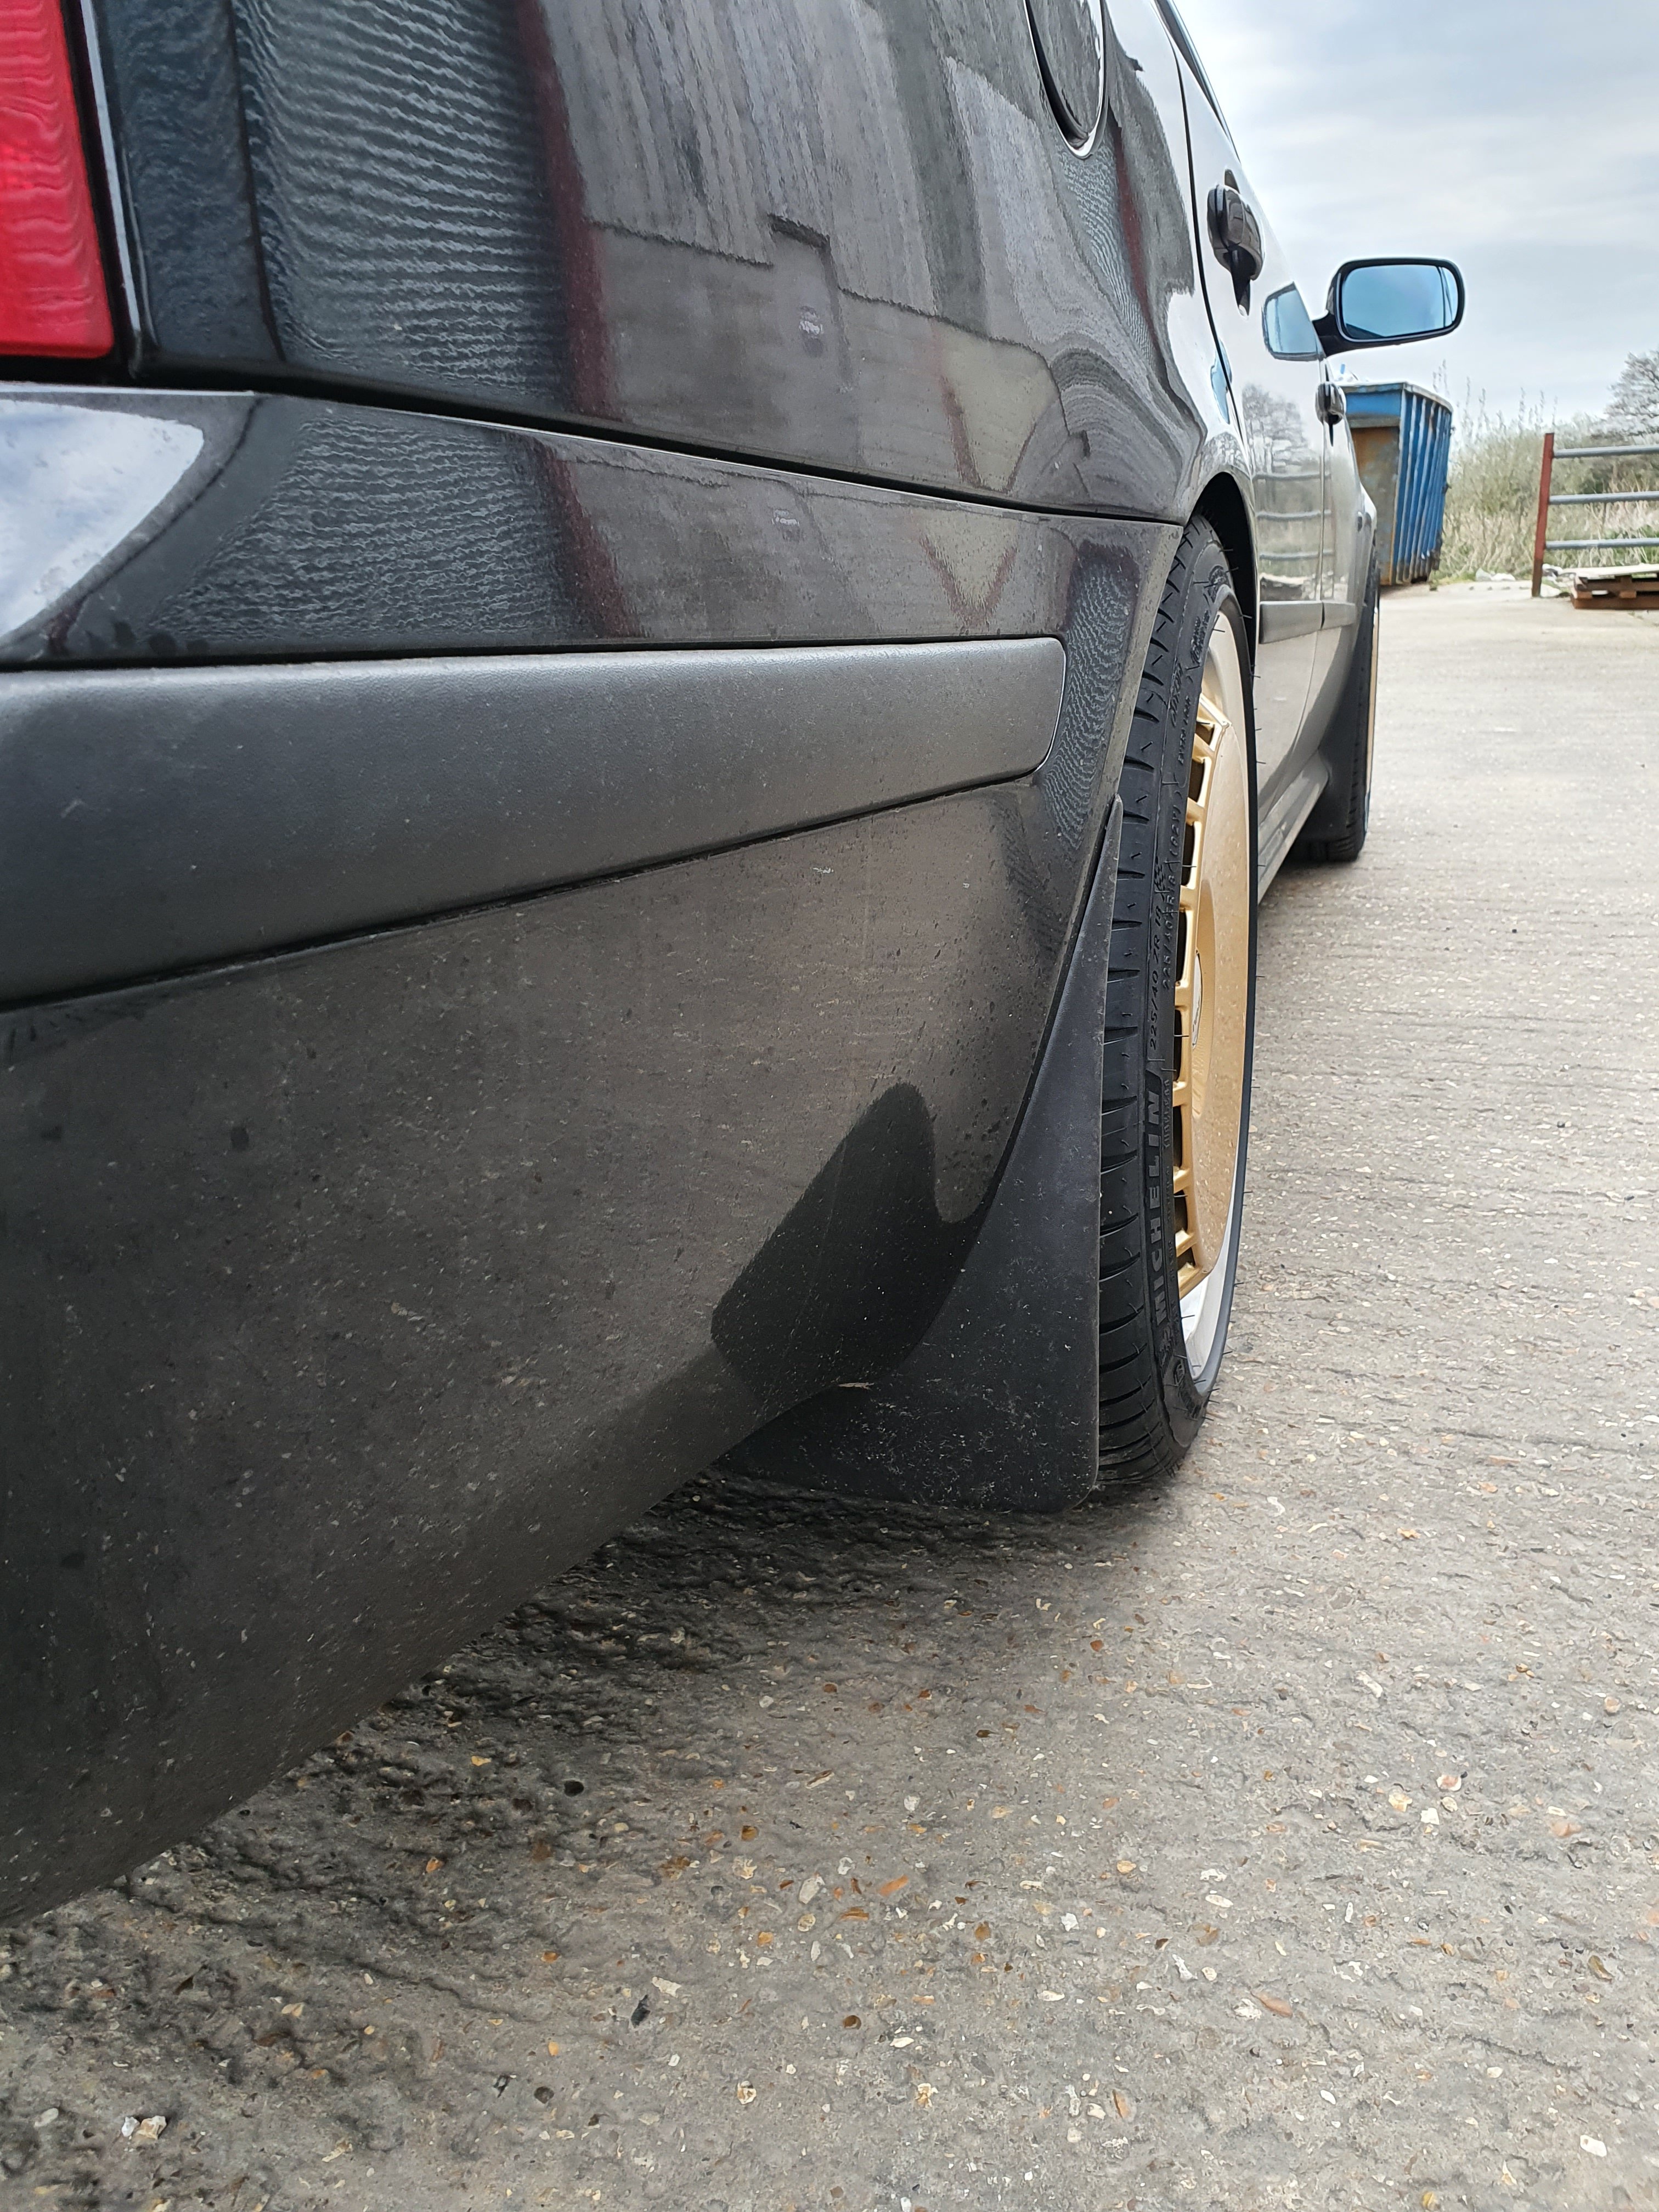
 1 point1 pointNow in the Mk2 section but I wonder if this is a continuation of your previous thread here? If you feel it's better to combine them then please let me know.1 point1 pointHardly the fault of the system but that of the owner that kept resetting it and not attending to the slow puncture. And before you say anything I would be just as tardy, perhaps less now that I have got my manual tyre changing rig in the same country as myself, I would not blame the system and I dont even rely on it (I check tyres visually each day and pressures weekly) other than to tell me if I have a tyre significantly deflating while I am driving.1 pointSpark plugs also irrelevant. After checking for mistakes with oil filter: Get the garage to fully warm up the engine, remove the oil pressure switch, fit a pressure gauge there and see what the pressure reads at a steady 2000rpm. Is it a CAXA engine? (code may be found. at start of engine number on V5c document, and on sticker in boot near spare wheel well). If it is, I think minimum pressure at that engine speed needs to be 2 bar. Changing oil type may help, but additives not recommended.1 point1 pointAs said this is the Mk3 forum, you would be better posting in the Mk2 forum.1 point@Raj143Welcome. ?? Did they really look everywhere, and actually check the most basic of things since an Oil & Filter change was done? **Has the OIl filter been changed or checked since last year when it was changed?** Did someone fitting the new filter then forget to remove a seal and then cause the Low Oil Pressure warning ? Needs checked to see if 'Operator error', and the person that did the service was the operator. http://briskoda.net/forums/topic/450278-oil-warning-light-intermitent1 point1 pointIn my situation I’m happy replacing a single tyre as they’re only a few hundred miles old. Normally I like to replace in axle pairs though.1 point1 pointI thought I'd just offer up an update to all this... It's been in to the garage today for an inspection and they've come up with a CV boot that's spilt and allowed dirt and debris in and the joint is clicking slightly on full lock on nearside and two front shocks need replacing. They also advised me to hang on to the car as there's not a great deal wrong with it so that will be my final decision at least for the time being. Thanks again everybody 😁1 point1 pointThey do not, in any case the difference in camber angle is minimal and happens every time the vehicle corners one strut extending the other compressing. From the initial photographs I was going to say that the tyre wear looks no different to how all of the front tyres have worn on all of my Skodas, losing a little bit of the radial tread pattern on the inside compared to the outside, never enough for the tyre to become illegal before getting down to the minimum tread depth, however the photograph of the two tyres side by side is compelling. Something is wrong but simply saying that the problem is clearly a result of the transport blocks being in place does not make it so, I join the others in asking how could you possibly have driven a new car like that for 16000 miles without realising that something was very amiss? As an aside the top bearings looked to be in good servicable condition but its good that they have replaced them, not sure if they have replaced the springs and struts but there would be no need to, they have not done any work yet 🤣1 pointYeah I get that. It’s not manufacturers. And as you say VED can change anyway. But the price you pay should be what is reflected somehow rather than a long build process leading to inadvertently tripping over the threshold due to price rises. As for your suggestion it’s a very good one. A perfect one in fact. Far too sensible for the current mob in charge but there we go…1 pointWhen you order a new car, it's not on the road ( it's OTF - on a form ). VED may have changed, there maybe a different way altogether of charging tax - tax is something completely out of the manufacturer's control. Incidentally, the luxury tax is based on the retail price, not the OTR price. Personally I think VED should work like income tax. You pay 20% income tax on a salary up to £50270, anything over is charged at 40%. So, everyone pay's £155 VED on cars up to £40k and then percentage of the list price over £40k. That way someone driving a £100k car pays more than someone driving a £41k car. Seems perfectly fair to me.1 pointI was planning on coming but I've just won a car on ebay and have been finalising the deal. Now have to book train tickets. I'll be back next month, hopefully with a new car.1 point1 pointIndeed as I have found out the hard way. The two I have personal experience of I conclude are only skilled at denying the undeniable. Imo they have such a lack of integrity that if they swallowed a nail they would excrete a corkscrew. Both swung between claiming they were and they weren't qualified as suited. At the 1st dealer I suspect it was only the After Sales Manager who inspected the car and couldn't find the blocks(?) and not a technician as I had previously been led to believe it would be1 point1 pointDidn’t get any time on my car over the weekend as was offered complementary box seats to watch Arsenal vs Brighton, which of course I couldn’t turn down Great day out but glad I didn’t have to pay the £540 per ticket for me and Zee to go watch, especially as I’m a Liverpool fan 😮 Anyway, the issue with the valve lifter has been resolved. Had a chat with the engine shop and explained my situation. The advise I was given was that as long as the lifter can be pressed down it was all good. Winner. So I cracked on with getting the head rebuild starting with re-oiling everything as I should really be using the assembly lube but as I’m reinstalling the original cam, lifters and springs I’ve been told I’ll get away with just oil. So I soaked it all! The cam-caps were reinstall with new bolts, torqued to 12nm + 270 degrees. Obviously, you can’t just chuck them on in any old fashion and simply torque them down as you could bend the cam. So, I started with the outer caps first, tightening as far as I could with my fingers, then onto the middle two. Although the bolts felt tight, the caps were miles away from the final seated position, so grabbed a 3/8 ratchet and the #10 multi-spline socket. As I screwed in the bolt I could feel when there was resistance and moved on to the next bolt. I Kept doing this until the caps were just about flush with the head, then swapped to a torque wrench. The fancy torque wrench I have access to has a degree function, which made life much easier. Before I put on the cam rockers, I grabbed a spanner to make sure that I had put it all together correctly and that everything spins and moves as it should, which of course it did Next up was to put back on the cam rockers, which like everything else was put back in the same position it was taken from during the strip down. The big bolts weren’t stated as needing to be replaced, so reused the old ones. The were torqued down to just 10nm. Again, have the cam sprocket a few turns to make sure everything is still a-ok. As the injectors have been removed I need to adjust the injector lash. Nice and simple job, but I could only have a little practice using my eye as I couldn’t get my hands on a DTI gauge at this point. I reattached the three black brackets, along with the tandem pump bolts just as a exercise to try and reduce the pile of nuts and bolts I still have left Cambelt & waterpump kit was bought today, along with a new auxiliary belt ready for Friday when the install starts. We’ve only got 4 cars booked in for tomorrow, so I’m hoping I’ll get a good start on the strip down tomorrow afternoon. The plan is to get everything ready and stripped off my car tomorrow afternoon / evening so that Friday morning I can walk straight in with literally the first job being to take the cylinder head currently on my car off. Once it’s all off I should have a much better idea as to where exactly oil is leaking from and get a parts list together, if necessary, as the local motor factor is open on good Friday I’ll also clean up the oily mess whilst everything is out of the way, including the battery and tray etc. That’ll give me Friday to reinstall everything and work through any problems …..1 point1 pointI ordered some new wheels for road use... I will keep the 17' spiders and fit them with some sticky rubber getting ready for a track day which I have booked in July. I will be honest although I really wanted a bold wheel, when these arrived I was worried I'd made a huge mistake! However once fitted they look so much better on the car! Currently with 8mm spacers on the front as thats all I had to hand as the tyre was fouling on the spring adjuster. As for the rear they fitted without issue but definitely could do with a spacing out. What does everyone think so far? Thoughts and opinions are welcome!
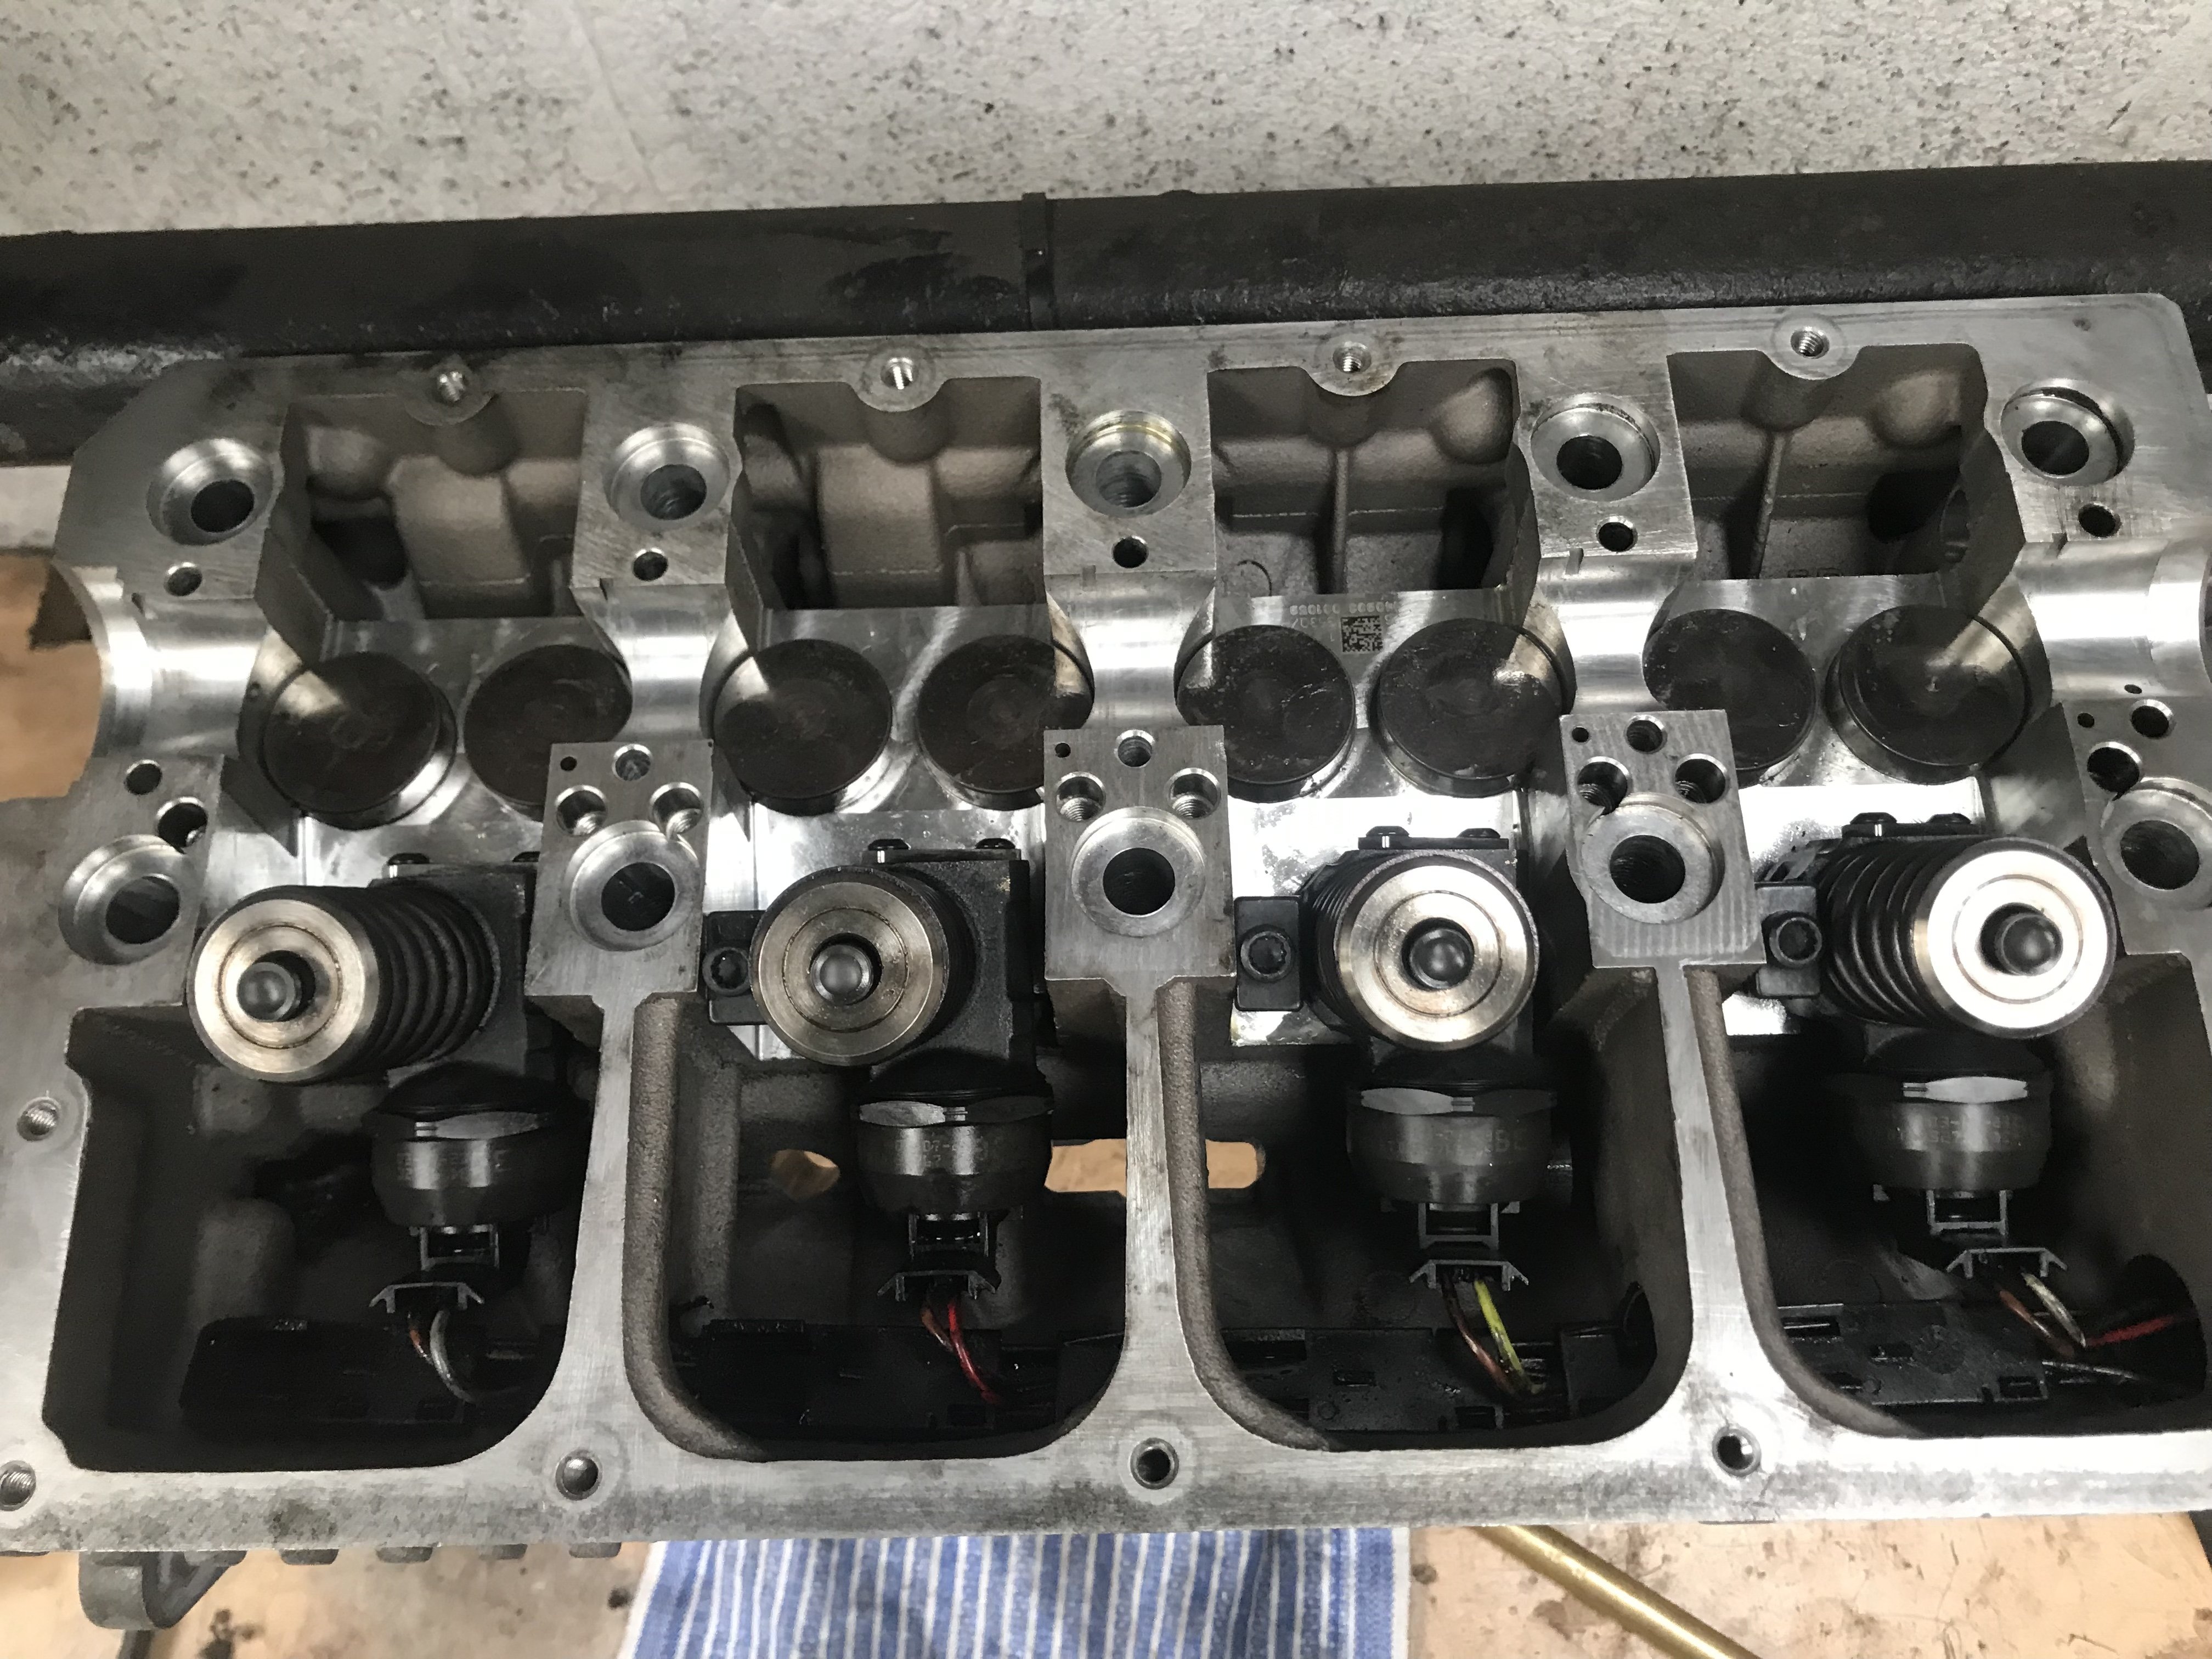


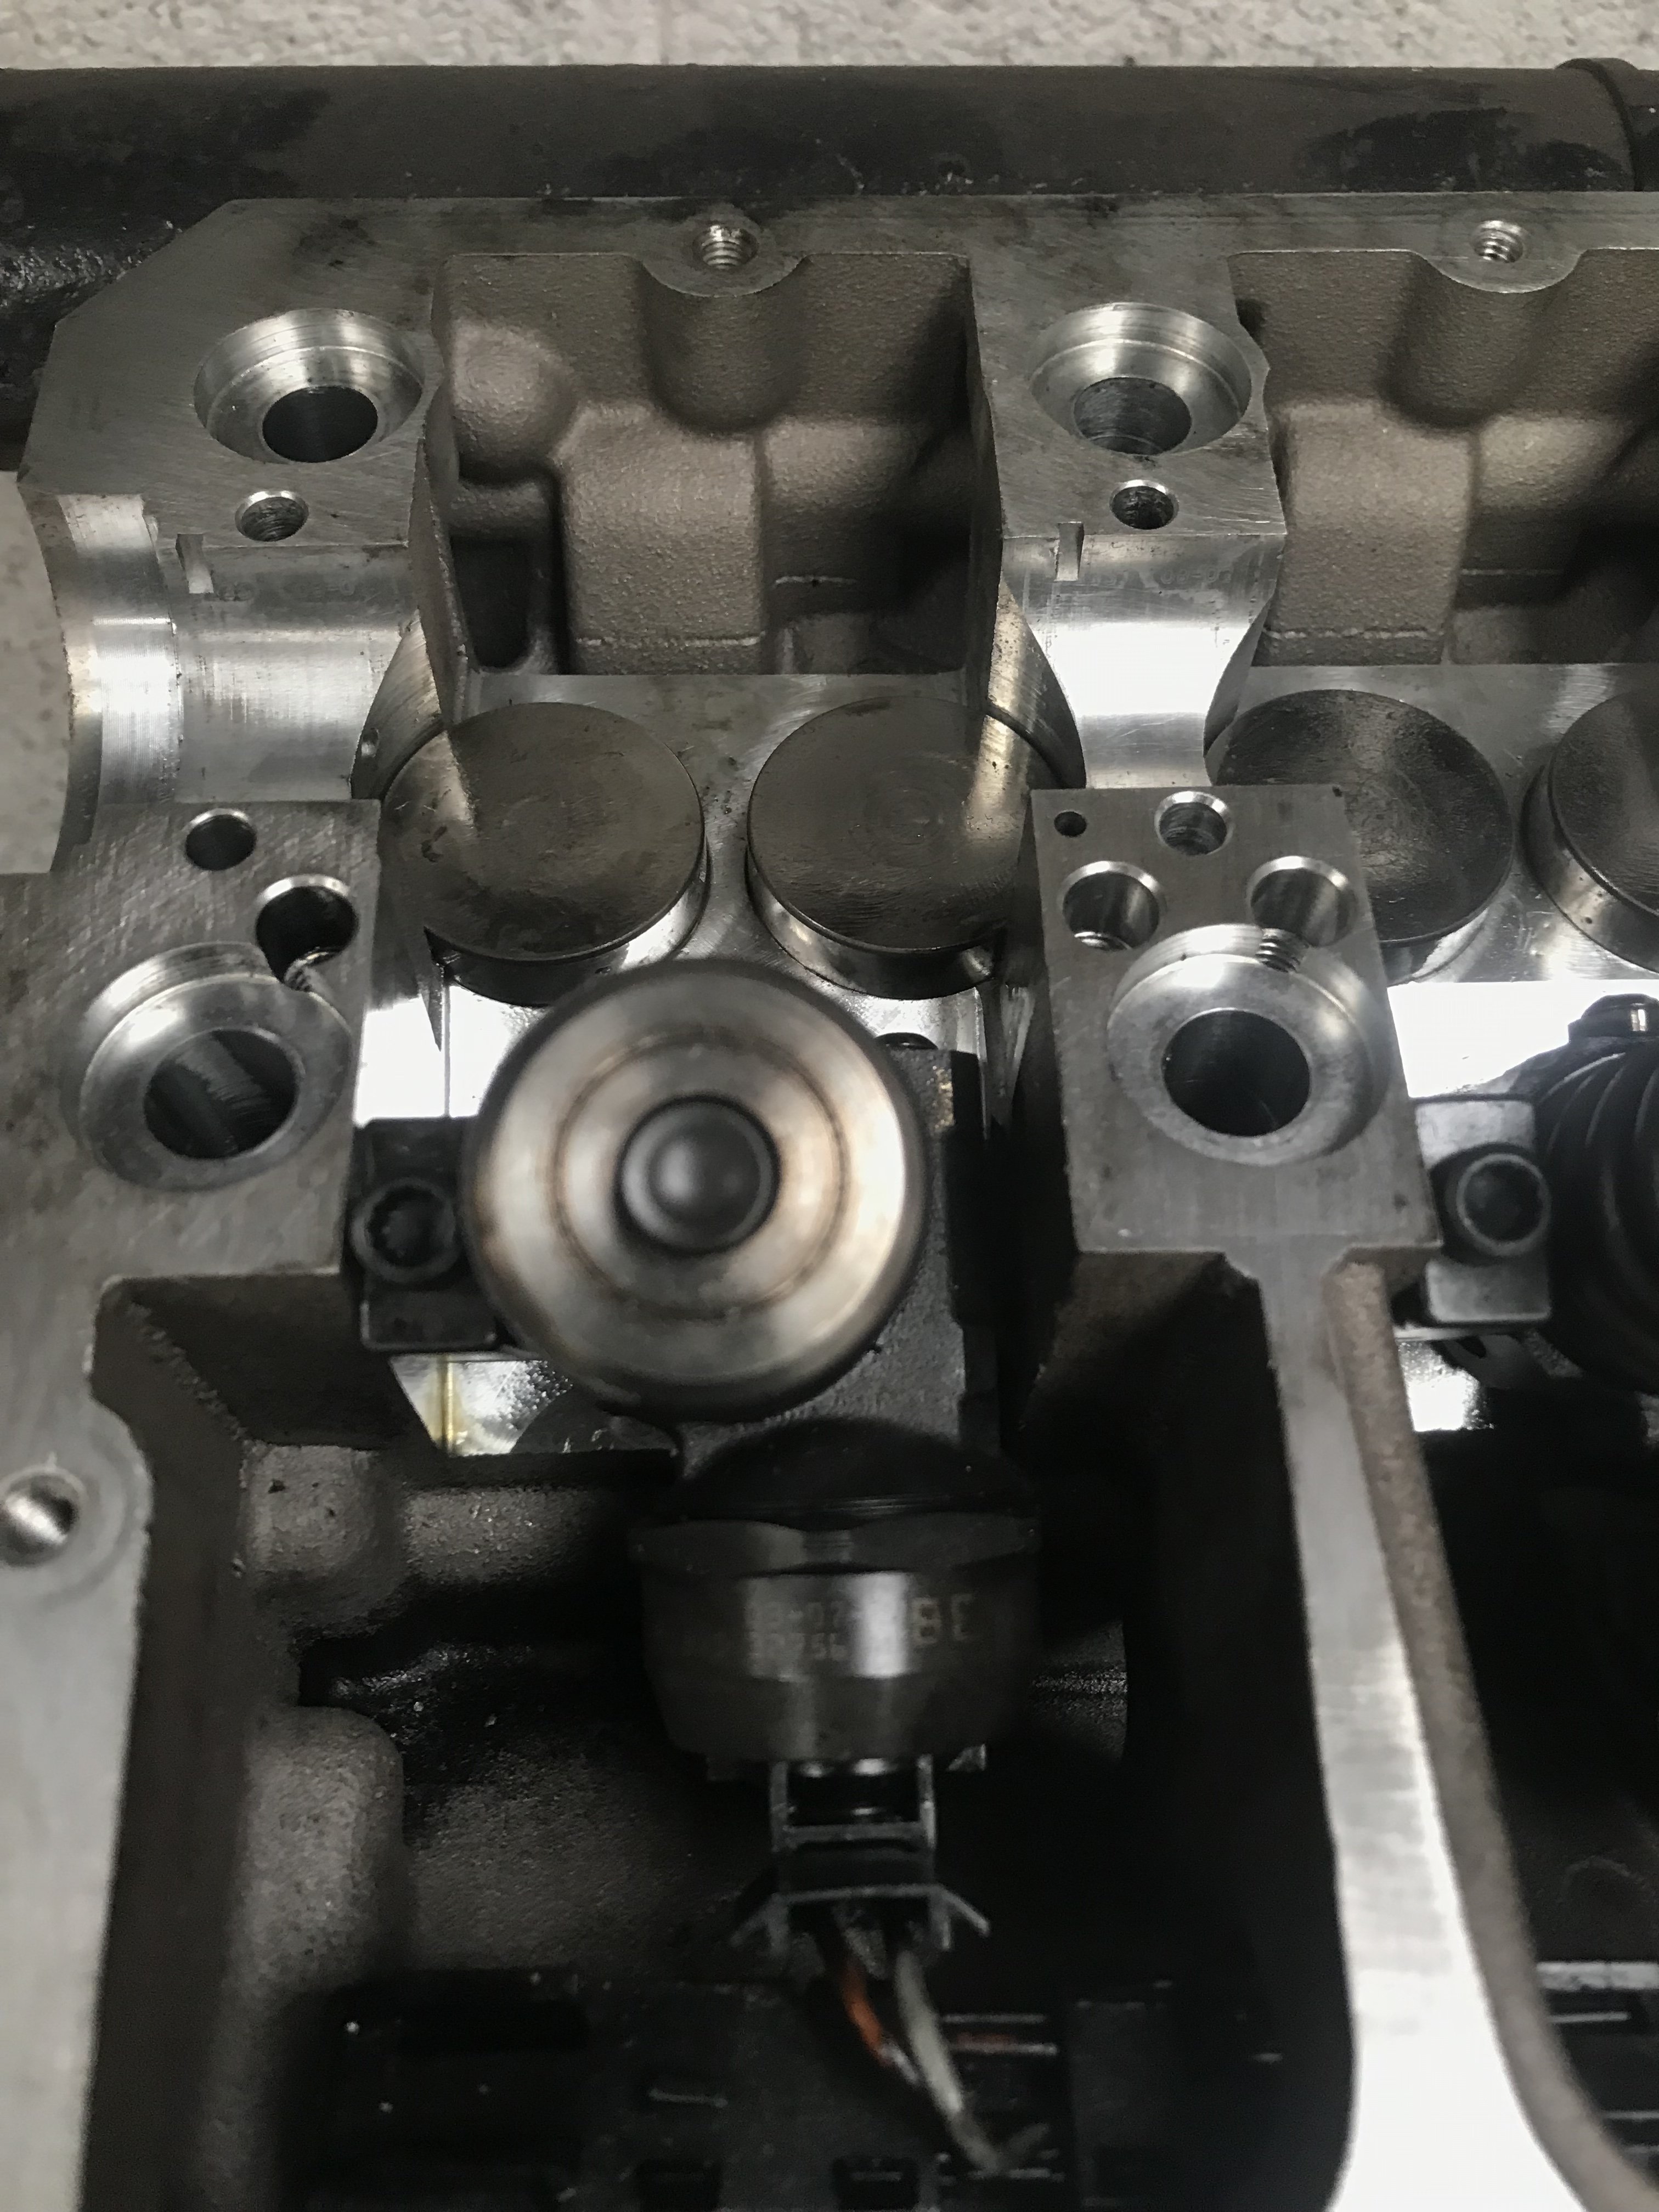
 1 point1 pointModified the gateway dataset, driving mode and gearbox mode are not resetting now to Normal after ignition is switched off 😉 Done based on: https://github.com/jilleb/MQB-FPA1 pointWell, I guess that's good news - at least the problem has been identified and is fixable. Annoying that it requires you to spend more money though. Either device will be fine for this small amount of coding. For VCDS, you will want the HEX V2, 3 VIN model (unless you want to work on more cars than that). For OBDEleven, buy the next-gen device on it's own, then buy the pro subscription add on (it's not VIN limited). OBDeleven should work out at about half the cost of VCDS, albeit with an ongoing annual subscription. Both are good devices, with some differences between them. I find VCDS faster to use, but the flip side of that is that you have to use it with a laptop, whereas you just need a phone for OBDeleven. Get whichever one works out cheaper for you, especially if you don't have lots of other coding or retrofitting that you want to do. It might also be worthwhile seeing if there is anyone else within travelling distance who already owns one of these devices and would be willing to do the coding for beer money.1 pointDoes the water temp gauge indicate 90c when it's been running for a while ? if it does then the CTS is doing it's job correctly, as in that bit you have posted, check the live data with a stone cold engine and see if it's at or around ambient temp if it's reading silly low or high then it will affect the engine at start up as the ECU will think the engine is really cold or hot and adjust the fuelling schedule to suit1 point1 pointManaged to grab half hour or so on my head after work this evening. Didn’t get a huge amount done, but not trying to rush this. Injectors plugged in, before I forget 😛 Lifters were oiled, then fitted and injector clamp bolts torqued down to 12nm + 270 degrees. Thankfully, I have the used of a very flash and expensive Snap-on torque wrench that makes the last part of tightening very easy Hopefully, I’ll get some more done tomorrow.
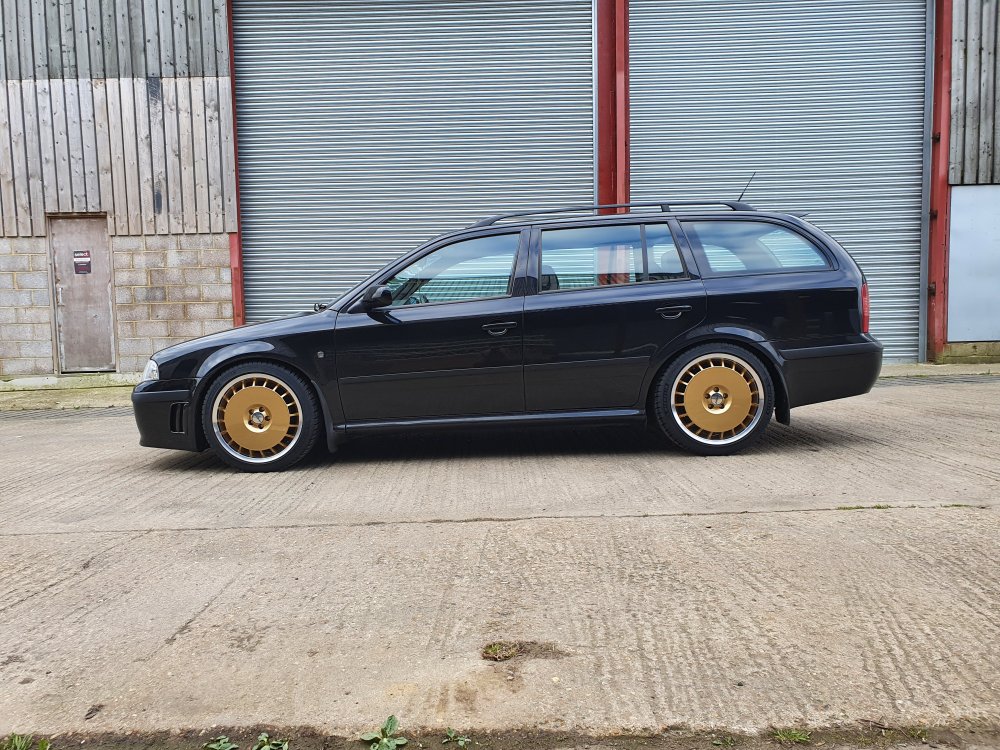
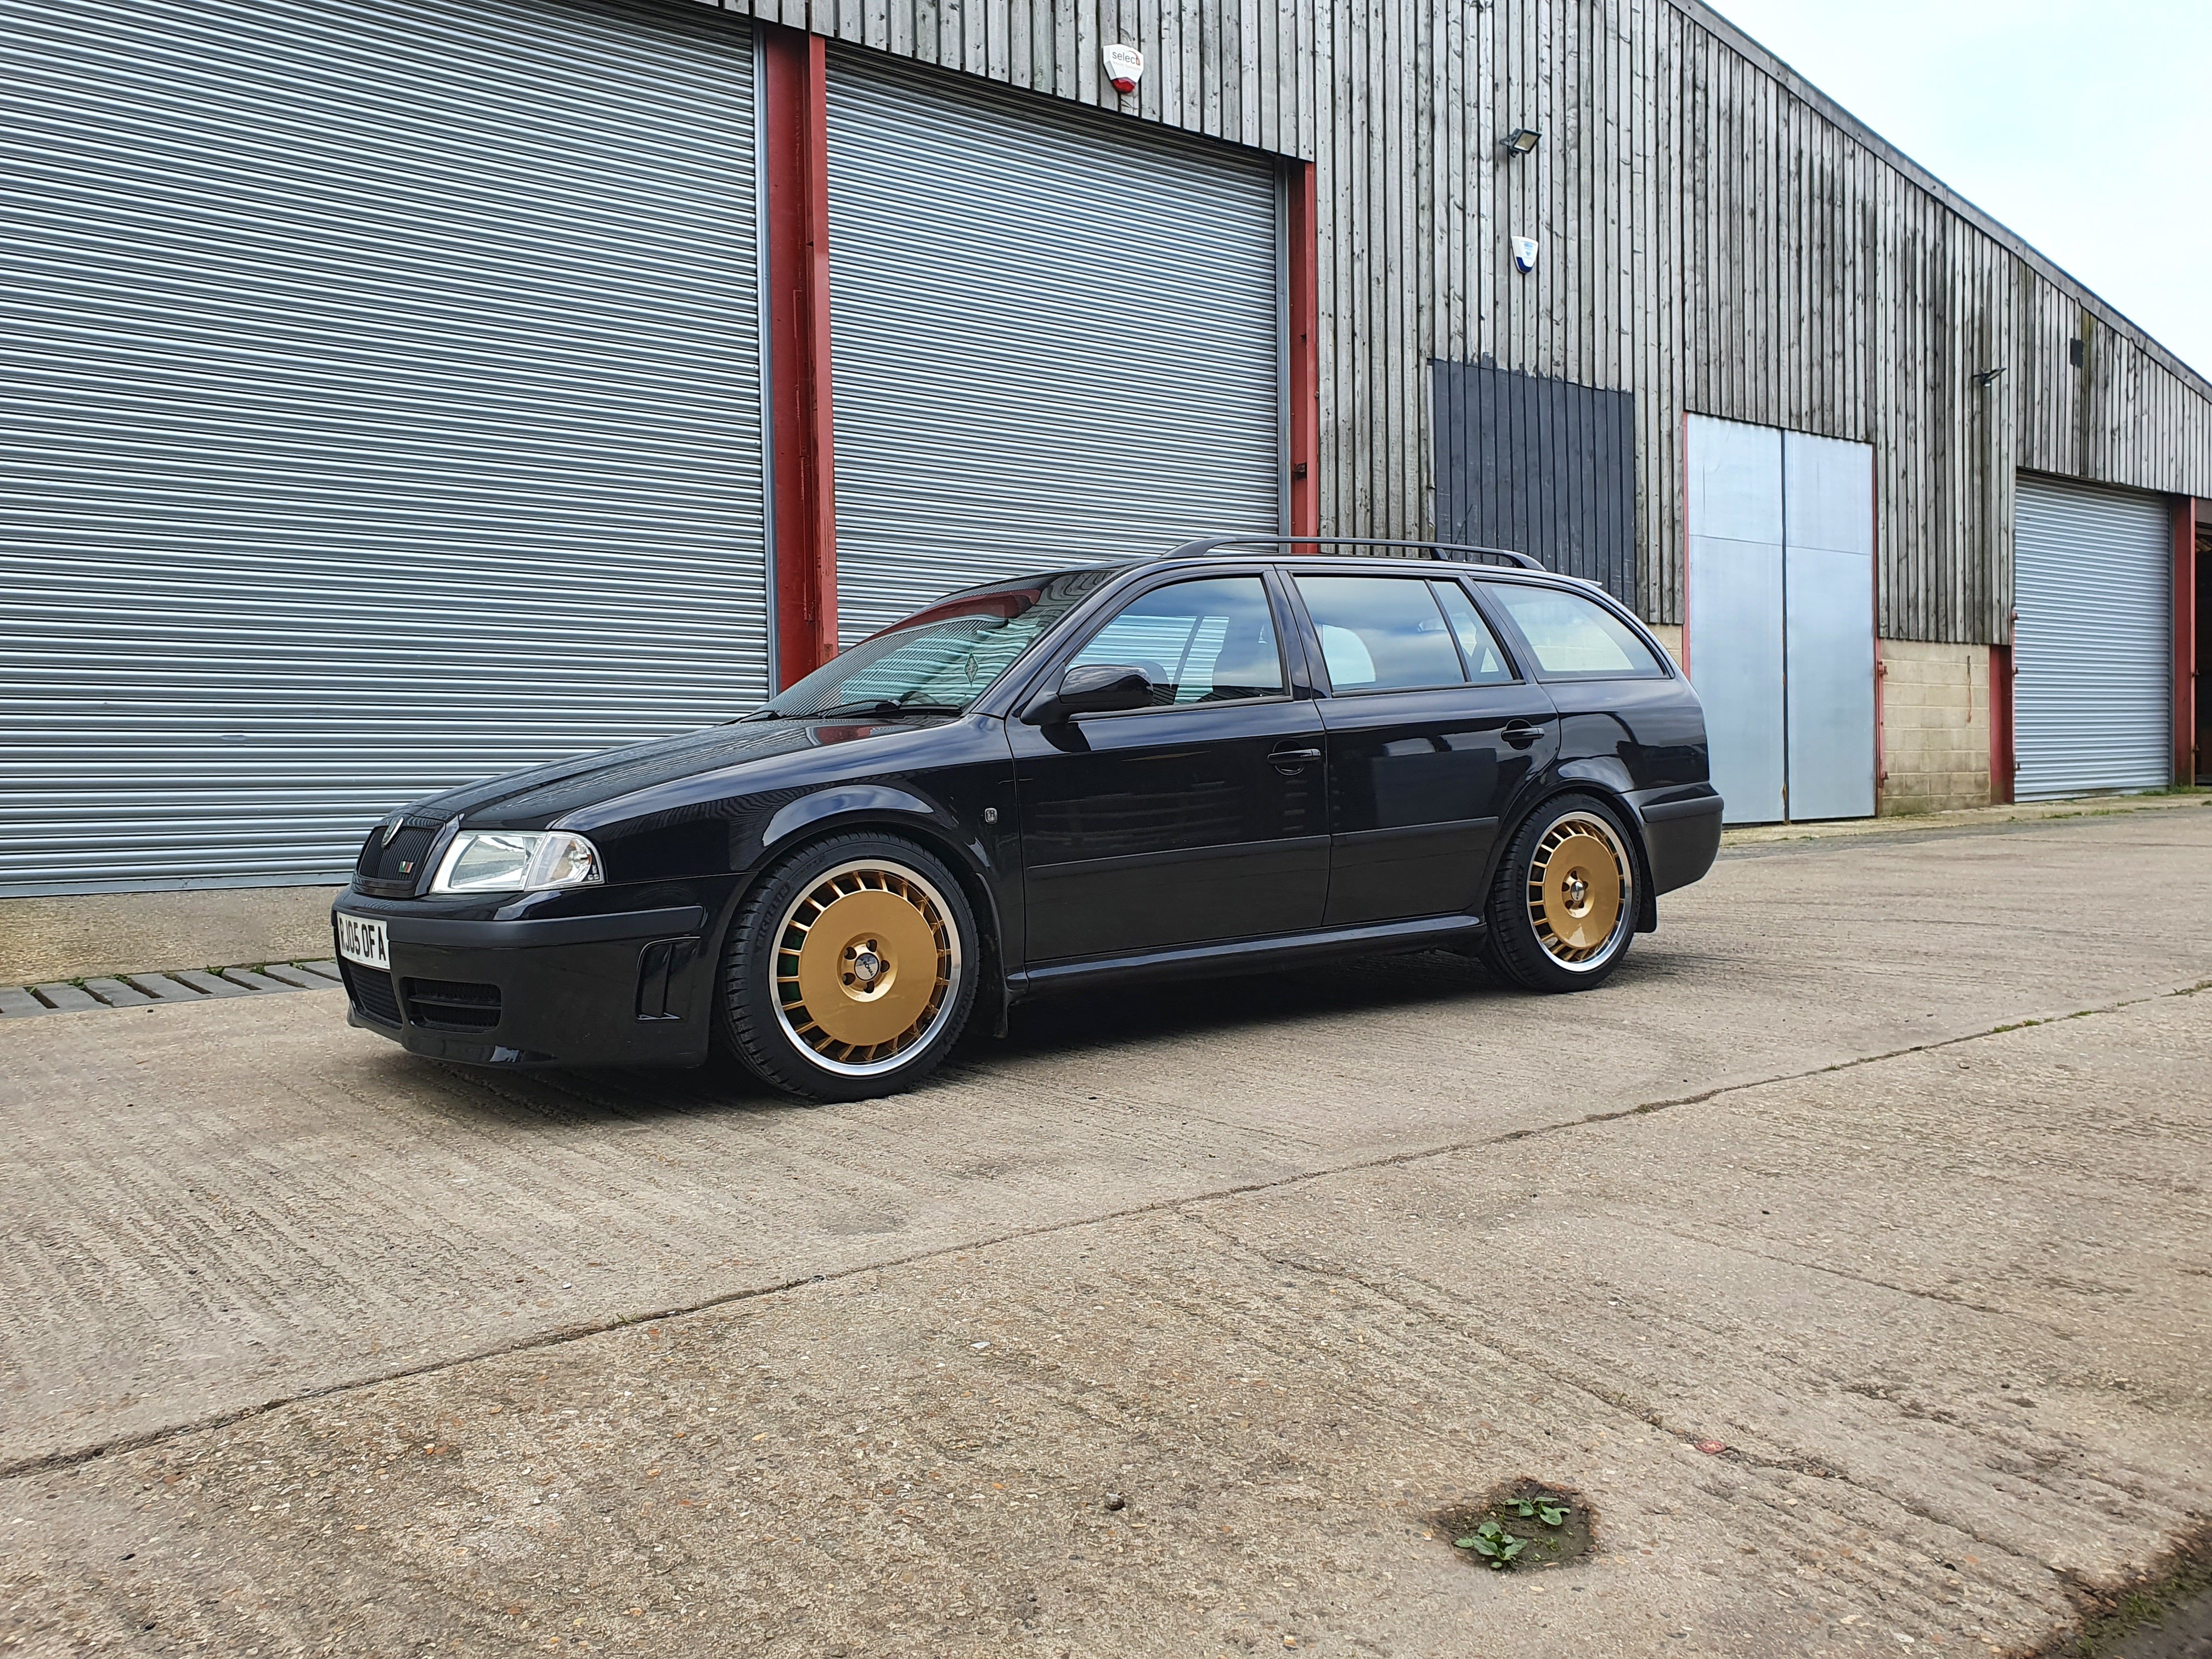
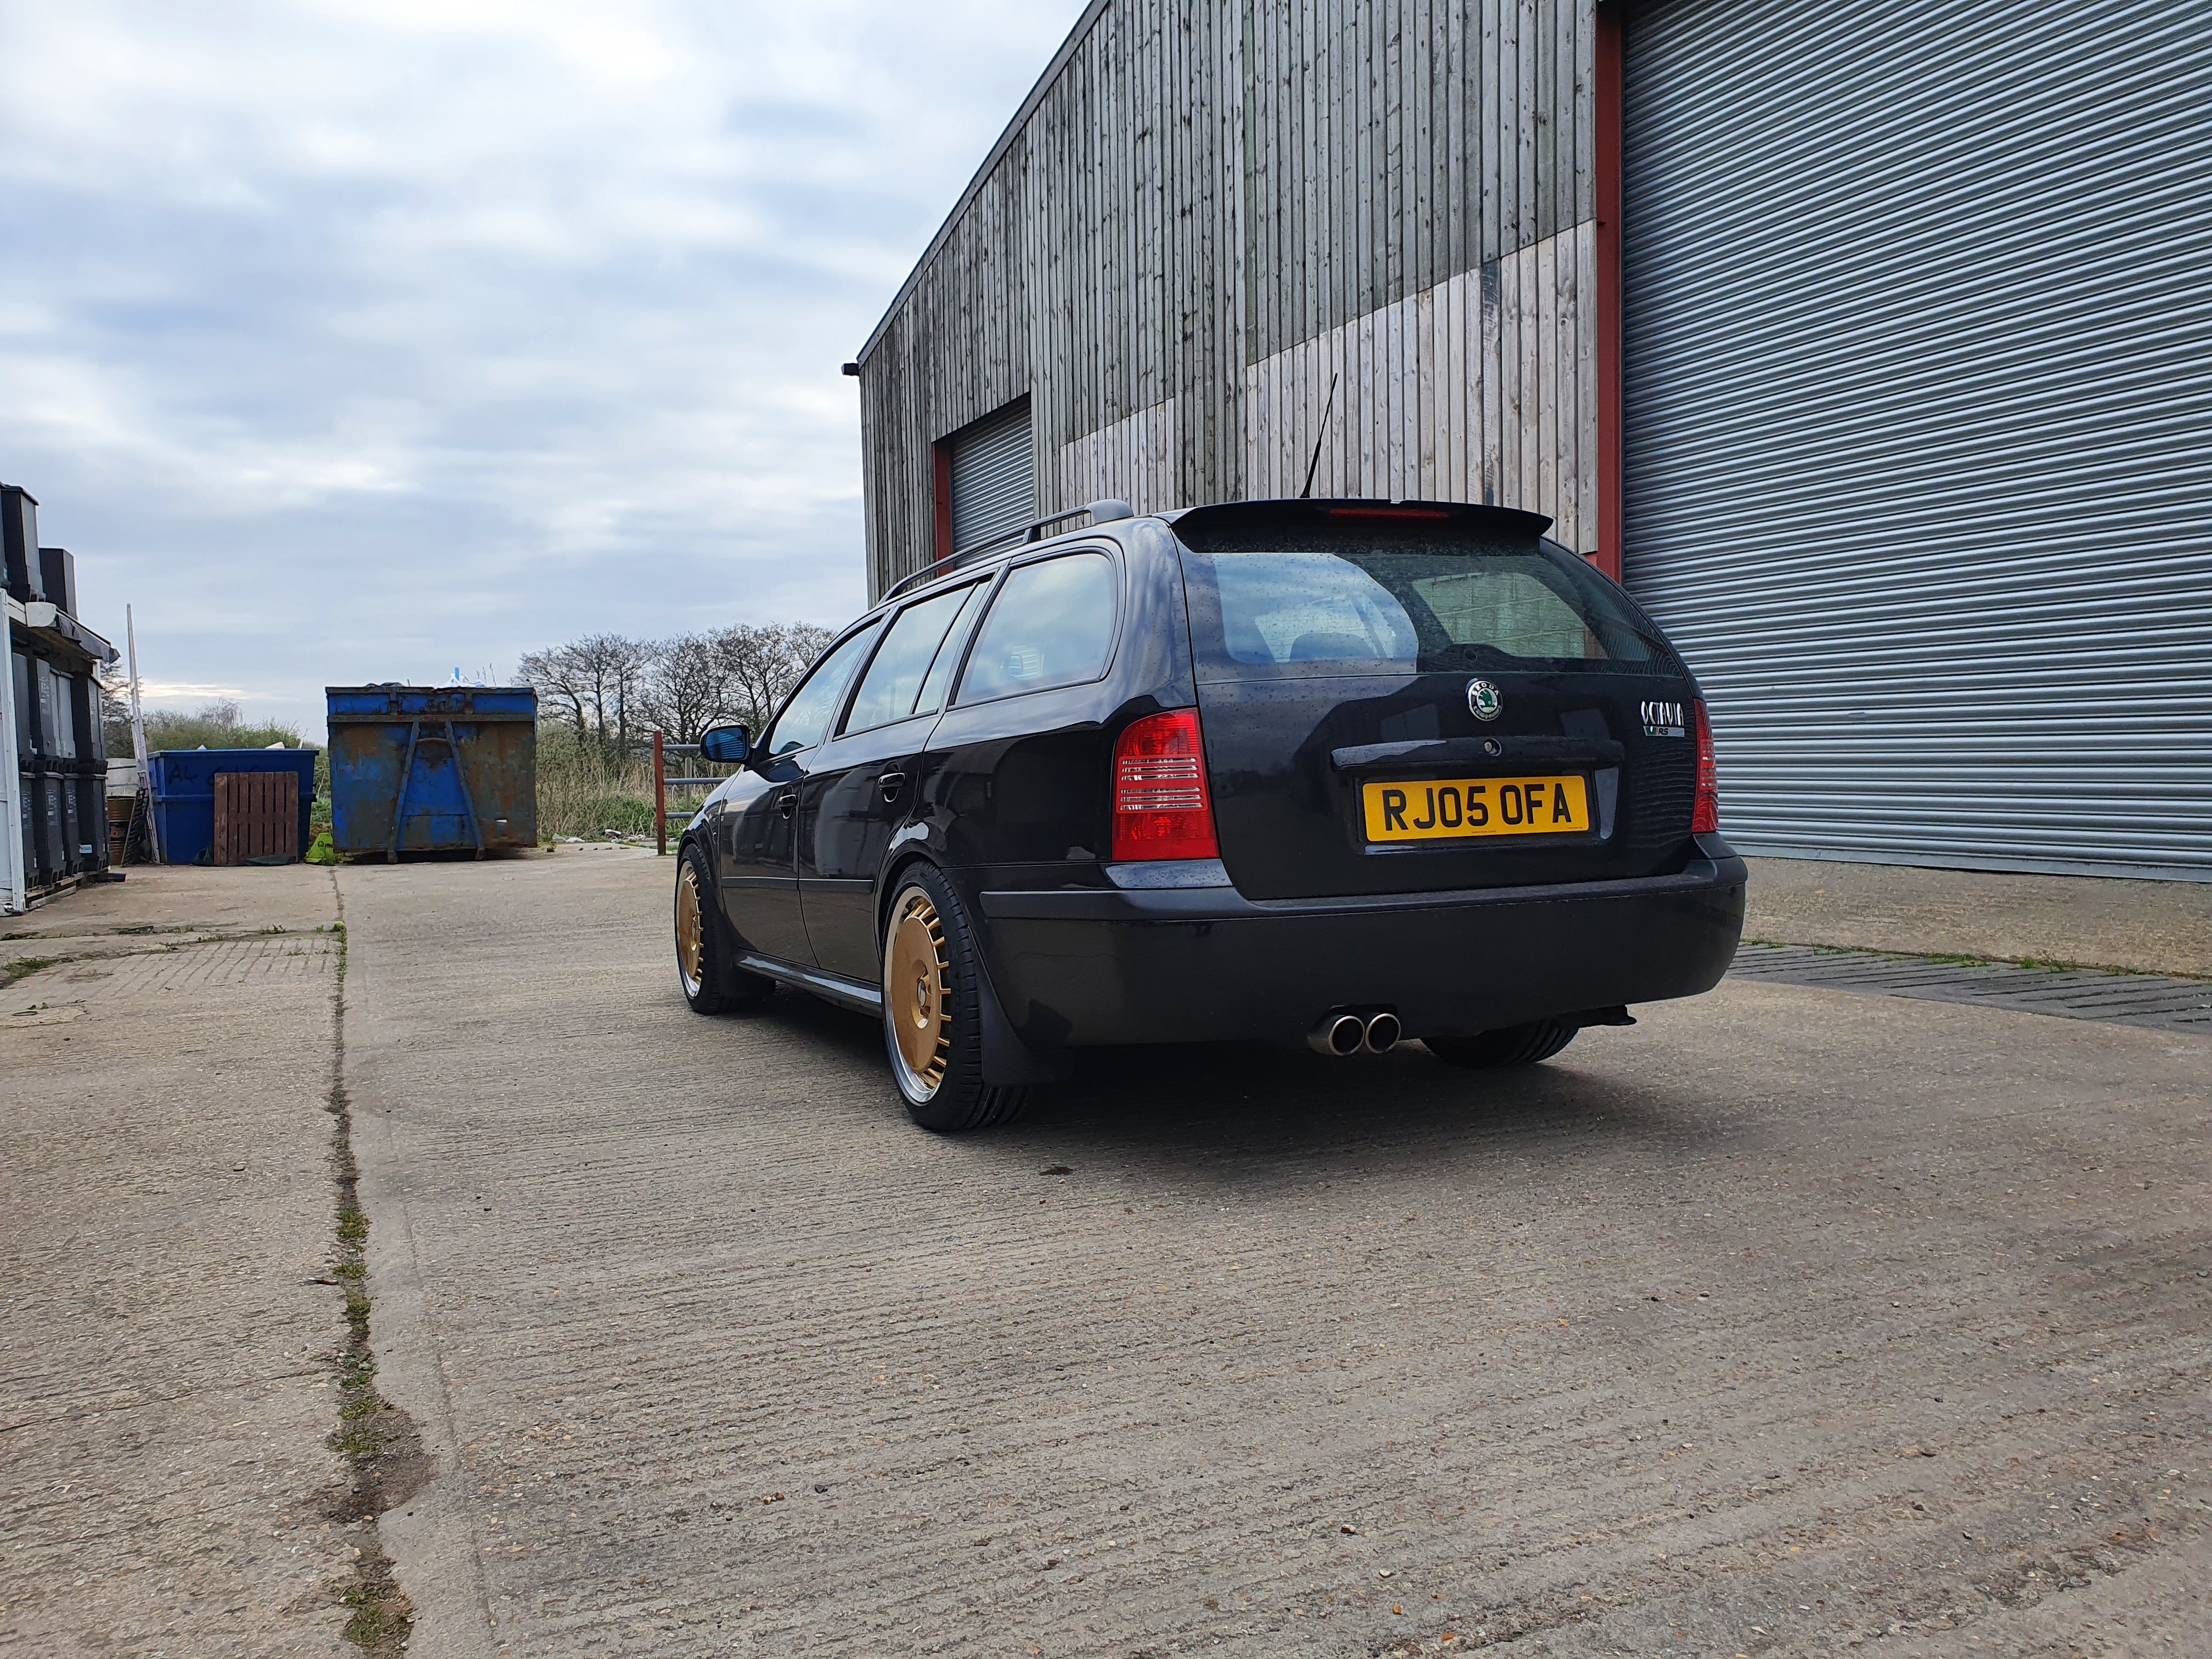
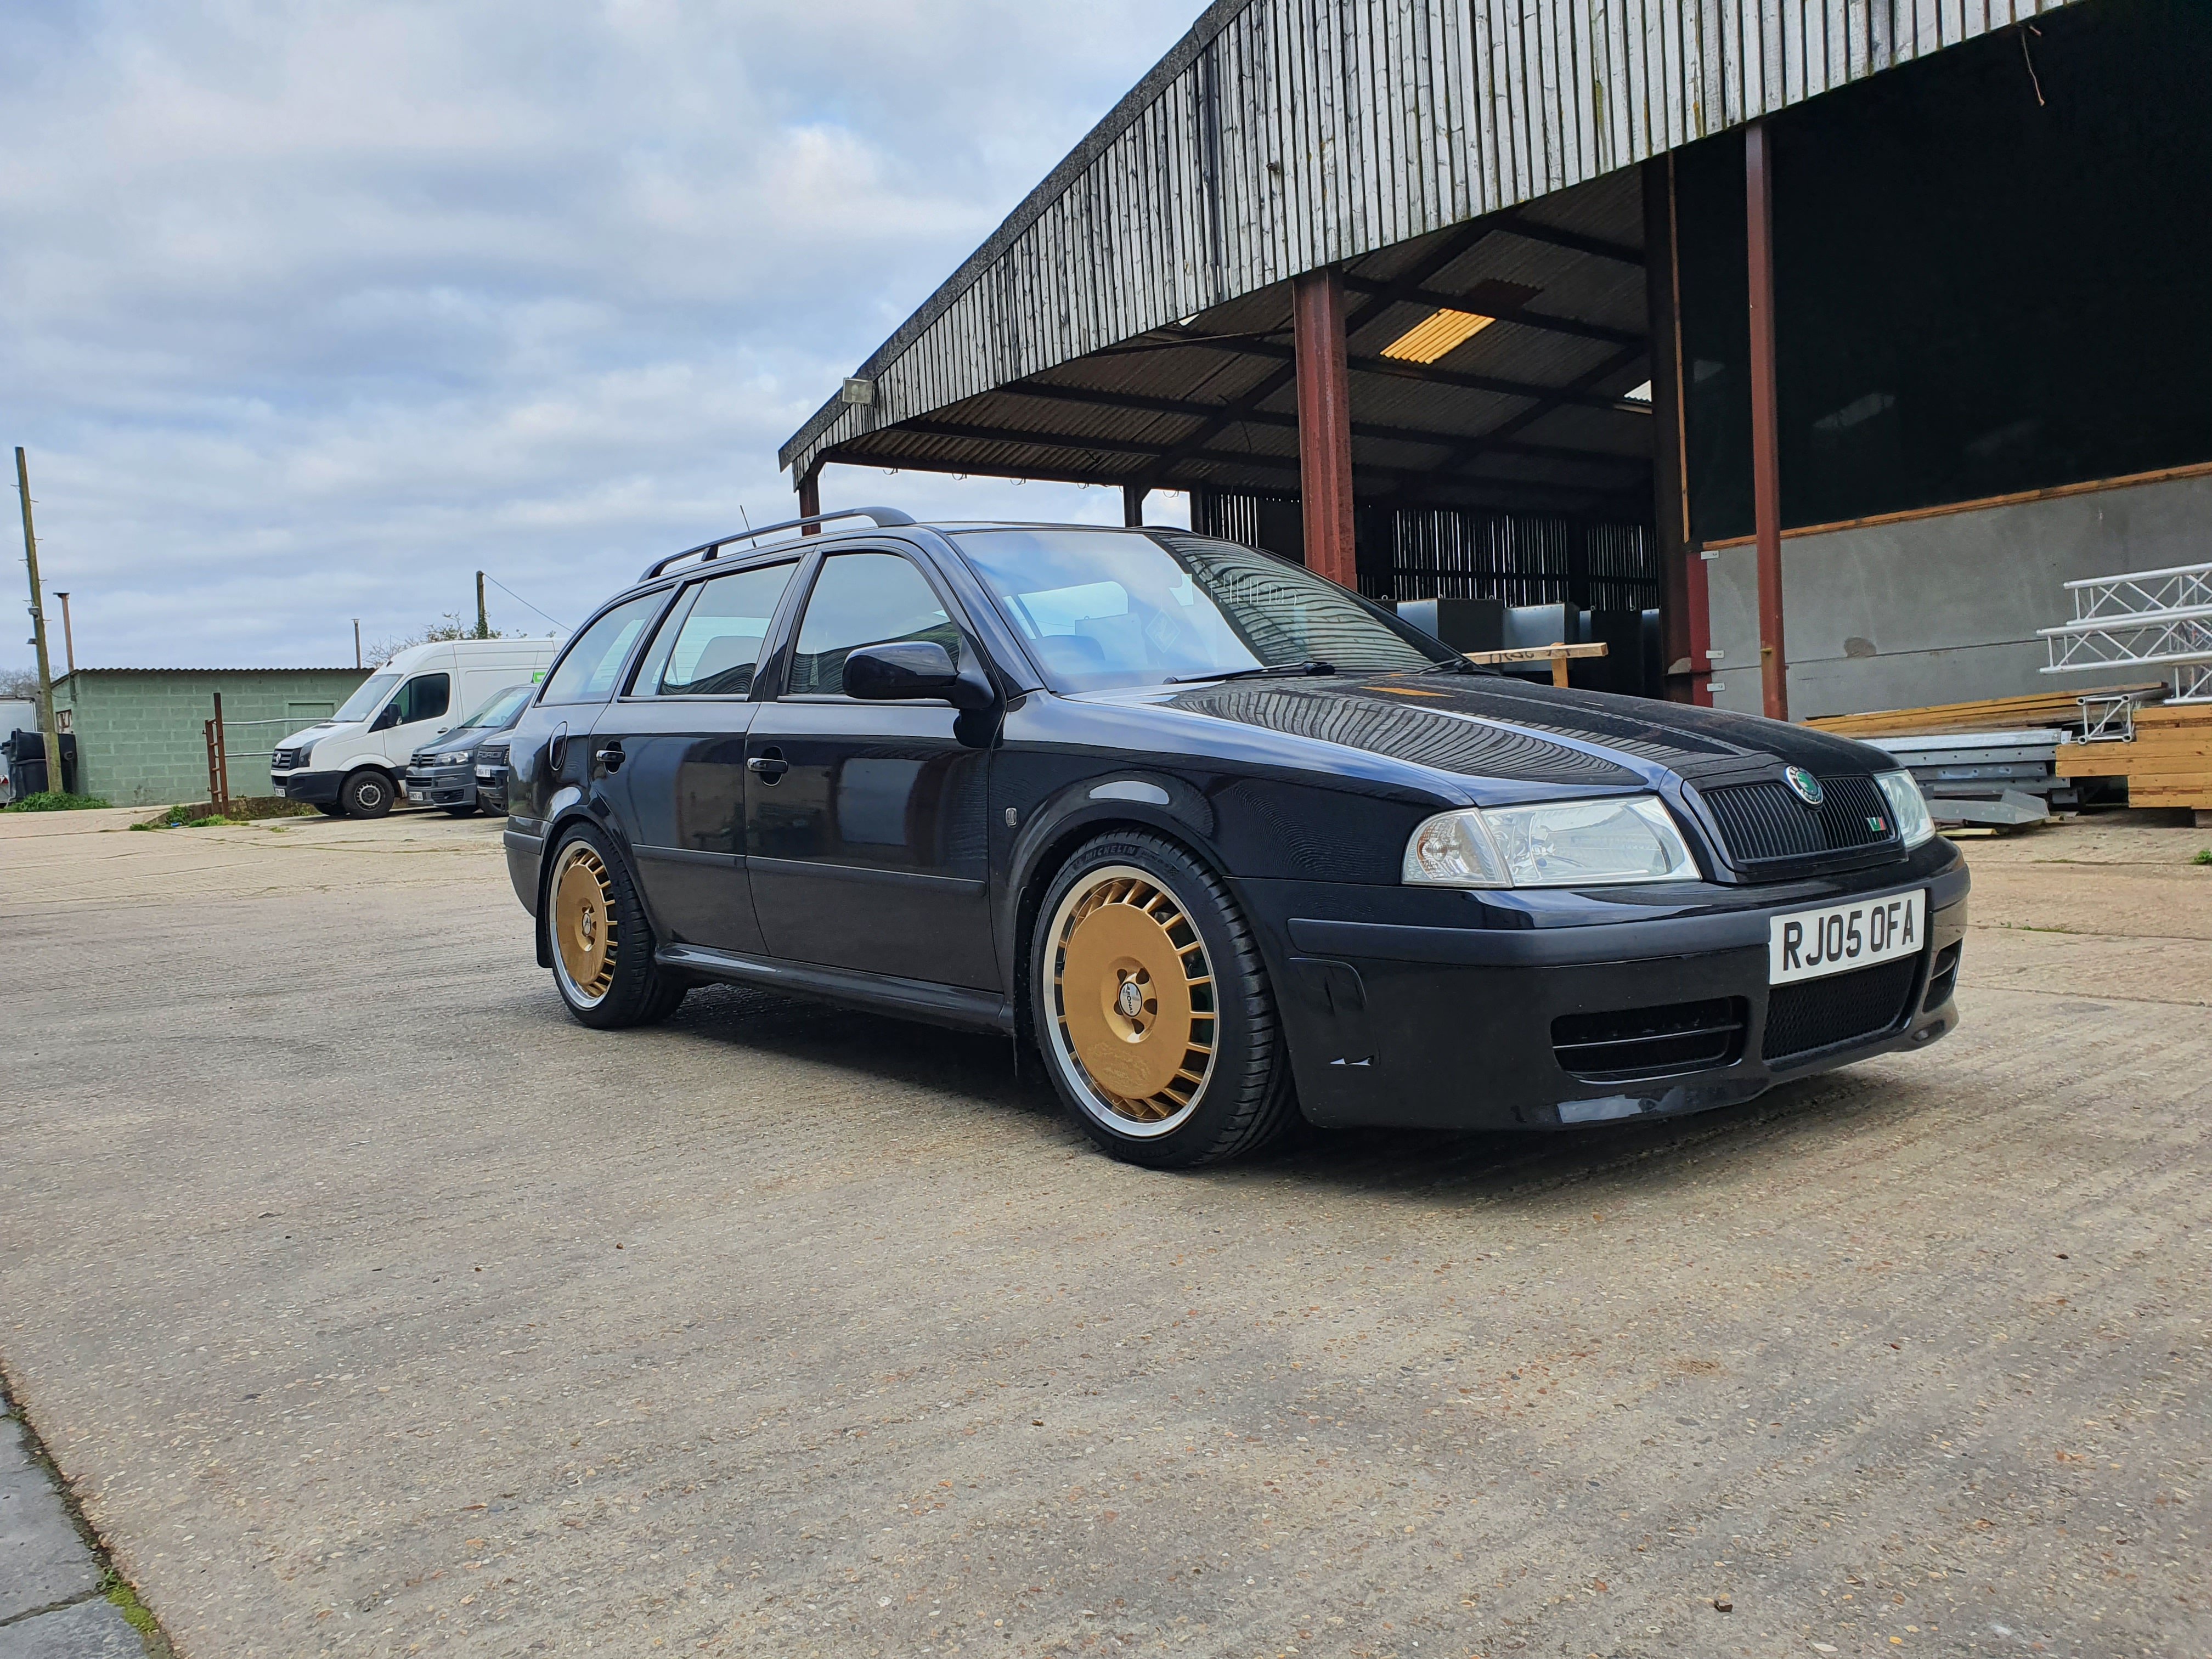
 1 point1 pointLong term vRS serial owner here, yes I have a Sprint Yellow garage ornament and for many years, along side the show pony, I also ran a Black Magic 2005 vRS. The Black one was bought as a "theoretical" breaker, as it had a number of tasty bits i needed for the Yellow project, but I ended up keeping it and took it from 100k to just shy of 200k in 3.5 years. Hand on heart, at 185k it drove every bit as well as it did at 100k, probably because it had been maintained on the button and if it needed replacement parts they were always fitted. Like any car, you can come across a 60k mile minter that is in all reality on the cusp of needing lots of remedial work due to age etc, so buy with your head not your heart and I wouldn't discount something with over 100k if it's got good provable history and drives well. Even my Black one had no body corrosion, no scabs on the sills, no rusty arches and it stood up well when cleaned / polished. A good moto to remember is "crap cars attract crap owners" so anything that's been all over the social media doing burnouts, smoking like a chimney bouncing of the limiter is probably going to give you a fiscal fingering so do some digging on the reg number etc. I agree with your sentiments on Yellow, it's a marmite colour, so get one you love, there are still some lovely examples out there.1 point1 pointDo keep in mind there are two shades of yellow available for the vRS, as the useless fact you'll retain in your mind. Lemon Yellow, and Sprint Yellow. Sprint Yellow was a later colour for the car, such as @Lofty will be able to tell you... of which I've linked one of his photographs for comparison's sake. Sprint Yellow: Lemon Yellow: The colour difference may appear subtle on screen*, but is more noticeable off-screen in my experience. *or at least it does on my ancient computer screen. Hope this helps.1 point1 pointI'd also get it scanned for fault codes as that might give some clues1 point1 pointIt might be worth checking the cable underneath the windscreen hasn't disconnected - if you search on here about deactivating the sound thing, that will confirm where to check. No idea if this can happen, but might be worth checking until someone more knowledgeable comes along.1 point1 point


.thumb.jpg.f83a46b9b3c0d976b9dbffbb523c9874.jpg)


Important Information
Welcome to BRISKODA. Please note the following important links Terms of Use. We have a comprehensive Privacy Policy. We have placed cookies on your device to help make this website better. You can adjust your cookie settings, otherwise we'll assume you're okay to continue.