Leaderboard
-
.jpeg.2be1ff23db65b1928106364ab86f4b3c.jpeg)
Binx1310
FREEDOMLite10Points738Posts -
Breezy_Pete
Sponsor9Points24,323Posts -
pinkpanther
FREEDOM6Points3,922Posts -
.jpg.5f5908b5afb5ed410c43d763df801089.jpg)
Evolution13
FREEDOM6Points2,490Posts


Popular Content
Showing content with the highest reputation on 20/05/26 in all areas
-
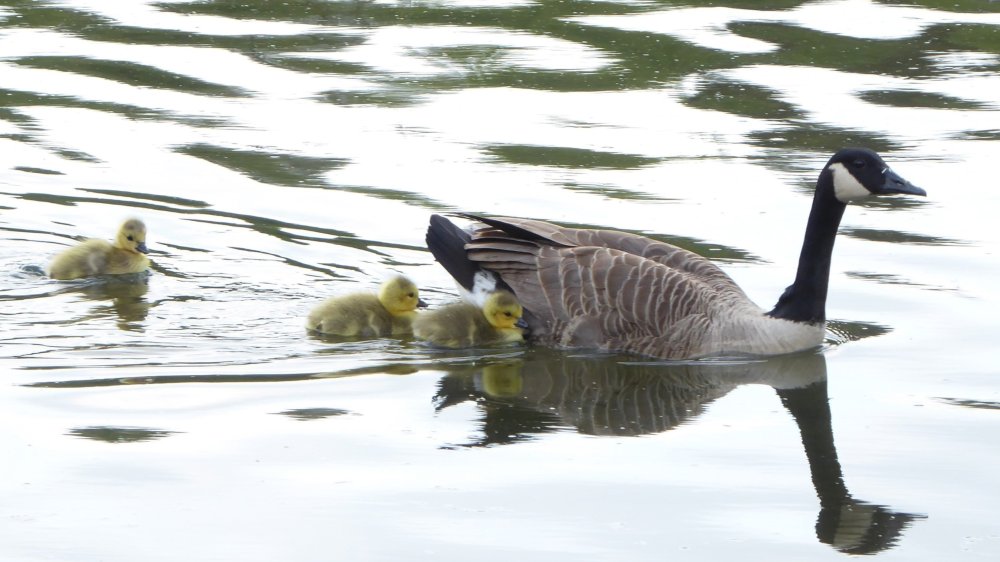
4 pointsThe Cygnets were paddling flat out to keep up with Mum! 1070898~2.mp4 And a few others we spotted......... 1070802~3.mp4


 4 points
 -
Had this on the wife's Octavia, parked it on the drive one evening, got in the next morning to find it cracked just as in your picture. The very bottom of the windscreen is covered by trim but it did appear to originate from the lower edge upwards. Stress fractures can happen unfortunately, in our case there was no warranty on the car so we had to pay for a new screen. Hope your dealer helps out in this instance - fingers crossed.2 points
-
Yep we’d all like to hear the outcome.2 points
-
2 pointsAfter that beautiful 87% charge today it eventually went back down 74% SOC ( according to obd 11) after a few trips. I then took a 40 mile round trip . 20 miles to my destination ( no stops). When i got there it had reached 77% soc. I was there for an hour. When i got back into the car for the return journey it had dropped to 73%. By the tiime i got home it only reached 75% soc. There’s just no way normal driving will get my battery to 80%.2 points
-
1 pointI keep getting an eco hint on my dash to shut my windows because of drag but they are already shut, how can I reset?1 point
-
1 pointEvening all, I’m back after owning a 2016 superb petrol back in 2017 ish. Anyway, since Covid and getting a large mortgage, I’ve recently bought a 2010 Octavia 1.4 tsi elegance. It needs a bit of a tidy up, but I love the colour and the drive of the car. It’s done 89k and been very well looked after!
 1 point
 -
If you’ve caught it that early I think you’d be fine just tightening the bolts to spec like you suggested just use some thread lock on. My case has been accepted with the ombudsman and waiting an adjudicator. Thanks for posting I will include another report of this to the case.1 point
-
The car is registered in autumn 2024 and still in warranty. As a nearly new car, Skoda automatically apply a minimum of one years warranty upon purchase. The paint scratches were on front wing, side door and rear bumper. It was just a touch up job, no sanding involved.1 point
-
Welcome to the forum. Does the lower part of the crack extend all the way to the bottom of the screen? Yes, stress cracks to screen can be caused by body flexing, or by incorrect fitting.1 point
-
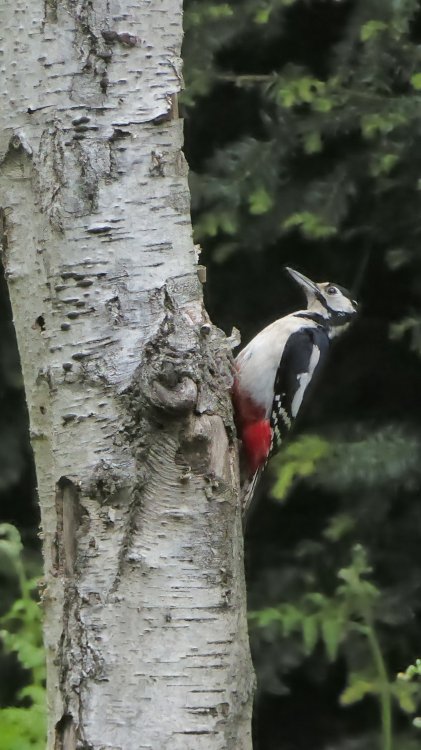
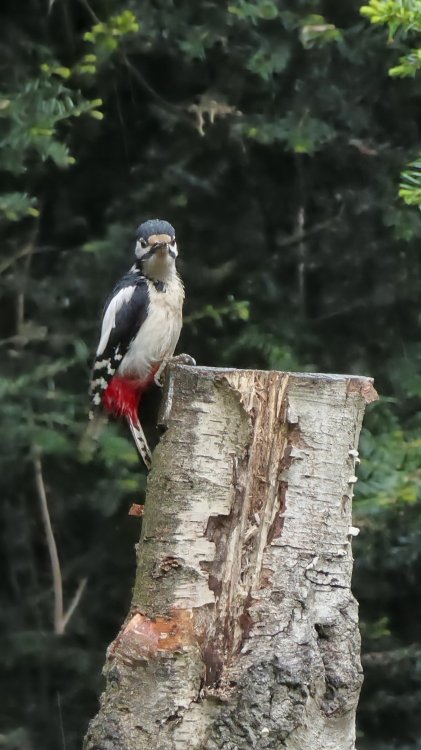
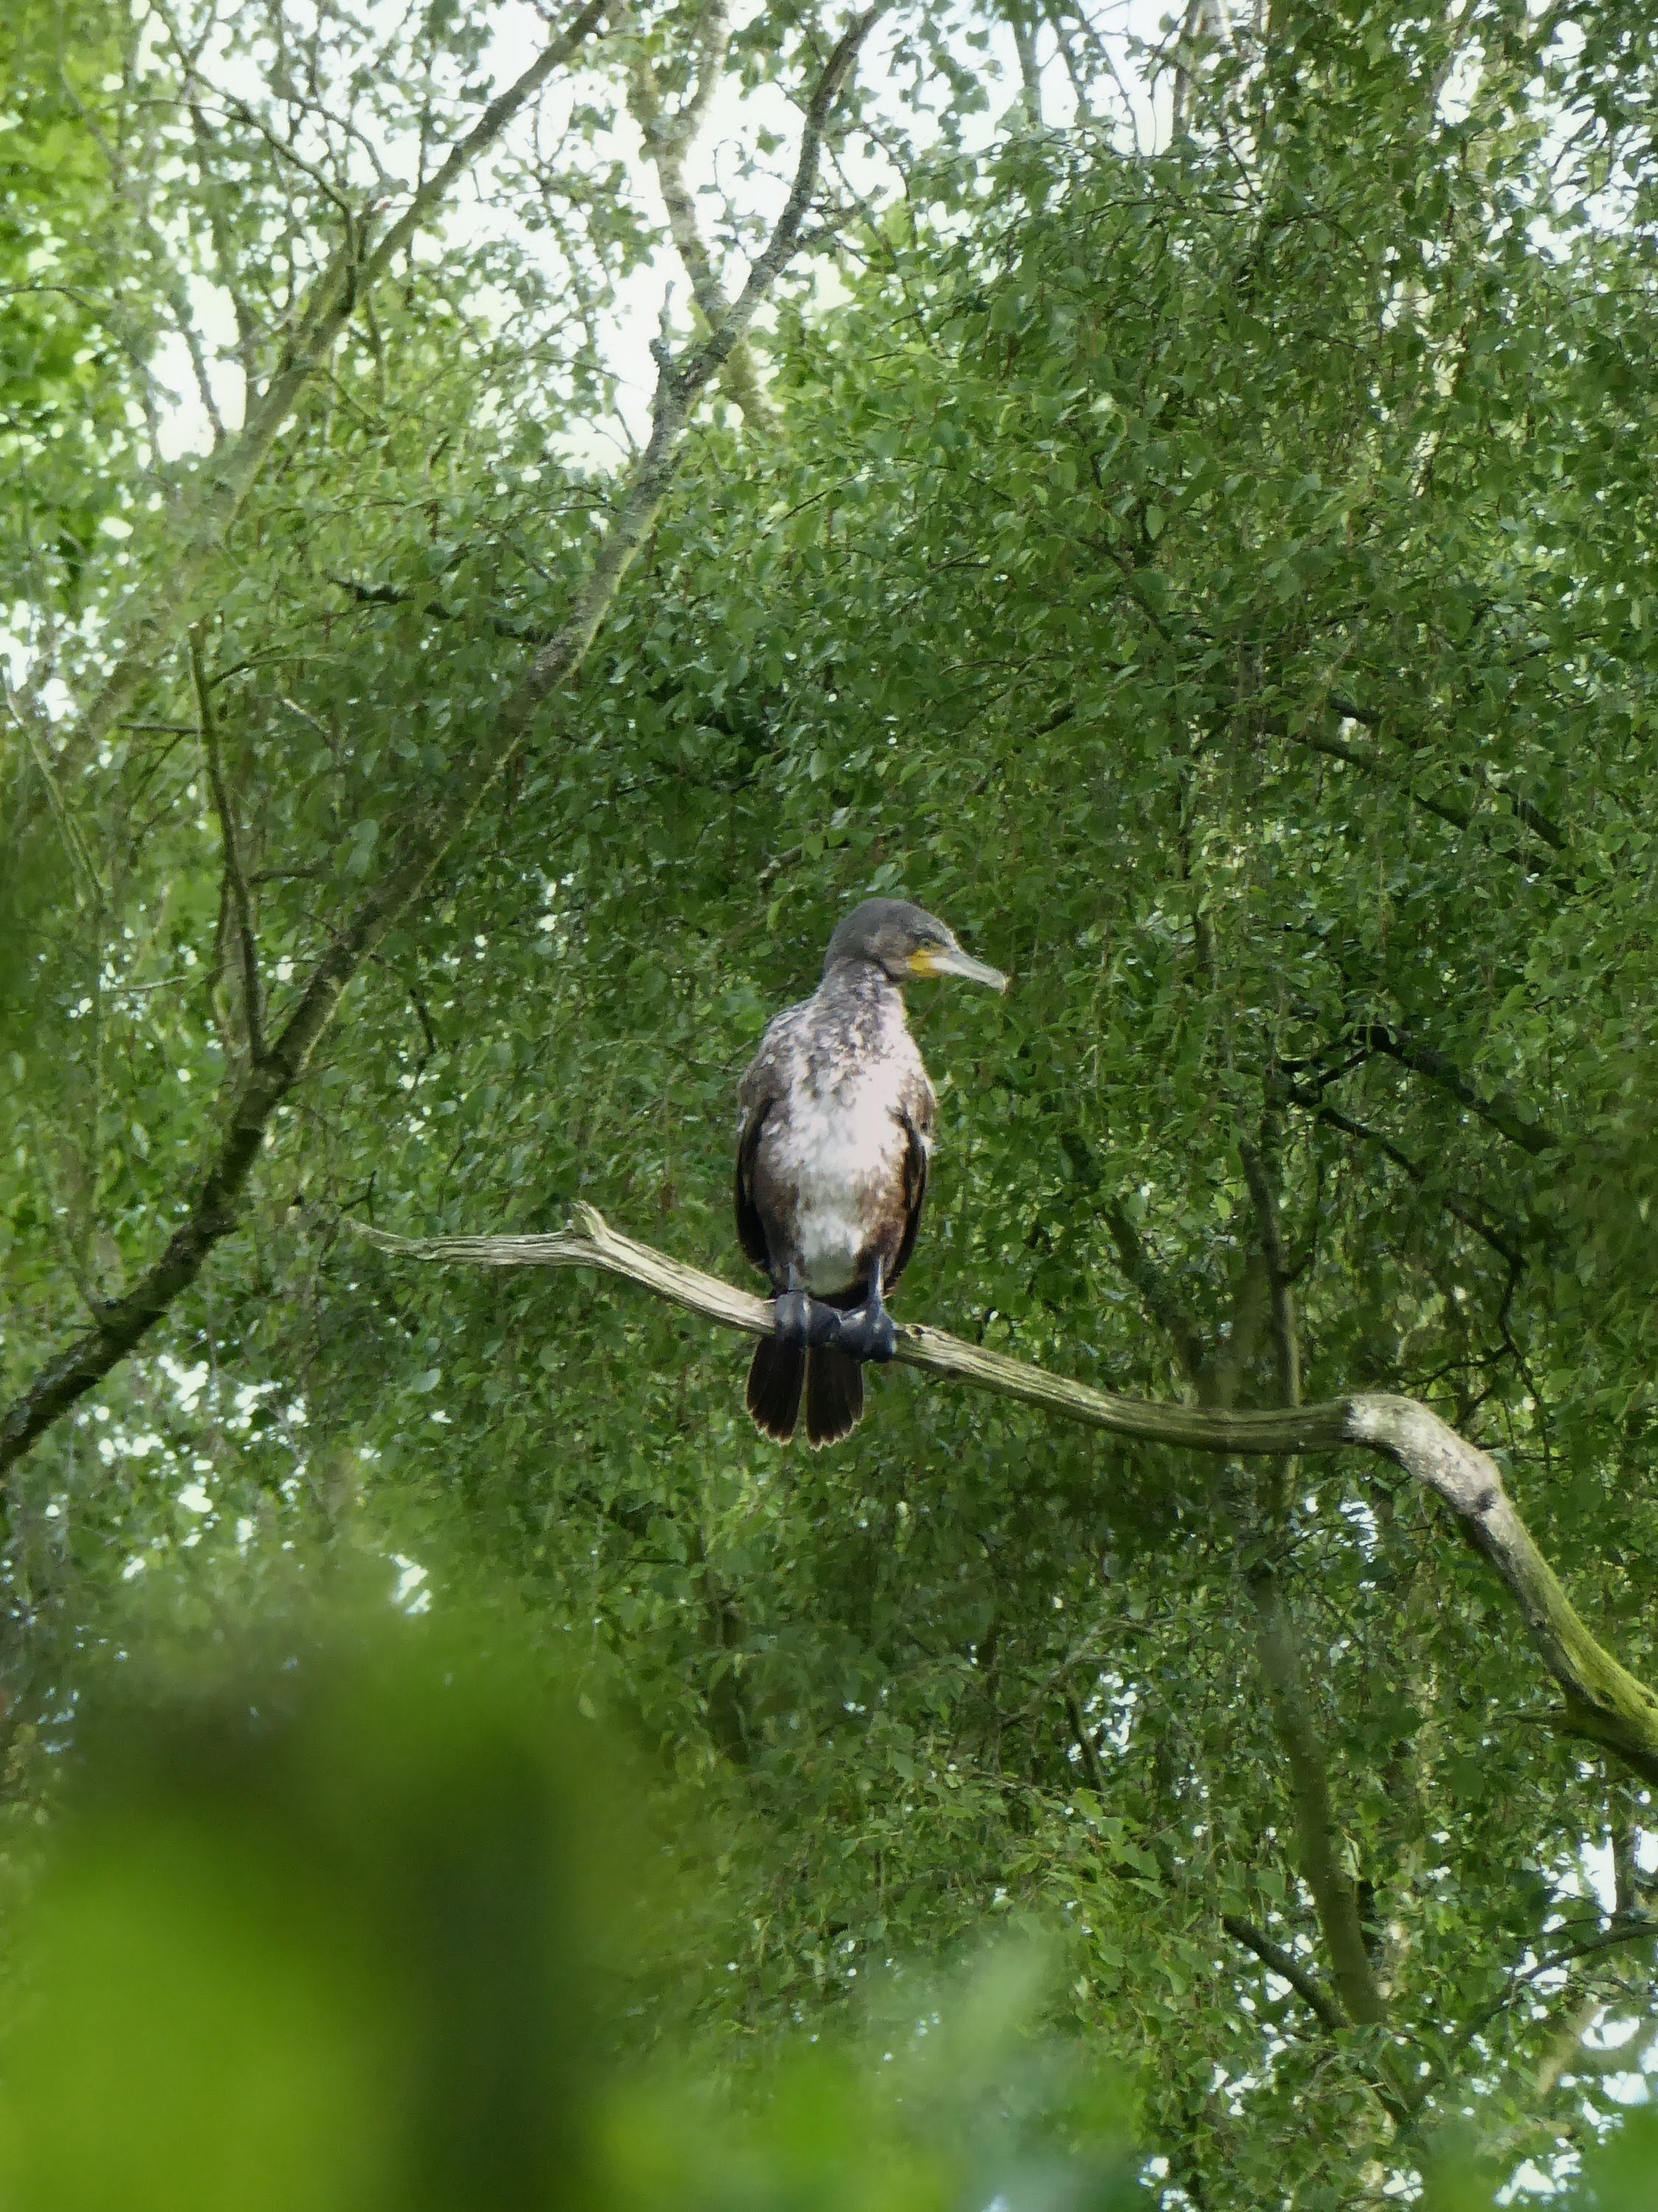
1 pointThere's a brace of those guys in the wood behind me, and every morning they hold a competitive hammering event round about dawn. I suppose it helps the crows wake up ...1 point
-
That's right, the 9.2" from the Superb costs an average of €400.1 point
-
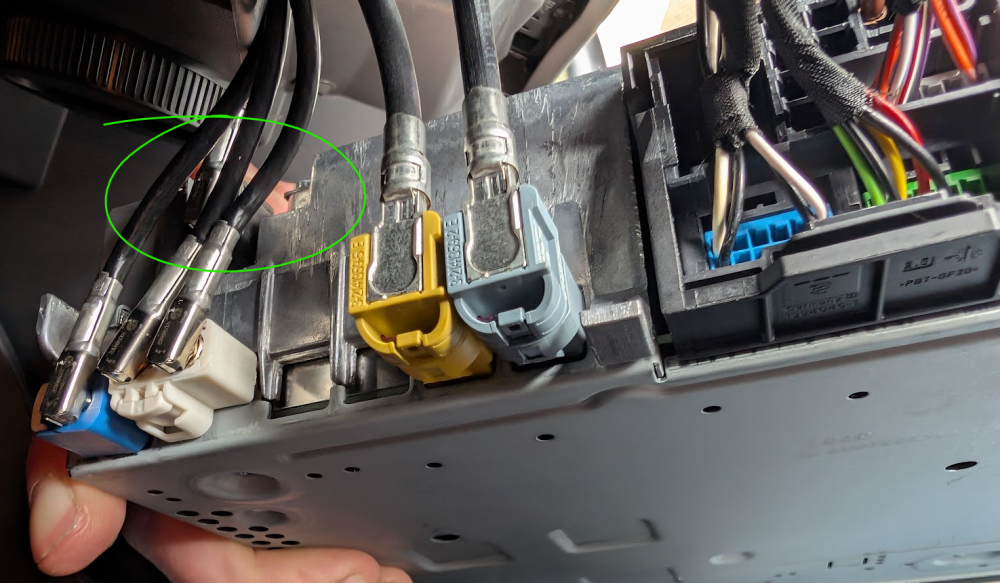
oh, this one? It was a bit snagged. I didn't know which cable was which - I'll give that a good wiggle. I got the screen from a breaker on ebay for £190. The touch screen on the old one is annoying me already.
 1 point
 -
1 pointIn my opinion, the setting of which filter is installed is completely irrelevant; I have never changed this coding. I just checked which Controller 8 control units I have at home. Unfortunately, I don't have any from the Superb. I tried flashing various VW, Seat, and Skoda units to the Superb, but it didn't work. Maybe I can find a cheap one with the specified hardware and software version from @JR RS I unplugged the other two connectors from Unit 08 as a test; they must have been connectors B and C. It was only accessible via diagnostics, but I could still activate and deactivate Air Care.1 point
-
Lots of long distance work so motorway mileage which is generally quite gentle on the DSG so fingers crossed a good bit of TLC will keep her going for many years to come. I can't garuntee that I won't drive it hard though!1 point
-
nice job, now you need to find some shelter and waste half of your day with roof rails :D but it will be worth it !1 point
-
1 pointok i now have it solved ,time will tell but its looking good . it was doing it more when getting off throttle so the code was being thrown by the low boost end of the actuator which needed setting . as per the vid below i set the actuator with key on engine off ,back probed the middle wire on actuator with multi meter and had a vacuum pump on the pipe which feeds actuator from solenoid as my vac pump pipe was to big for the actuator fitting . loosened the nuts on actuator rod and pumped vac pump until meter read 0.7 volts dc (neg side of multi meter was on car battery neg terminal) then tightened the top nut down to that position ,i then released the vacuum and the arm came up to read 3.3v . i think the fault triggers under 3.3v and below 0.7v at the other end . i did have to mess a little with the settings after tightening up and ended up with 3.35v and 0.78v which seems to be fine now .. if it comes back i'll follow up this post . hope this helps somebody .. thanks for the input .. Dave ...1 point
-
1 pointAFAIK, this is normal behaviour for the smart alternator, you will probably see higher SOC with longer trips where regenerative charging has more opportunity to top-up the charge. Sulphation is a normal, reversable process of the chemical reaction within lead acid cells, where small crystals of lead sulphate form on the cell electrodes (plates). When the cell SOC remains significantly below 75% for prolonged periods, the lead sulphate crystals become larger (hard sulphate) and resistant to being dissolved during charging, this then makes that part of the cell inactive. For a vehicle where shorter runs are common, occasional full recharges from an external smart charger will, in most cases, help extend the life of the battery by more fully dissolving the lead sulphate crystals before they grow to a size where they become insoluble.1 point
-
Honestly, it's really easy following the instructions in this thread. There are no additional problems with the power button and volume rocker.1 point
-
1 pointI often charge the VW EFB batteries on our Skodas with a 0.8 amp motorcycle CTEK, gets ‘em close to 100% but after a couple of running around they’re down to 60 - 70%……..?1 point
-
1 pointYes, when the smaller engines first came out I always thought that, it’s become the norm now!1 point
-
1 pointYep, gave me a hell of a fright the first time it happened. Thought I’d hit something 😂1 point
-
1 pointThey do, but I've worked out it's more speed related than proximity alone. Back up to an obstacle too quickly and the 'emergency' stop will happen.1 point
-
1 pointYup, I've replaced that many many years ago - no more AQS error. I believe I have, based on my replies above, 3 yrs ago. @Cairus - software version is 4101. See below. Clicking the "Active" button checkbox does nothing, it won't activate. The issue is not saving the Active state, rather it won't activate at all. I'll check my Byte 15 Bit 5.... I think my suspicions r true that pre-MY18 models don't have the HVAC hardware for Air Care. Control unit: 08 Air Conditioning Active faults: 0 Inactive faults: 0 System description: AC Automat Software number: 3V0907044DT Software version: 4101 Hardware number: 3V0907044DT Hardware version: H34 Serial number: 00000B00440885 ODX name: EV_ACClimaPrehVW37X ODX version: 002019 Faults: No trouble codes found1 point
-
1 point
-
1 point
-
@Novichok Thanks for your post. It's actually reassuring. I am hoping the next one will be okay. I am not expecting perfection and Mrs A and I have discussed the fact that we will need to learn some of the characteristics of the new car upon arrival. I was an HR&OD guy prior to hanging up my boots, learning & development falling within the remit of my team. So I understand that excitement and novelty is often followed by frustration as our brains try to absorb what's new into our unconscious routines and driving habits. I'm glad that you have enjoyed your car. Long may that continue. I'll be back in touch when I have some news of sufficient interest for forum members. Meanwhile, since I don't.....I will revert to radio silence! Best wishes.1 point
-
1 point
-
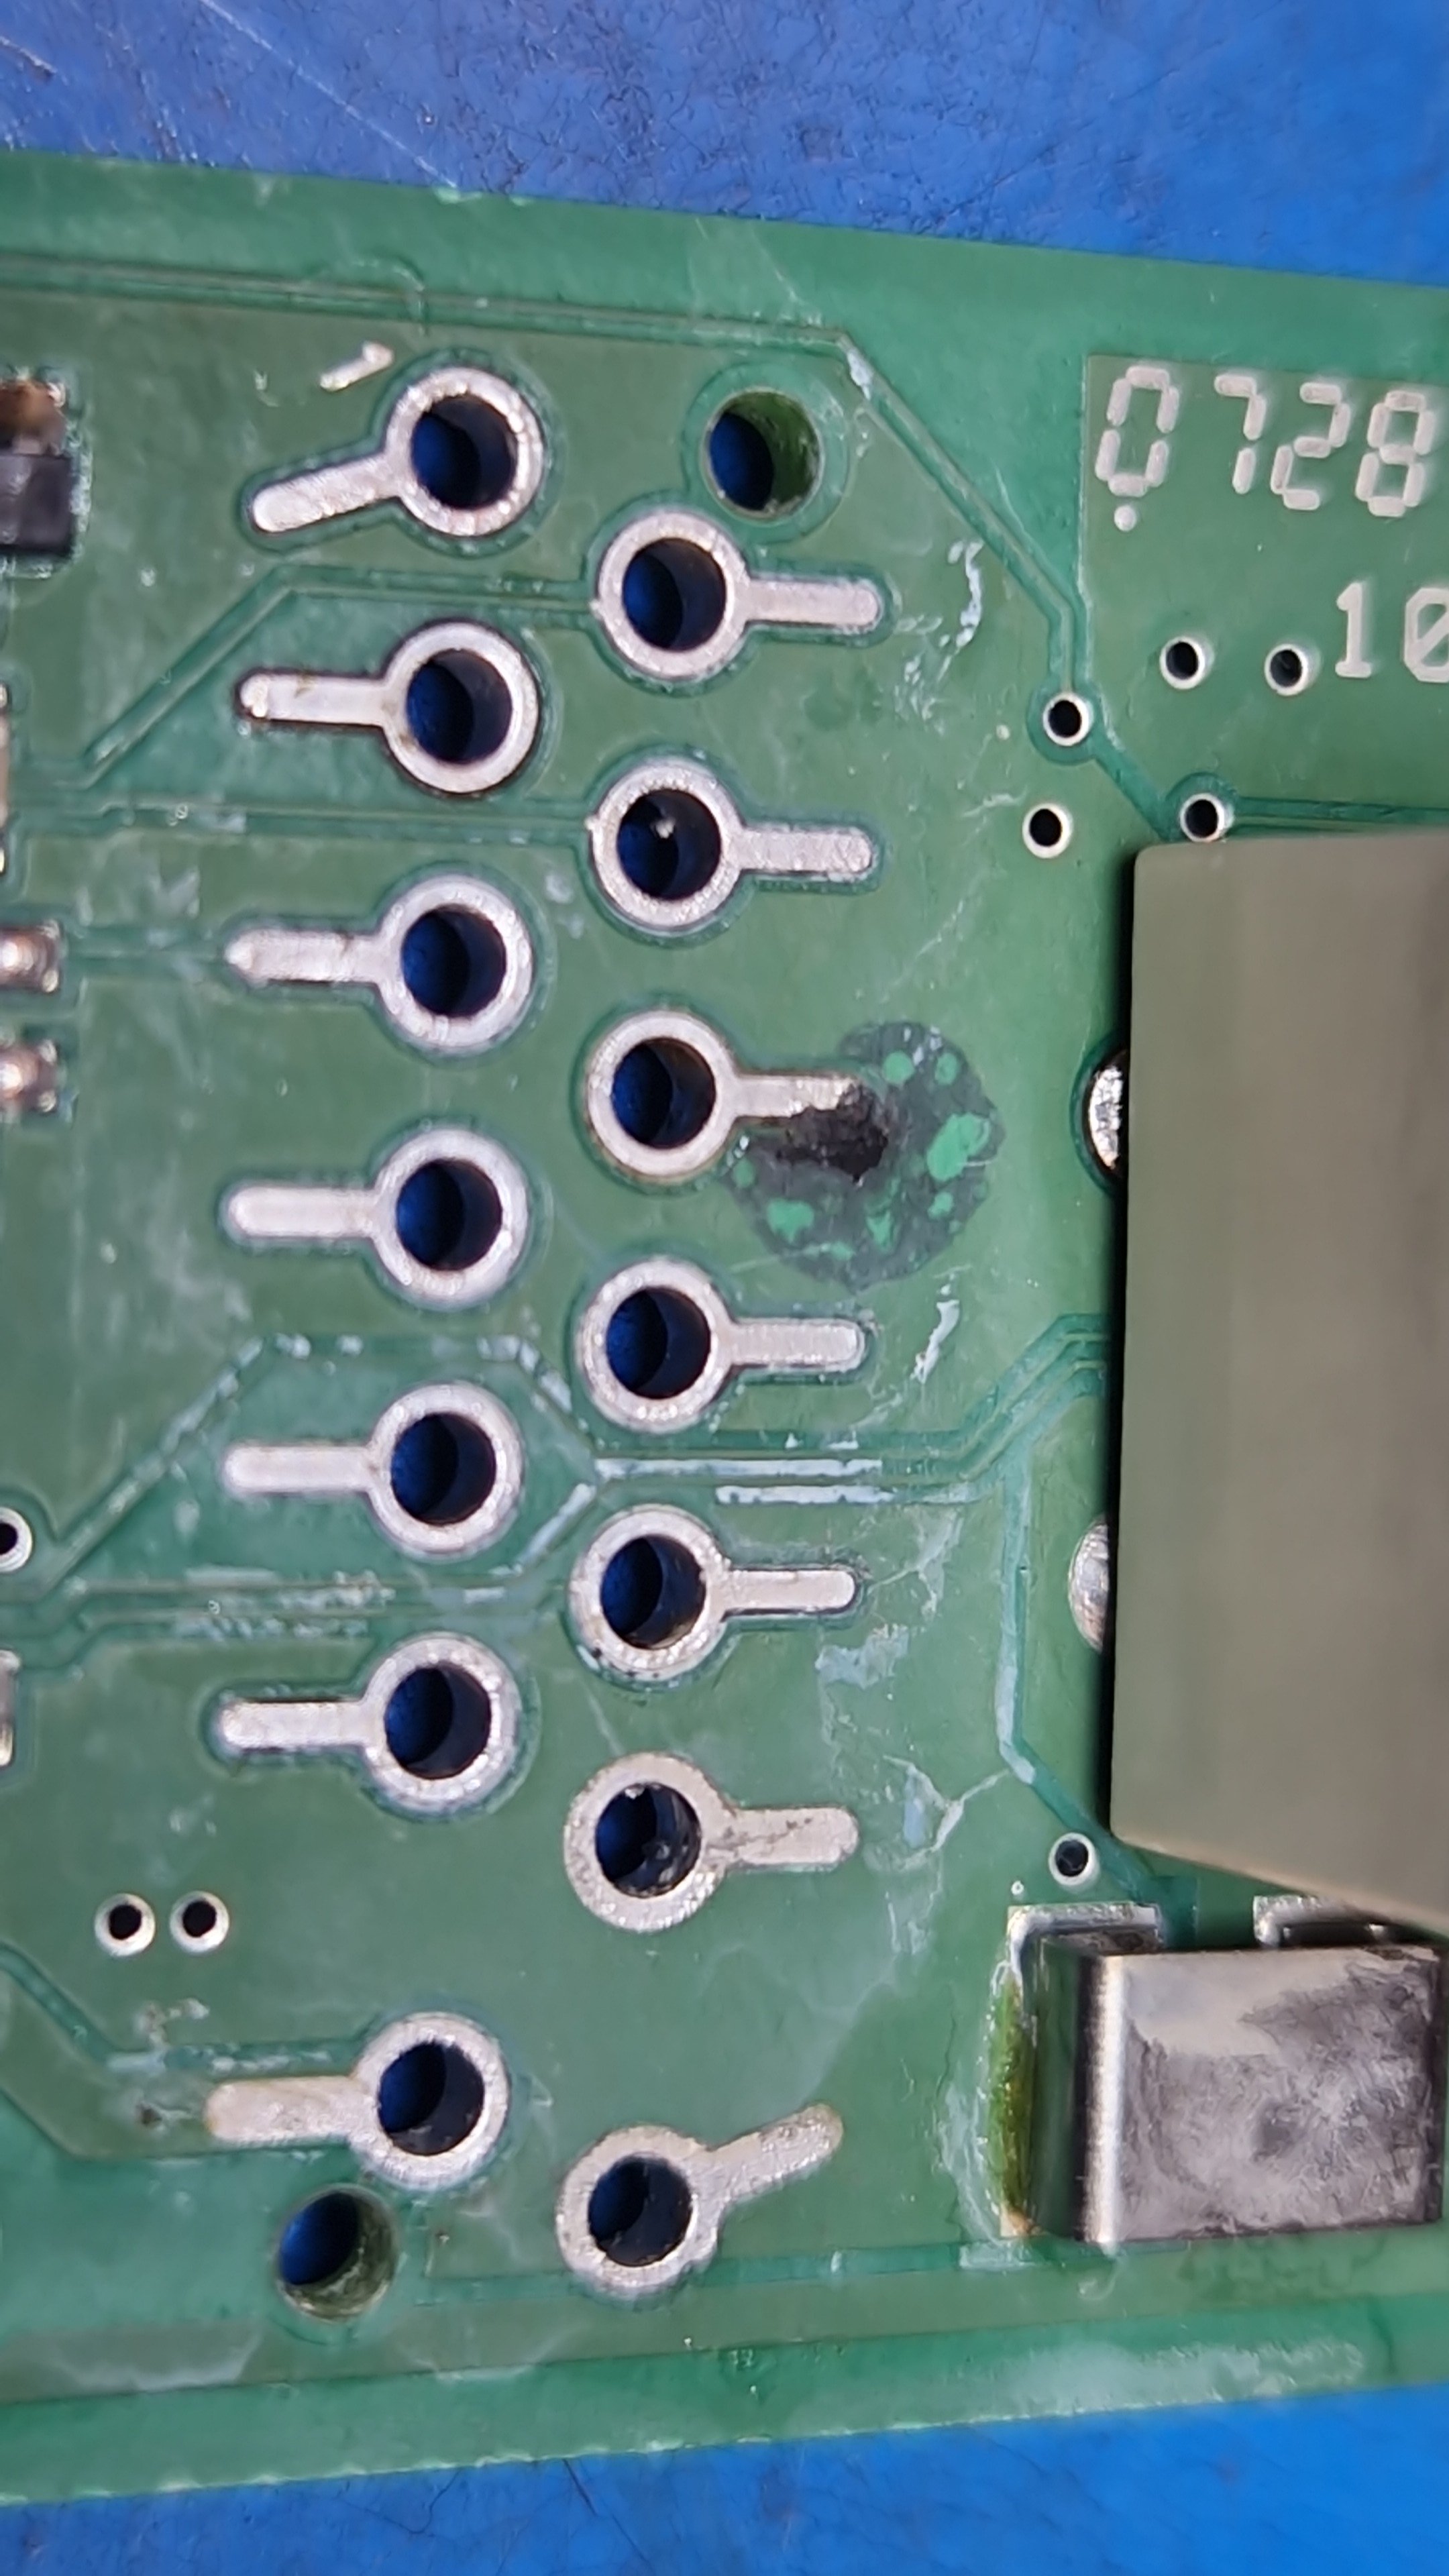
1 point@Lukas_2611 and @Giannis20 , thanks you for posting your input into this issue with the creaking roof console. I unfortunately have the same issue which was happening from pretty much new on a 2025 Octavia. It got to the point where I was holding, prodding or thumping the console on every journey due to the creaking and rattling from it. It's a very frustrating and intrusive noise which can't be tuned out by turning up the radio! I removed it from the roof today - where your photos came in very handy Lucas - to try and rectify the issue. I started by spraying silicone spray on the plastic edges where the body clips to the trim but unfortunately got a bit too liberal and some worked it's way into the reading light lens where it's could be seen through the lens. This meant I had to do a full disassembly to clean it up - where your photos came in very handy Giannis. I put a light coating of silicone grease on all plastic joints and clips and reassembled with some felt tape on other plastic to plastic contact points, very much like Lukas did. It still creaks but is better than before. For anyone else going in to do this, worthy of addition is that there is a microphone control box attached to the top of the sunglasses holder now, which as an extra wire running to it. It's for microphones for the phone integration I believe. To remove the male plug you have to poke the metal lock tab through the top of the female connector and slide out to remove (I wish I had taken photos, but you'd know what I mean if you see it). Also, when removing the circuit board (if you're going that far) the ribbon cables remove by flipping up the black locking tab as opposed to sliding it back, before removing the ribbon cable. They're very small so be delicate with tweezers preferably. The other white plug connecting the main circuit board to the smaller one is removed by pulling it upwards with a pair of needle nosed pliers - wiggle it from side to side as you remove as its a tight fit. As I say, I wish I had taken photos now to better explain but if/when anyone sees this, they'll know what I mean. It's seems the cheap, thin plastic Škoda use these days is the culprit in this creaking/rattling. My previous Octavias and Superbs didn't seem to have as much of this cheap plastic around the cabin and didn't have anywhere near as many rattles and noises and this new car does. It's a shame as it spoils the enjoyment of the car. I don't trust the dealers near me to go to the effort of taking everything apart to try and sort this issue out, like what's detailed here. It was about 3 hours I spent messing around with it today. I'd be surprised if they even bothered to investigate it as opposed to calling it a 'characteristic' or some nonsense! If you have the same issue and are wanting to attempting a fix, all the info in this subject thread is enough to get you through. Just take it easy and don't force anything - it's cheap hard plastic which cracks and breaks if forced too much. Wither it will sort the issue... that's another thing altogether.1 point
-
1 point
-
@Nmh Did you get this fault resolved?1 point
-
I had a flickering then non working headlight bulb on and off since upgrading to LED. A warranty claim with the manufacturer was successful and new bulbs arrived today. Swapped the non working one out and all is well again. In the process of checking things under the bonnet I discovered the battery was not actually clamped down and had slid out from under the catches on the battery tray. No UK stock for the spare from OEM and Amazon was a long lead time too. So I thought an OEM- one from Ali express would suffice. Also picked up new front discs and pads to try and finally solve the brake shudder.1 point
-
The damage in this picture is affecting the connection I would expect yours to have damage at. (Driver's window switch input)
 1 point
 -
From your excellent investigations I would think the problem is almost certainly a corrosion problem that is affecting the driver's side motor module circuitboard. The pin of the connector on the board which is the input which controls the right (driver's side) window from the switch, specifically. I have posted lots of images of the sort of damage that can occur under the connector body, but can't remember which thread they are in. I'll search out one or two examples and post here shortly. Replacement or repair of motor will be only effective solution, I believe.1 point
-
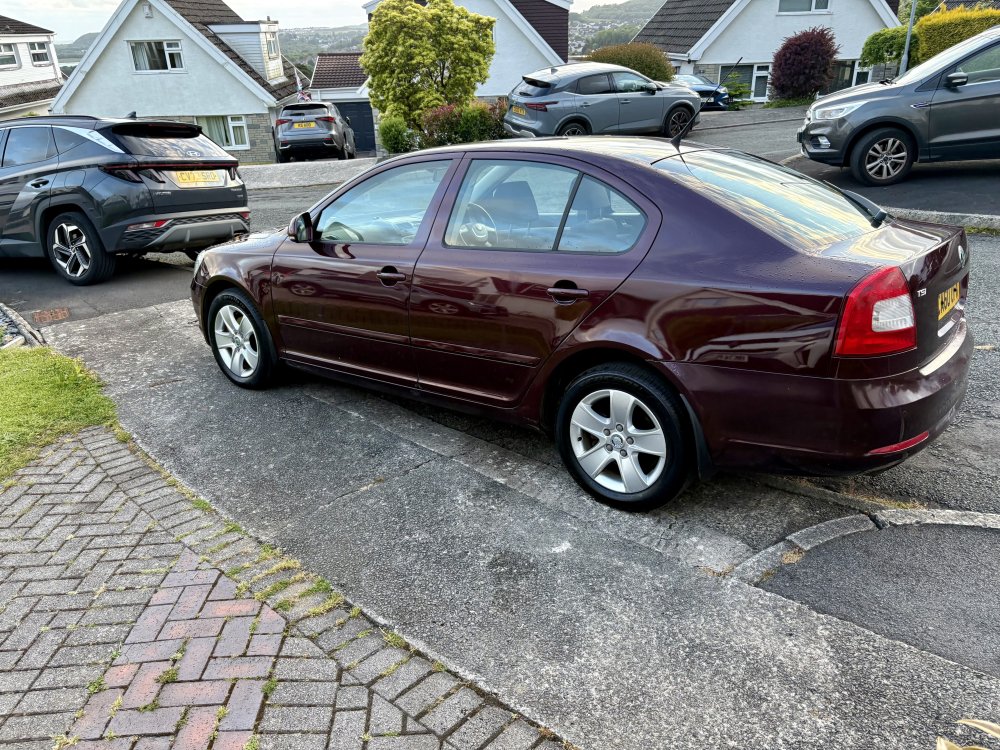
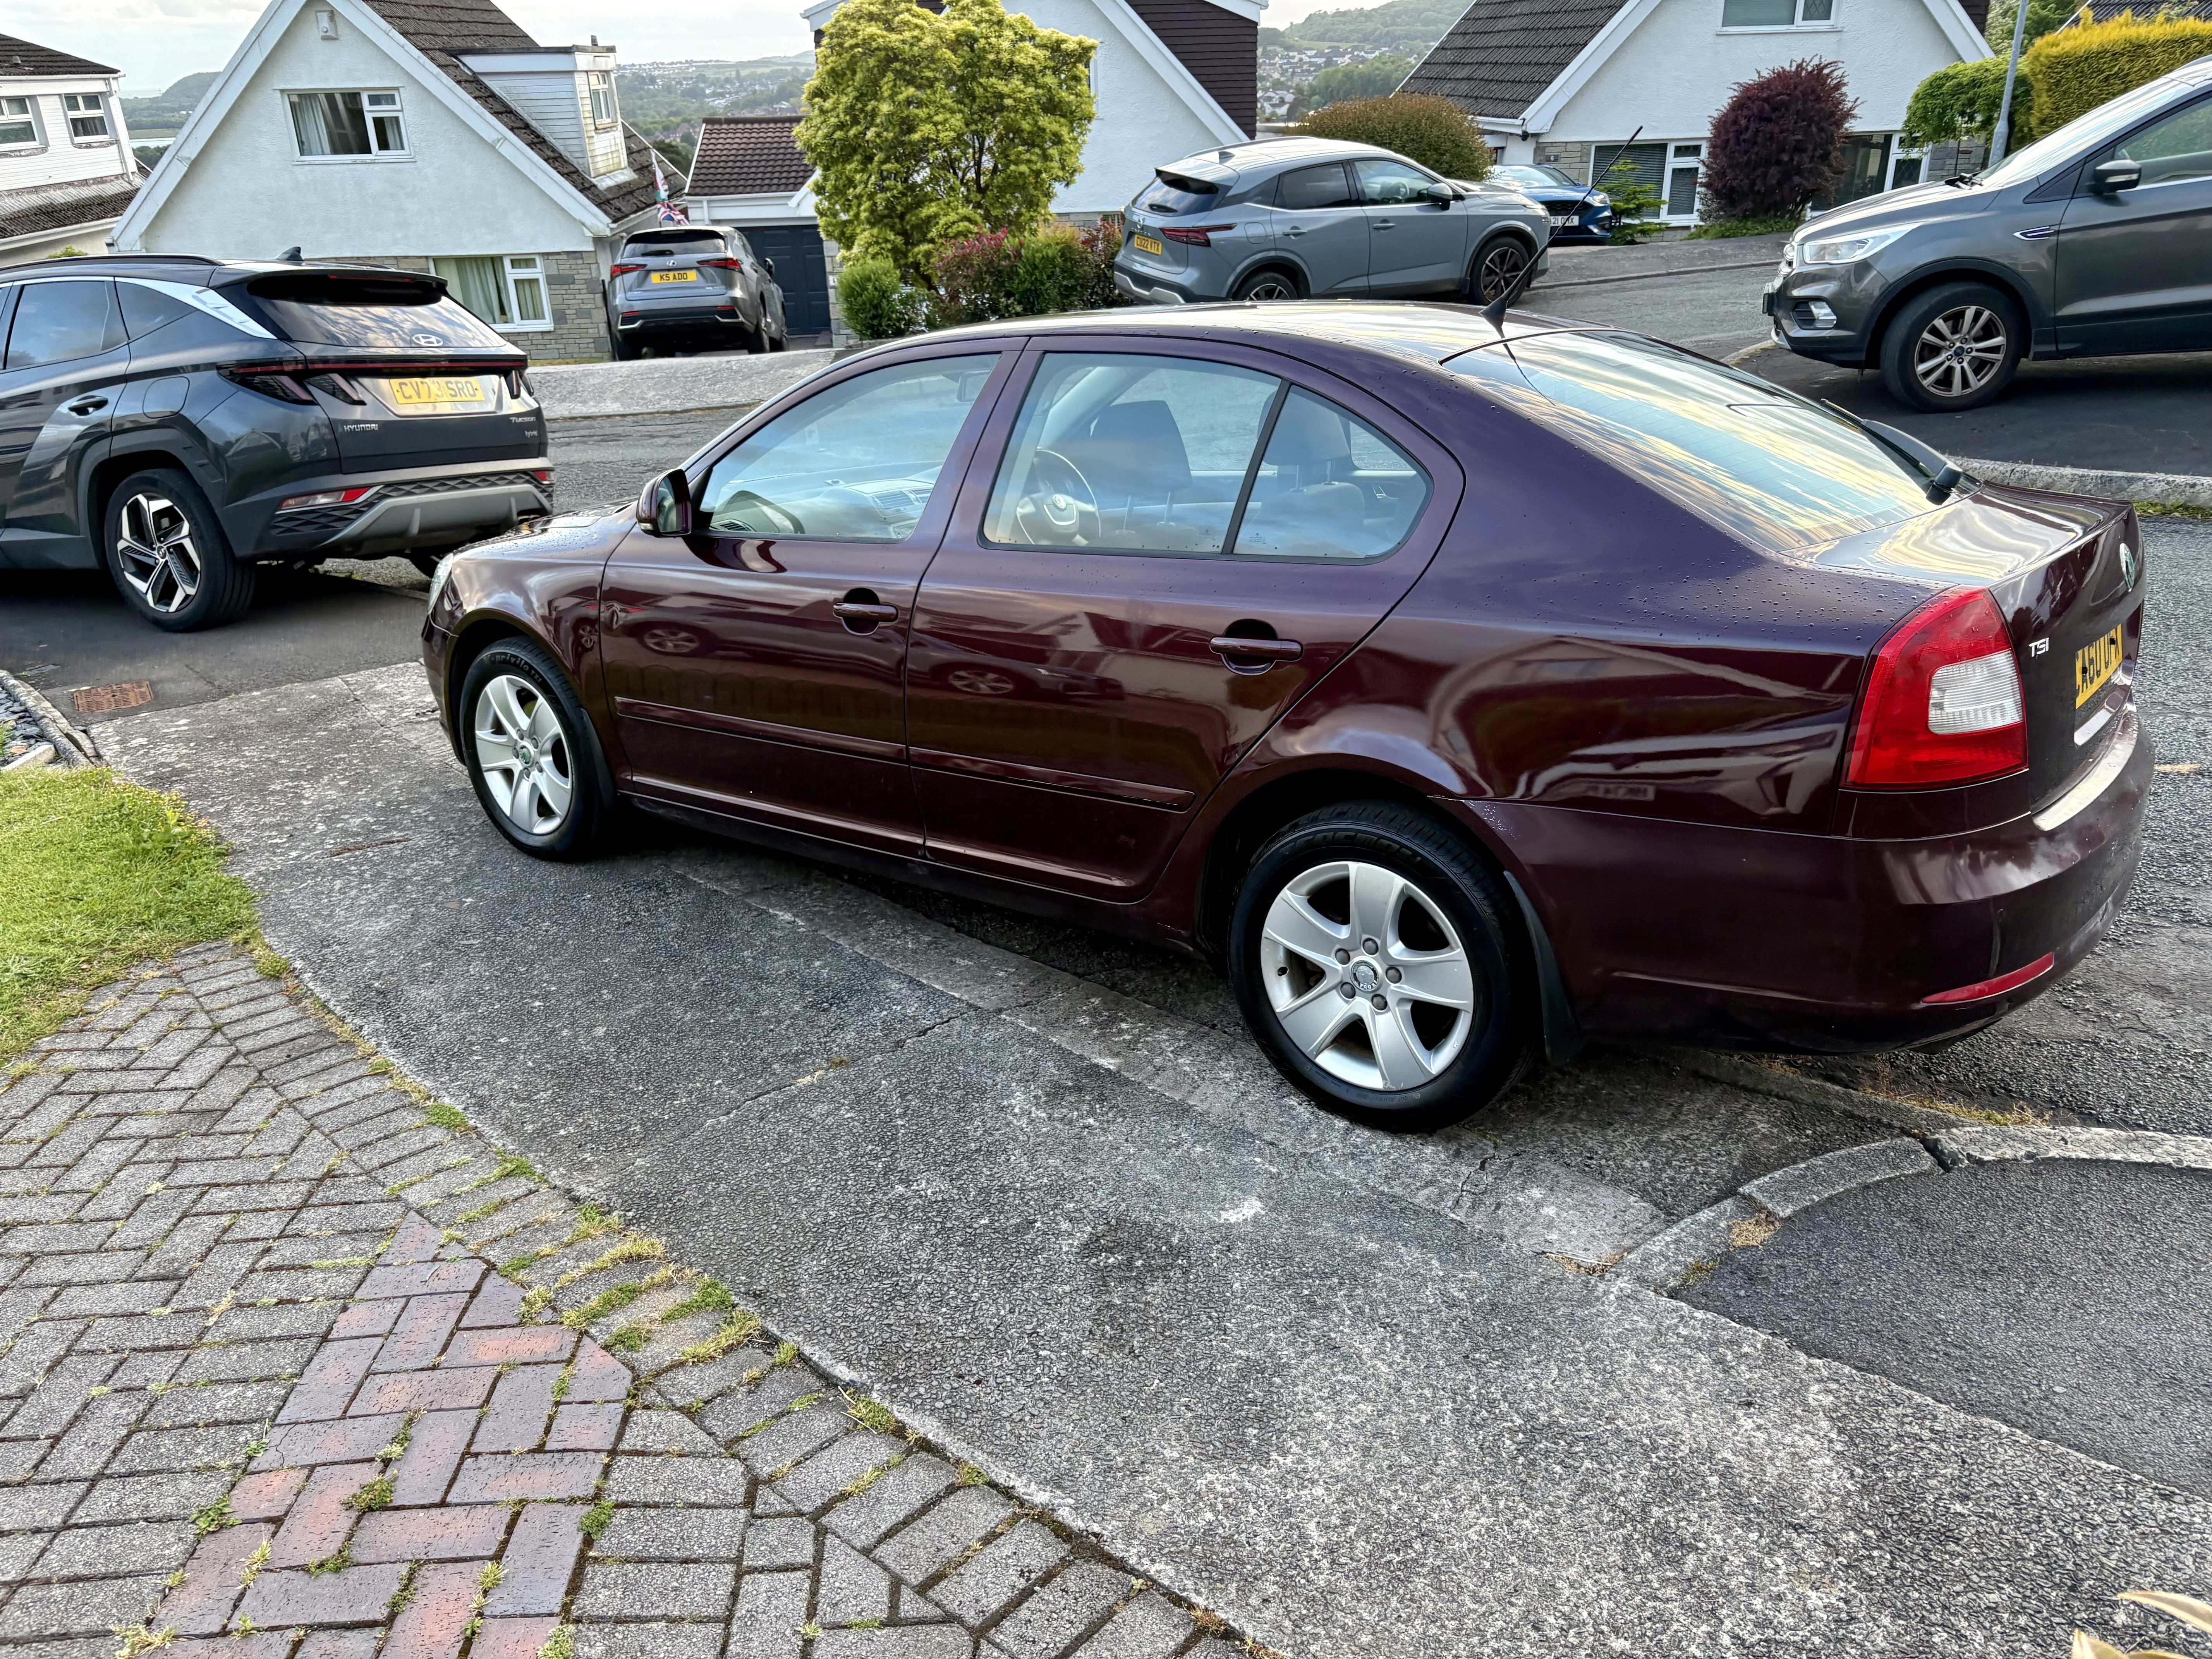
A nice bit of morning sunshine and no plans with the family meant I could finally finish wrapping the passenger side chrome strip. The rear quarter light has some dings on the chrome from an unknown event with the previous owner so that took about 4 failed attempts to get right. Eventually got it looking good enough with the only tiny crease of the whole project. It looks great from a distance, just don’t look too closely! As I say with a lot of my projects “Stevie Wonder would be pleased to see it” Just the roof rails to swap out and then the full dechrome is complete. They require a guaranteed dry day so may be some time before I attempt that!
 1 point
 -
That’s a wrap! pause for applause and general mirth A nice bit of morning sunshine and no plans with the family meant I could finally finish wrapping the passenger side chrome strip. The rear quarter light has some dings on the chrome from an unknown event with the previous owner so that took about 4 failed attempts to get right. Eventually got it looking good enough with the only tiny crease of the whole project. It looks great from a distance, just don’t look too closely! As I say with a lot of my projects “Stevie Wonder would be pleased to see it” Just the roof rails to swap out and then the full dechrome is complete. They require a guaranteed dry day so may be some time before I attempt that!
1 point
-
1 pointMy 2024 Octavia has now been back to the dealer multiple times for this exact issue, most recently for a three-week period of diagnosis and road testing with Skoda technical involved after we rejected the vehicle. Skoda have emailed the dealer to say the issue is caused by the engine ECU shutting down the engine in order to protect the dual mass flywheel when it detects a potential stall condition at low RPM. So it's working as designed and there is no fault. Their official guidance is to modify your driving style to avoid low RPM in higher gears. I have searched through the user manual and on Skoda's website but can find no mention of this. Learner drivers have been taught the "brakes to slow, gears to go" mantra and to use block gear changes for decades (as per DVSA guidance), so for VW Group to tell us otherwise is astonishing. I have kept a detailed log of incidents and I will now be submitting a report to DVSA.1 point
-
DSG service and brake fluid change today at 129,323 miles. As far as I can tell from the service history it’s the first ever brake fluid change and the second DSG service with the first being at 110,000 miles. The garage said the oil looked clean and nothing untoward so hopefully the lack of previous servicing hasn’t done too much damage!1 point
-
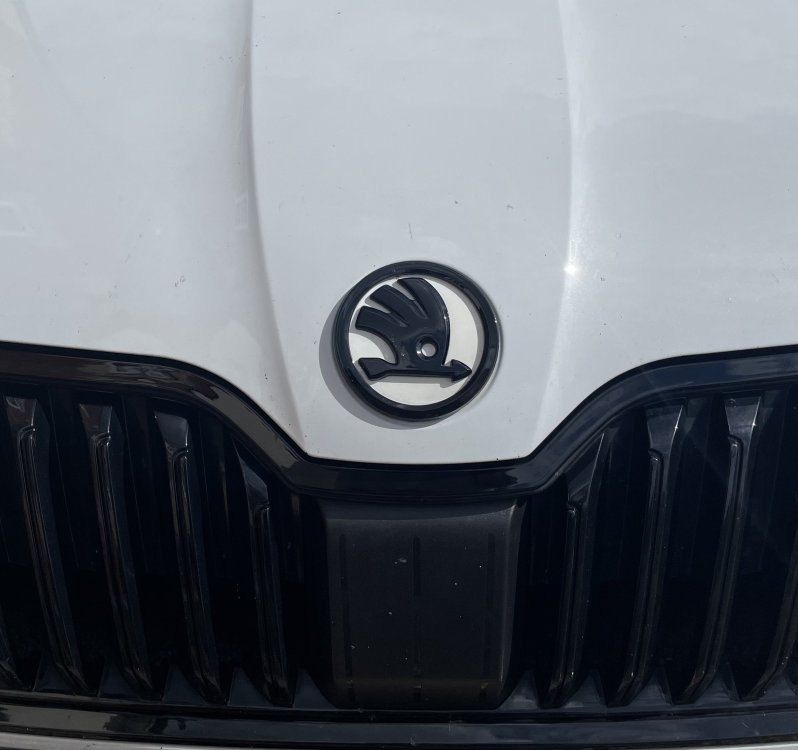
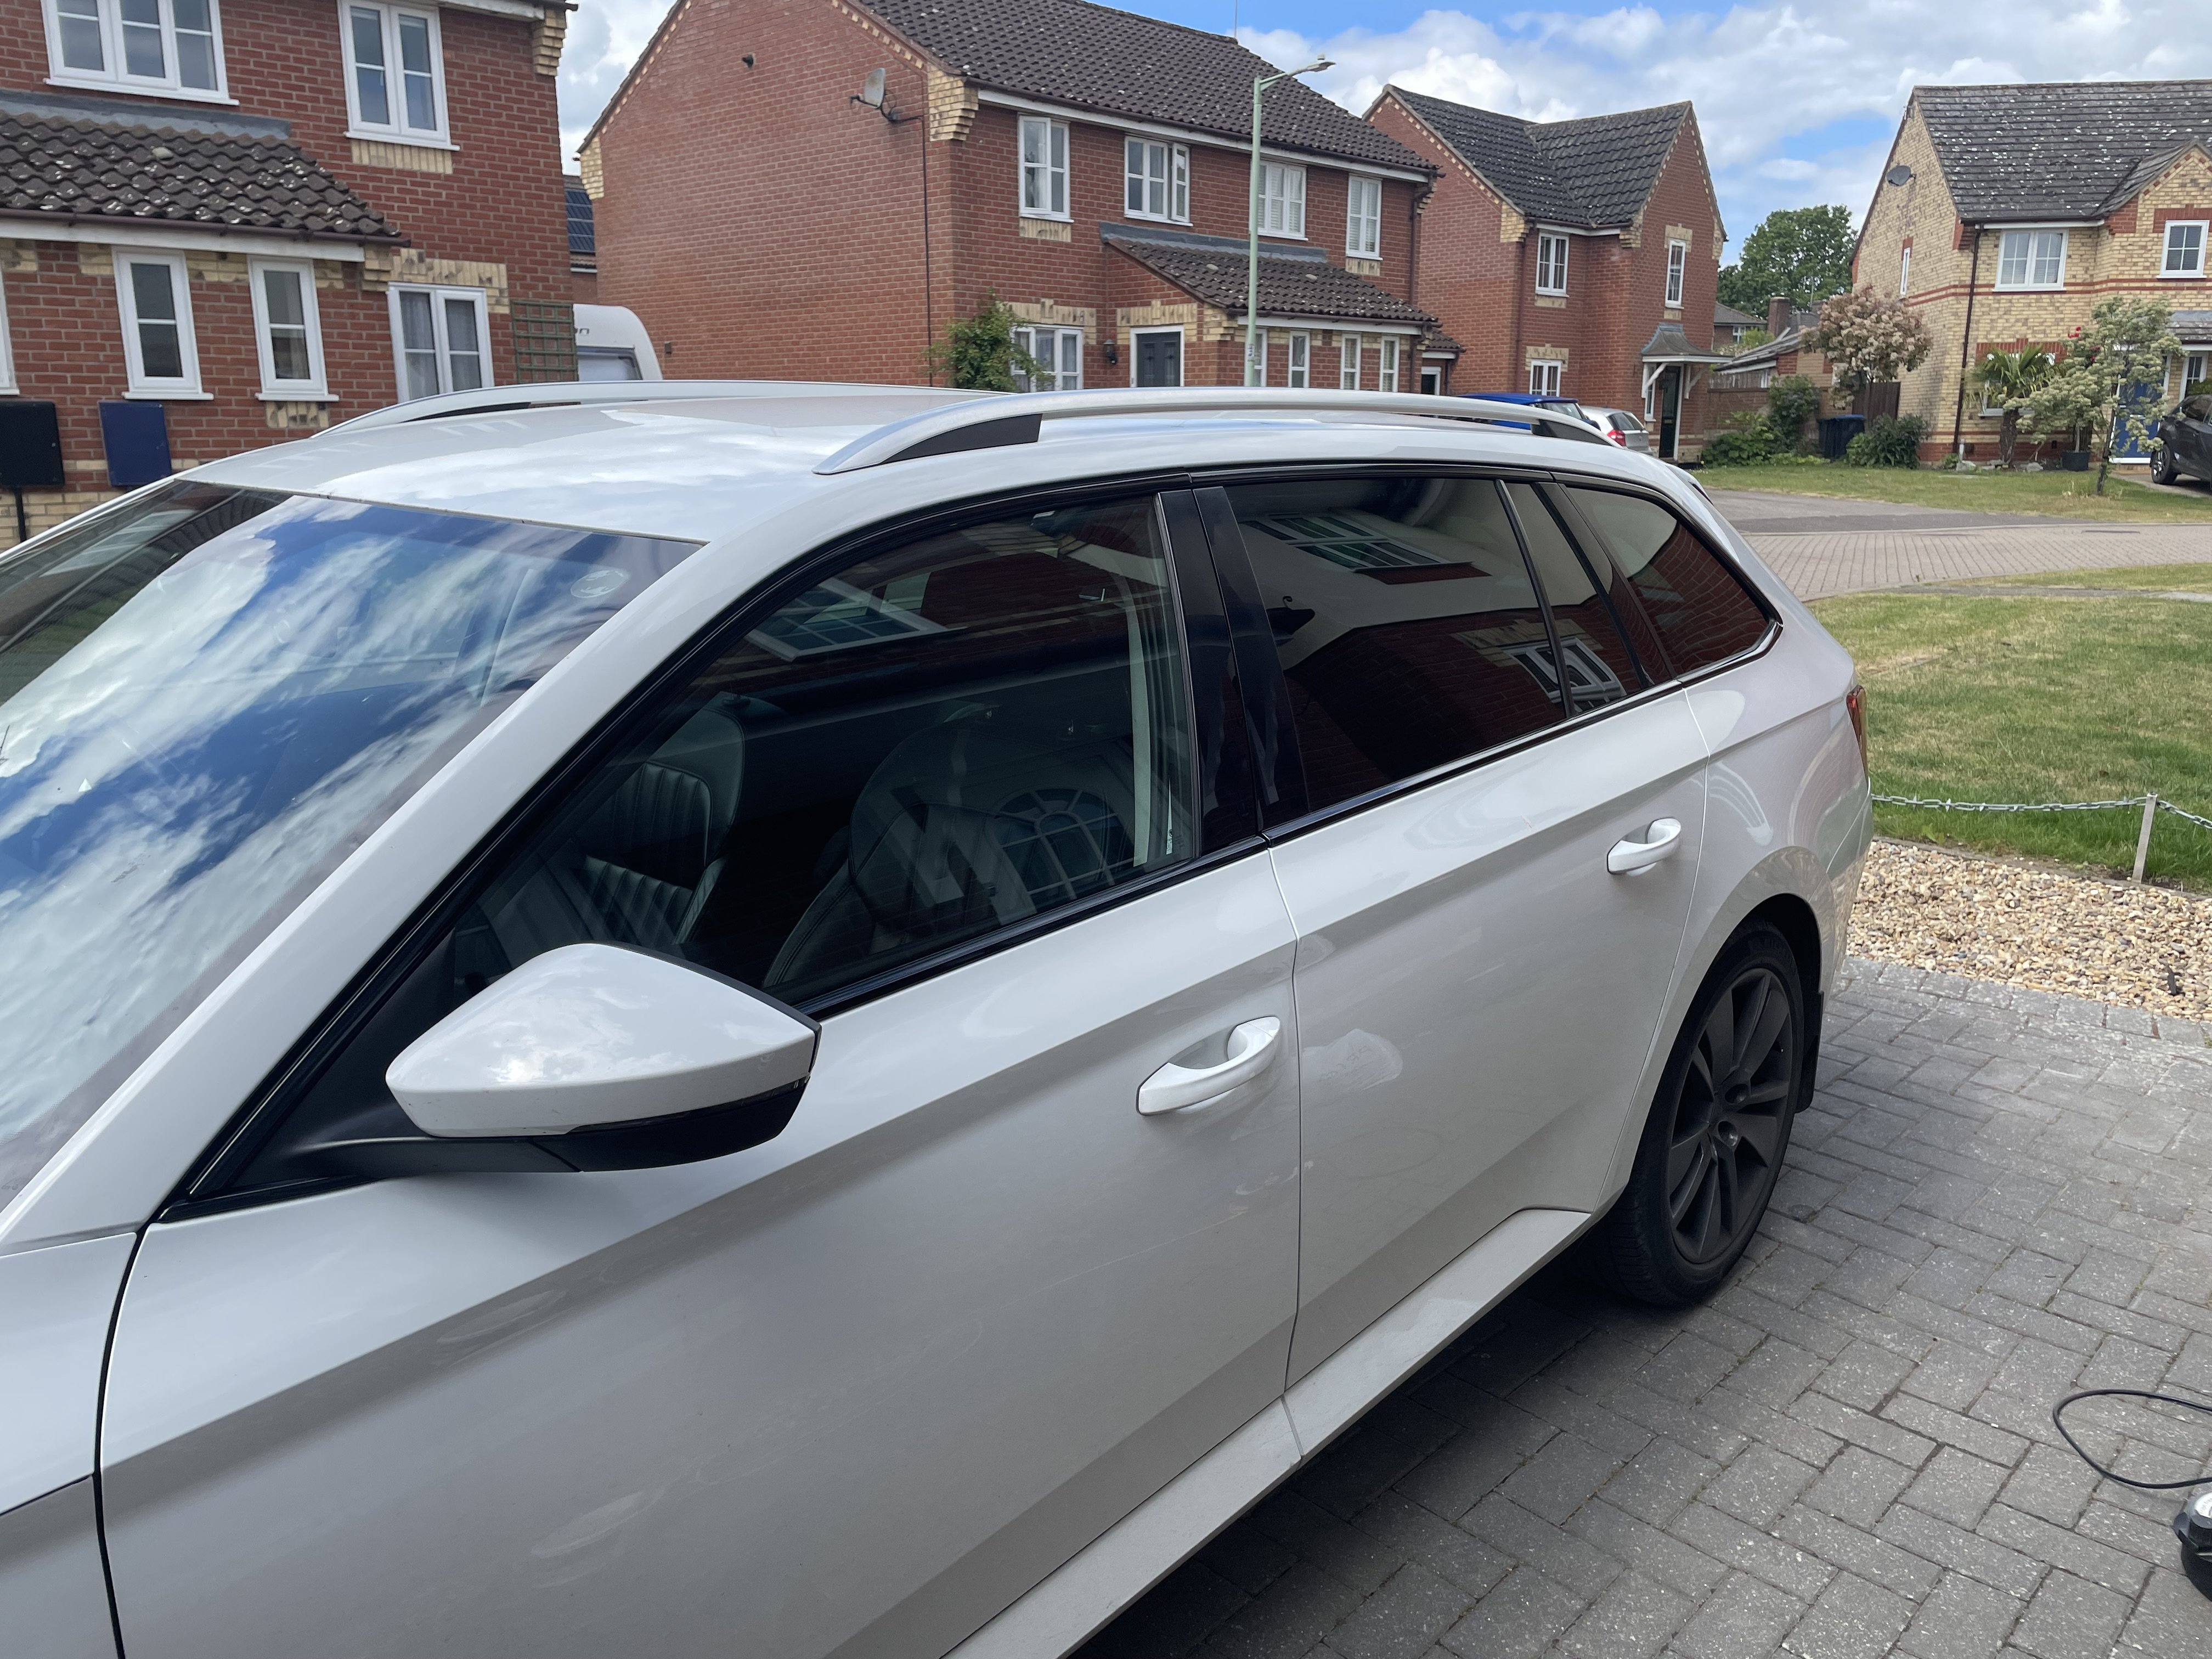
Now fitted on the car and much better clean look I was after.
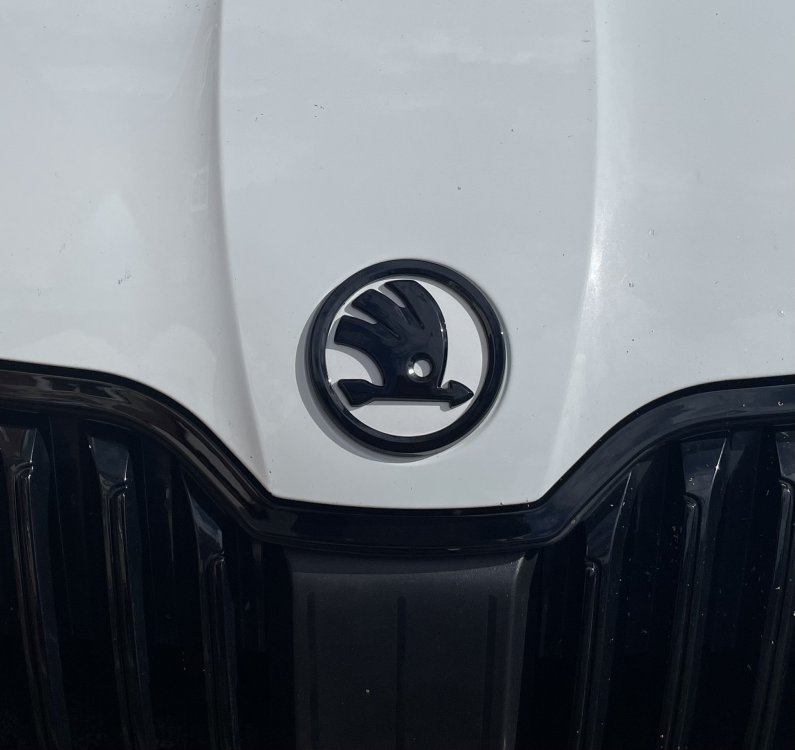 1 point
 -
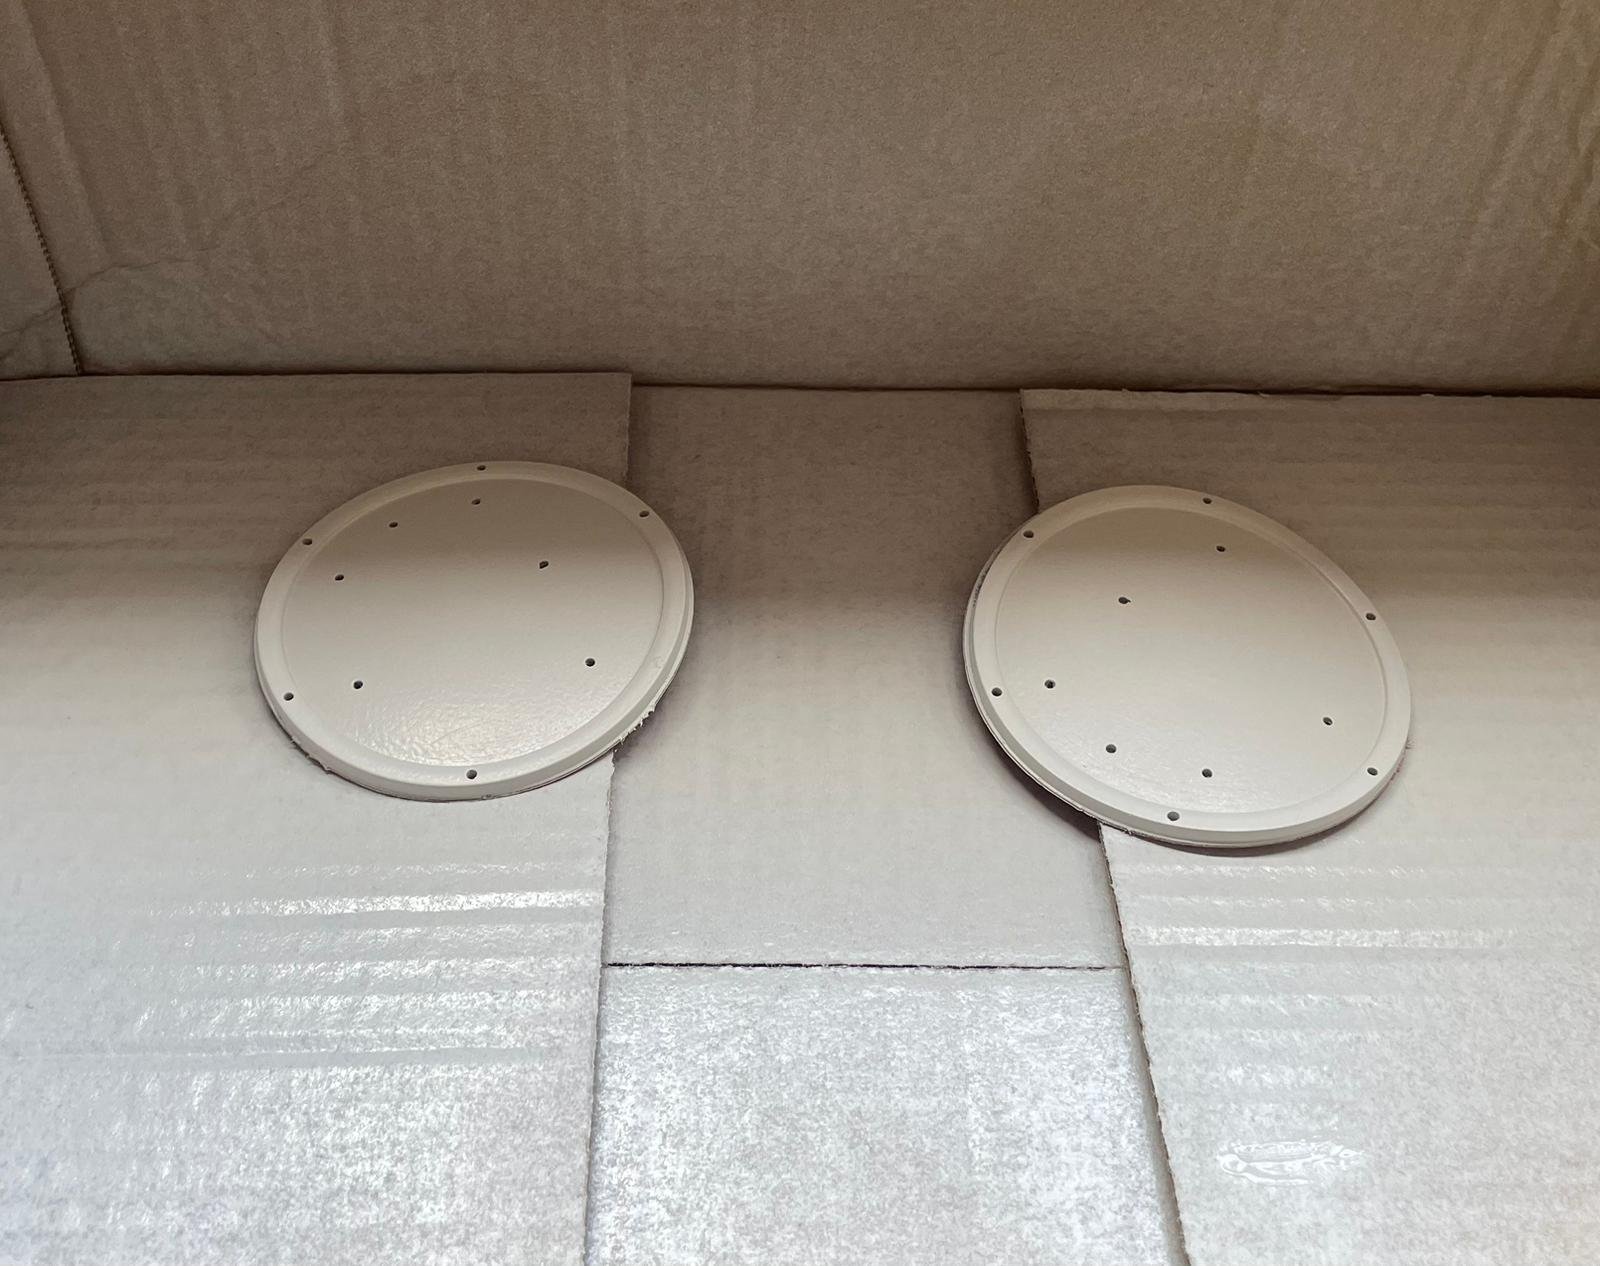
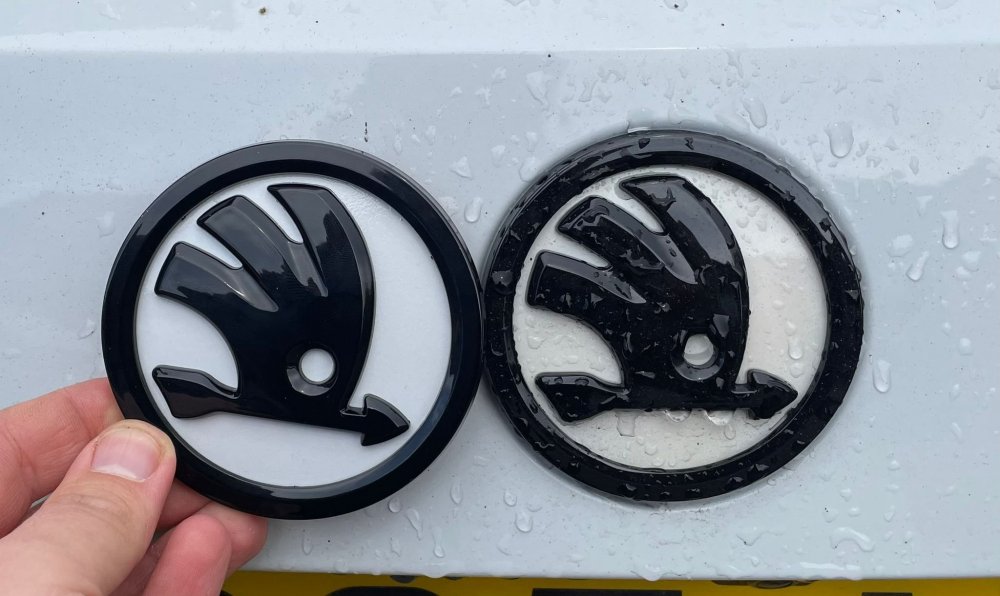
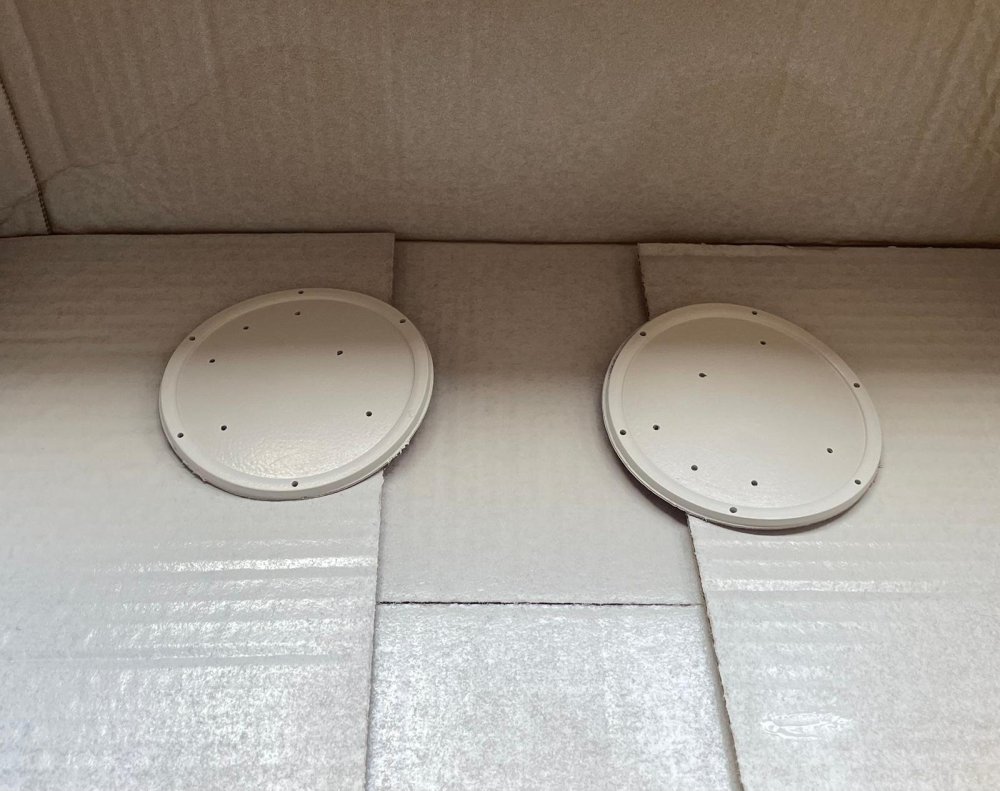
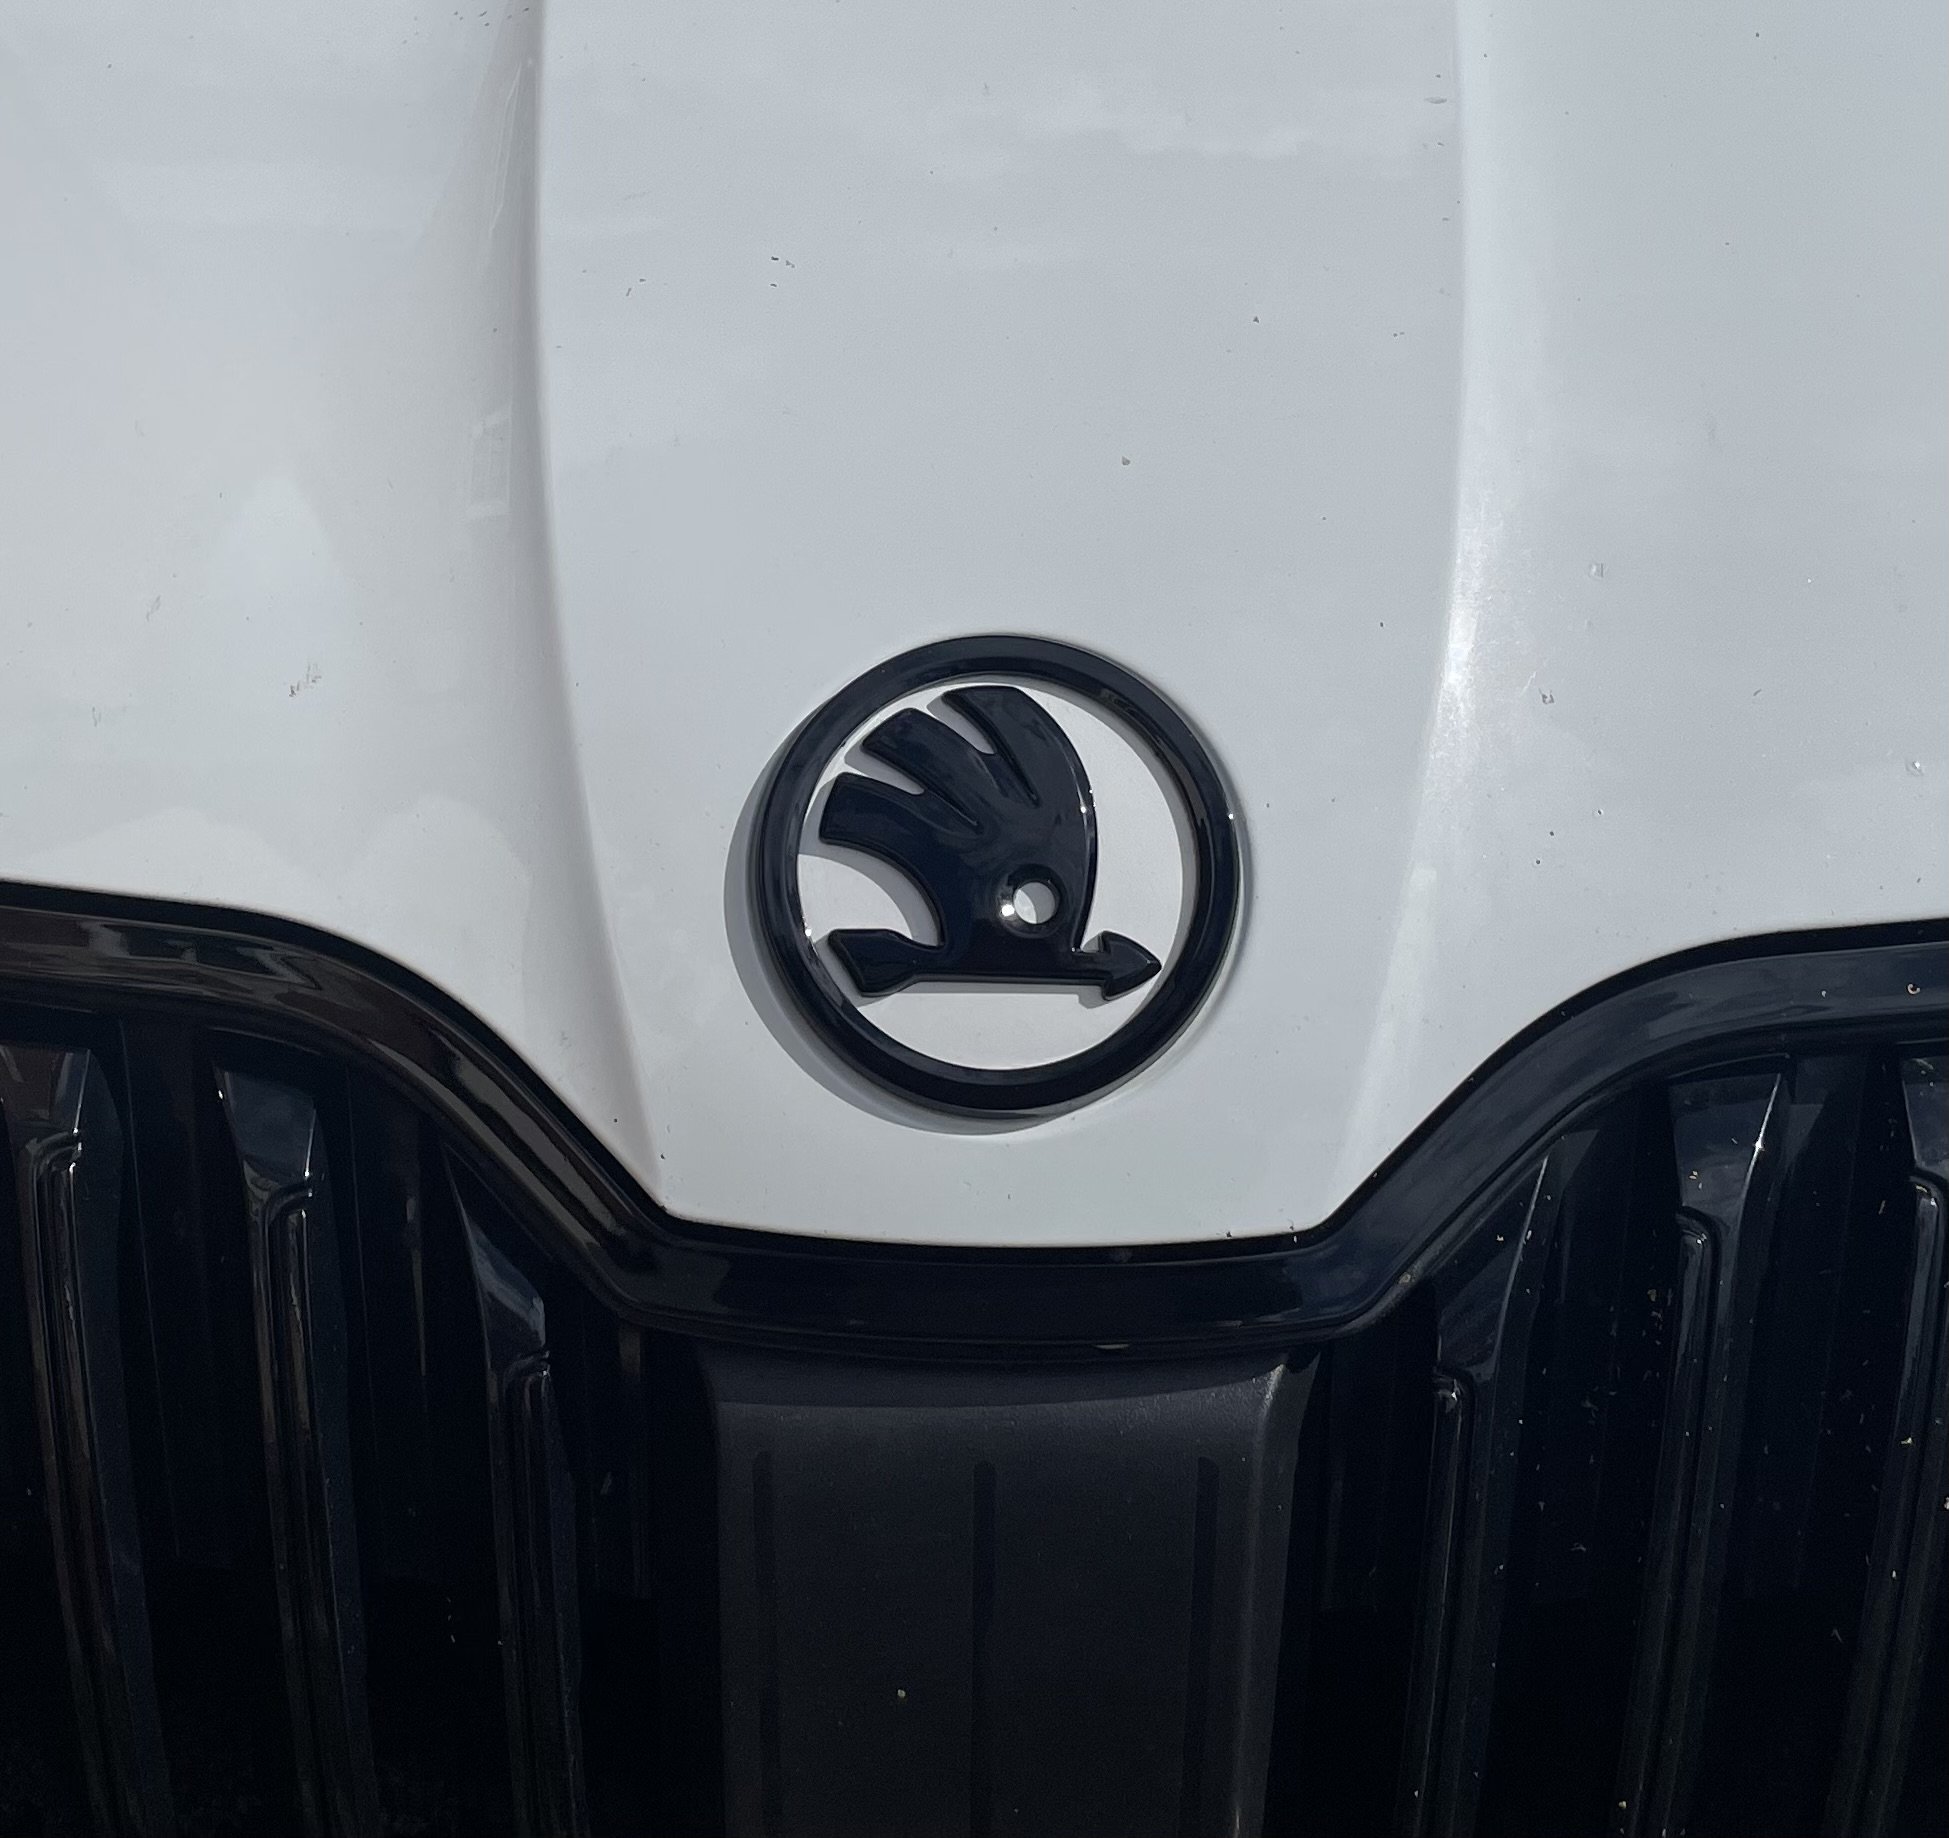
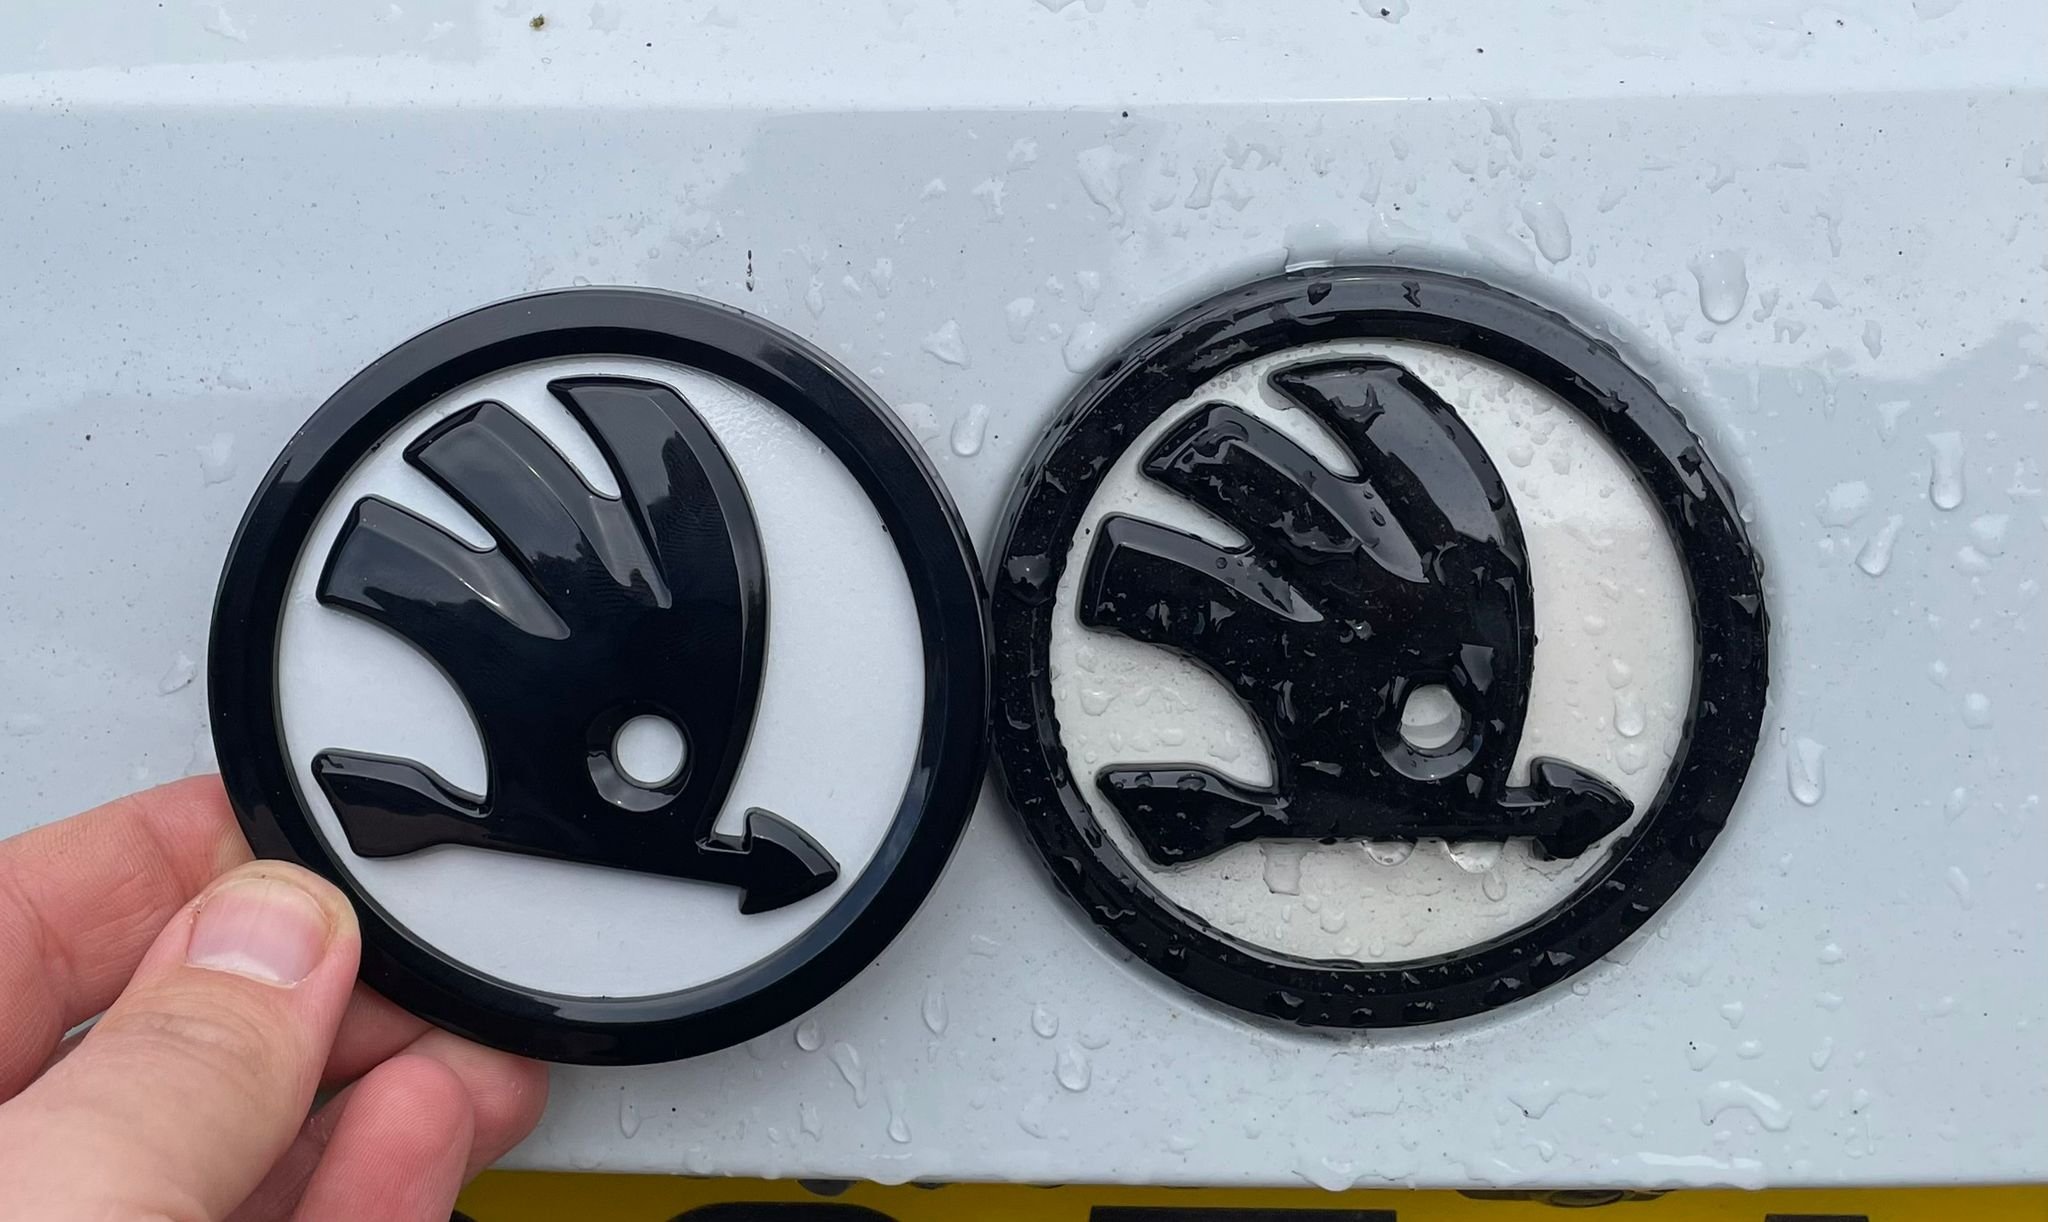
I bought some black/white Skoda badges from AliExpress but the white wasnt quite right (more like candy white rather than Moon White of my car) and wasn't the clean look I was hoping for. I refuse to pay £100 for two Skoda badges from Kopacek so decided to make my own. I ordered another pair of Black/White badges from AliExpress. I thought I would use the White background ones so that the paint had a pale base layer to go onto. https://www.aliexpress.com/item/1005009424974993.html I then ordered some colour matched spray paint including clear lacquer. https://www.ebay.co.uk/itm/166899014624 And finally some specialist hard plastic glue as SuperGlue doesn't work well on the ABS plastic these badges are made from https://www.amazon.co.uk/dp/B0001OZI5C First step was to dissasemble the badges. These come off quite easily with a slight bend of the back plate and gentle pry from a trim tool. I labelled each badge A/B and put the black parts in labelled bags so that they would reassemble properly. The whole of the white area of the badge as roughed up with some fine sandpaper and then wiped over with Isopropyl alcohol to remove any dust and residue. These then had 3 gentle coats of basecoat At this point I was slightly concerned that the colour didnt look much different so I painted a small portion of the cardboard with OEM touch up paint as comparison and it was spot on. This can be seen at the bottom right of the above picture, so I was happy to crack on. Next was two gentle coats of clear lacquer and this really brought out the colour and the metallic in the base coat. The photos really don't do it justice. Then came reassembly. The glue is the type that gets applied to both parts separately, allowed to dry for a few minutes and then assembled. These went back together well and will be left for a couple of days to fully cure. In between the rain showers I had to have a quick comparison with what I started with. It looks brilliant in person and hopefully shows up on the photo below. With the car clean, and not covered in rain, I think the colour match will be perfect and a certain improvement over the standard AliExpress badge. Total cost was just under £30 so cheaper than one Kopacek badge without delivery and took approx half an hour of work and a couple of hours of drying time all in. No real skill required other than a gentle hand on dissasembly and ensuring light coats of paint to avoid runs. Im not sure if OEM badges dissasemble in the same way, so this could potentially be done with an OEM Monte Carlo badge to ensure fitment to the car is perfect. I shall await some better weather and get them installed on the car and update with further pictures when that's done.
.thumb.jpeg.c96caf45993089d71e4228855247734f.jpeg)
.thumb.jpeg.2edfe75ee2886e2f3fad9b19cd06a9d6.jpeg)
.thumb.jpeg.a160e72fc69e3600ca70b2fe7832e293.jpeg)
 1 point
 -
Now installed. Forgot to get a “before” picture of the back! Before: After:
 1 point
 -
Sounds like a lemon to me, I got my Scala Monte Carlo 1.5 tsi new back in June 2024, only problems I have had are small like false alerts saying indicator lights are not working which disappear on an engine restart.1 point
-
1 point
-
1 pointWhilst doing a radar recalibration with a wheel alignment is a thing (by the books), it is not really a must. Over the 8+ yrs I've had Gandalf, I've done at least a dozen wheels alignments without the radar calibration. No issues with the radar, steering or assist systems. All tracks well with ACC and Lane Assistance etc. etc. Even if u did want to do it, biggest issue is finding someone who can do the radar calibration!!1 point
-
2 years. Comes from @varooom who is sadly no longer here but definitely from the inside and pretty much font of all knowledge.
 1 point
 -
The white colour of the black/white Skoda badges from AliExpress I now have on the car isn't quite right (more like candy white rather than Moon White) and doesn't give the clean look I was hoping for. I refuse to pay £100 for two Skoda badges from Kopacek so decided to make my own. I ordered another pair of Black/White badges from AliExpress. I thought I would use the White background ones so that the paint had a pale base layer to go onto. https://www.aliexpress.com/item/1005009424974993.html I then ordered some colour matched spray paint including clear lacquer. https://www.ebay.co.uk/itm/166899014624 And finally some specialist hard plastic glue as SuperGlue doesn't work well on the ABS plastic these badges are made from https://www.amazon.co.uk/dp/B0001OZI5C First step was to dissasemble the badges. These come off quite easily with a slight bend of the back plate and gentle pry from a trim tool. I labelled each badge A/B and put the black parts in labelled bags so that they would reassemble properly. The whole of the white area of the badge as roughed up with some fine sandpaper and then wiped over with Isopropyl alcohol to remove any dust and residue. These then had 3 gentle coats of basecoat At this point I was slightly concerned that the colour didnt look much different so I painted a small portion of the cardboard with OEM touch up paint as comparison and it was spot on. This can be seen at the bottom right of the above picture, so I was happy to crack on. Next was two gentle coats of clear lacquer and this really brought out the colour and the metallic in the base coat. The photos really don't do it justice. Then came reassembly. The glue is the type that gets applied to both parts separately, allowed to dry for a few minutes and then assembled. These went back together well and will be left for a couple of days to fully cure. In between the rain showers I had to have a quick comparison with what I started with. It looks brilliant in person and hopefully shows up on the photo below. With the car clean, and not covered in rain, I think the colour match will be perfect and a certain improvement over the standard AliExpress badge. Total cost was just under £30 so cheaper than one Kopacek badge without delivery and took approx half an hour of work and a couple of hours of drying time all in. No real skill required other than a gentle hand on dissasembly and ensuring light coats of paint to avoid runs. Im not sure if OEM badges dissasemble in the same way, so this could potentially be done with an OEM Monte Carlo badge to ensure fitment to the car is perfect. I shall await some better weather and get them installed on the car and update with further pictures when that's done.
1 point
-
Just had new bulbs fitted to replace old factory xenon bulbs. I went for D3S Osram Xenarc Blue Intense and they are fantastic. Car is Superb Sportline 280 year 2018
 1 point
 -
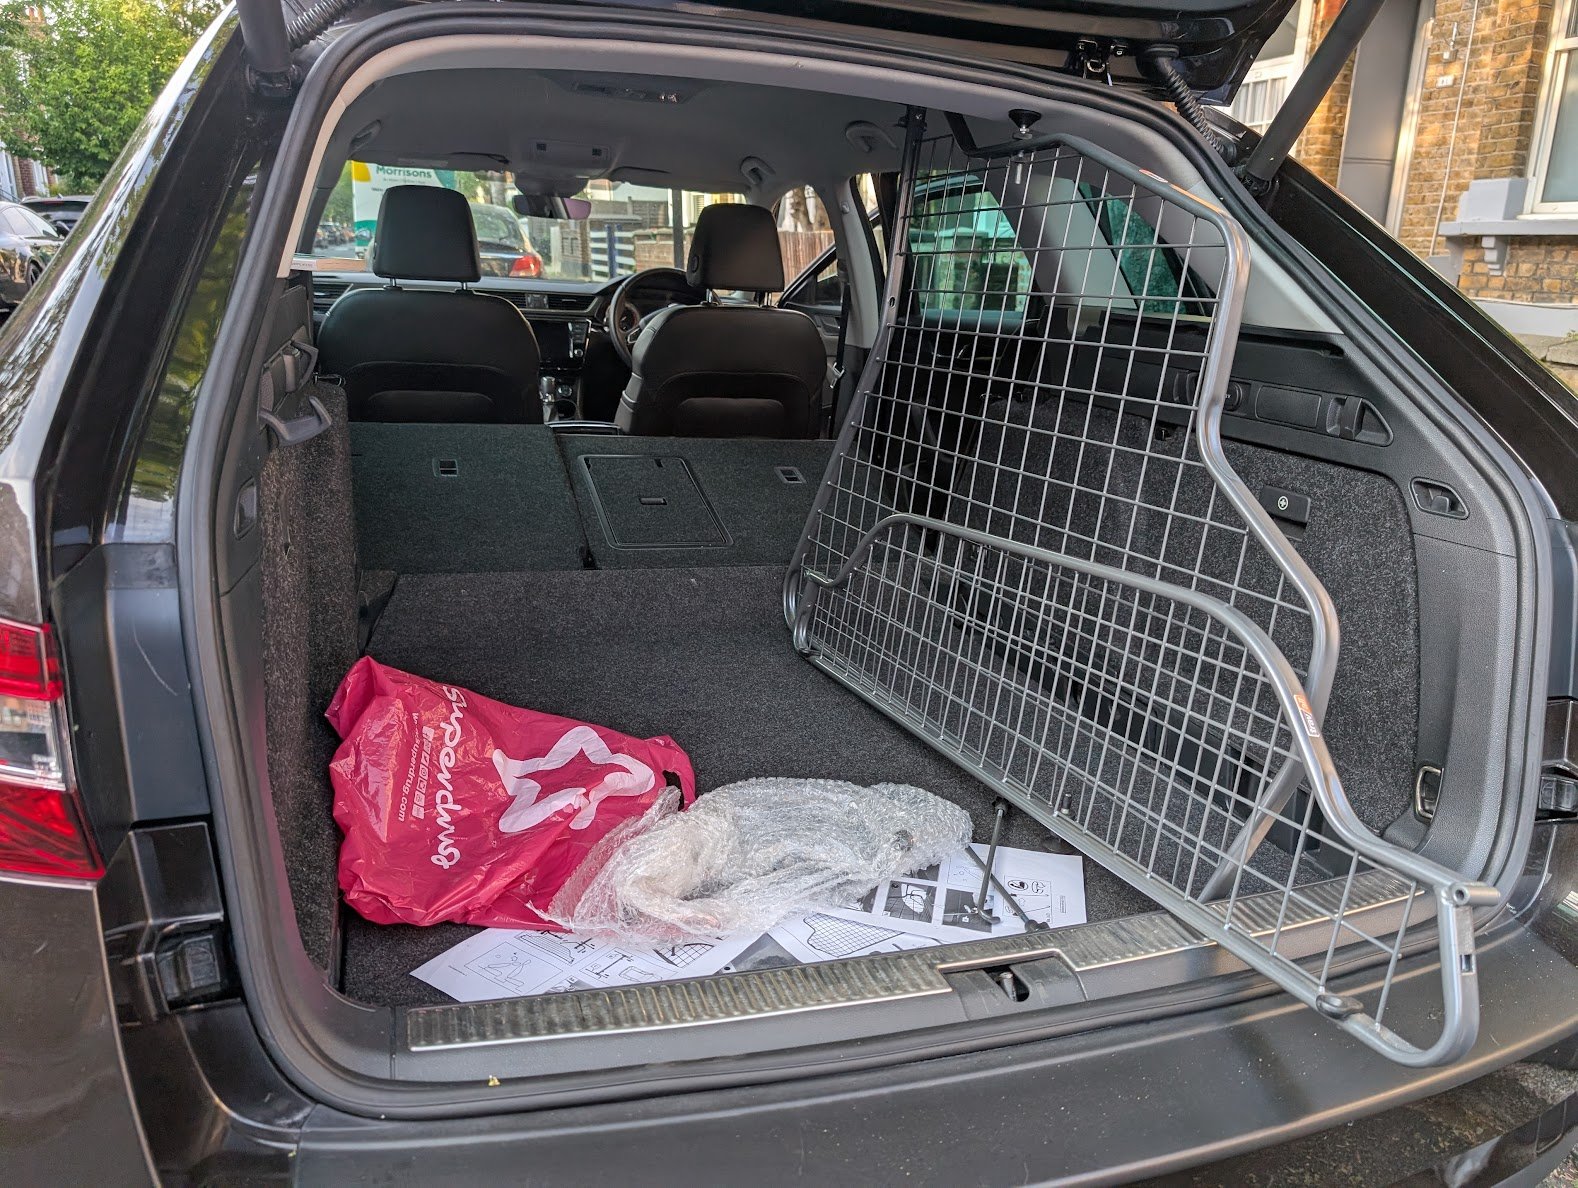
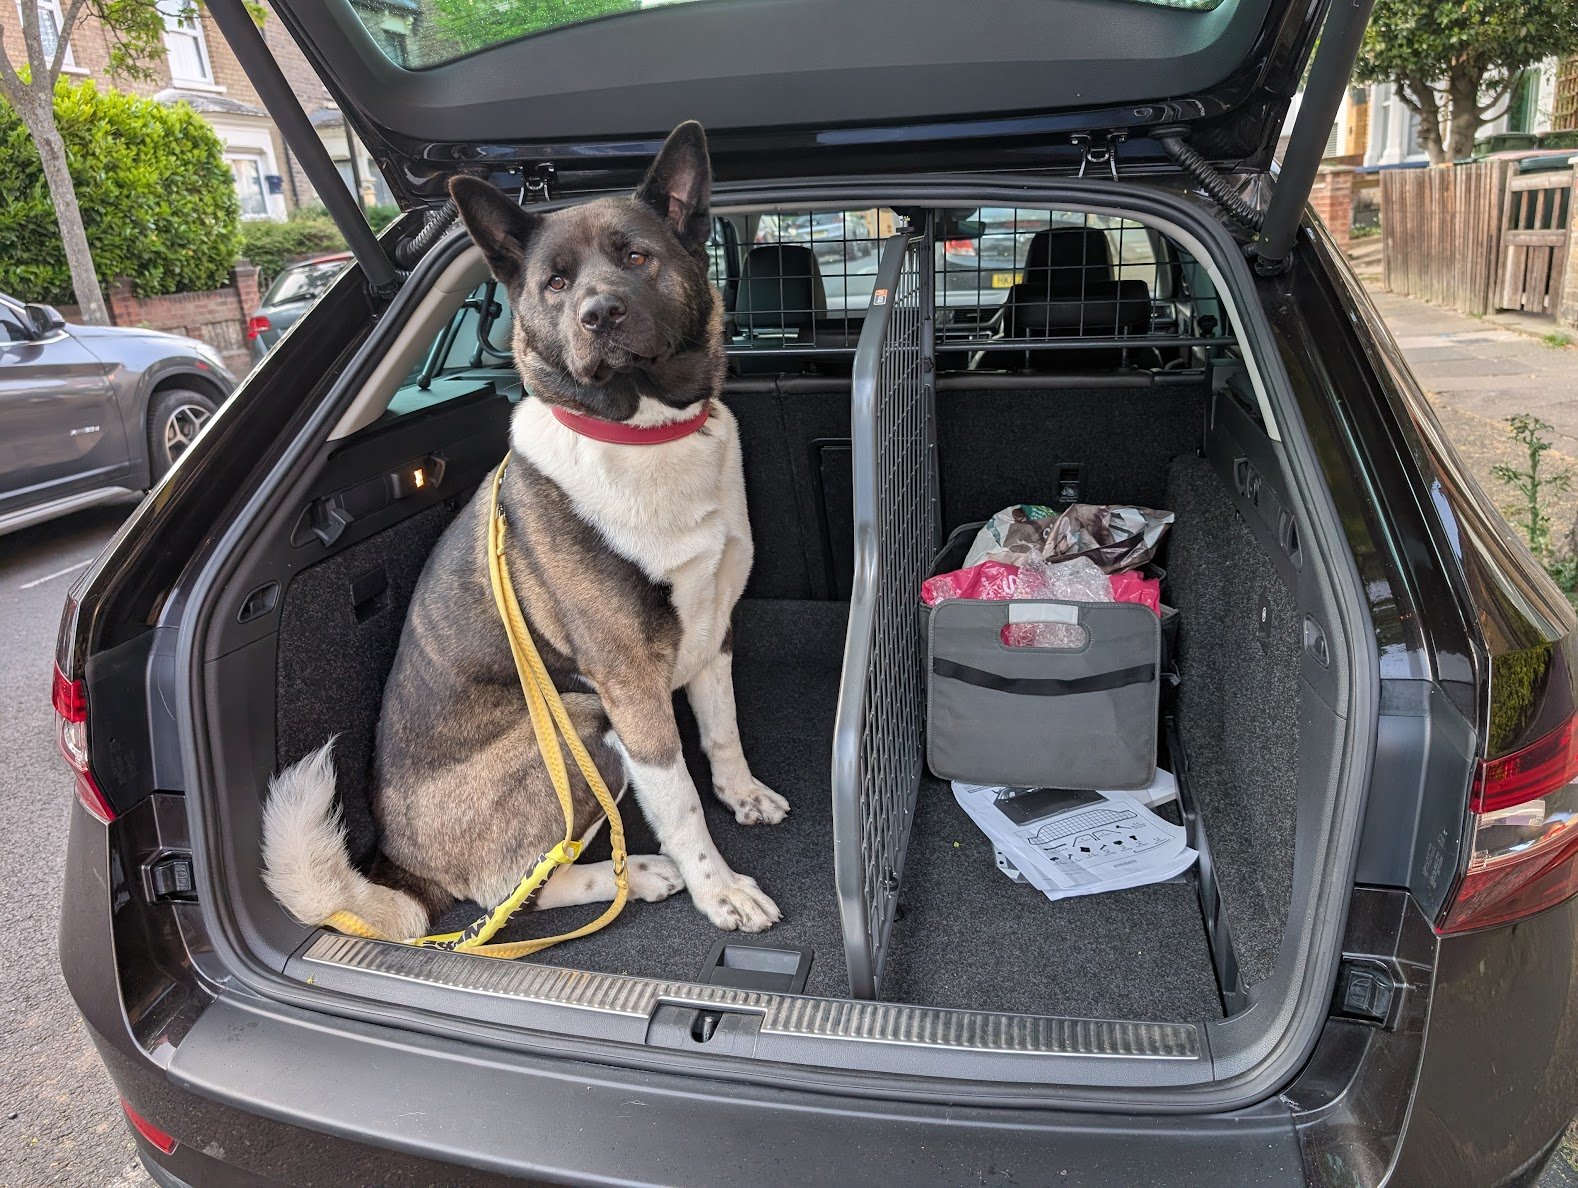
2nd job was to fit the dog guard and divider. I was marvelling at how big the boot was and then I put the dog in the car.

 1 point
 -
1 pointPull those plugs out after a couple of thousand miles and check to make sure they are not covered in carbon. Seems to be an issue with some tunes as the step colder is not really needed over the OEM plug. I’m sure the car feels completely different now. Mine did. Makes them such a useful daily tool, and a much more pleasant experience for safe overtaking and general driving.1 point
-
The braking faults 0668 could be caused by a low power connection to ABS or bad earth but you seem to have a fair range of faults mainly electrical What is the condition and age of battery. Might be worth checking voltage with engine off. A low battery can cause all manner of problems. Also check the fuses in engine bay near battery for corrosion or looseness as well as earth points etc. Alasdair1 point
-
If they clear the fault codes then there will be none to read and lights will be off. If its a faulty abs/speed sensor it will create new codes every time it fails and lights come on. If the lights are on get it scanned with vcds. Dont clear any codes first. If its a bad sensor it should tell you which one. It could be a broken wire to a sensor or a failing ABS sensor. It could also be a bad bearing/sensor ring. Alasdair1 point


.thumb.jpg.9dd3f612ba7f13d10be5c518d3c8d255.jpg)

.jpg.870d4292a1060fd5c0c40f9922fd4330.jpg)
.jpg.0cae1a917b8db152cb5933ea573be17b.jpg)
.jpg.6185b63764299c6818d783a7a82be502.jpg)
.jpg.a305fd835685d2e9d2e0fc1ec8da53f4.jpg)


.jpeg.9a17716612e7c9c2069275bdf62f97ad.jpeg)
.jpeg.4f93d171d8dfd5def4883e008097ccae.jpeg)
.jpeg.6a03edb79bc97ced3887dfa9d89fe33c.jpeg)