Leaderboard
-
Lee01
FREEDOM13Points36,936Posts -
.jpg.3745ef413bb0c636456d024dfd5d2fd7.jpg)
Evolution13
Resident Member10Points3,200Posts -
SteveTheElder
FREEDOM7Points2,469Posts -
chills
Members5Points1,780Posts
.thumb.jpg.9dd3f612ba7f13d10be5c518d3c8d255.jpg)



Popular Content
Showing content with the highest reputation on 06/07/26 in all areas
-
Little update since i posted about my Superb 280 going stage 2 back in may. I have questioned the high torque figure ( 618nm) with the tuner and was assured that it's a safe map, ok i left it at that. Three days after remap, car starts burning oil without even being pushed hard. So i switched to thicker 5w40 Castrol Edge ( issue rectified) Week later i pinned it from traffic lights and car cut power after 5000rpm. Gear changes felt really rough and jerky. Questioned it with the tuner, got nowhere.... Then i found on here someone who had similar issues after going to stage 2 and they recommended speaking to Kalam at Russell Road & Racing. From start he was very helpful and informative. I decided to buy one of his dongles and run few logs for him. I was really unhappy when he run me through all the issues he found after my not so professional stage 2 remap.... 1- huge overboost in midrange that went beyond sensor capacity so we couldn't tell how much it was actually putting out 2- car running lean at certain scenarios 3- all the injectors were maxxed out to the point where one started dosing less than others 4- in other scenarios it was over fueling 5- LPFP wasn't configured properly and not providing adequate amount of fuel 6- during overboost it would loose traction in 3rd gear So yeah it hasn't been greatest of experiences and i would certainly advise anyone to do a proper research and before they give their pride and joy to some amateur who doesn't know what they doing. Luckily nothing serious happened to my superb while having the original map. Kalam has provided me fresh ECU and TCU files then with few more updated calibration maps the car is running sweet as anything, power delivery is smooth and linear, no rough upshifts or downshifts, no overheating. Best £431 spent so far 💪🏻 Old power output 390bhp and 618nm New figures after few tweaks some major some minor 405hp 550nm Also added some pops and burbles switchable by driving mode ( this is a first version of pops, they have now been brought down a bit to more OEM sound )VID_20260703_180850~4.mp42 points
-
Welcome to the forum. That engine stalling sounds a lot like a clutch 'bite point' issue - have you noticed there to be a significant difference from the original clutch in the point where the engine revs starts to drop when you start to lift the clutch pedal? Have you tried 'slipping' the clutch a little more when moving off from standstill?2 points
-
2 pointsSpray a liberal amount of silicone on the lower arm bushes and see if the noise goes away. If it is. The only way I’ve been able to remove the noise for any length of time is to fit the rear lower bush with a solid TTS bush and the front lower with a poly bush.2 points
-
2 points
-
That's an incredible difference in power and torque on the old remap. Remind us all not to go for....who did that old remap? Glad you got it sorted. Sounds classy in the clip too. Enjoy!2 points
-
2 points
-
1 pointThis is my first post, so HELLO (and please excuse me for posting my greeting in the wrong place)! My name is Neil and I live in Nottingham. I just bought 367 yesterday - SD07LWS from Copart Bristol. As you might be able to guess due to where I got it from, it has been written-off as a Cat N. This must have been a terrible shame for someone because otherwise the bodywork is exceptional, it hasn't been modified and it's still got only 79K on the clock. Unfortunately now it has a dented rear nearside quarter about the size of a plate which luckily didn't crack the rear light. I'll be trying to get that sorted soon. I have lots of questions, but can post those elsewhere... All the best, Neil.1 point
-
1 pointSounds like the typical issue that plagues Superbs. Mine was doing exactly what you described. I have replaced pretty much whole suspension 2 years ago - shocks, bottom arms with polybushes, drop links, strut mounts and has been ok since. When i worked at Skoda there was a technical bulletin about it and Skoda gave solution which was basically to grease everything but eventually the issue would return.1 point
-
There is probaly some residue of something on the outside of your windscreen The OEM windshield wipers however are made of cheese and terrible, only lasted 6 months. I replaced them with Bosch wipers and they are so much better1 point
-
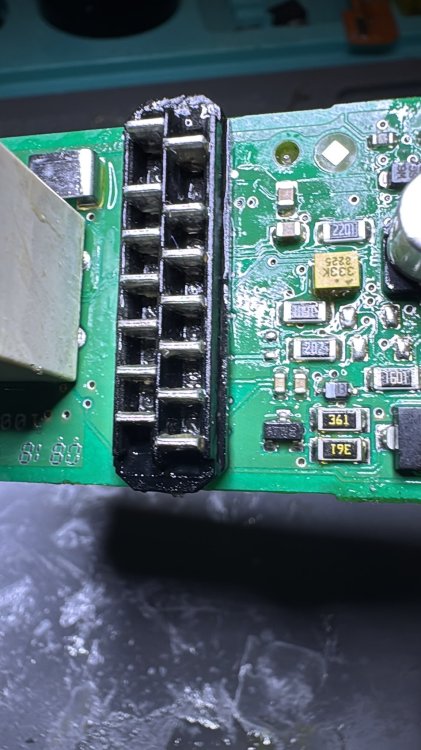
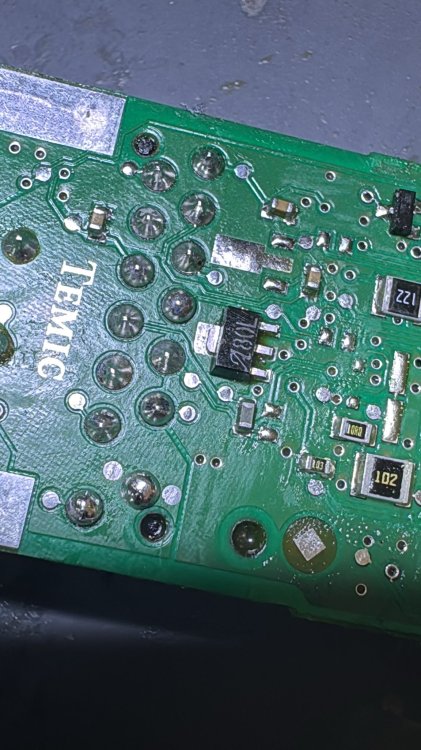
Had these to say all done! Excited to try it back in the car, will be sure to post the outcome
 1 point
 -
Hey, thanks for the welcome! There wasn't really a noticable difference in the 'bite point', the only thing I immediately noticed was the new clutch being significantly lighter to press, but that went away with time. Outside of that I've been driving with revs in mind and start moving with much higher revs than I normally would, but sometimes I don't get the chance to rev up the engine before it shuts off.1 point
-
It is mate and two completely different cars by way they drive and behave. I wont mention any specific names, there is only one garage that does this sort of work where i live. Bloody amateurs He is a top bloke and knows his stuff. His approach is one in a million. Highly recommended1 point
-
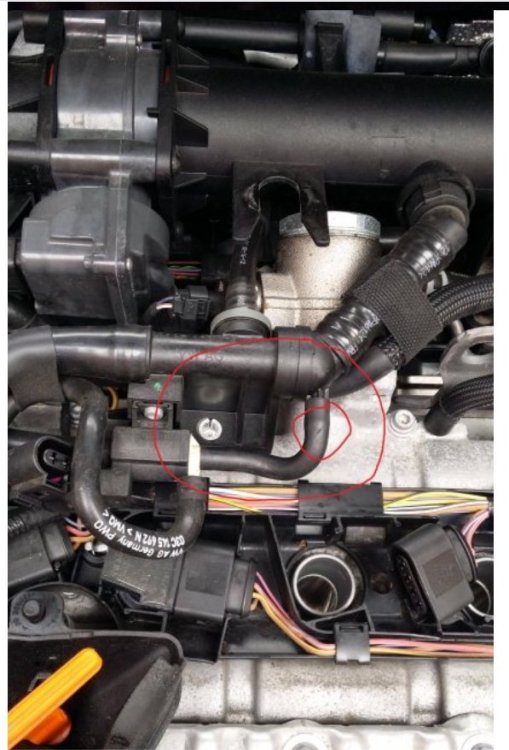
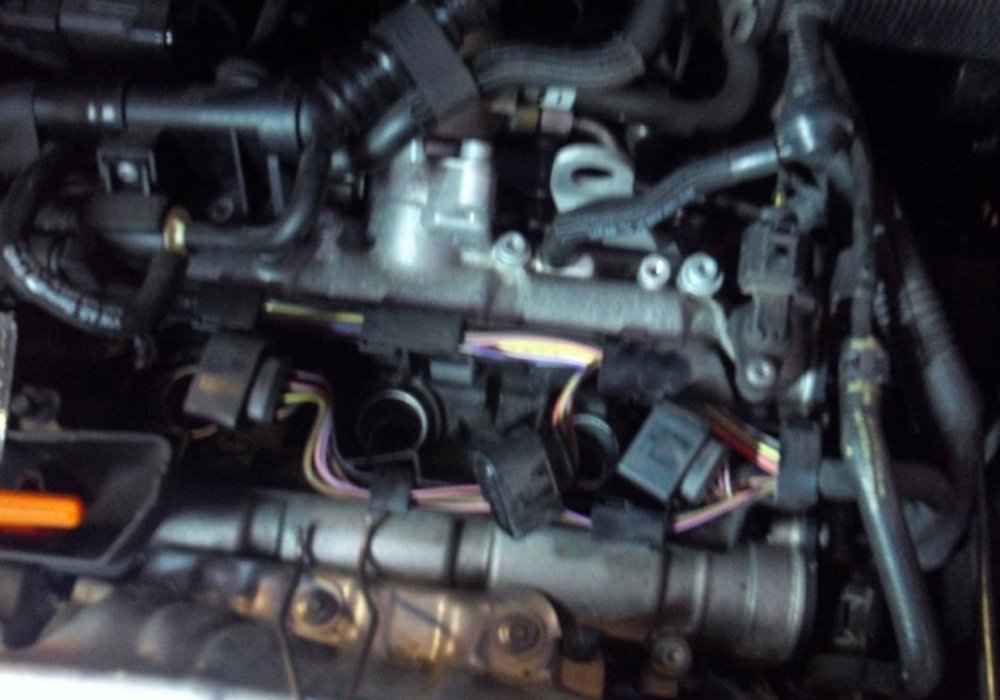
1 pointBump for @AJR77 Likely not your issue. But just relevant with 1.4 TSI Twin Charger CTHE,s. But first is checking pipes and seals, especially on the Turbo pipe 'O'Ring. Persished or punctured. Common fault with careless techs at spark plug change time. Or not reconnected, the small pipe.
 1 point
 -
It took me a while, but I managed to find a contact at INRIX. Sadly confirms what we suspected.
 1 point
 -
It would show 90c from cold. First day of extended crank I did not notice it as it started and I hadn’t picked up on it. No codes of any description. Second day from cold I was looking for a fault, so caught temp gauge, but ran through all other scenarios anyway to rule them out. Had to wait for sensor to arrive as not in stock, so picked up on oil temp and battery charging conditions as I was poking out of interest to see what other areas the sensor effected without alerting most folks to the fact there was actually a fault. Also no fast idle or warm up sequence as module thought vehicle was already at running temp the entire time. You would think the system should have a redundancy to verify the coolant sensor, as it does have the use of the radiator outlet temp and oil temp sensors which could be used to determine a fault, but none seem to be built in.1 point
-
Sons mk1 idle was all over the place until warmed up. His brake servo hose was split. I taped it up and idle returned to normal. On yours were the coil packs changed at same time as spark plugs? They can sometimes cause rough idle until warmed up. Alasdair1 point
-
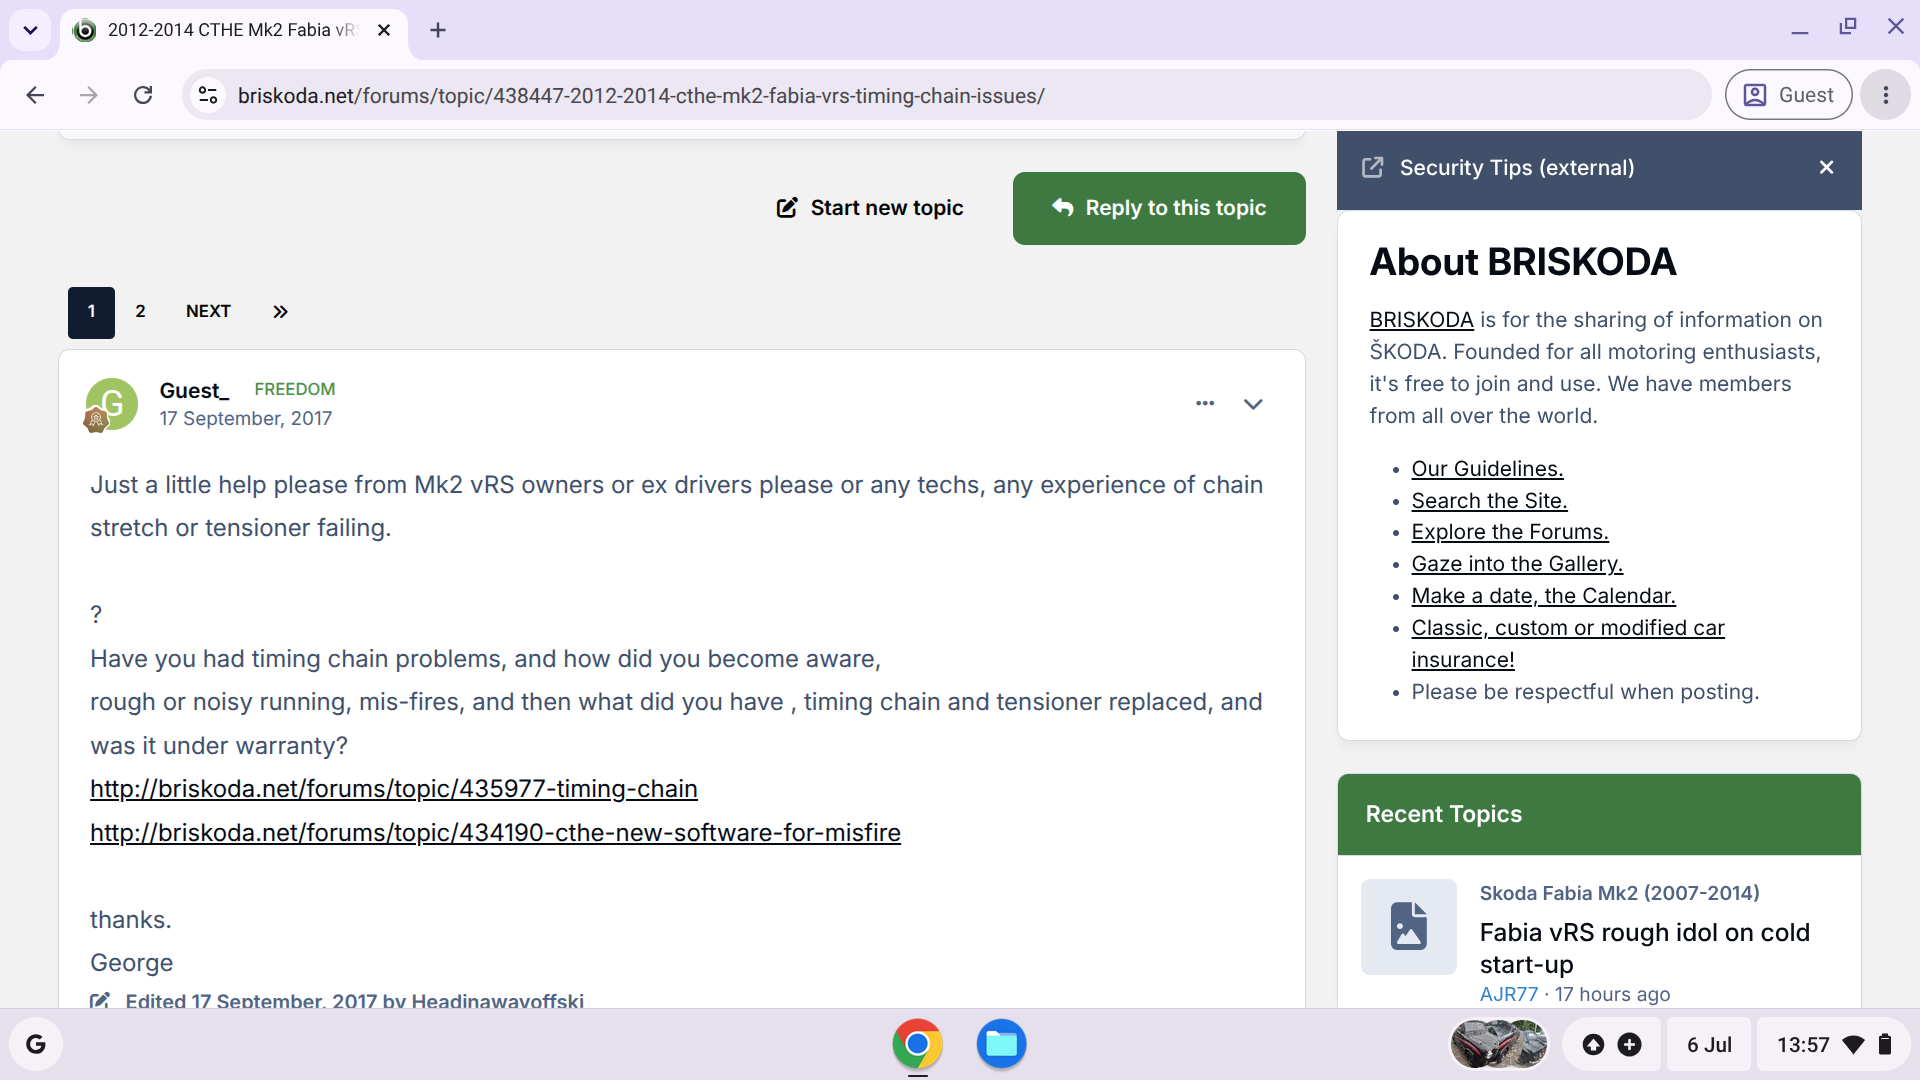
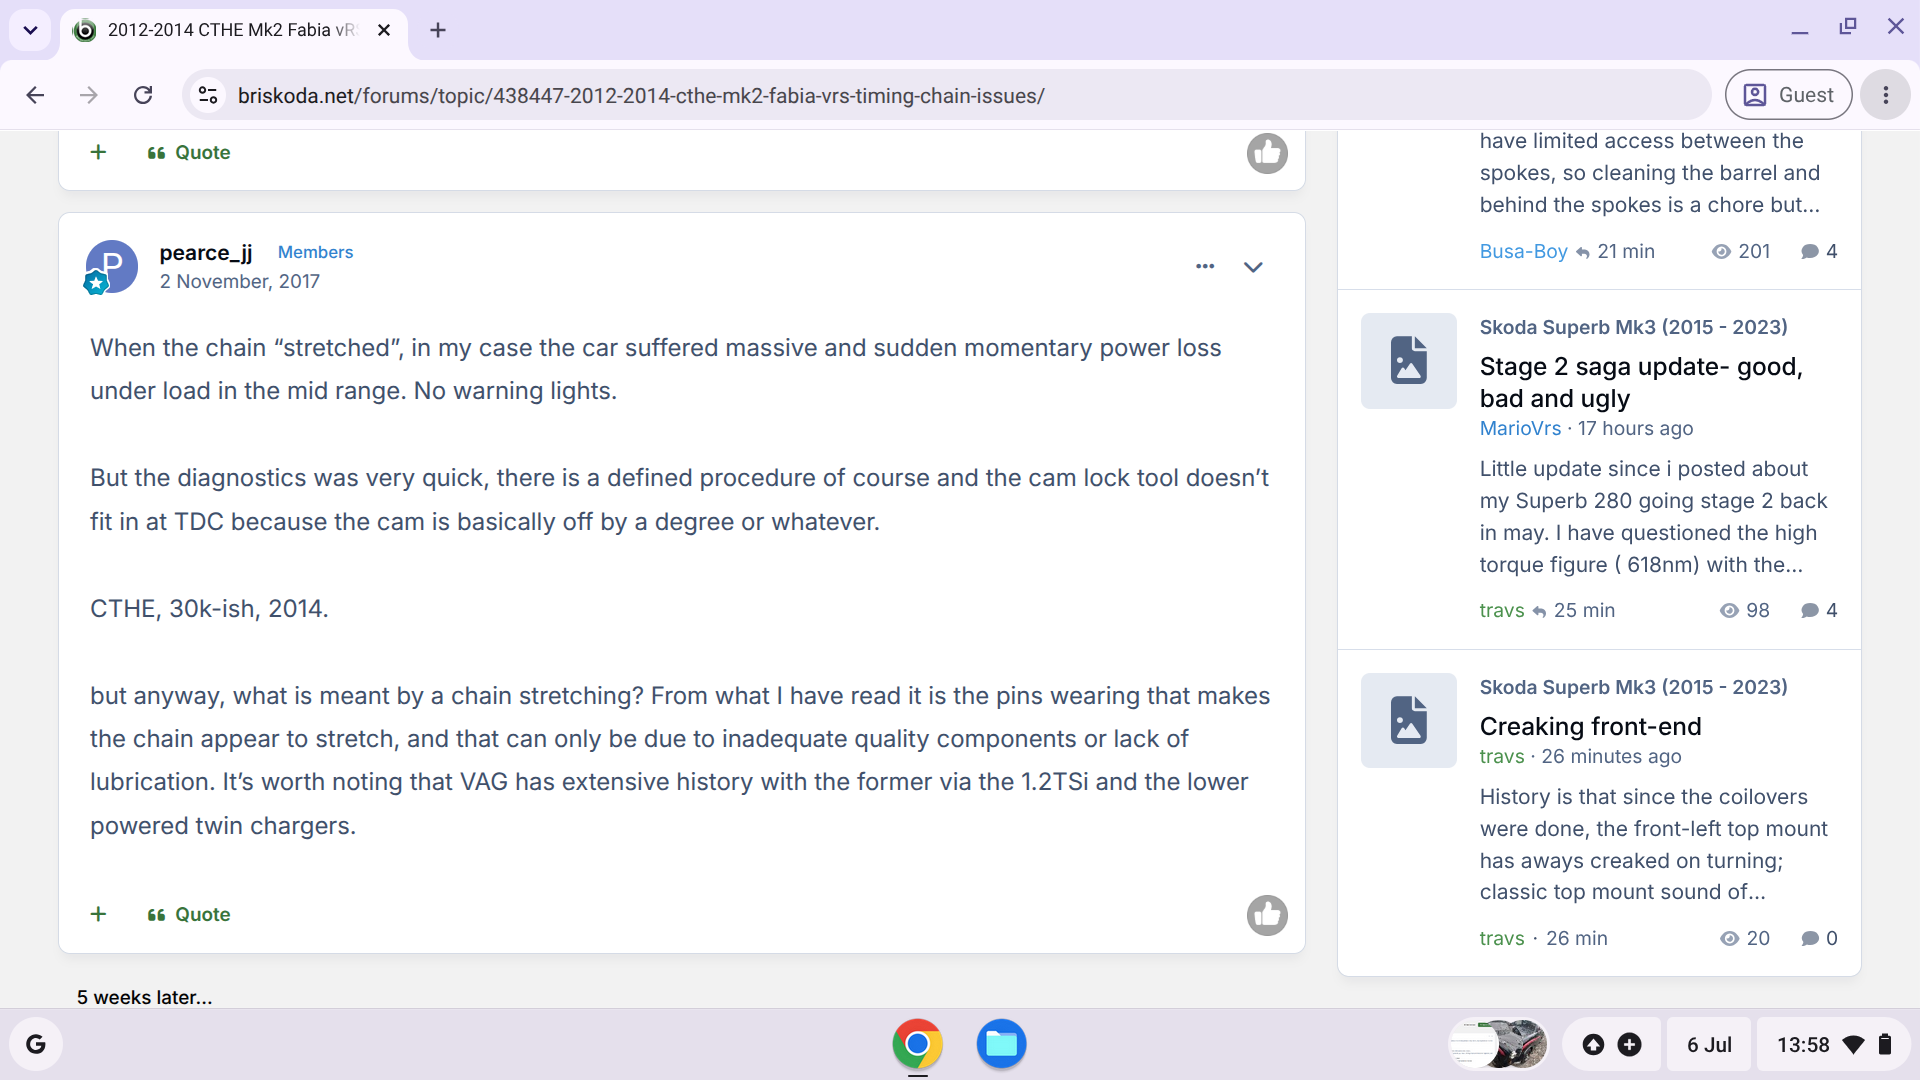
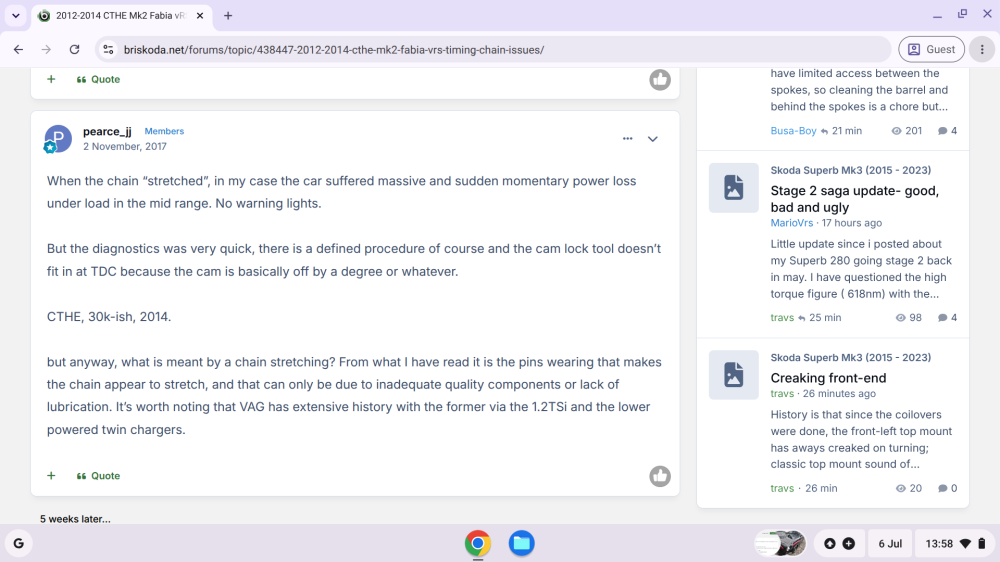
Re the Timing chain. There were issues with CTHE with mow miles as much as 8 years ago and there is a TPI. so just because low miles now means nothing................ This was my post in 2017 so 9 years ago & done because i was getting PM,s from members not wanting to post themselves & asking advice. So i looked for responses from other members. I knew the issue was serious for some.
 1 point
 -
Funnily enough Russel Road and Racing has just been mentioned in an MQB Tuning facebook group and a lot of love for Kalam and his skills.1 point
-
A Major Dealer Service with Skoda has a Air Filter as being at 6 years / 60,000 miles now, and no guarantee that they bother their lazy arses to check at each service. So simples, best look in the Air Box. Plugging in and reading codes is one thing. Basics are basic. Look see. Lots of cars having Emissions / Control lights coming on recently. My cousins 1.8 TSI Beetle yesterday. IRAN war, and no idea what crap E10 is being delivered currently. (She normally runs on Tesco Momentum 99.)1 point
-
I'll do a check on VCDS for the timing chain stretch opefully being a low miage car this should be an issue. New spark plugs were put in last September as I noticed a slight roughness on startup as the plugs have never been changed. It has been run on 95 ron (not my choosing) but now I'm using the car it's getting VPower. Switching to VPower hasn't made any noticeable difference. Not sure about the air filter. I would have thought it would have been changed as part of a major dealer service. That is useful list of things to check. Will need to do a bit or reading to make sense of the values from VCDS. I'll mention it to a garage to do a smoke test if the VCDS numbers look ok.1 point
-
Hi Had car looked at and its a sensor with code p256300. Looked it up and I think you right about actuator 👍 Just updating you. Much appreciated 😊1 point
-
So glad that u got ur Stage 2 tune sorted with this version!! Now time for u to enjoy the car again in all its Stg 2 glory.1 point
-
1 pointHad a couple of plans with EMAC over the years and they've worked fine. Had to cancel one on our Ateca as we took it to cover the cars 4th and 5th years as the car had a 5yr warranty so couldn't use All In. Then I found out by chance that the SEAT dealer hadn't applied the warranty - they knew, hadn't told us, and kept the money. So they cancelled the EMAC plan, got the payments refund and put the car onto All In. As for dealer servicing prices - it drives me nuts. The Skoda dealer we use has mental prices on their website but the service manager has wibbled about how it's out of his control - even though it's one-off family owned dealership and the prices are set by dealers (they're all slightly different). Wasn't an issue on our Karoq as bought it Approved Used so after the two included services it was old enough to go onto All In. Daughter's Kamiq was bought new, had two services and even though I've specifically asked I haven't been offered any way of mitigating the upcoming 3rd service - even though I know the dealer uses EMAC. On wife's previous Tiguan the dealer (probably the best dealer I've dealt with) put the car on All In (the car had to have a dealer check for All In back then) on the 6th birthday, 1st Sept. but somehow managed to do the service and MOT at the day before under the plan. I asked the Skoda dealer if the same was possible at 3yrs and they said no. It's not that many years ago that a VW dealer accidentally gave me the invoice they send to VWFS for the car's first oil service - it was £68 inc parts, labour and VAT. I waited while it was done and the car was in the workshop 20 mins. Servicing at full retail prices is astonishingly profitable.1 point
-
Darn what a story ... happily you saved the engine from its destruction, with subsequent anihilation of your bank account... 😬1 point
-
I'll be honest, i don't really like the bumper on the facelift at all, at least on the regular model, the lack of fog lights makes the whole bumper very empty and weird, the RS is fine though1 point
-
Bjorn Nyland and Batterylife Youtubers do lots of this testing and publishing all the way up to genuine 130 kph. Most EVs not good at speed limit motorway speeds as they are tallish due to the battery pack beneath the floor. Those who need to do such long journeys at speed tend to go for TESLAs, Polestars, some Mercs and increasingly BYD models. Happy with our 5, Mini and Scenic. In the Scenic most of my braking is with paddles which can set level of regen. On motorway I put it in level 0 which is freewheel when no power being applied.1 point
-
Well I'll give it a shot. 5 years / 70k miles in EVs, mainly VAG products. This is a fallacy in general as you point out. When driving in urban stop/start EVs will often perform better than comparable ICE in terms of efficiency, due mainly to the regen from constant braking but on the open road not so much. This is another pro in the urban EV argument. For me, 50mph in my ID.3 will give around 4.8 miles / kWh. In my previous ID.4 this would have been 4.1 for the reasons you give (weight & frontal area). Note the most recent ID.4 models have a more efficient motor than mine did and will give better economy.On the motorway I cruise at 65mph and get 4.2 from the ID.3 and 3.8 from the old ID.4. Yes in my experience you are. I use heavy regen for downhill sections like you would change down and use engine braking on ICE vehicles. Yes indeed. Many EVs have coast as default. VAG cars have an 'intelligent' drive mode where the car coasts for as long as possible then regens to slow you down for roundabouts etc. It relies on the sat-nav data to know about bends, junctions etc. and the ACC to look out for obstacles in front. Driving an EV economically is not witchcraft, but uses the same principles as you would in ICE. Speed above 60-65 really impacts consumption IME.1 point
-
I would not let them fire the parts cannon while you are paying. Get a fixed price for a guaranteed fix.1 point
-
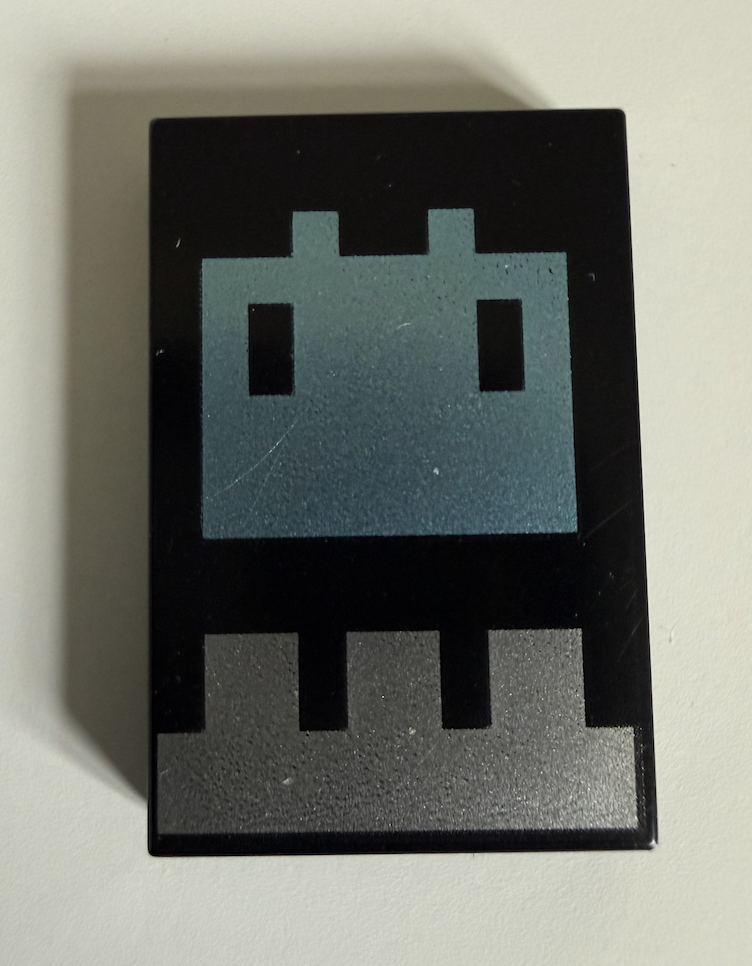
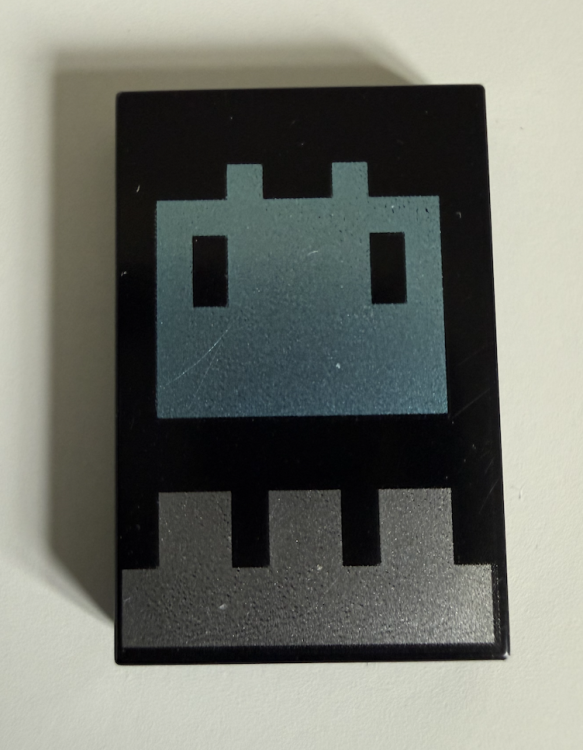
@Warrior193 Thanks for the suggestion, it worked perfectly. I ended using some picture hanging wire. There was an element of luck with it as the wire had a small sharp bend on the end where it had been previously cut. As I lowered it down the gap it ended up getting caught, and wedged behind the lego. This allowed me to drag the lego up and out of the door.
 1 point
 -
1 pointI'd suggest just topping-up the tank with premium diesel and possibly consider an early change of the fuel filter.1 point
-
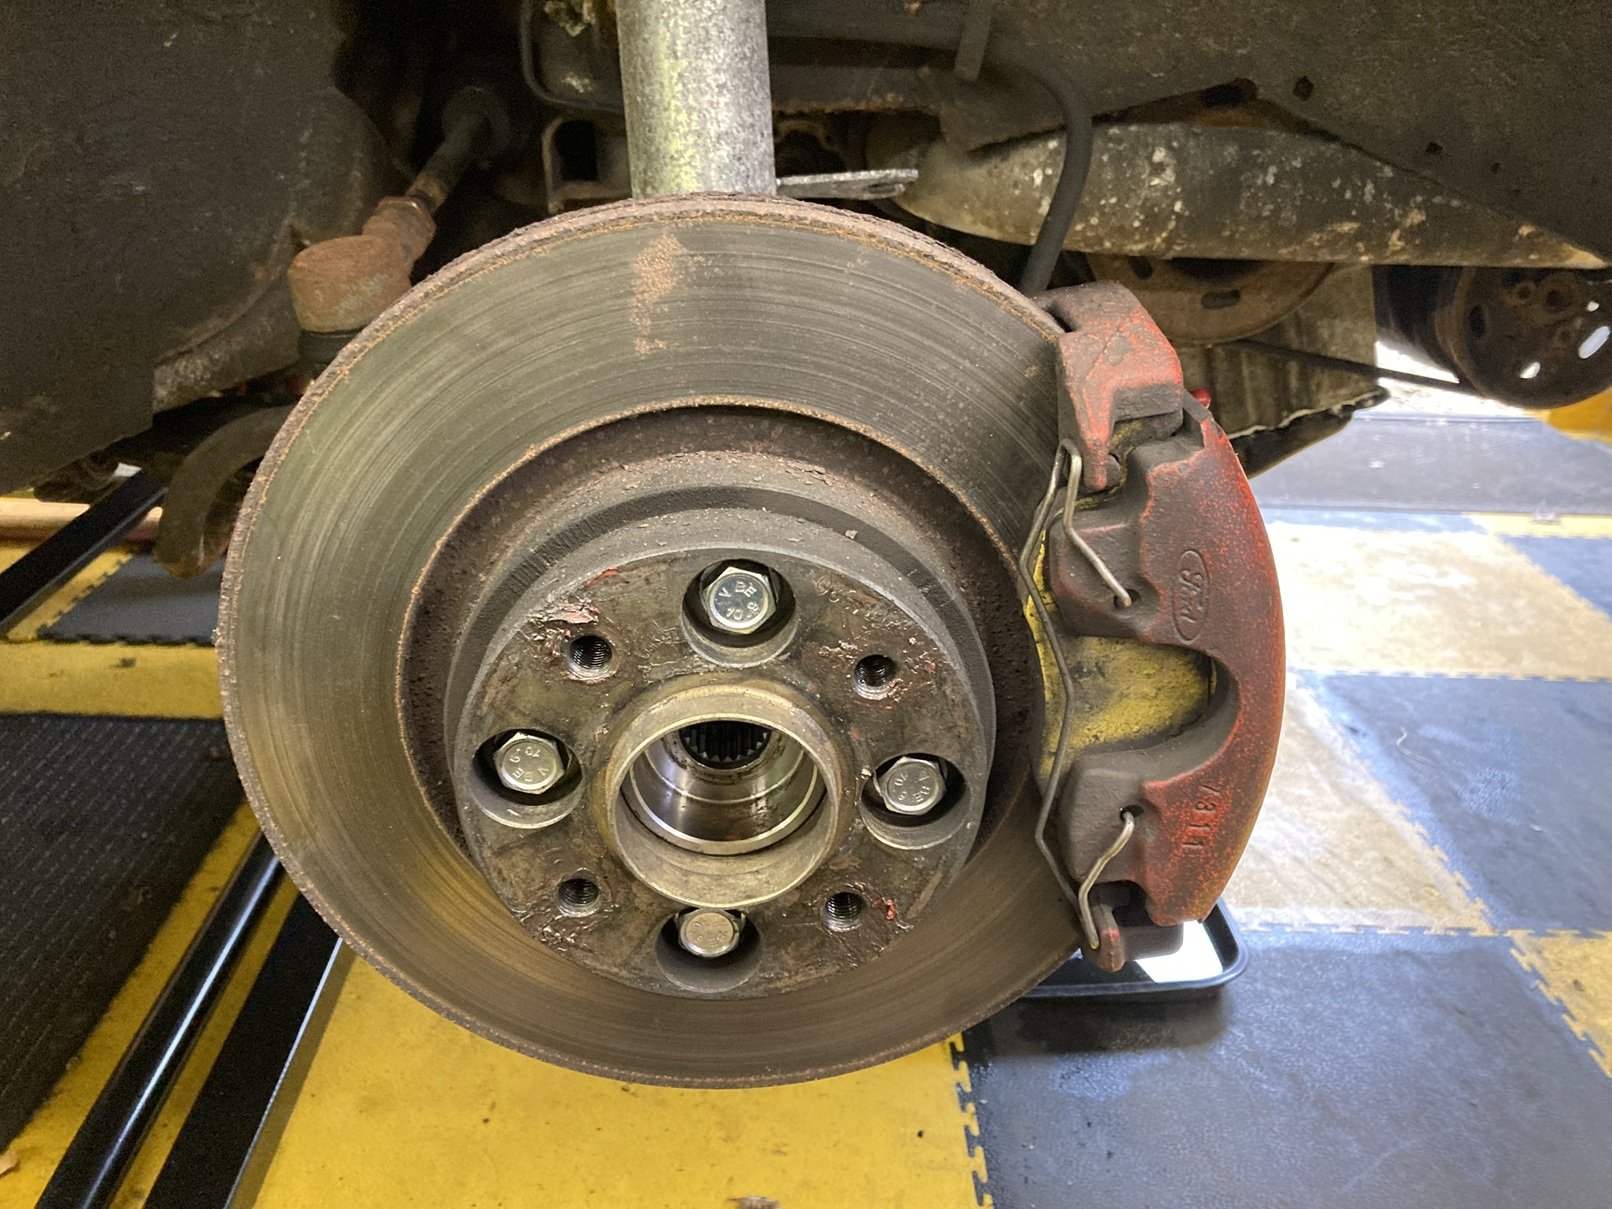
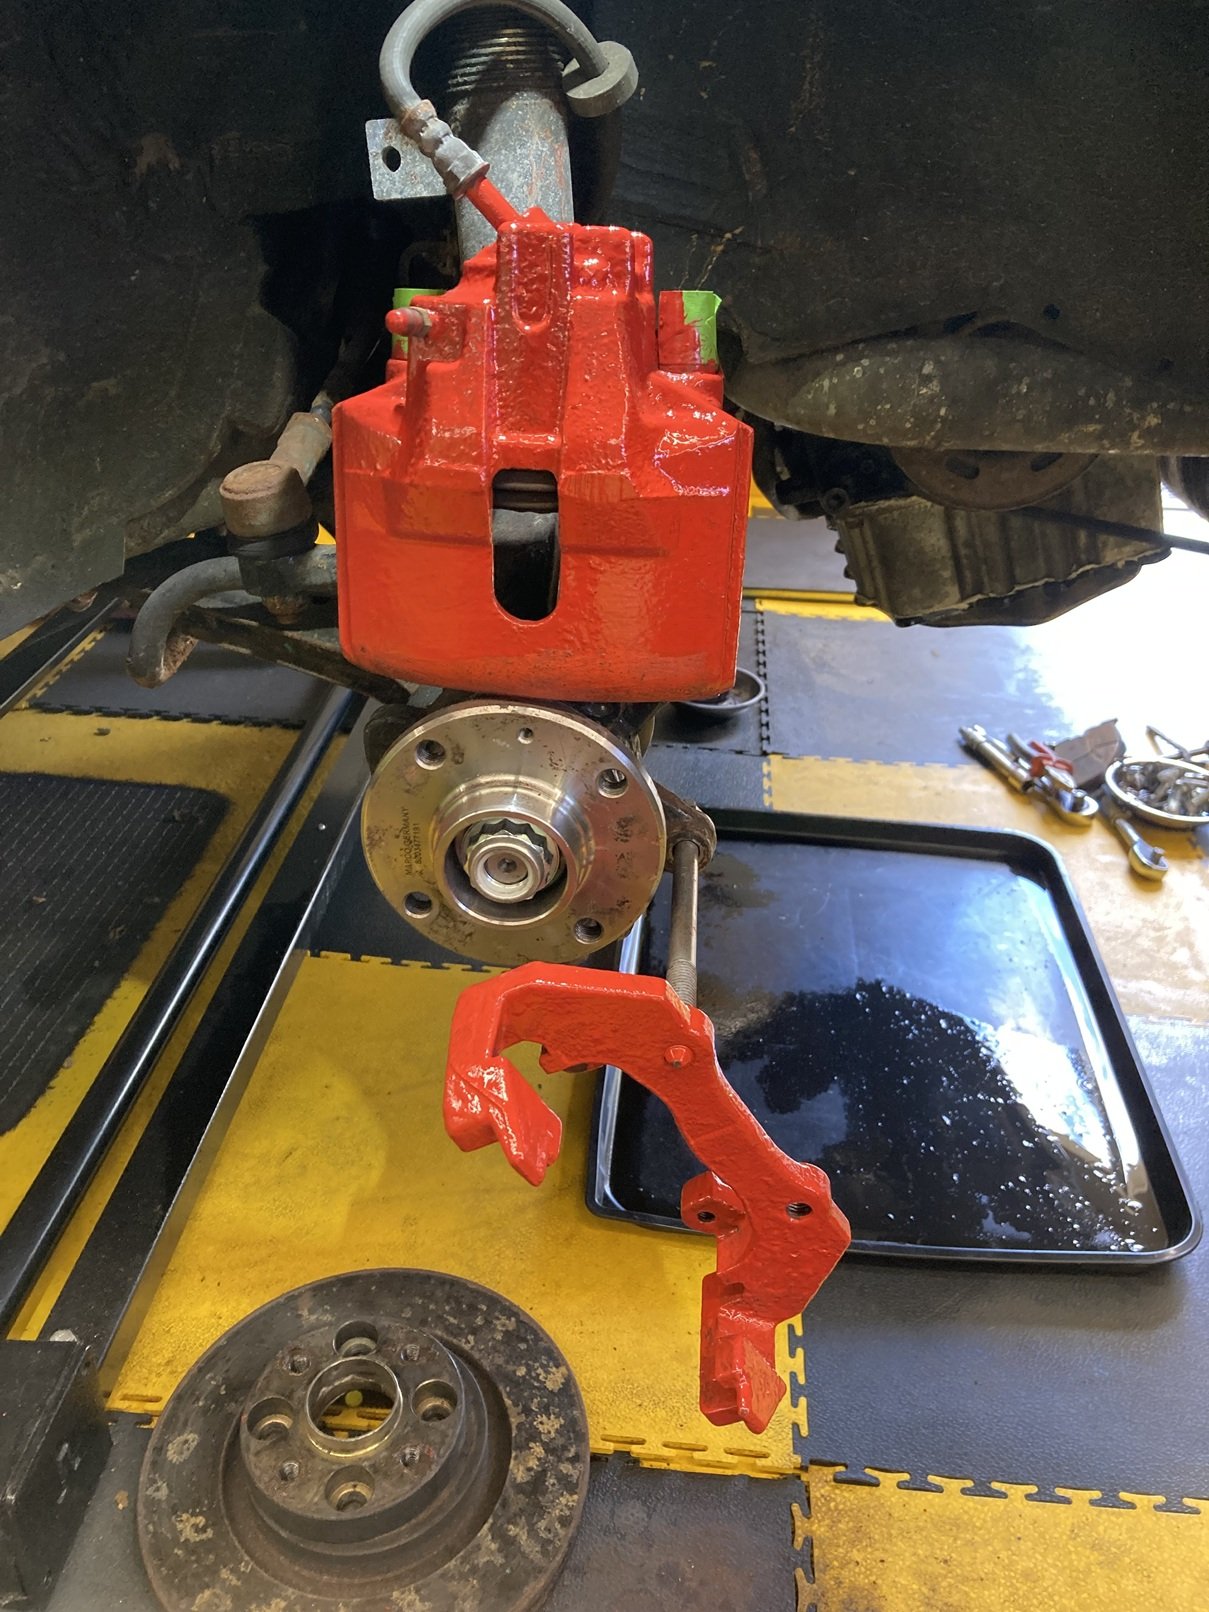
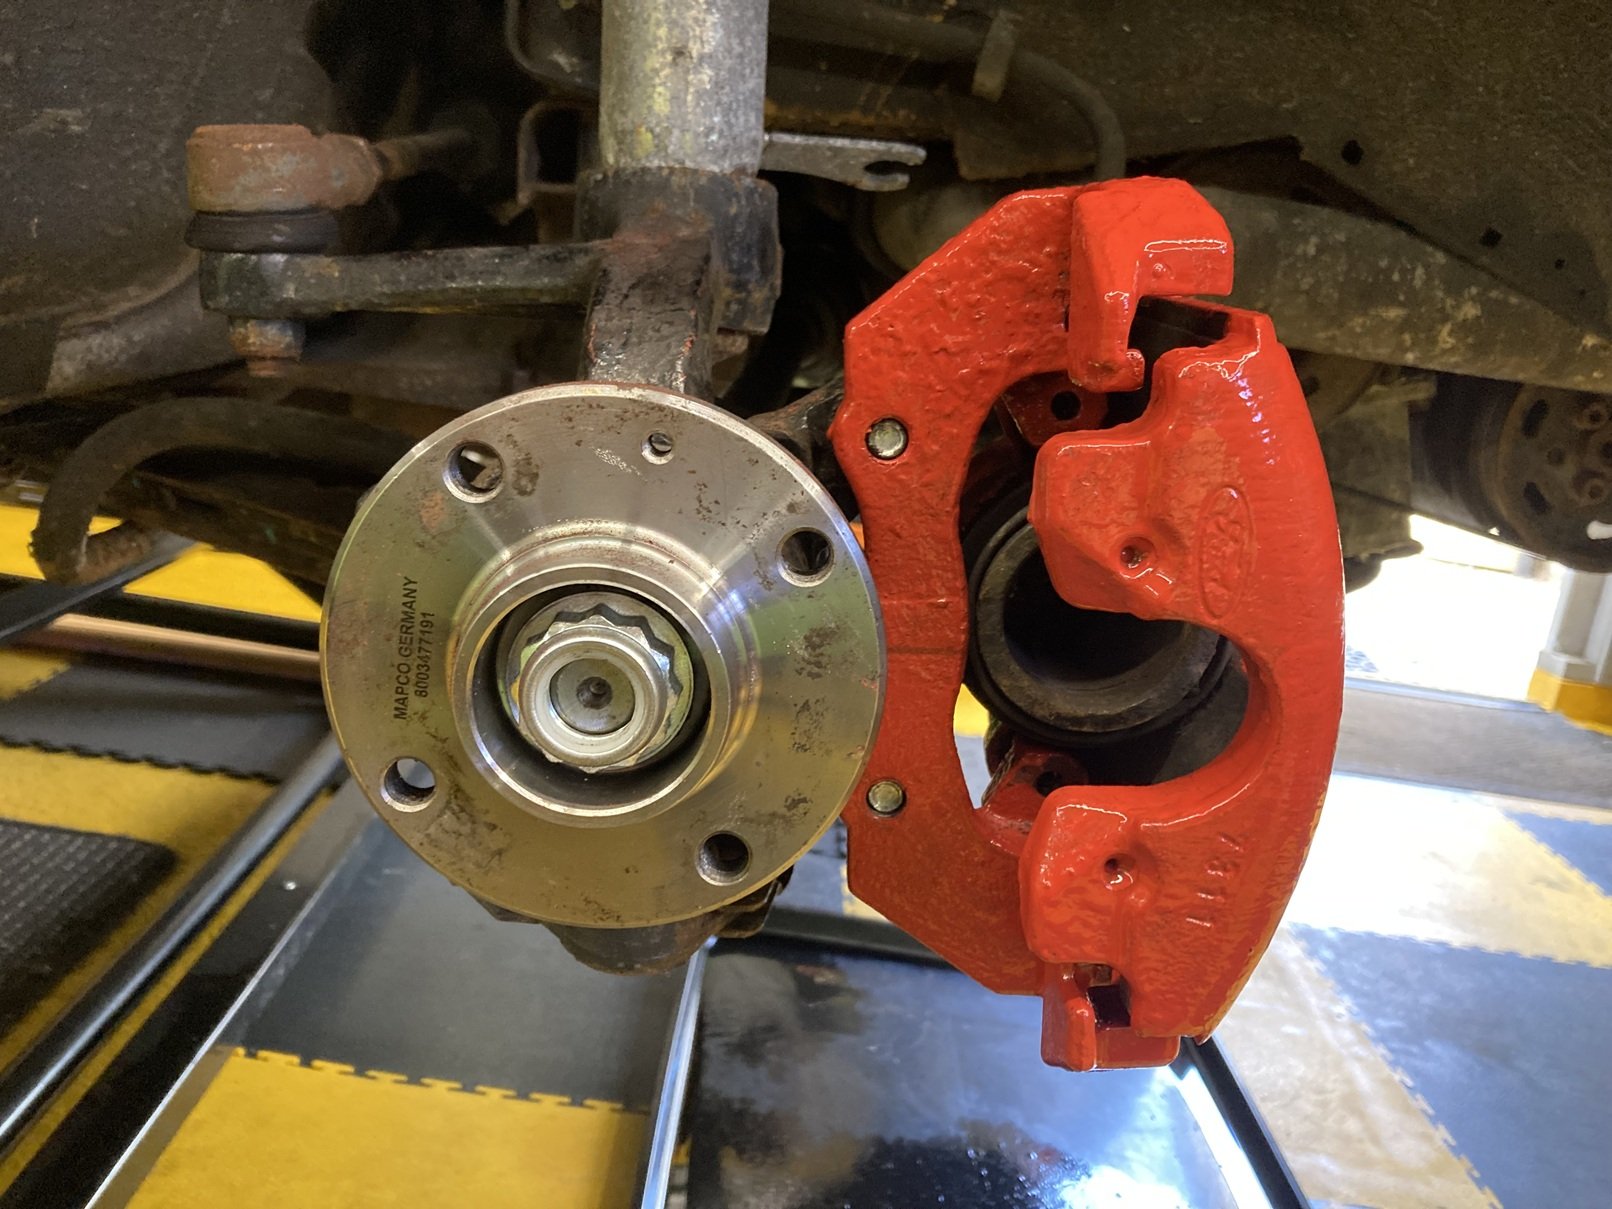
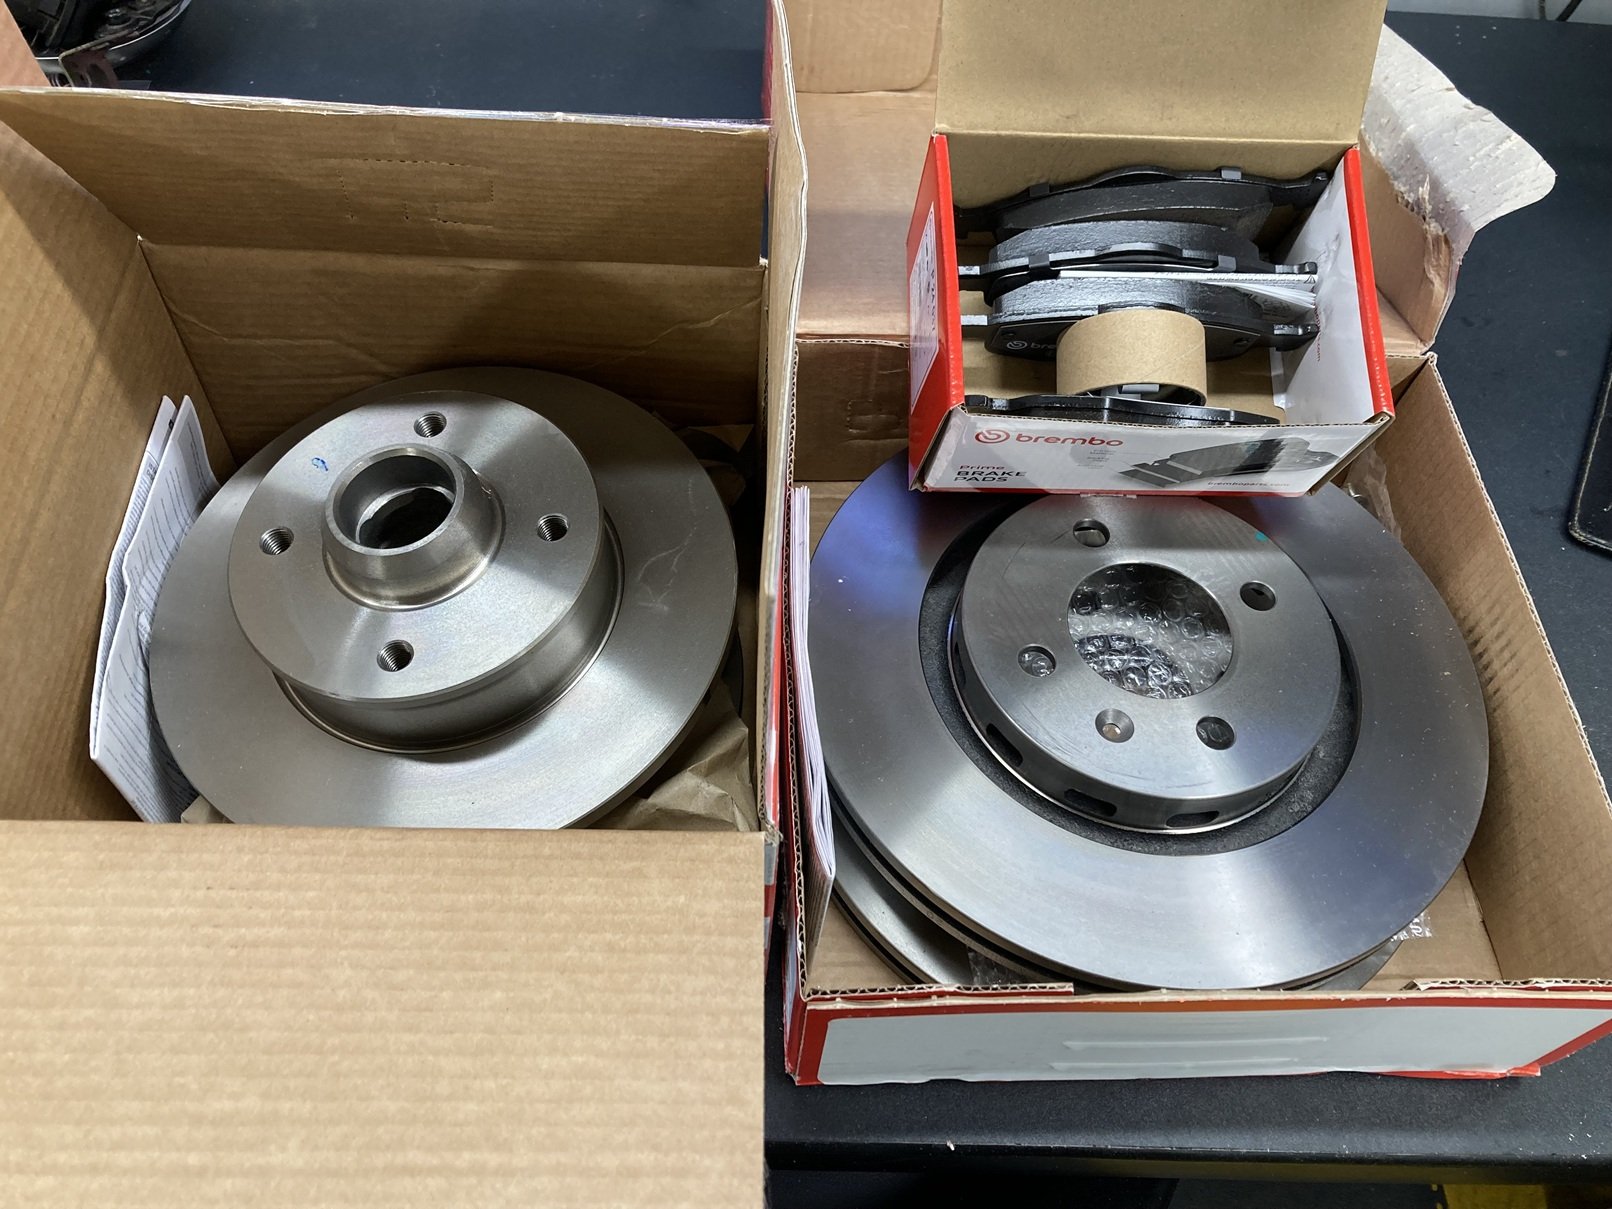
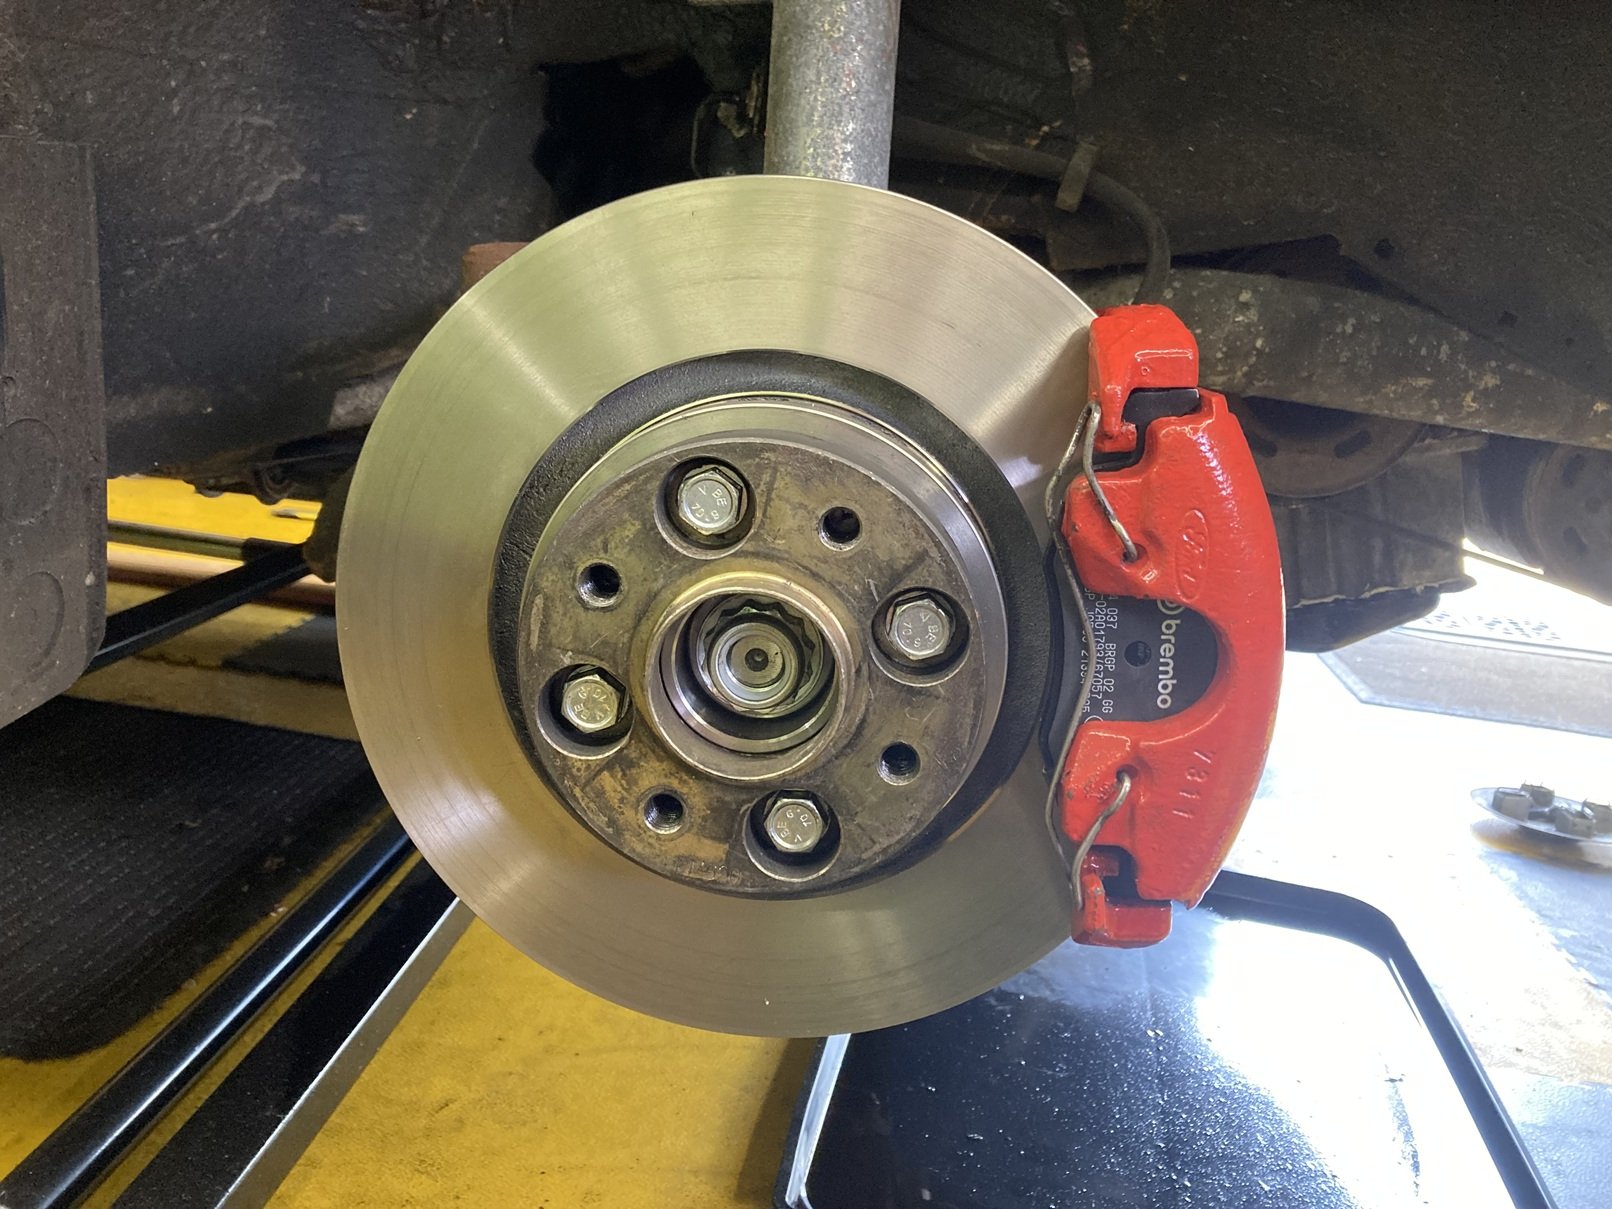
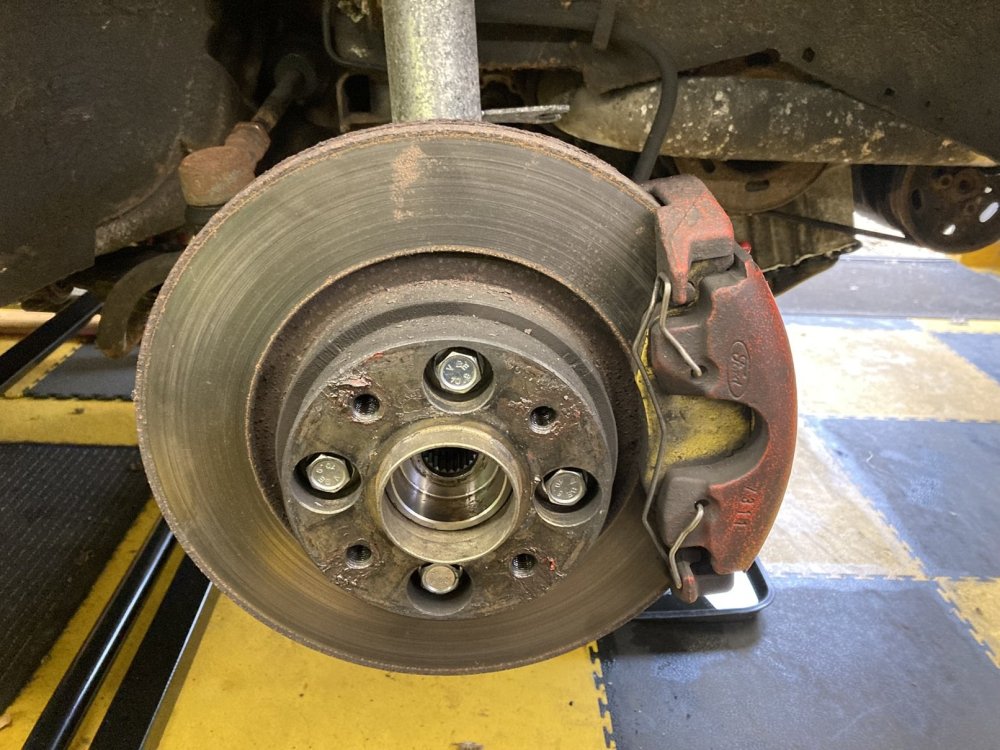
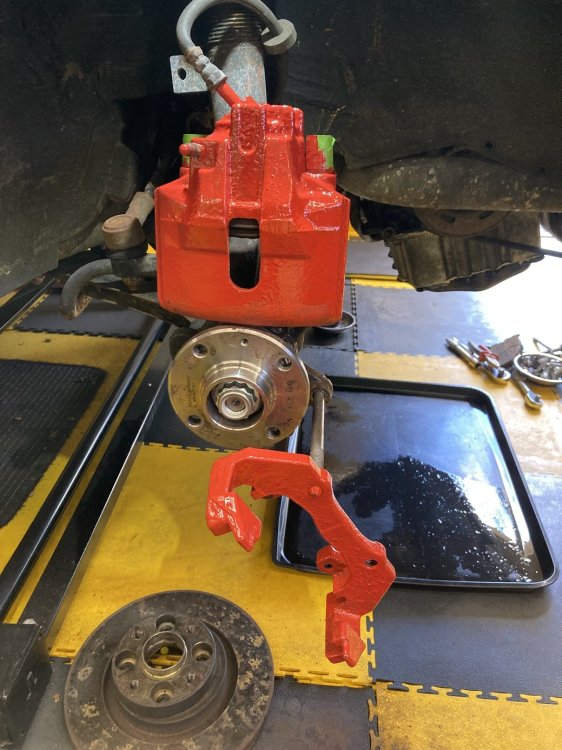
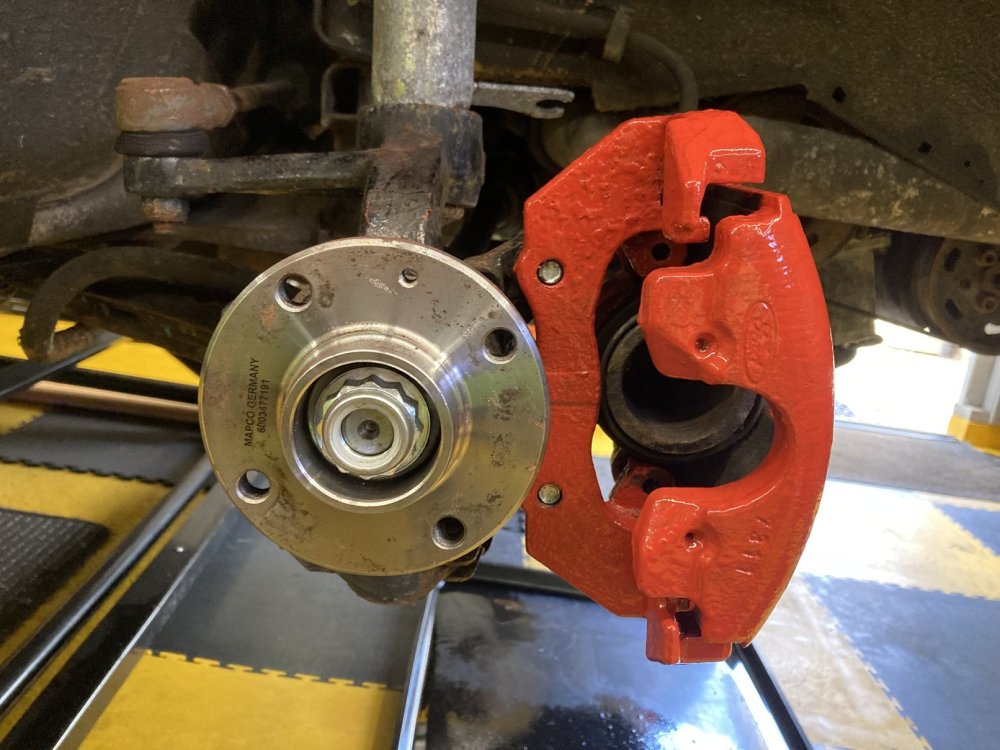
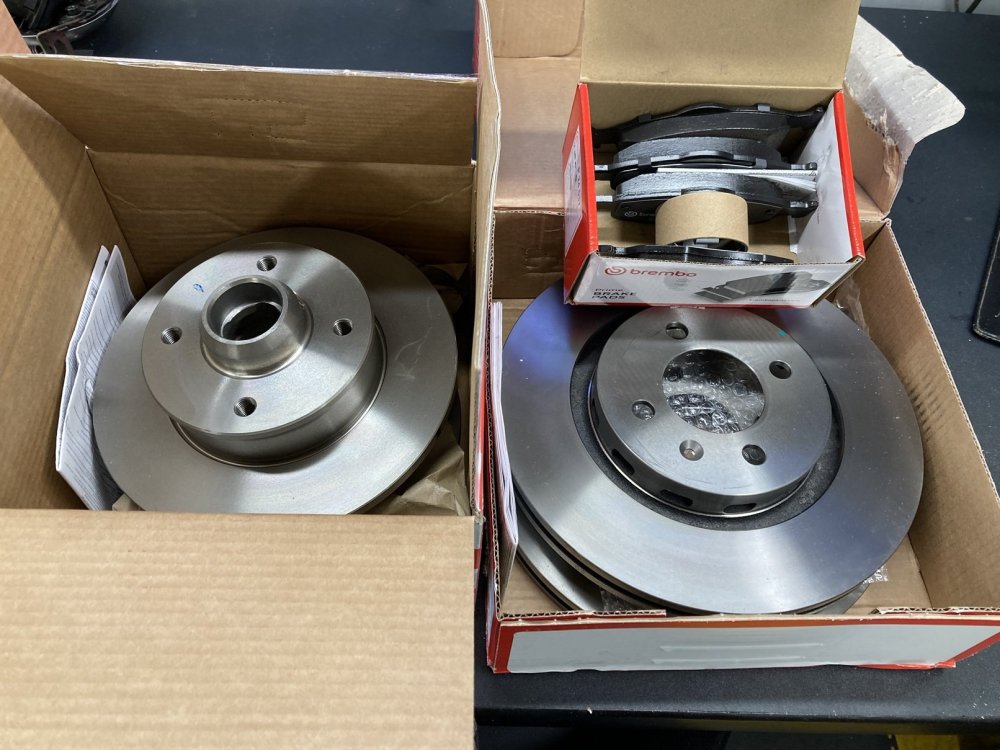
The brakes were looking shabby, and the discs had been mentioned in the advisories at the Caddy’s last MOT. Obviously this did not compel me to do anything to them before it goes for its next test, but I do not believe in taking chances with brakes. When I swapped the uprated brakes from the Felicia onto which they were fitted previously, the only new parts I had bought were the pads, which meant that I was not even 100% sure what the front discs were from. I have read of people fitting Hyundai Lantra discs, so I was pleased to read that my Caddy has ‘Golf G60’ discs. This means they are the same as would have originally been fitted to my mk2 Ibizas. The front callipers are Ford Mondeo parts, but pretty specific Mondeo parts so I had to remind myself of those details too. I ordered the bits then set-to removing the old discs and pads, and giving the callipers a clean then a couple of coats of red paint. The pads I took out were EBC Yellowstuff, which were fine in terms of all aspects of their performance, except that they seemed to generate a lot of dust. The new parts I chose were all Brembo. The Caddy does not go on track or even get driven particularly hard on the road, so there is no need for more expensive discs or pads, especially as the Ibiza GTi discs all round are a significant upgrade on the standard Caddy brakes. New brakes always look so nice. What a pity they do not stay looking like this for very long. The brake hoses have not been touched yet, because when I looked at the unions with the brake pipes they did not look good. I do not trust myself to do a good job making replacement brake pipes, so I will entrust that job to JKM when it goes there for its MOT.
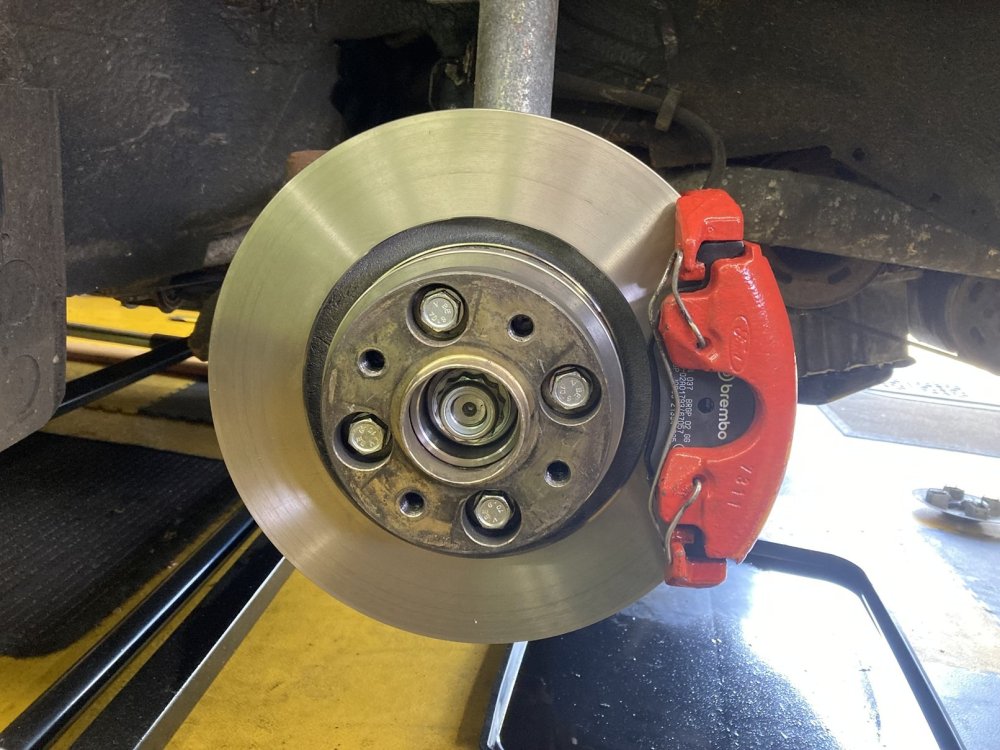 1 point
 -
1 point
-
1 point@allmacht I sent you download link for MST2_EU_SK_ZR_P0253T in PM1 point
-
TBH this is probably more of a battery issue than a car issue. We've always had warnings in our Kodiaq so I suspect it's the batteries that, instead of losing voltage gradually so that the car can detect a low battery, they just suddenly drop voltage very quickly. Some do some don't and there is no rhyme or reason and even 'good' brands can suffer but I've never had issues with cheap cr2032s off eBay.1 point
-
Look for Gav on the MK1 FB Group - he's just got hold of a VRS Estate, you can ask him for the trims. To be fair, I would take a whole replacement.1 point
-
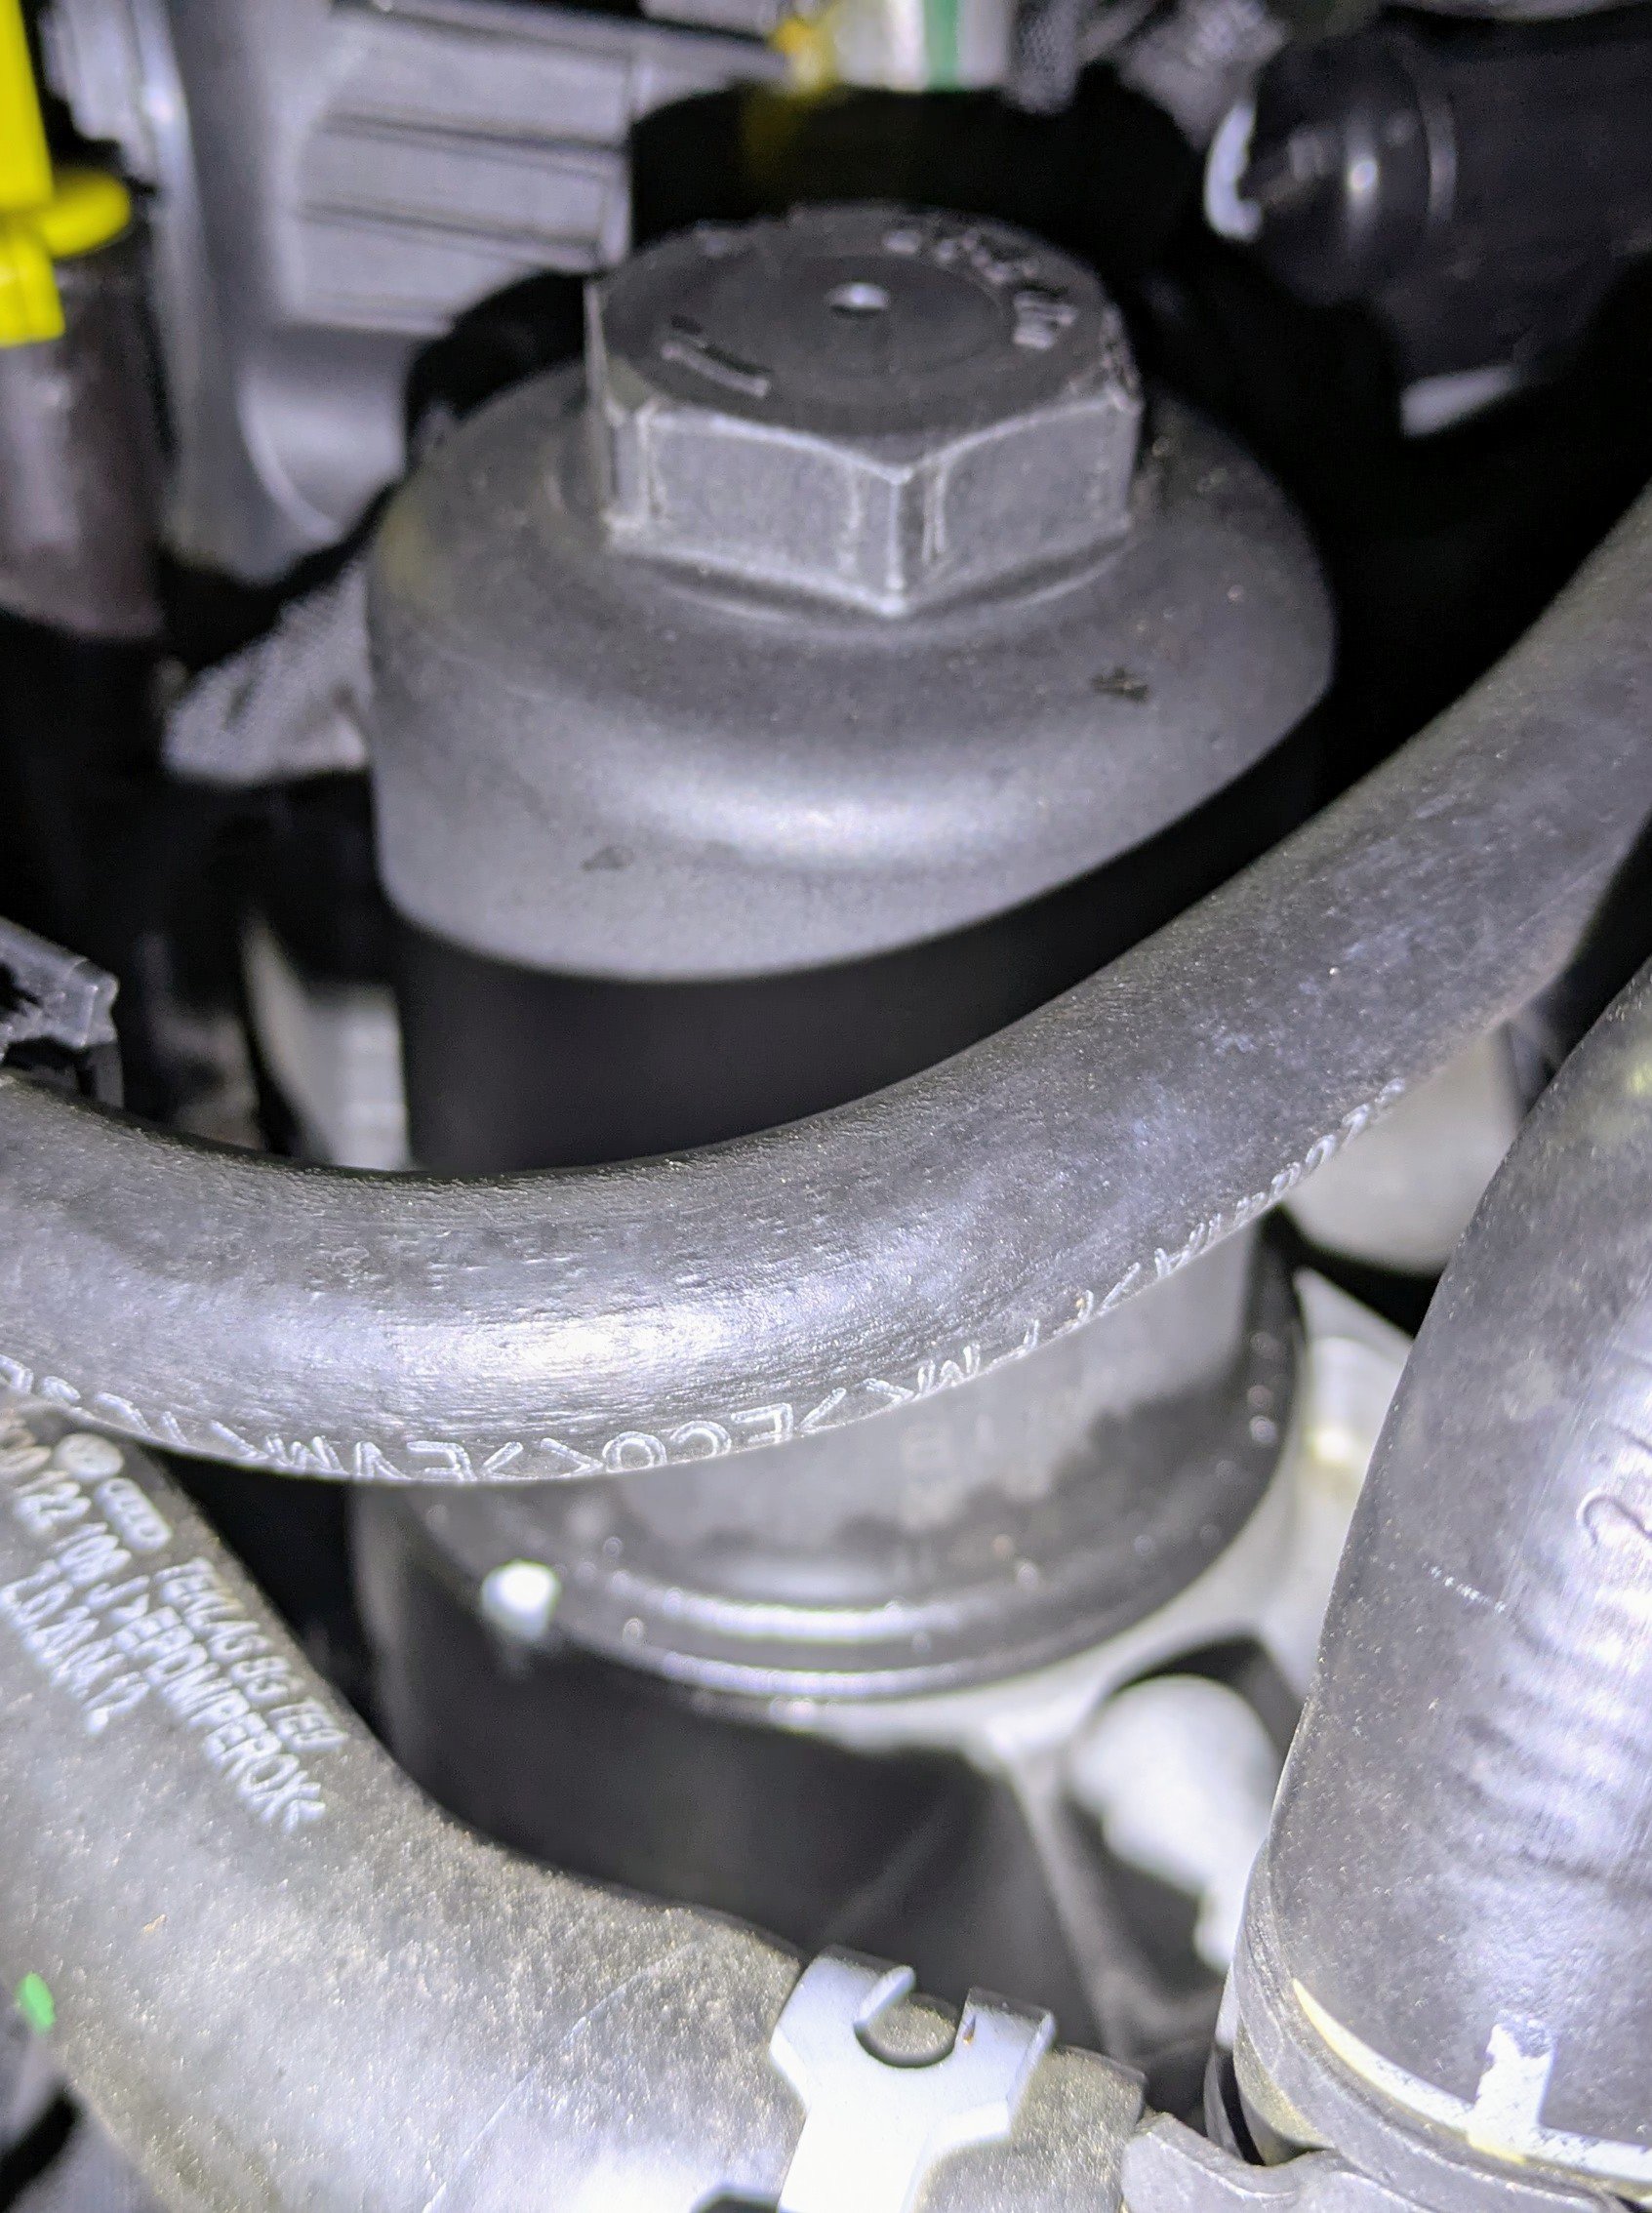
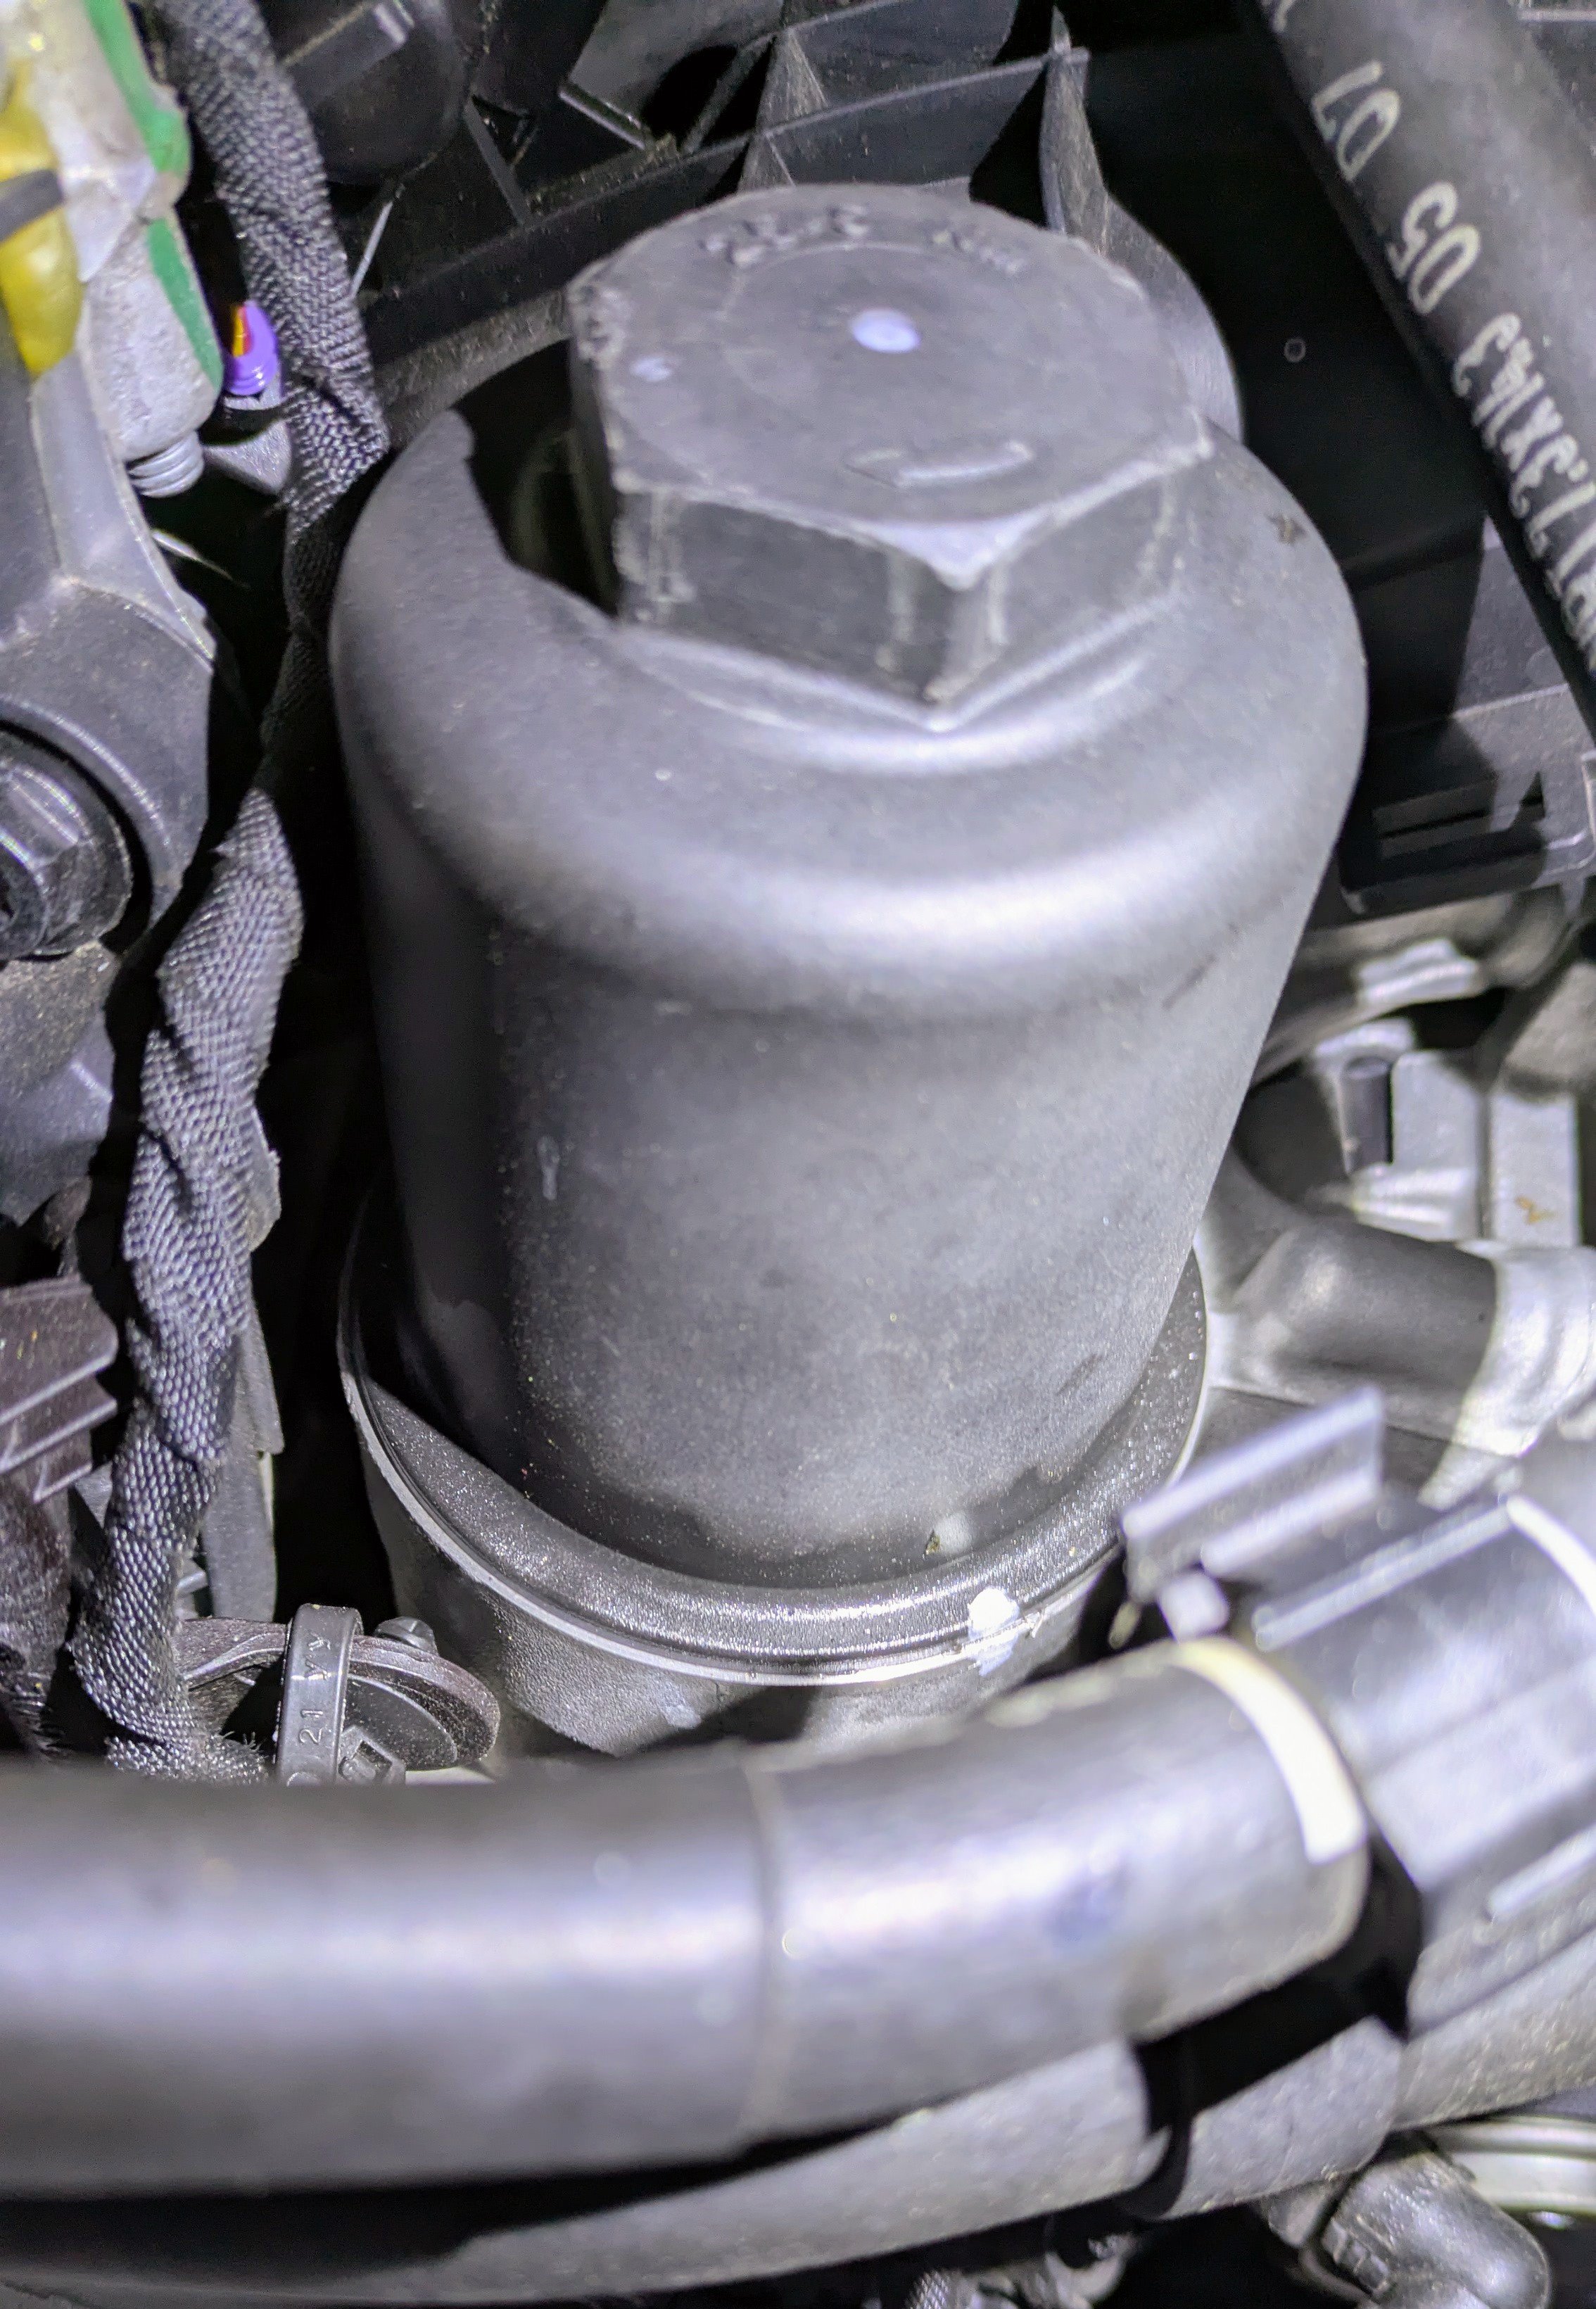
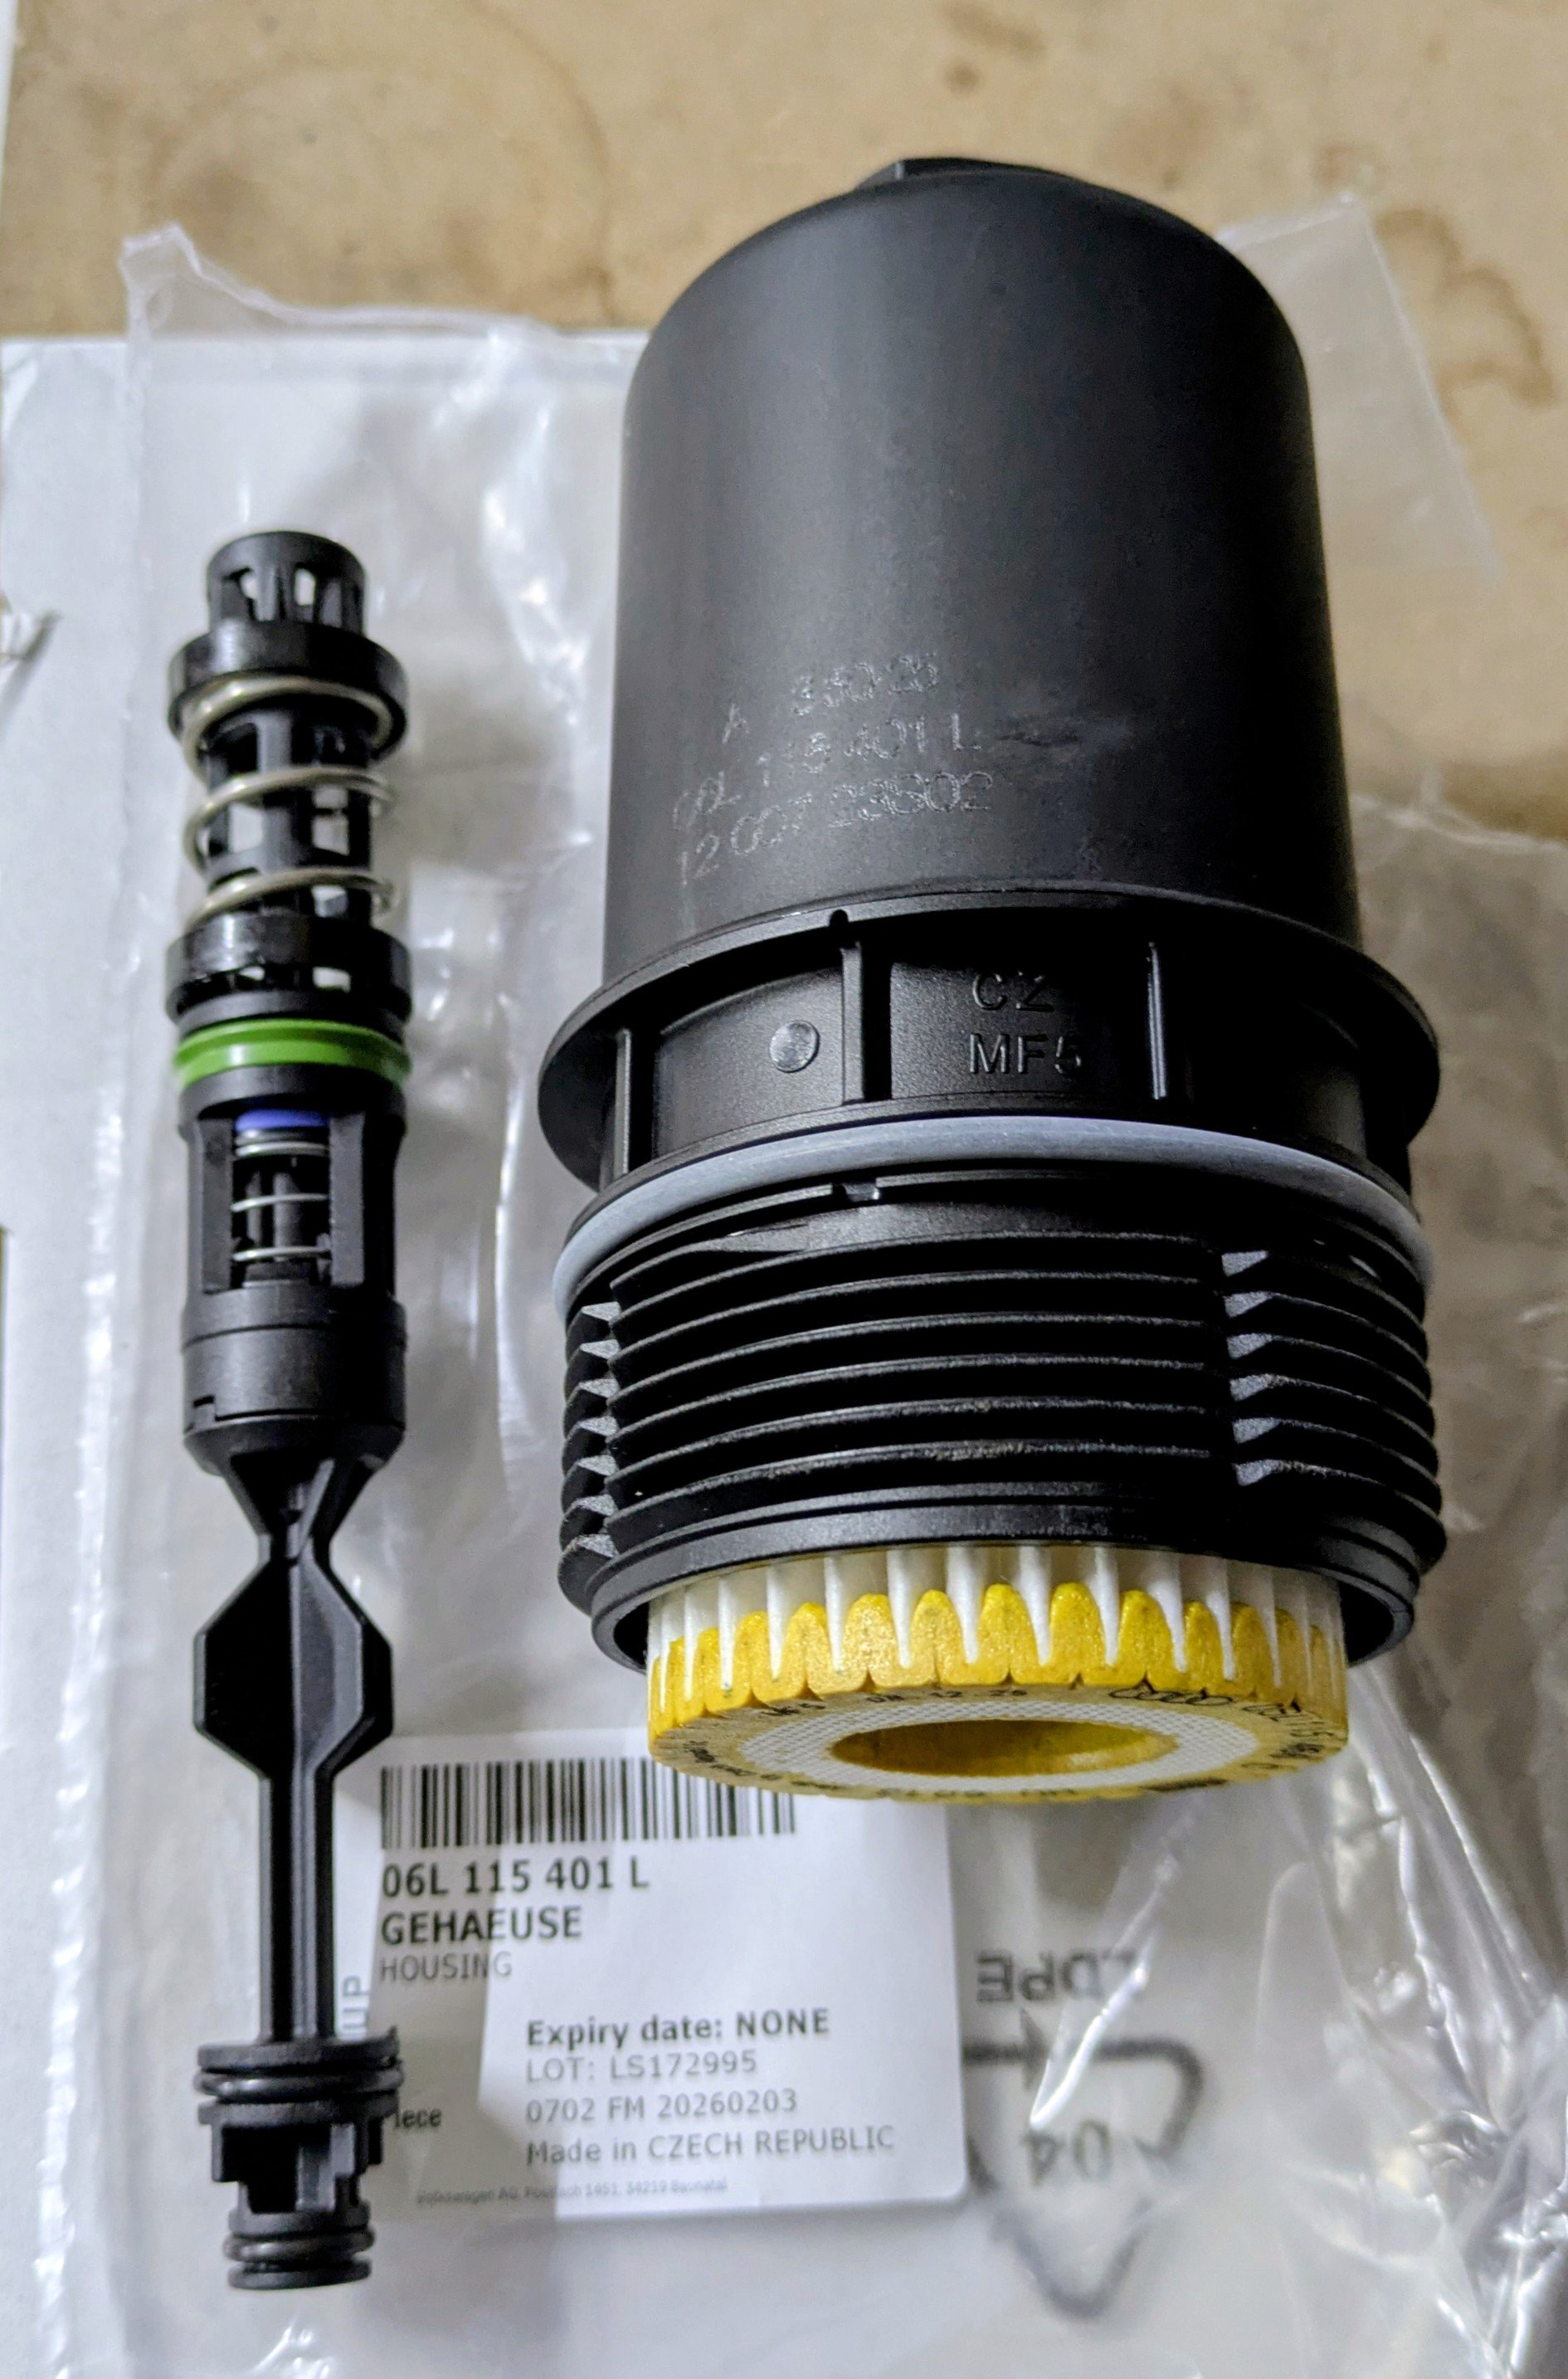
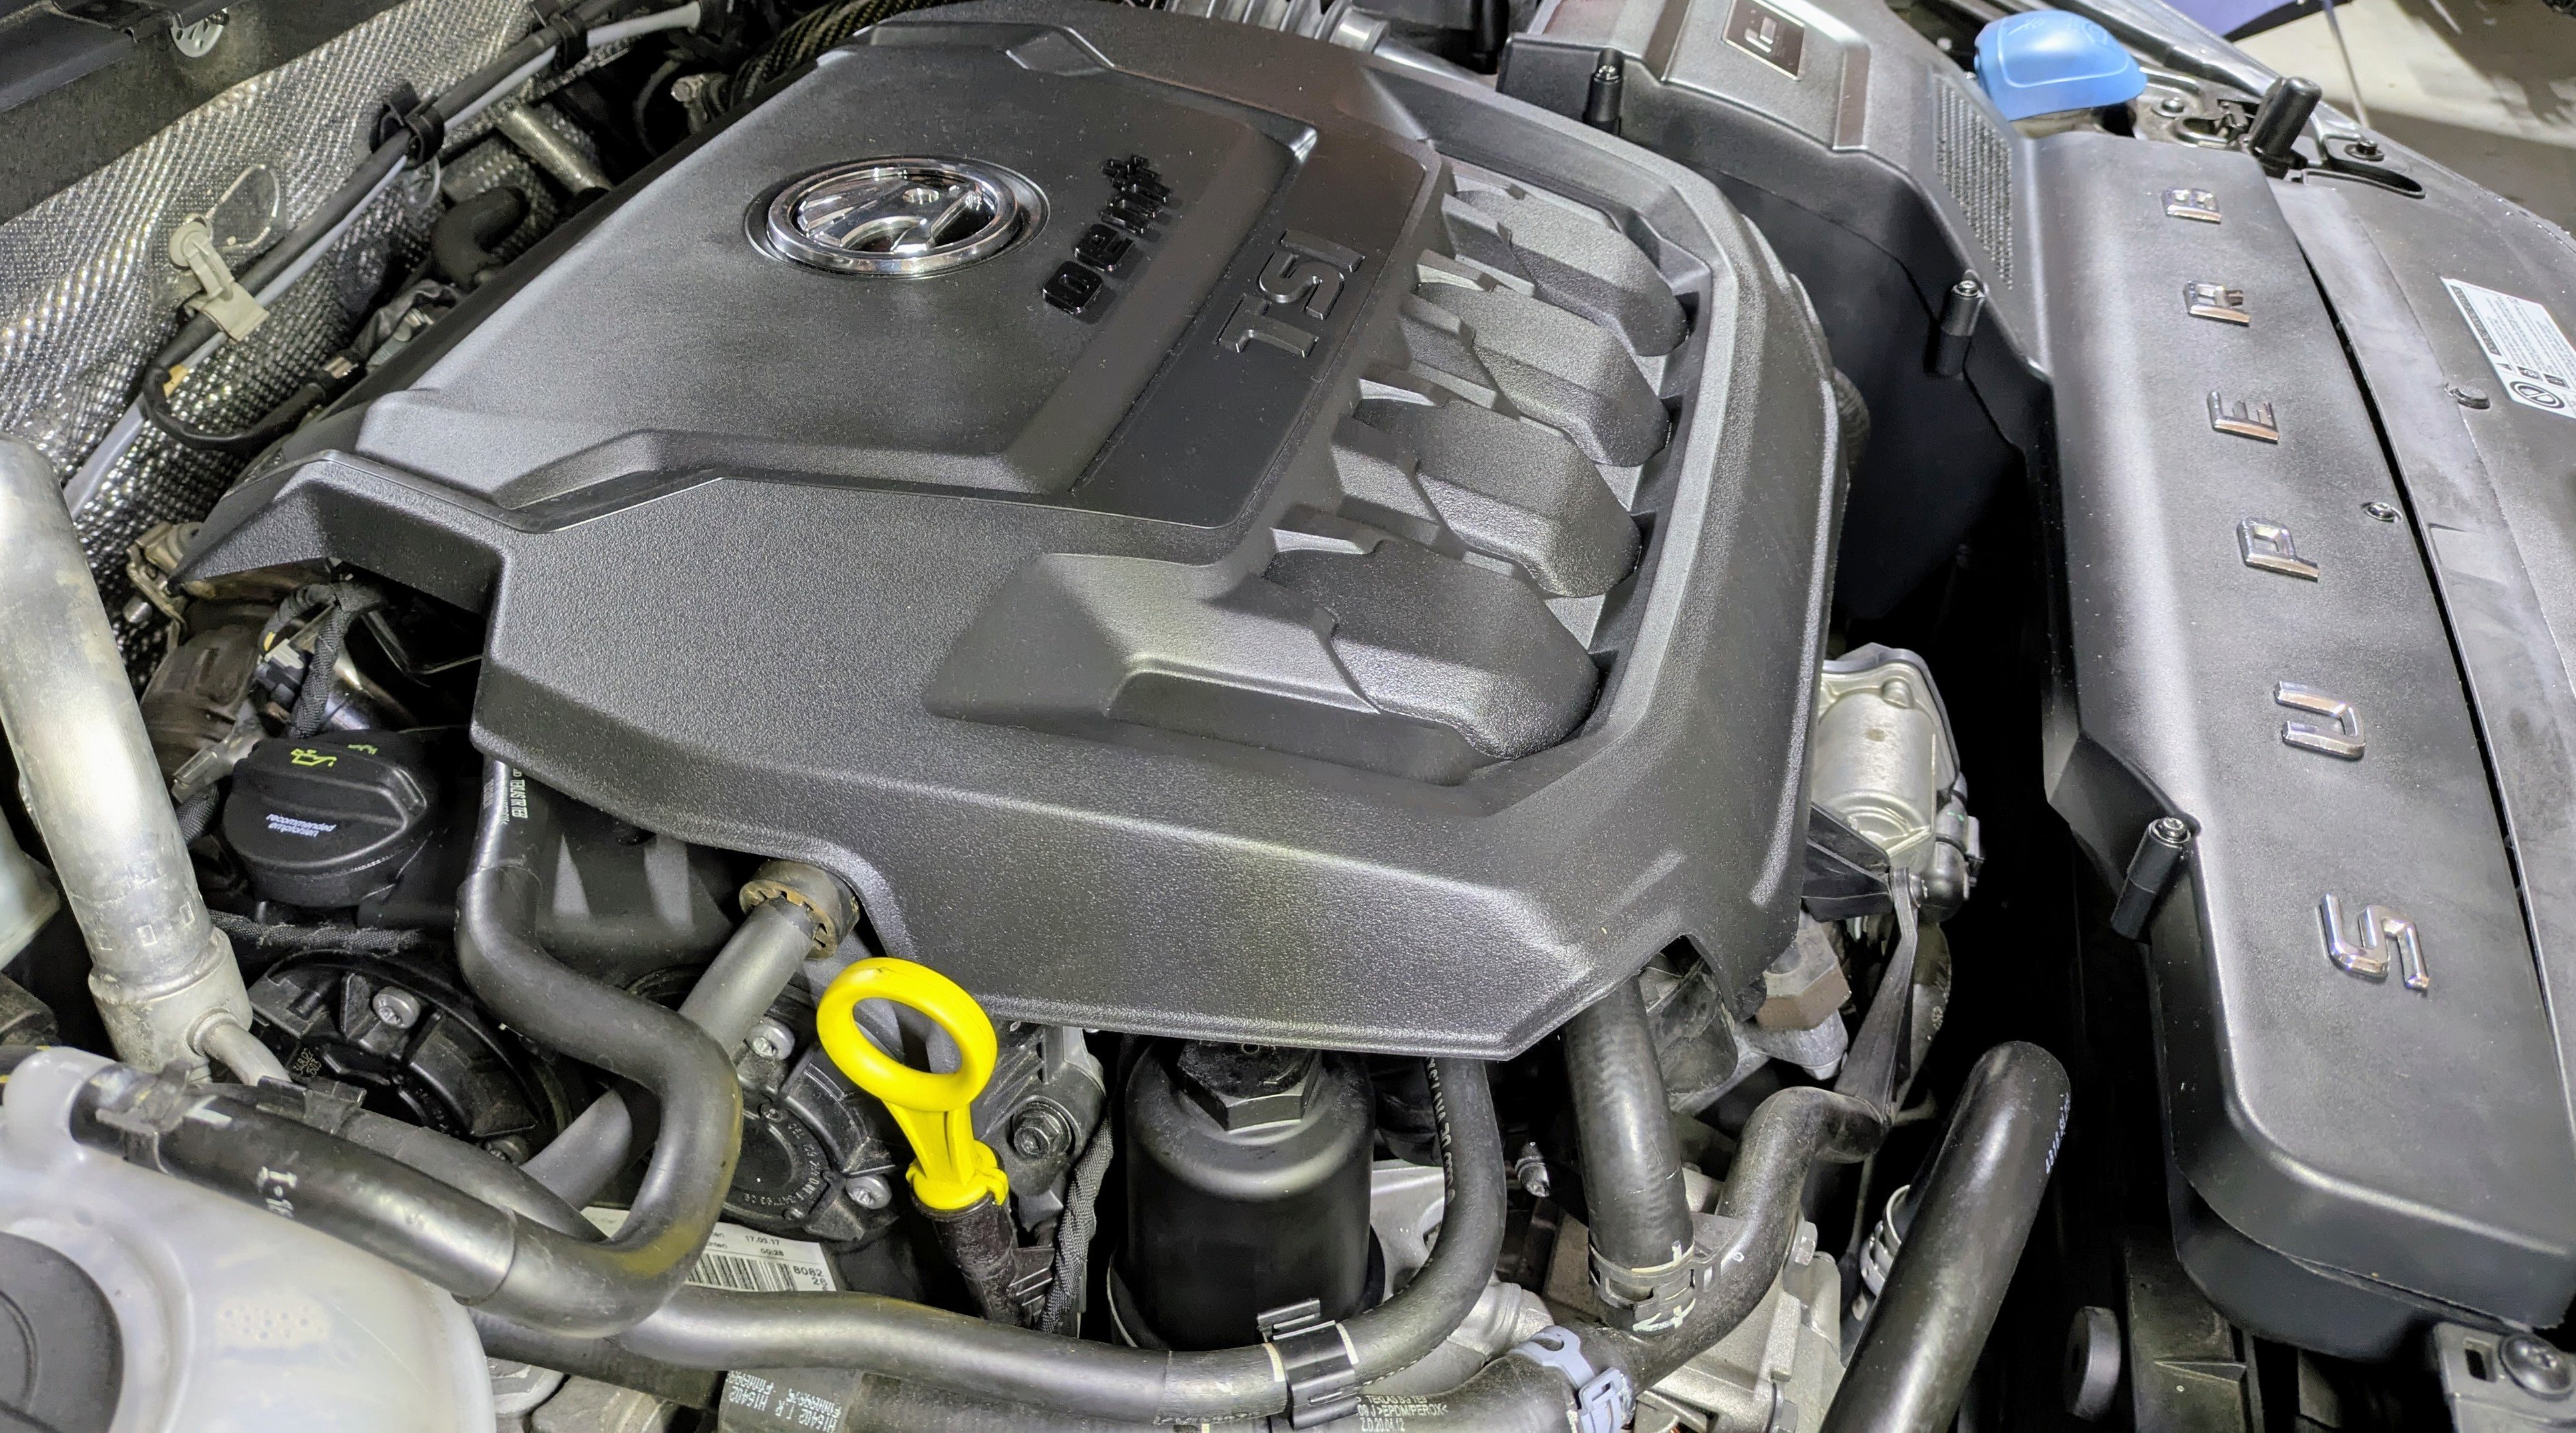
1 pointSo after 9 yrs, my oil filter housing started to show signs of an oil leak, all around the base of it. Gandalf wasn't loosing any oil though, based on the dipstick levels. Suspects include cracked oil filter housing, however the weeping was consistent all round it; or the oil filter internal valve adaptor, which the old versions r known to fail. The part has since been revised. or cracked oil filter housing O-ring. Based on that, I decided to replace the internal valve filter and oil filter housing. Parts:- Oil Filter Housing - 06L115401L Updated version, comes with oil filter and O-ring. Oil Filter valve - 06L115678Q Revised and updated version. Whilst I was at it, I also replaced the oil cap. Time to monito now and see if there r any new signs of oil weeping or misting. Fingers crossed.
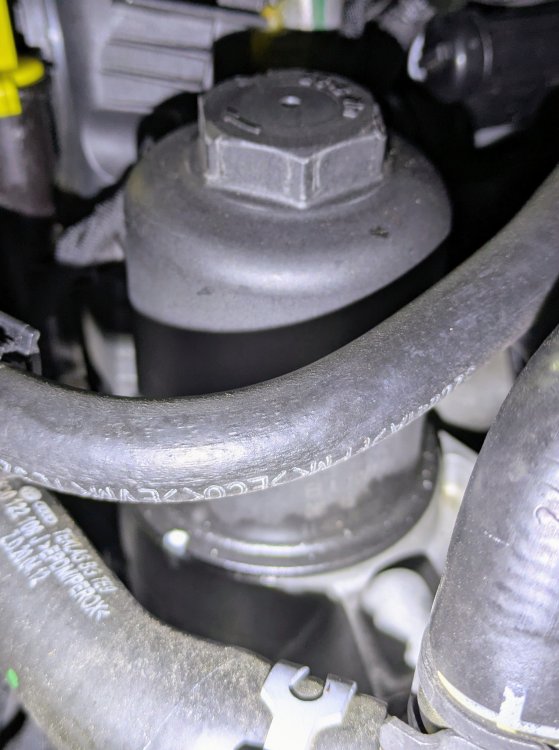
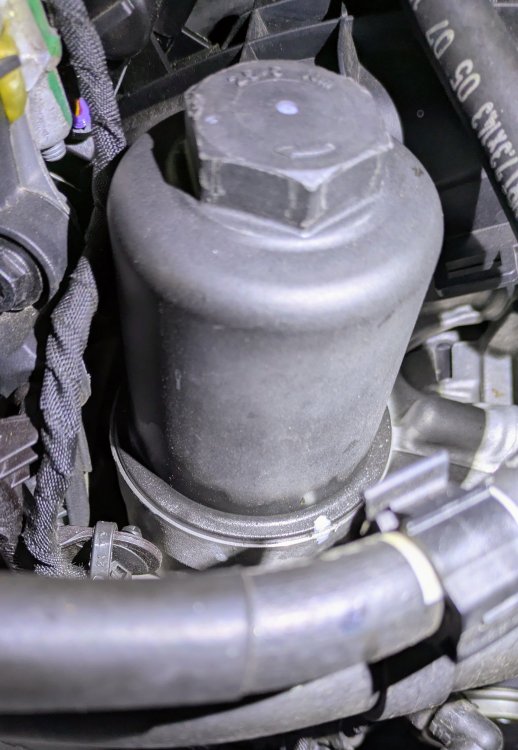
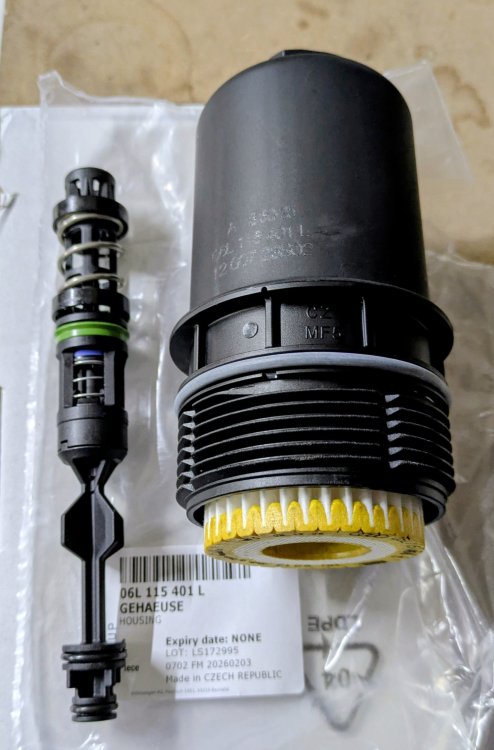
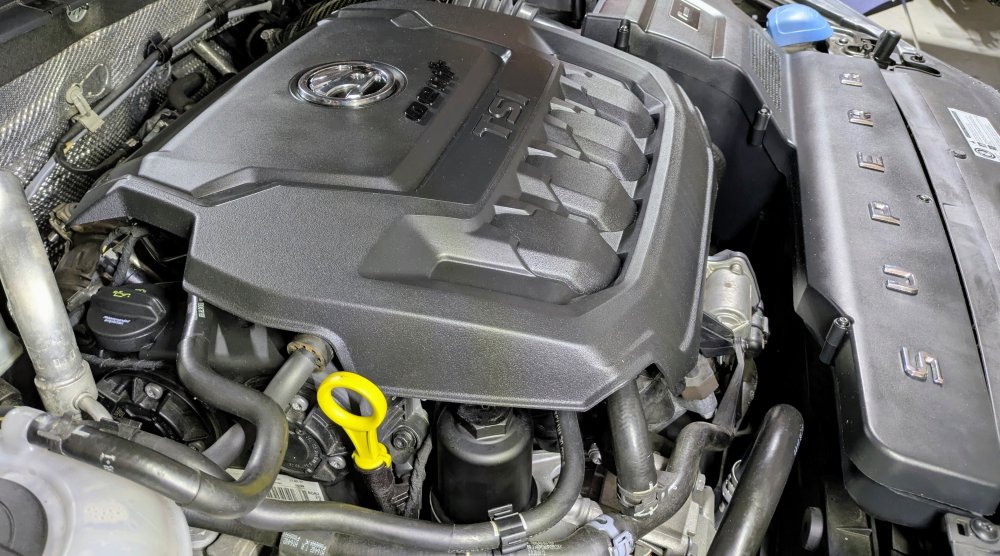 1 point
 -
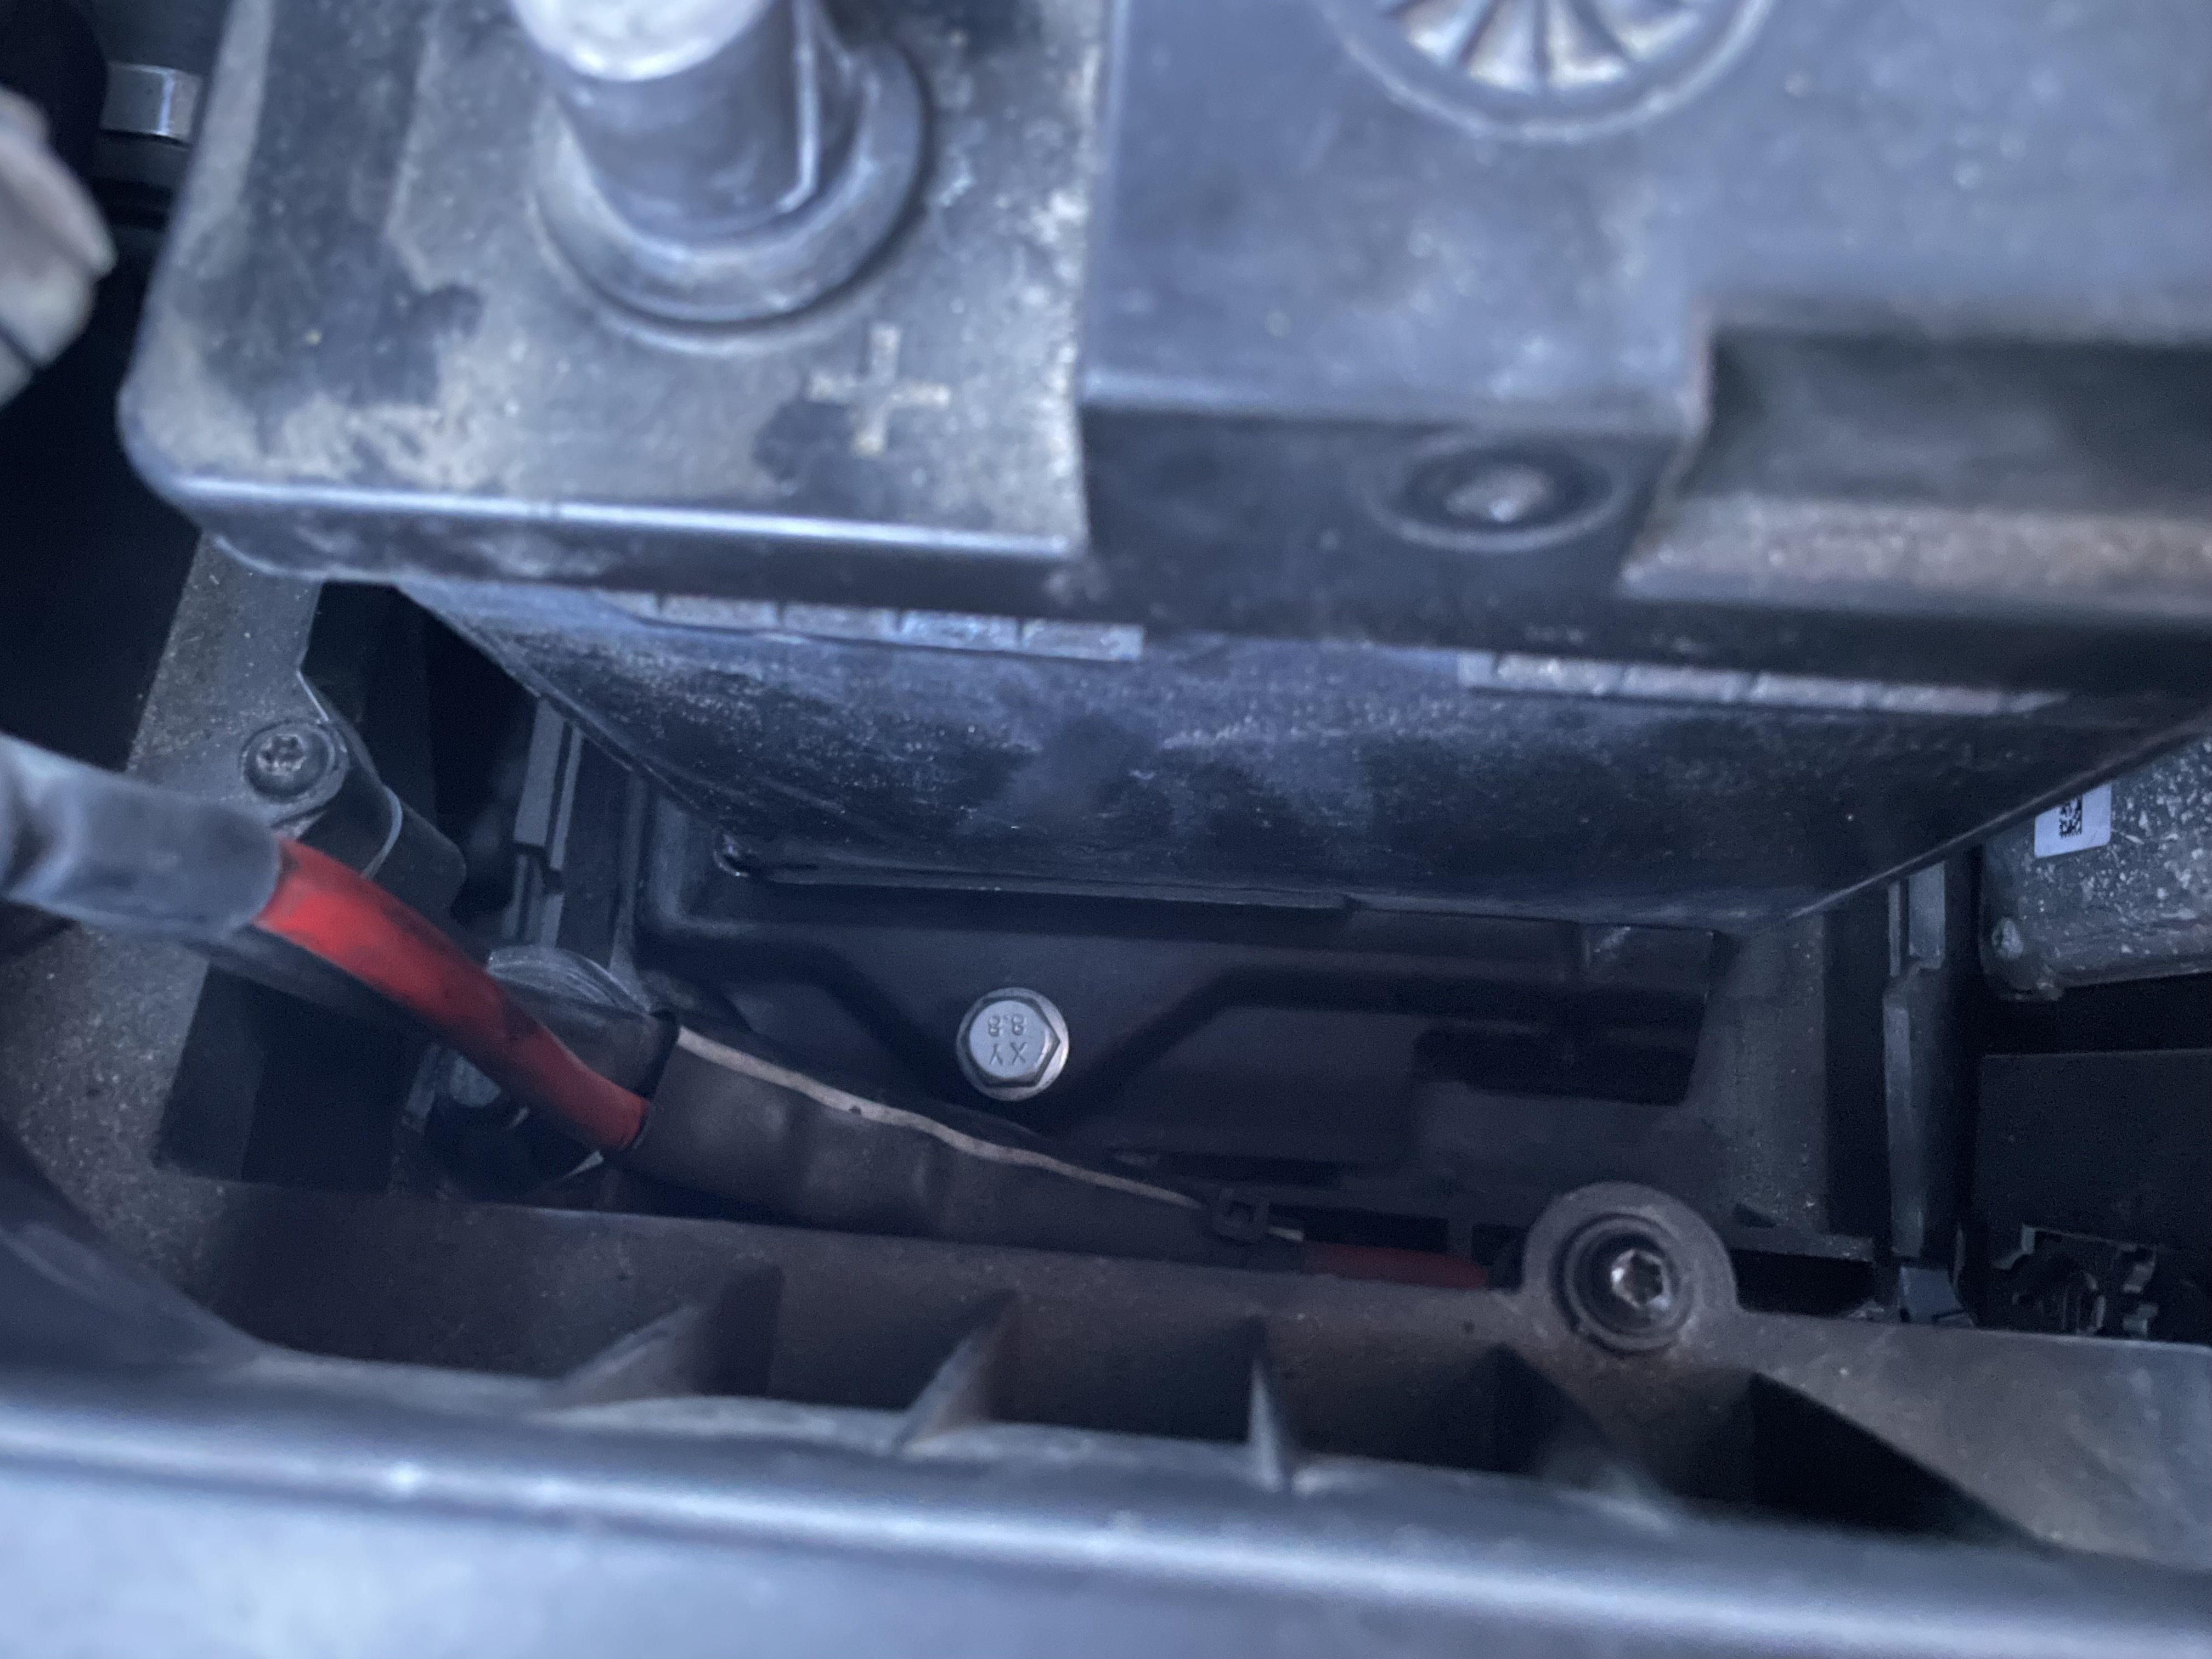
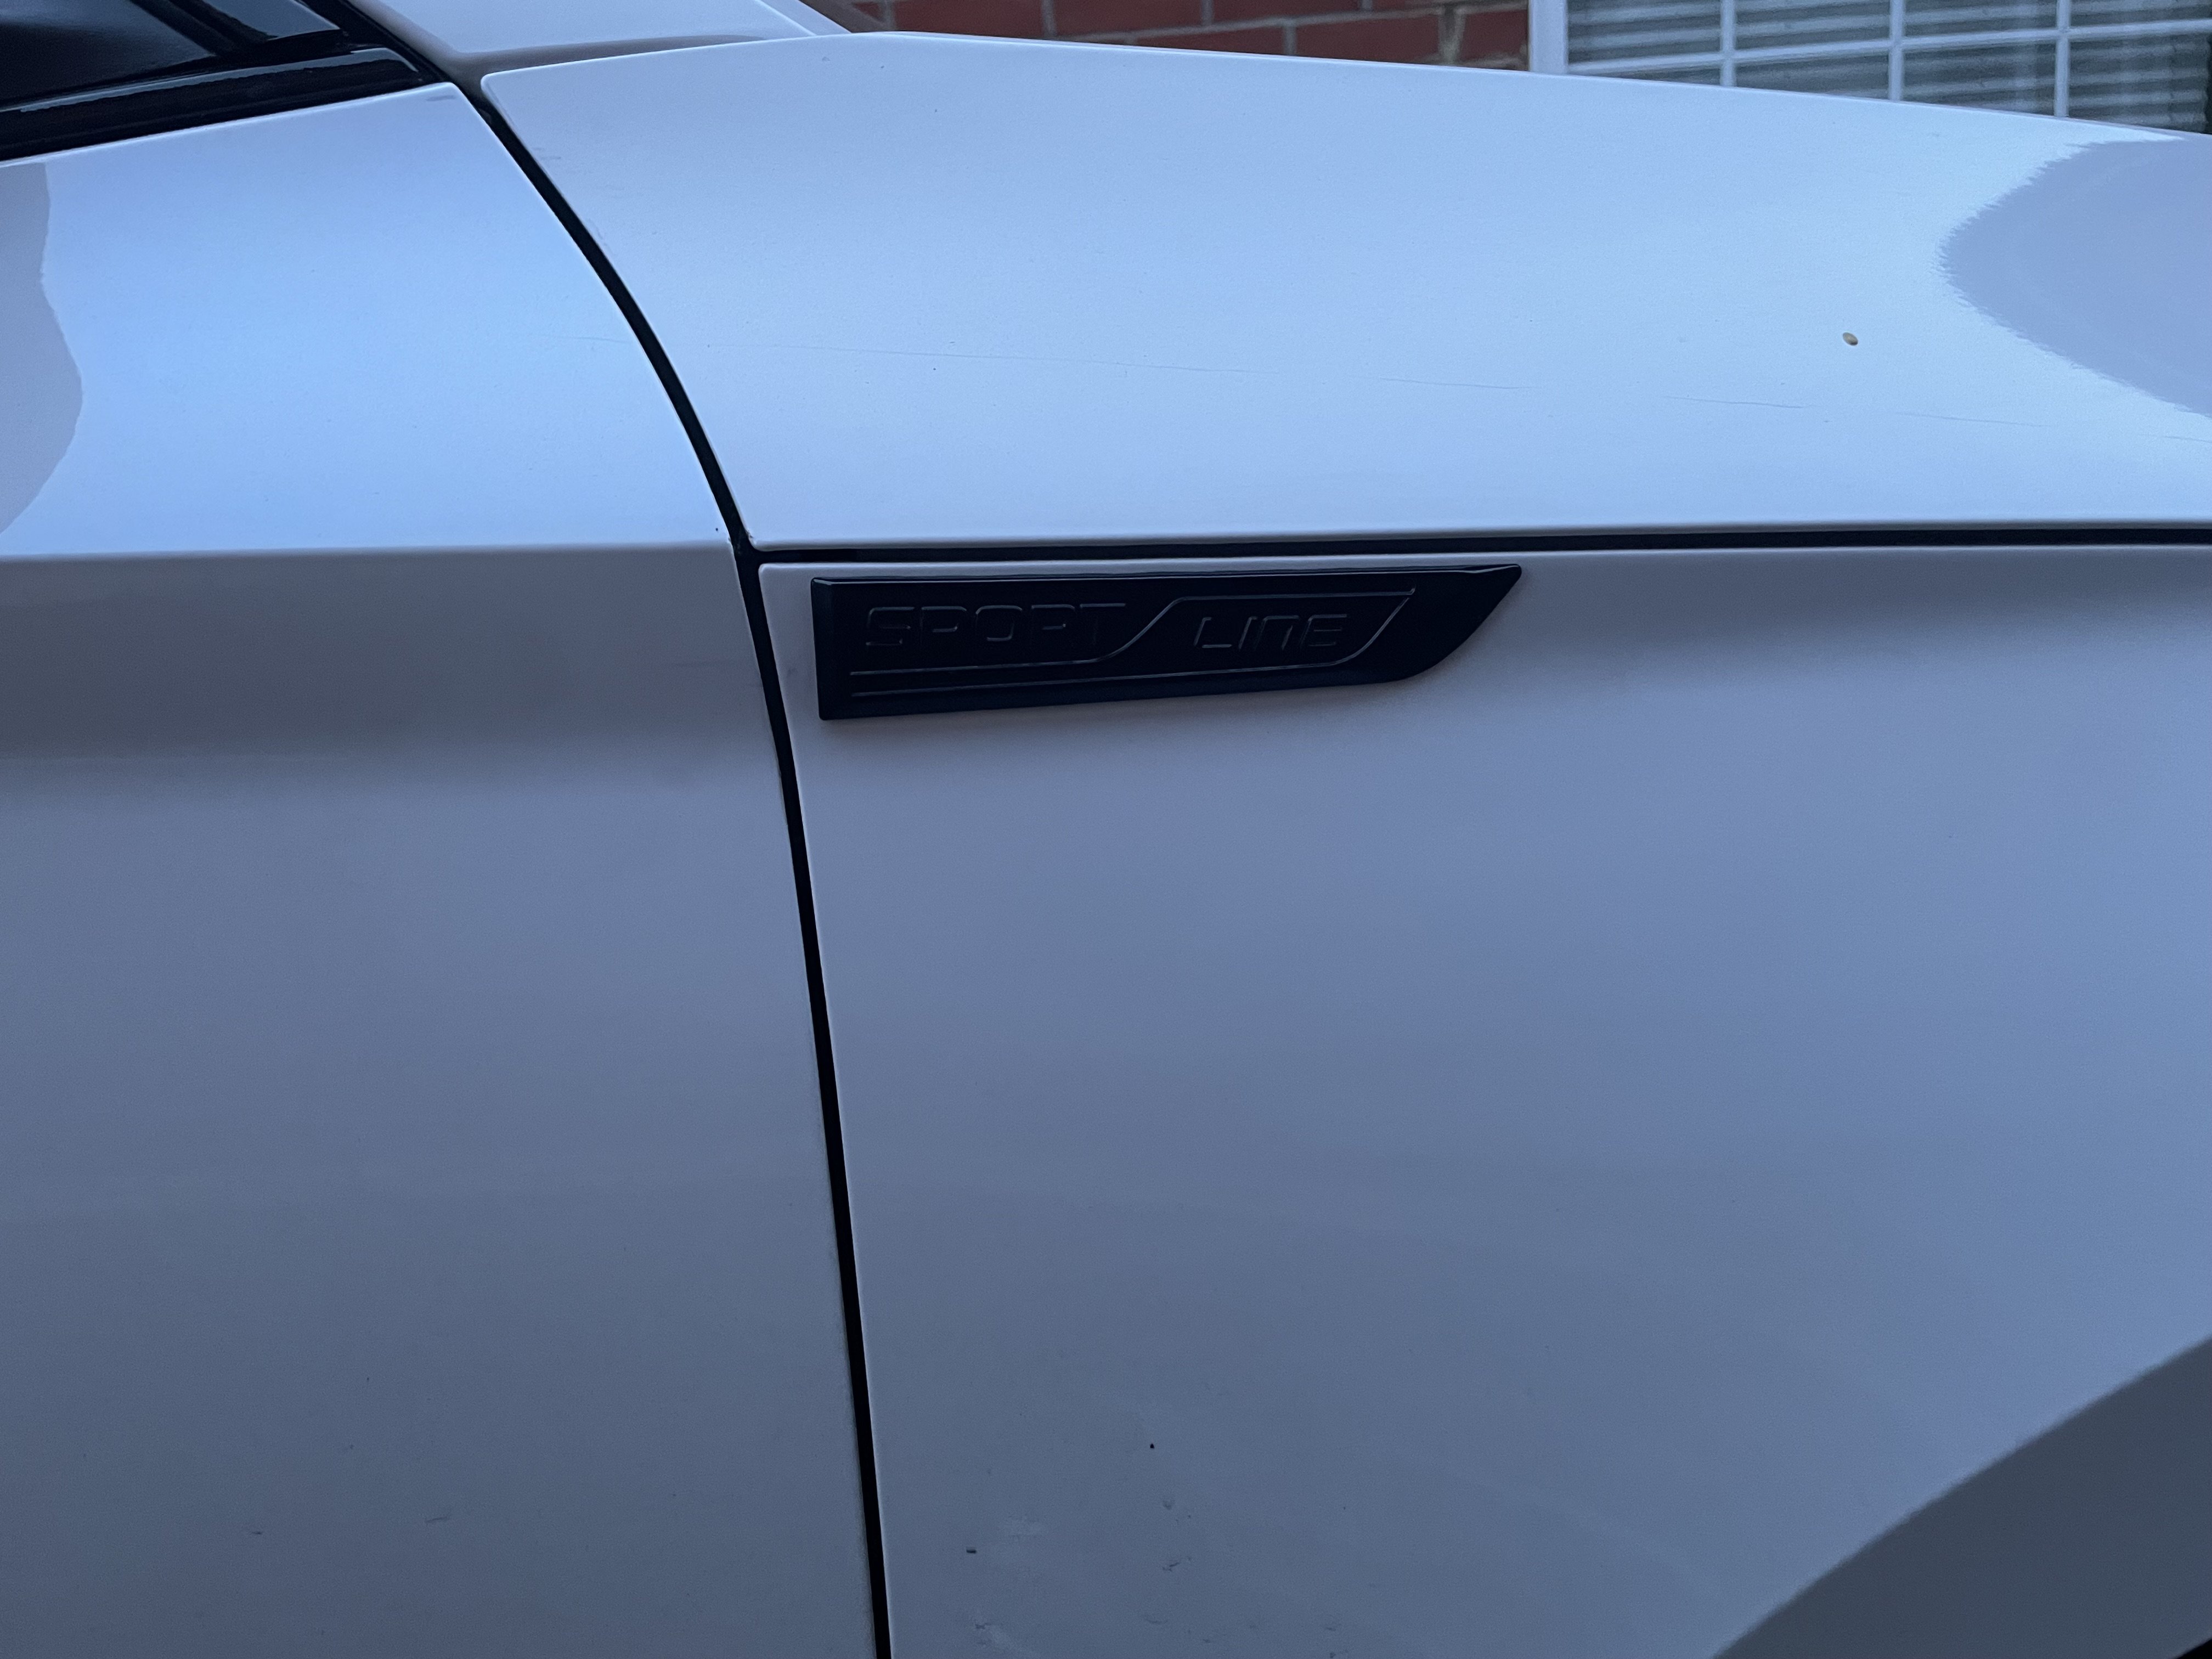
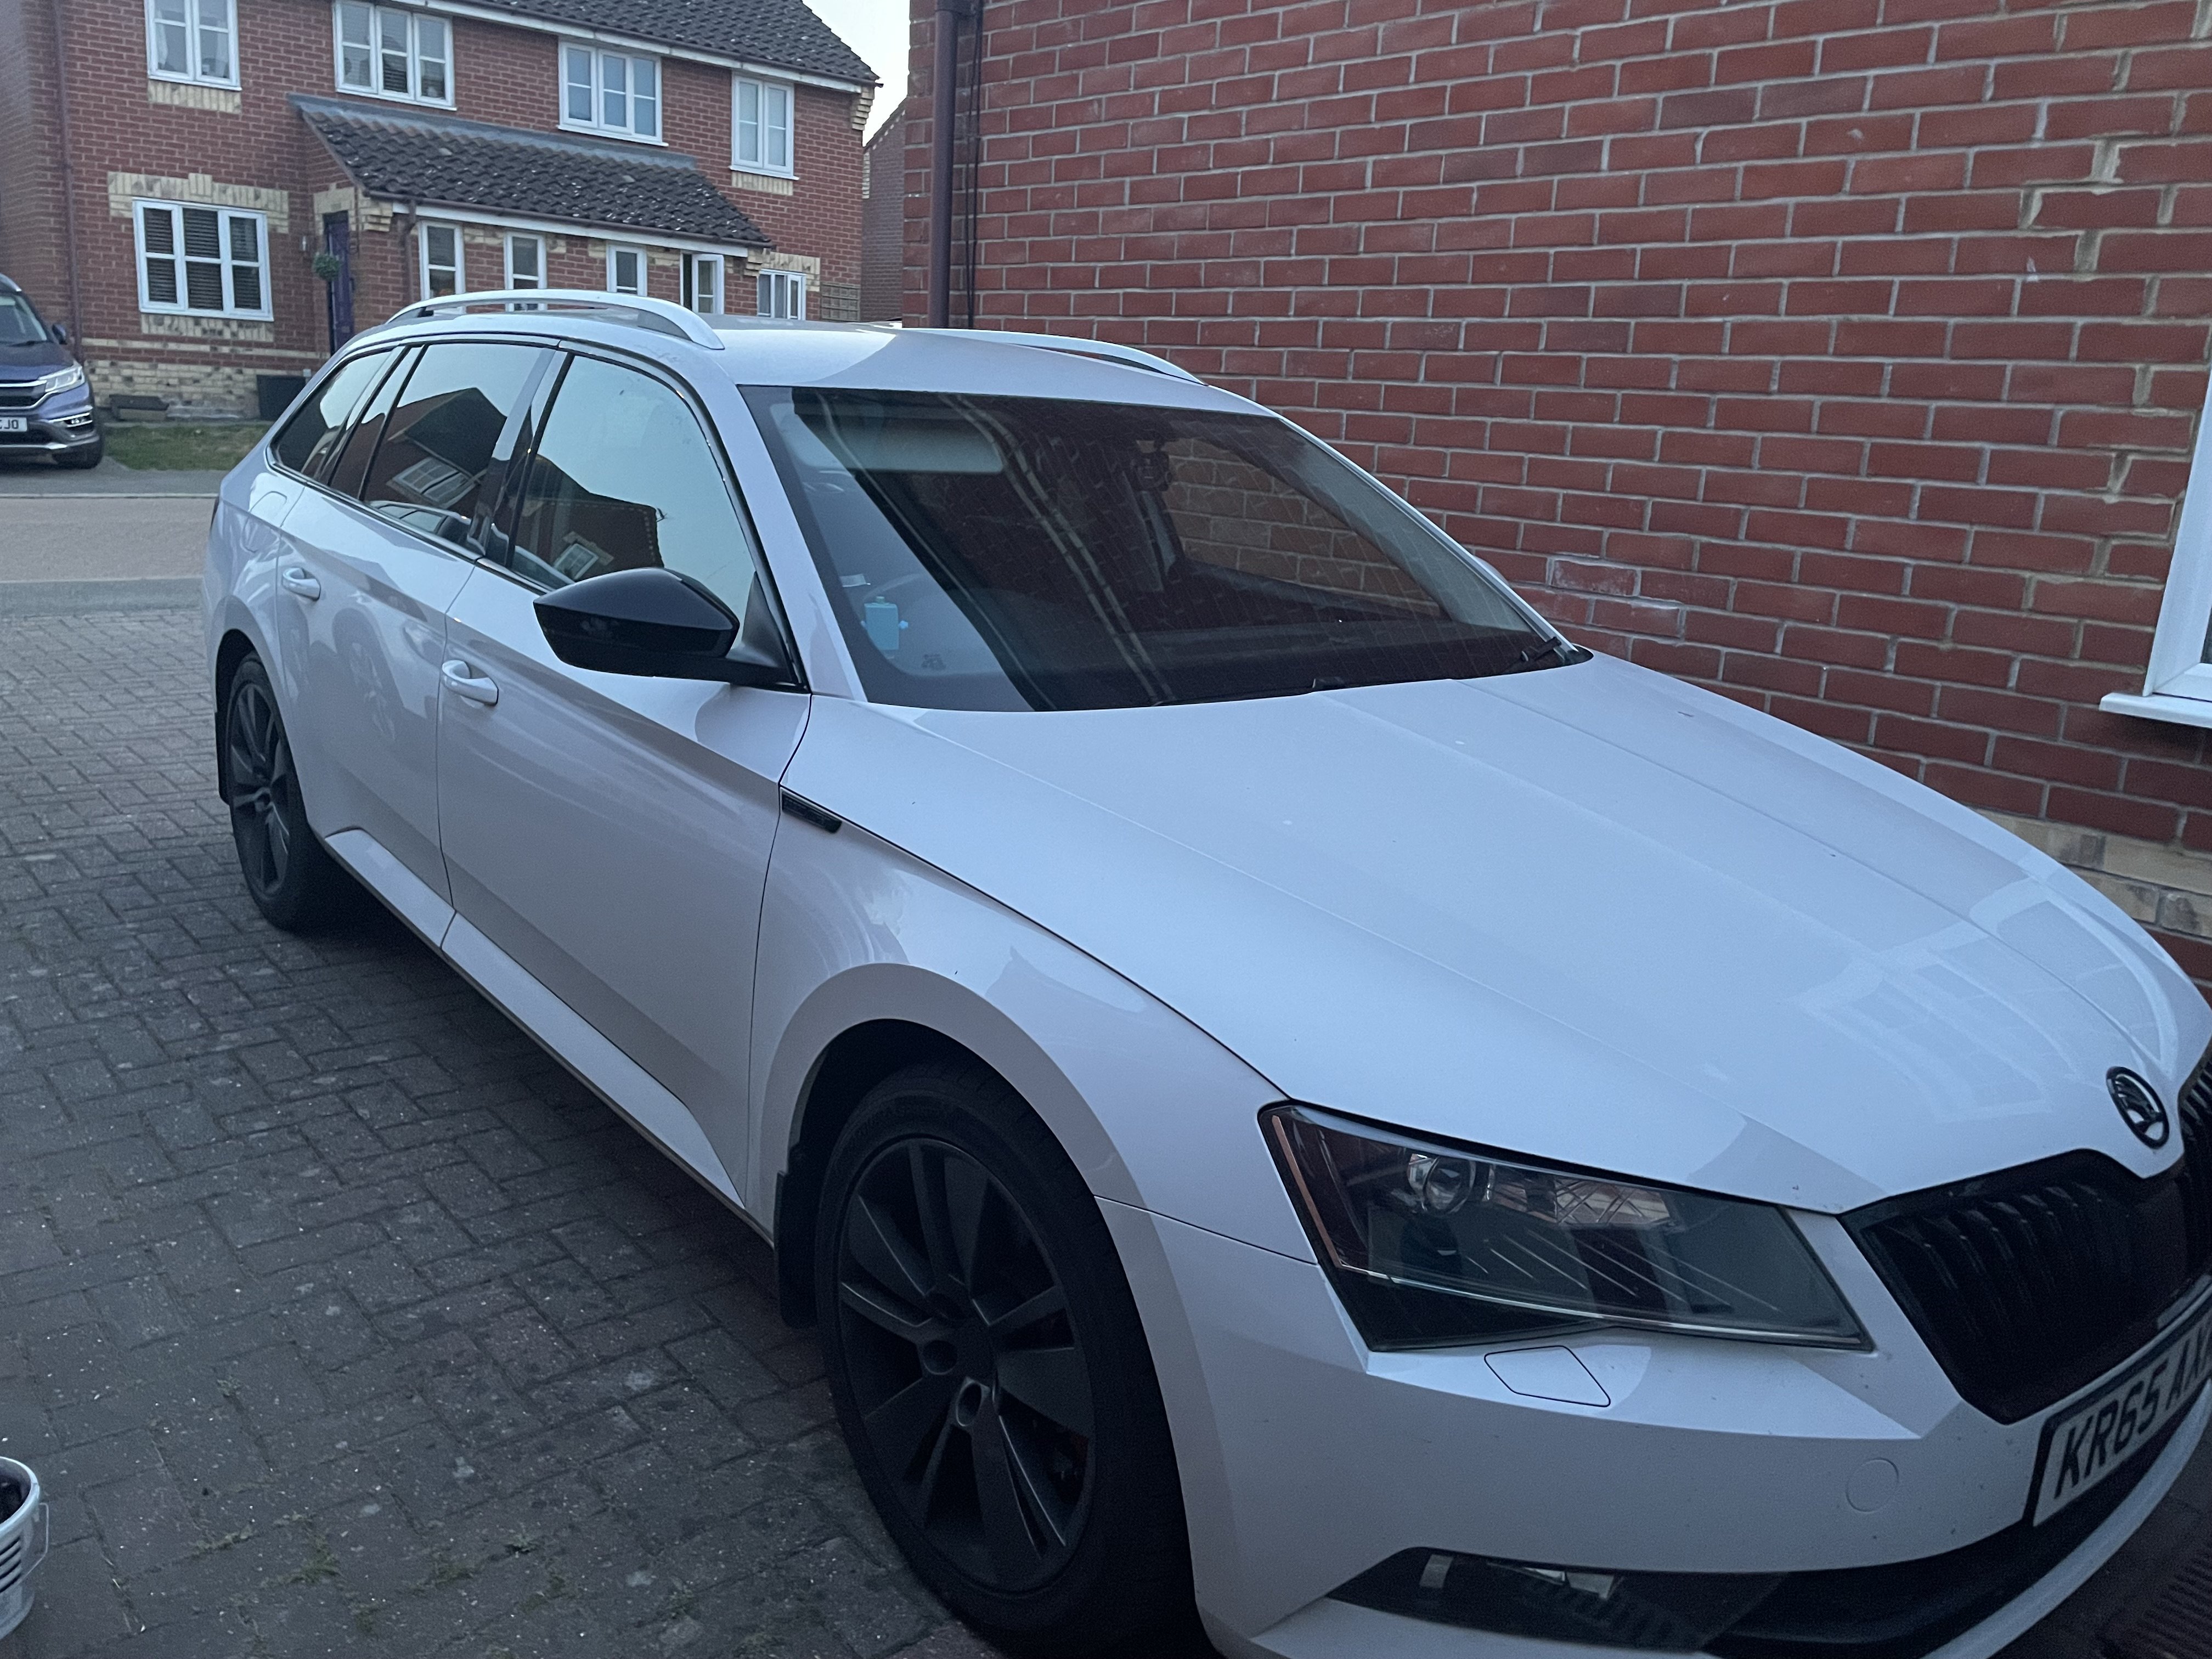
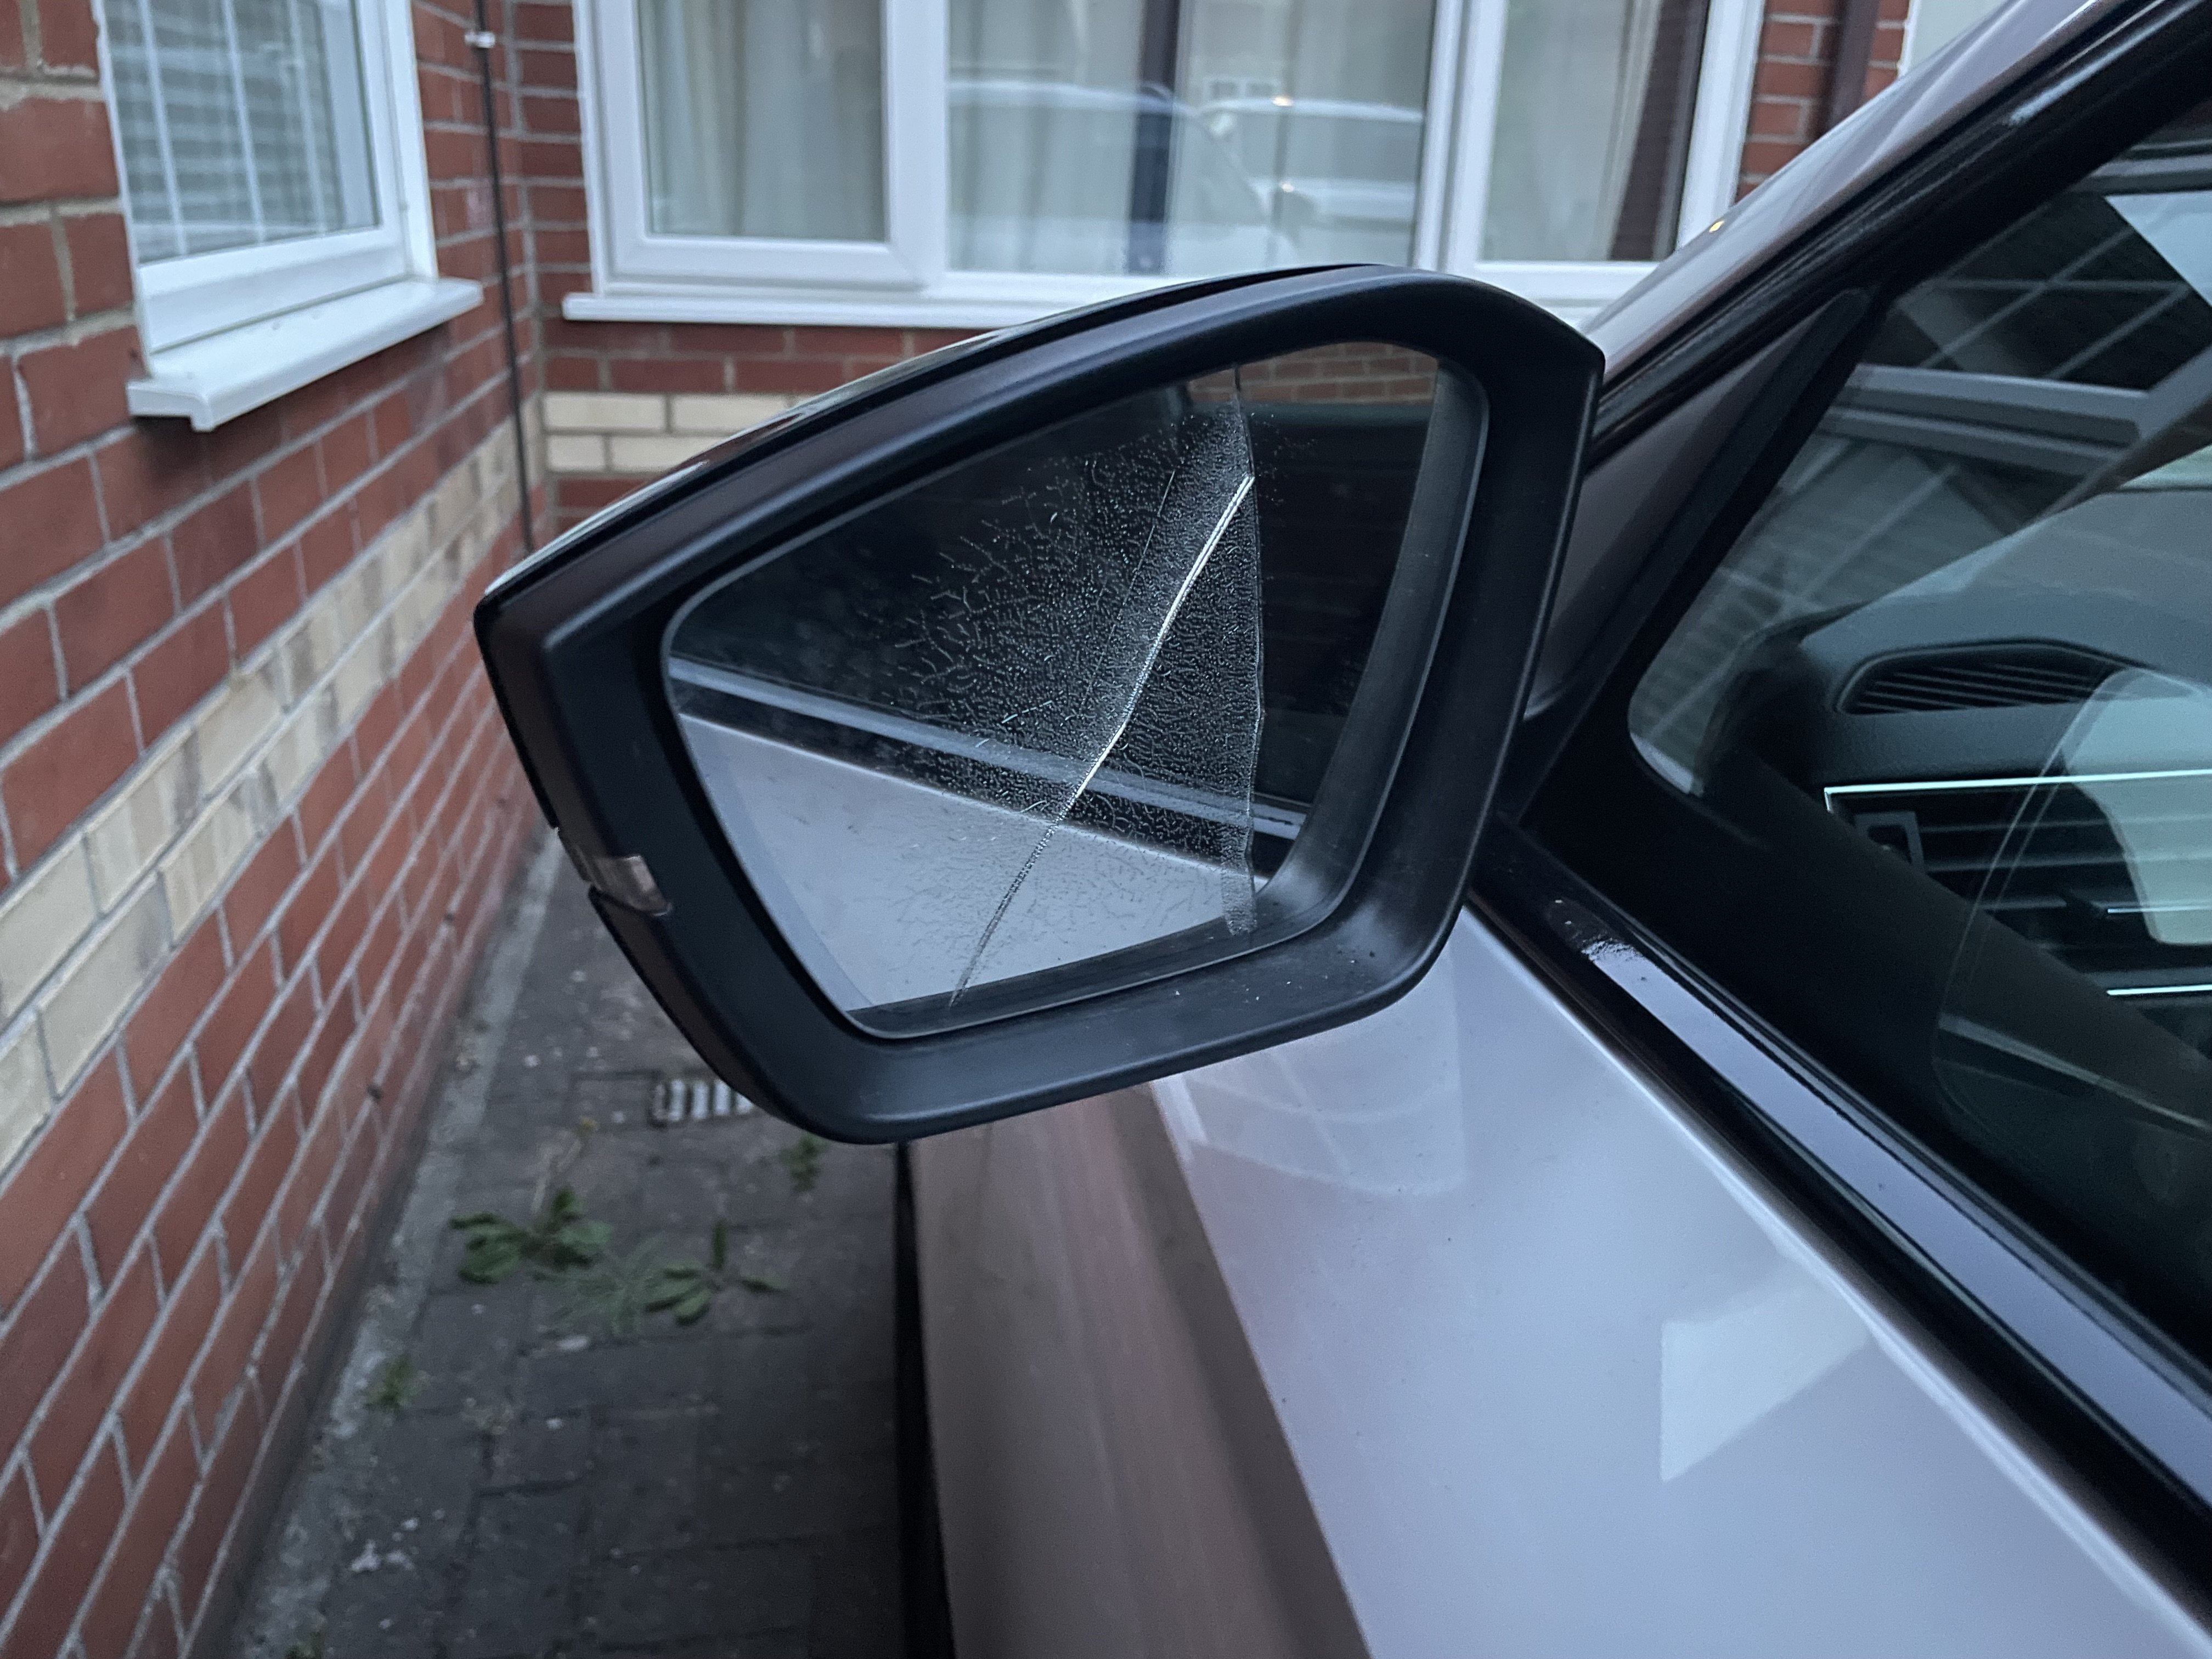
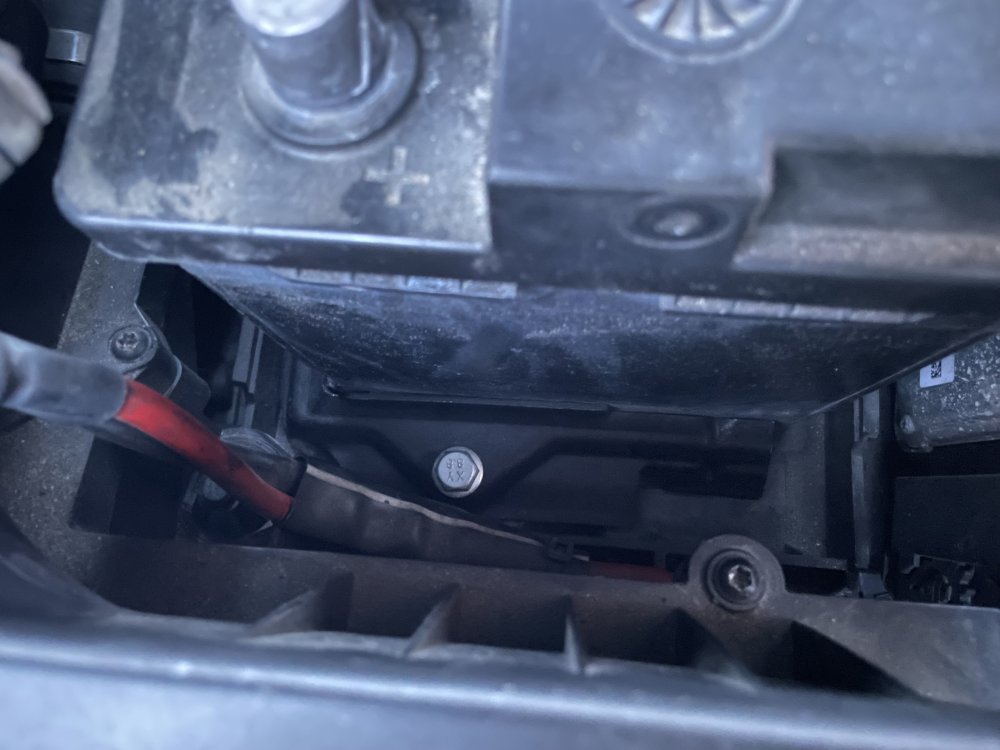
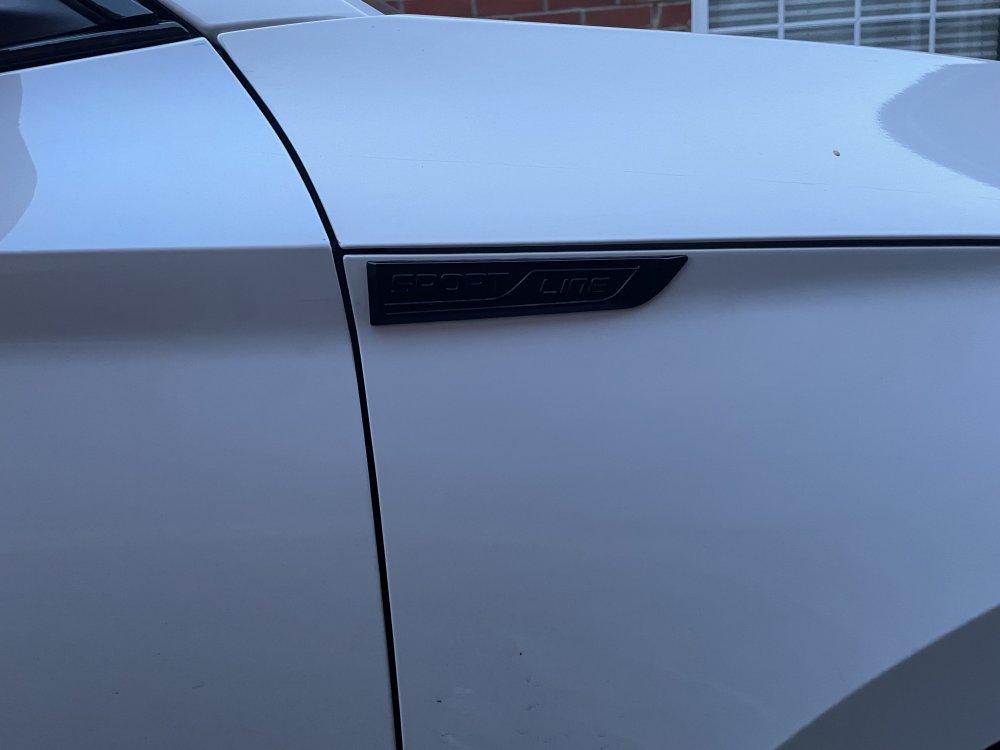
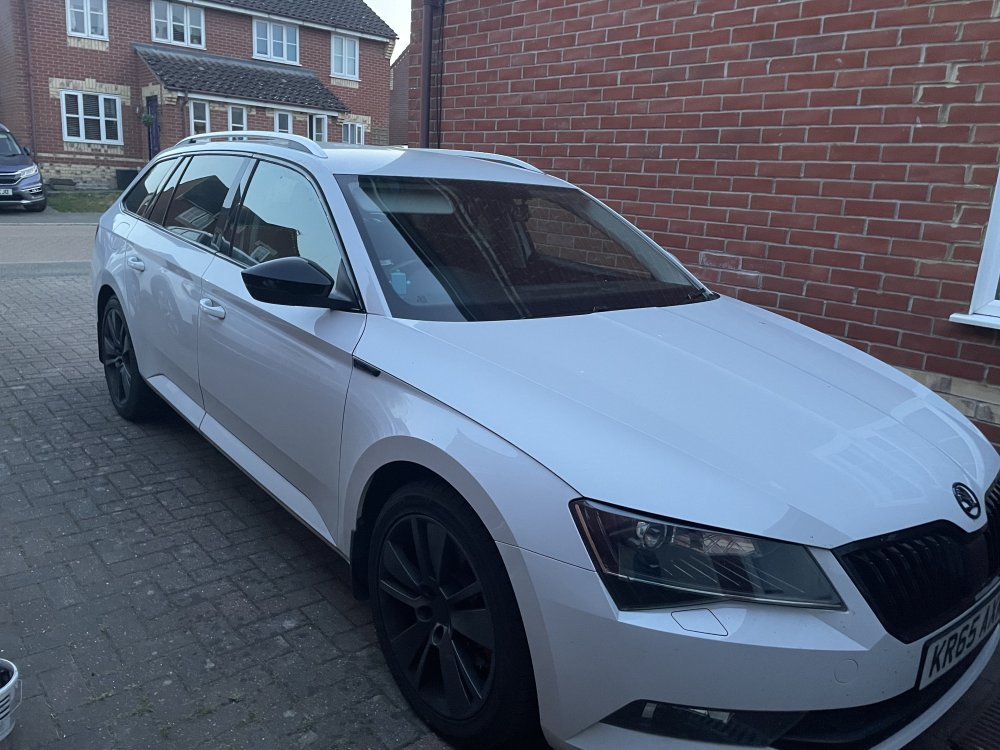
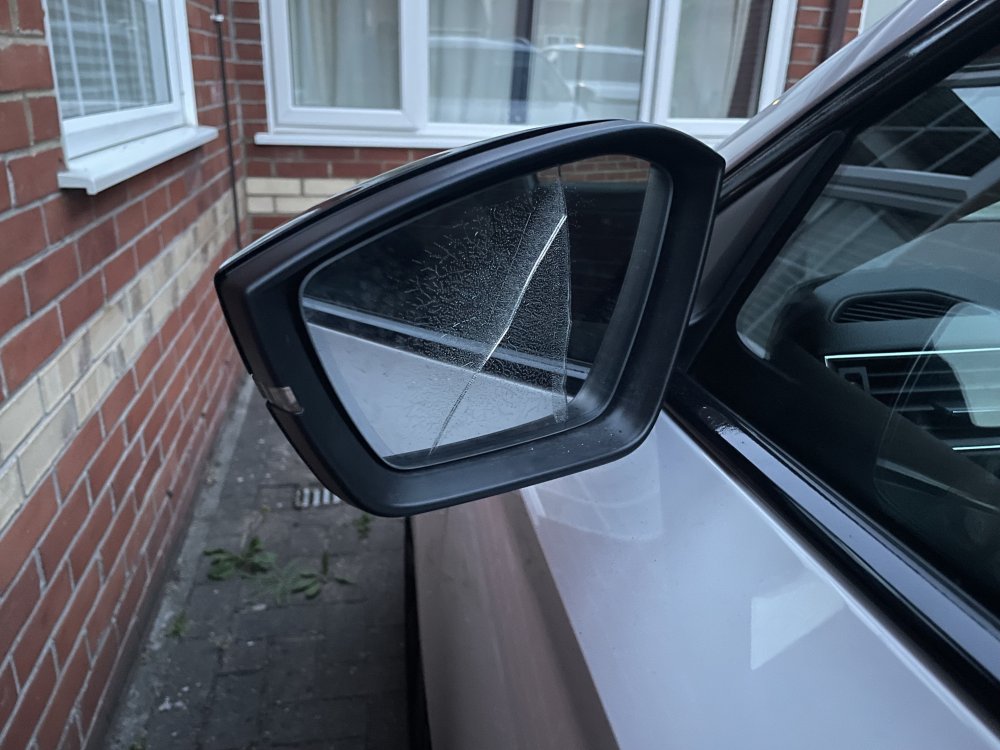
AliExpress delivery day today for a few more upgrades. First off - battery clamp that I found was missing. Nice easy fit. https://a.aliexpress.com/_EvpbmXk Black Sportline badges (not the best photo as it was getting dark) https://a.aliexpress.com/_Ey0q3ro Black mirror caps https://a.aliexpress.com/_EyOVXV4 Again a relatively easy fit. Although the glass takes quite a bit of force to remove. As @JR RS found, the Chinese copies have the middle fixing tab in the wrong place. But secure well using the two side catches. Unfortunately the passenger side didn’t go so well…. I was shocked at the price of the auto dimming glass. £300+! So I shall squint into a £25 non dimming version in future. https://www.carwingmirror.co.uk/skoda-superb-wing-mirror-glass/skoda-superb-wing-door-mirror-glass.html Also in the delivery was some spare trim screws as I seem to lose a couple every time I take out the arch liners! https://a.aliexpress.com/_EQd73PY
 1 point
 -
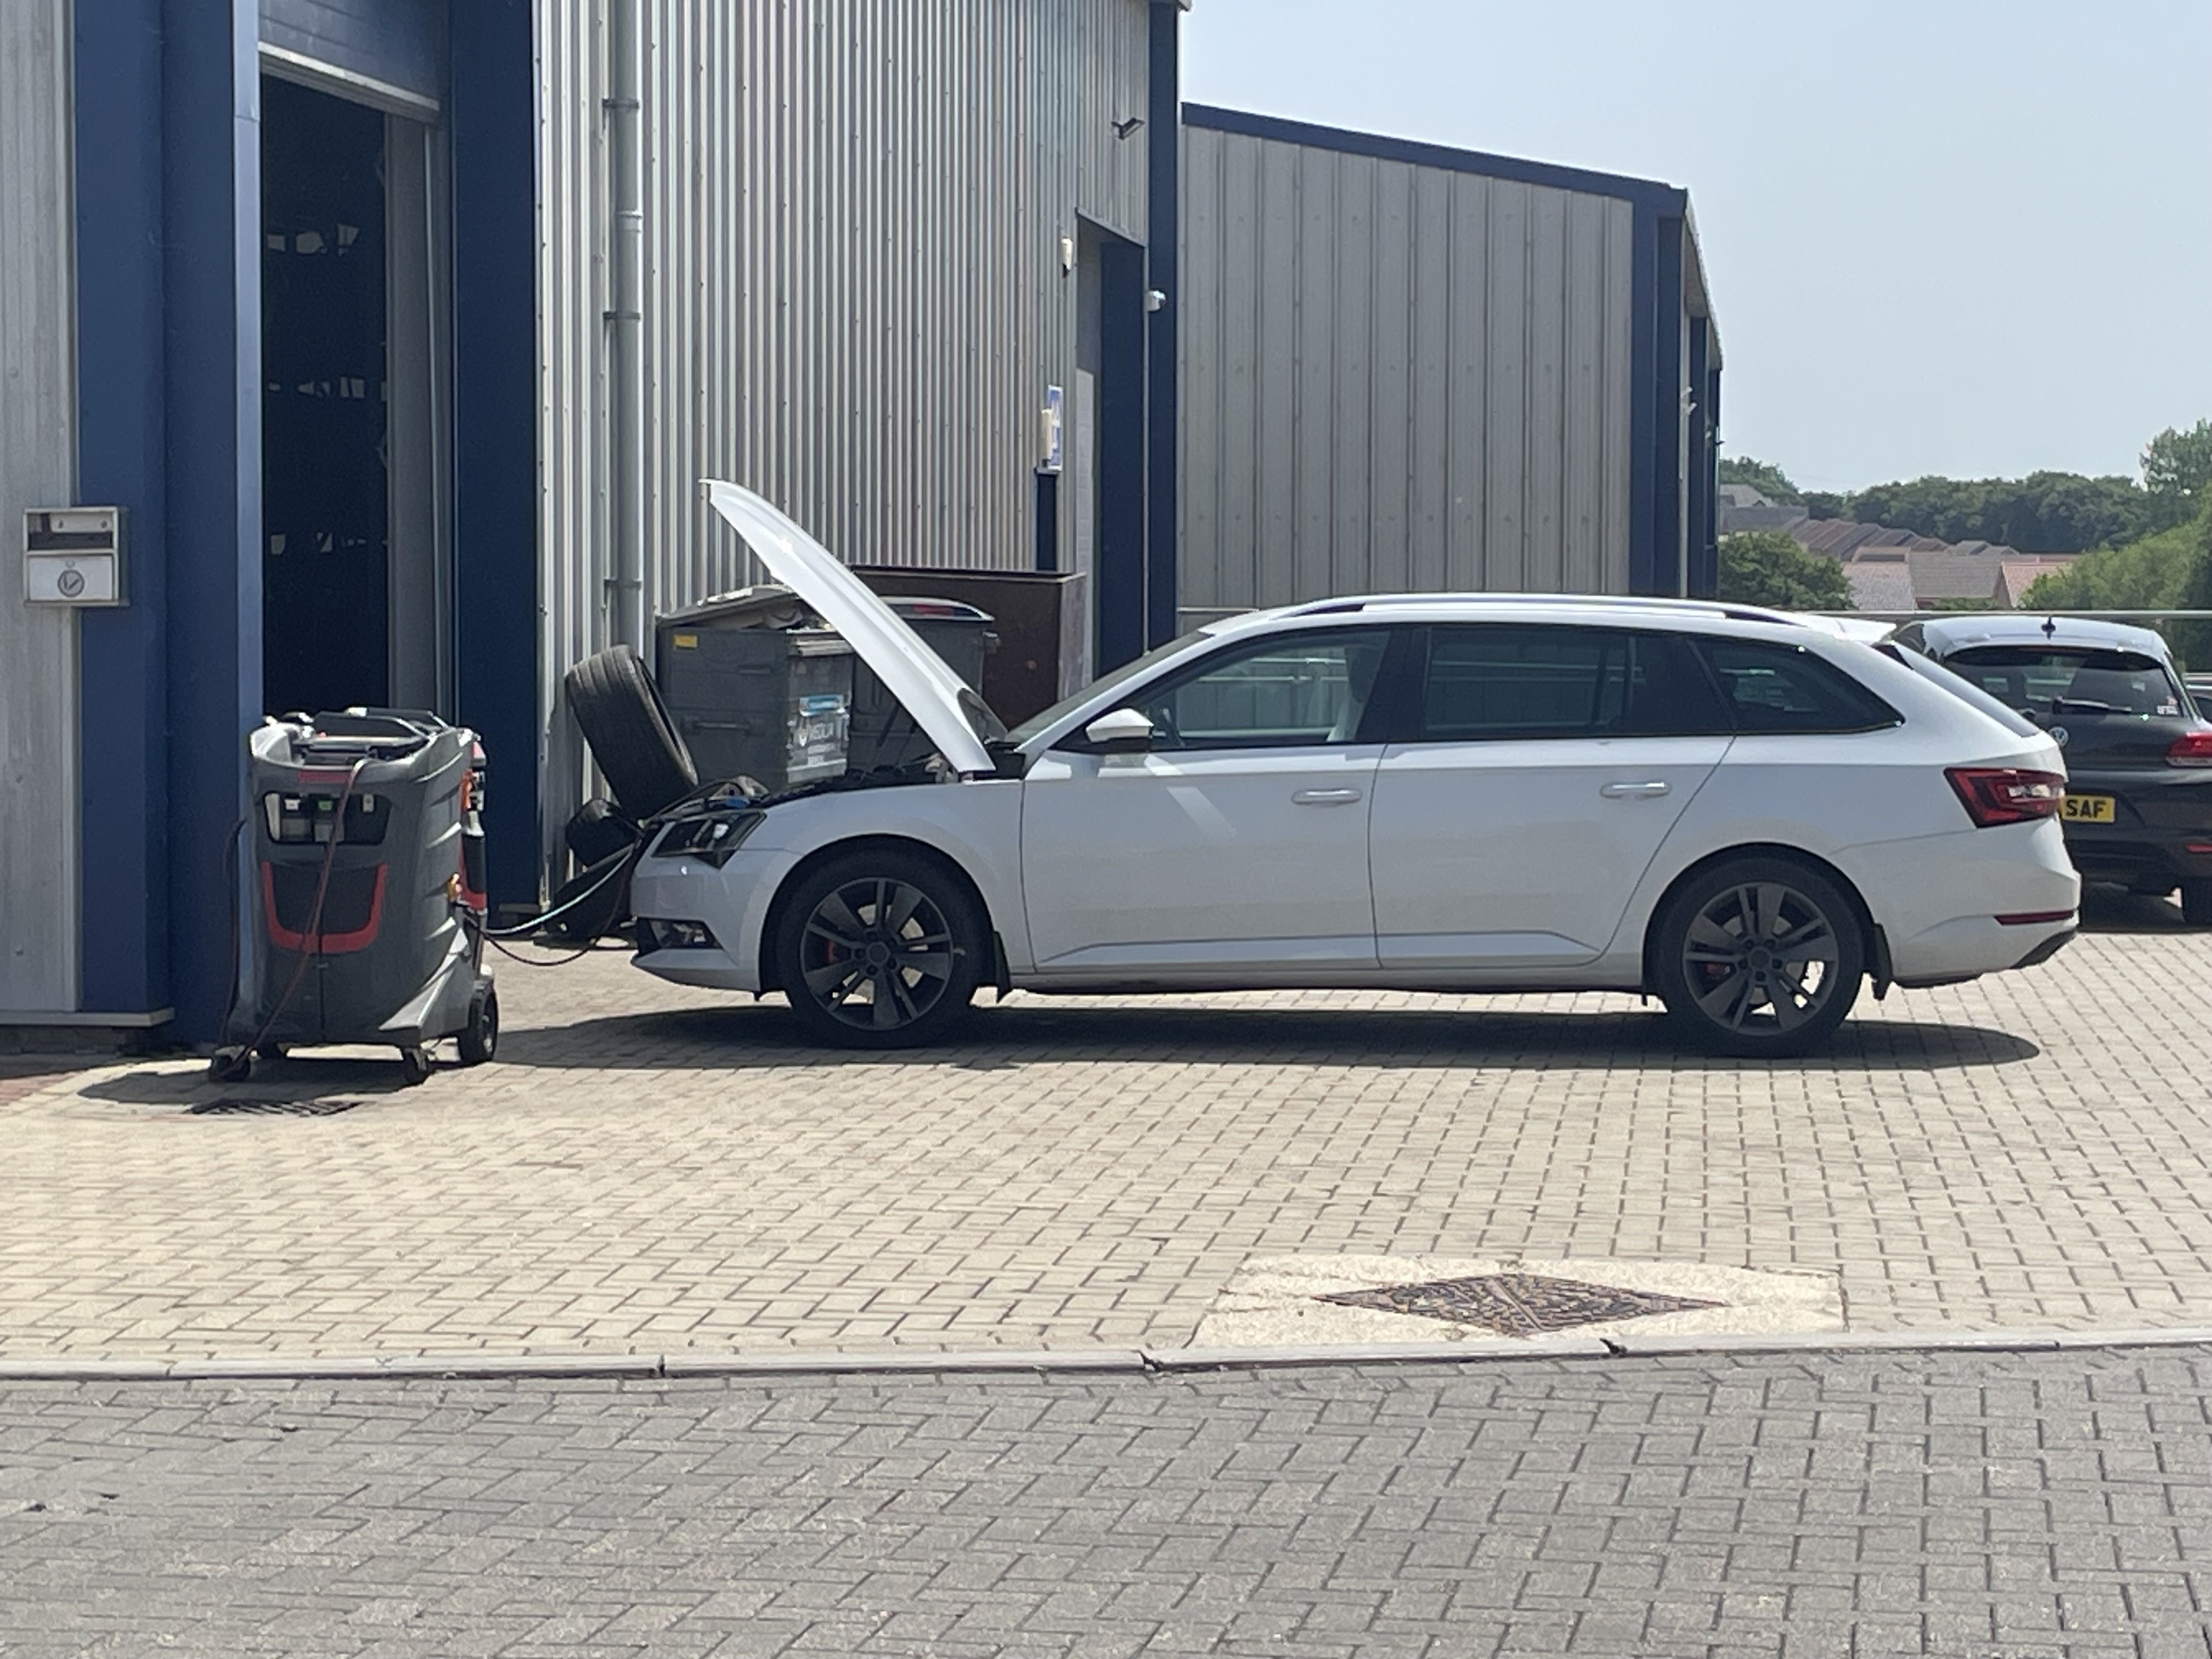
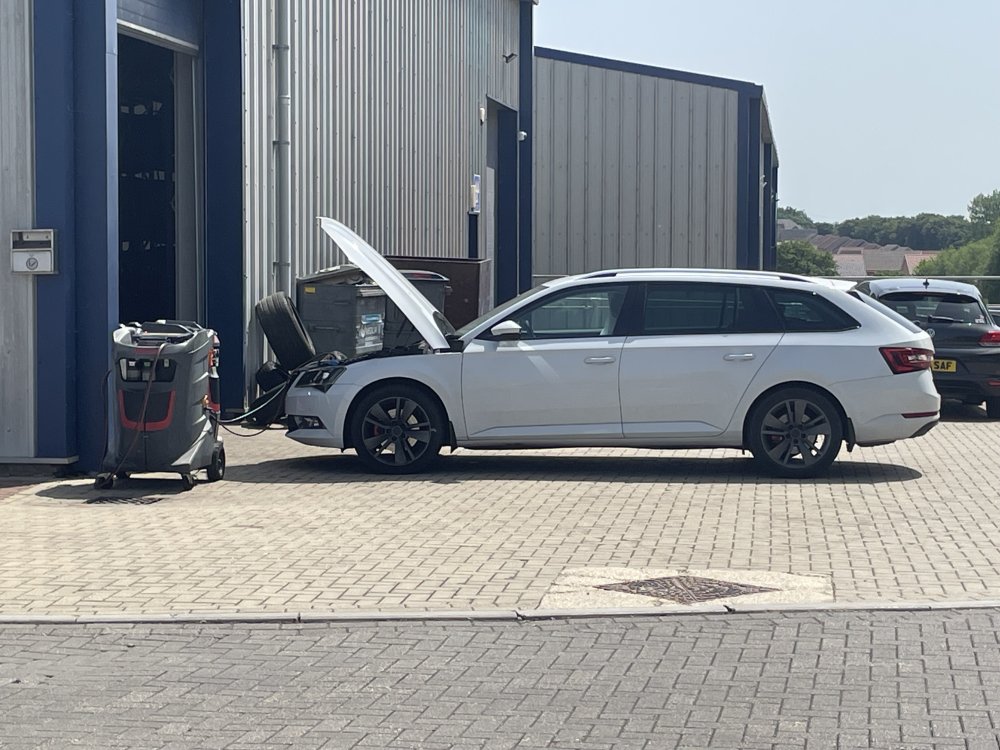
Air con recharge today at local Kwik fit
 1 point
 -
Resolved! No one ever seems to post when they have fixed a problem! So, wire from fuse 12 to pin 1 of gateway, which should be battery live, was broken in the loom. Patched in new wire and all fixed. Can’t imagine anyone will ever the same problem but you never know….1 point
-
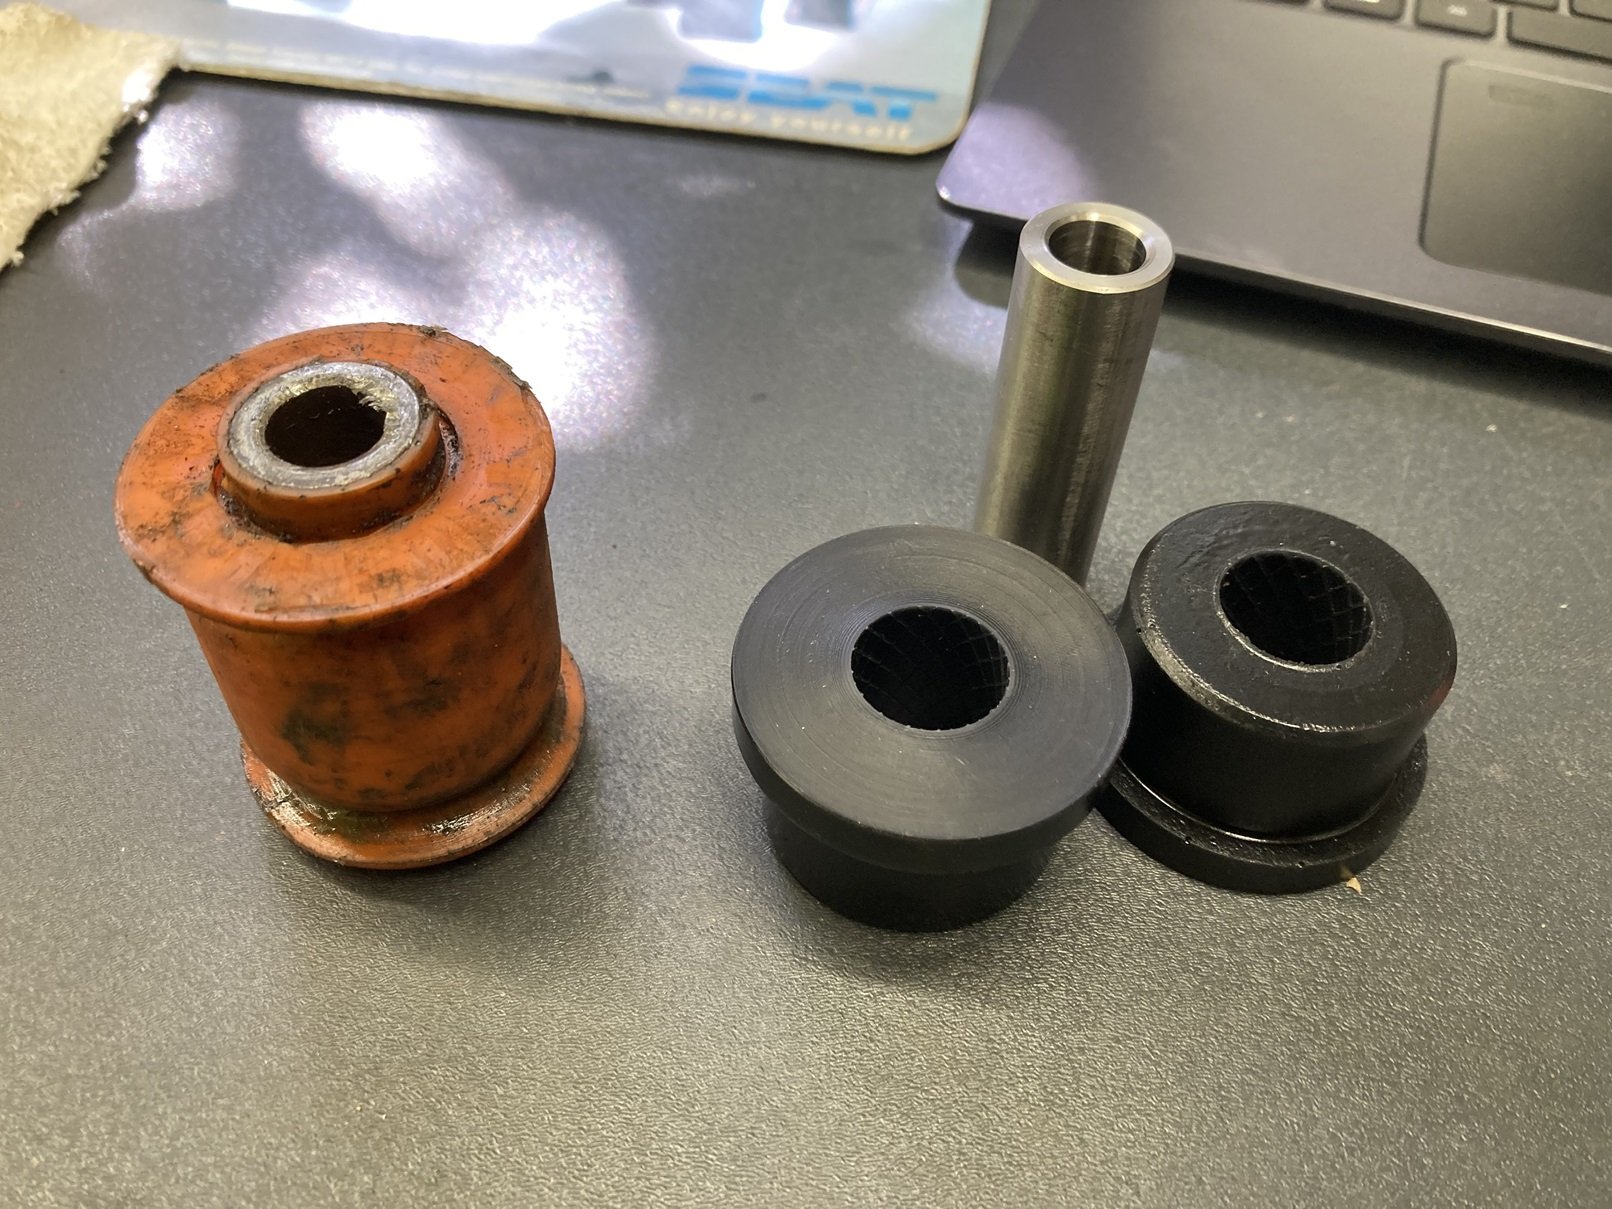
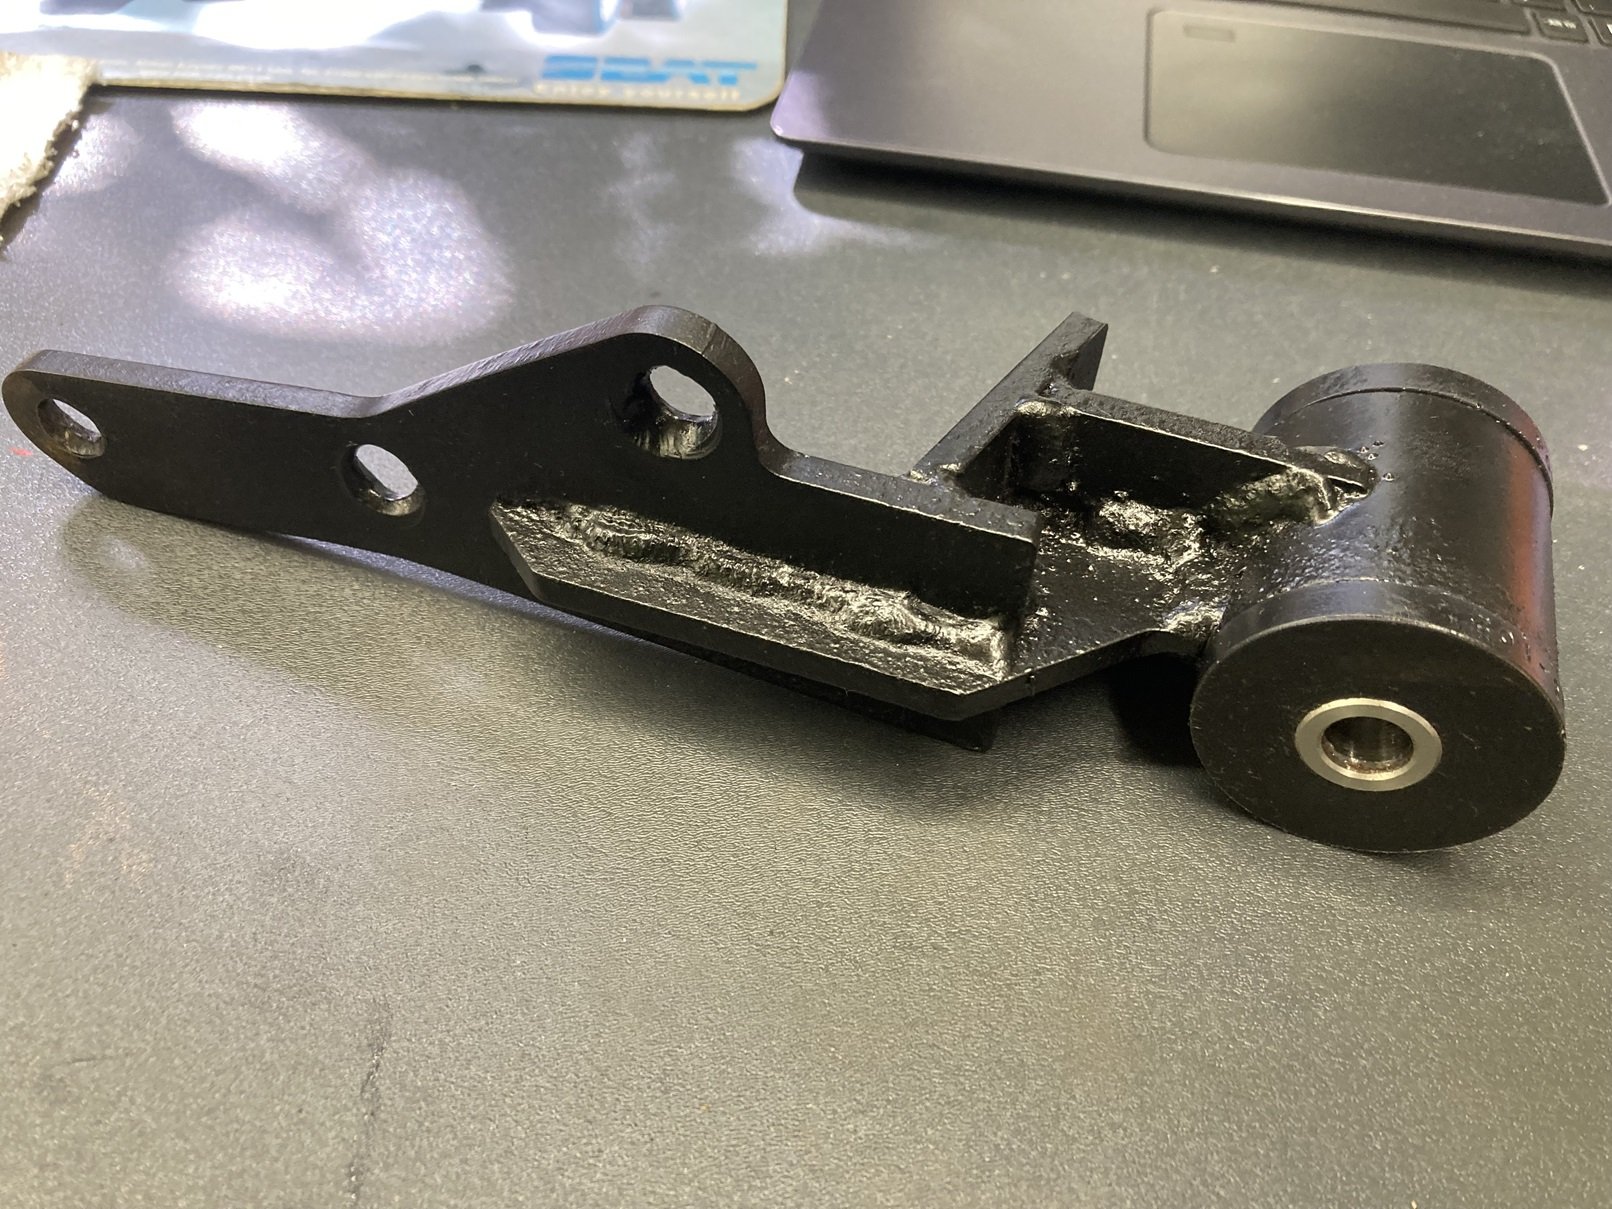
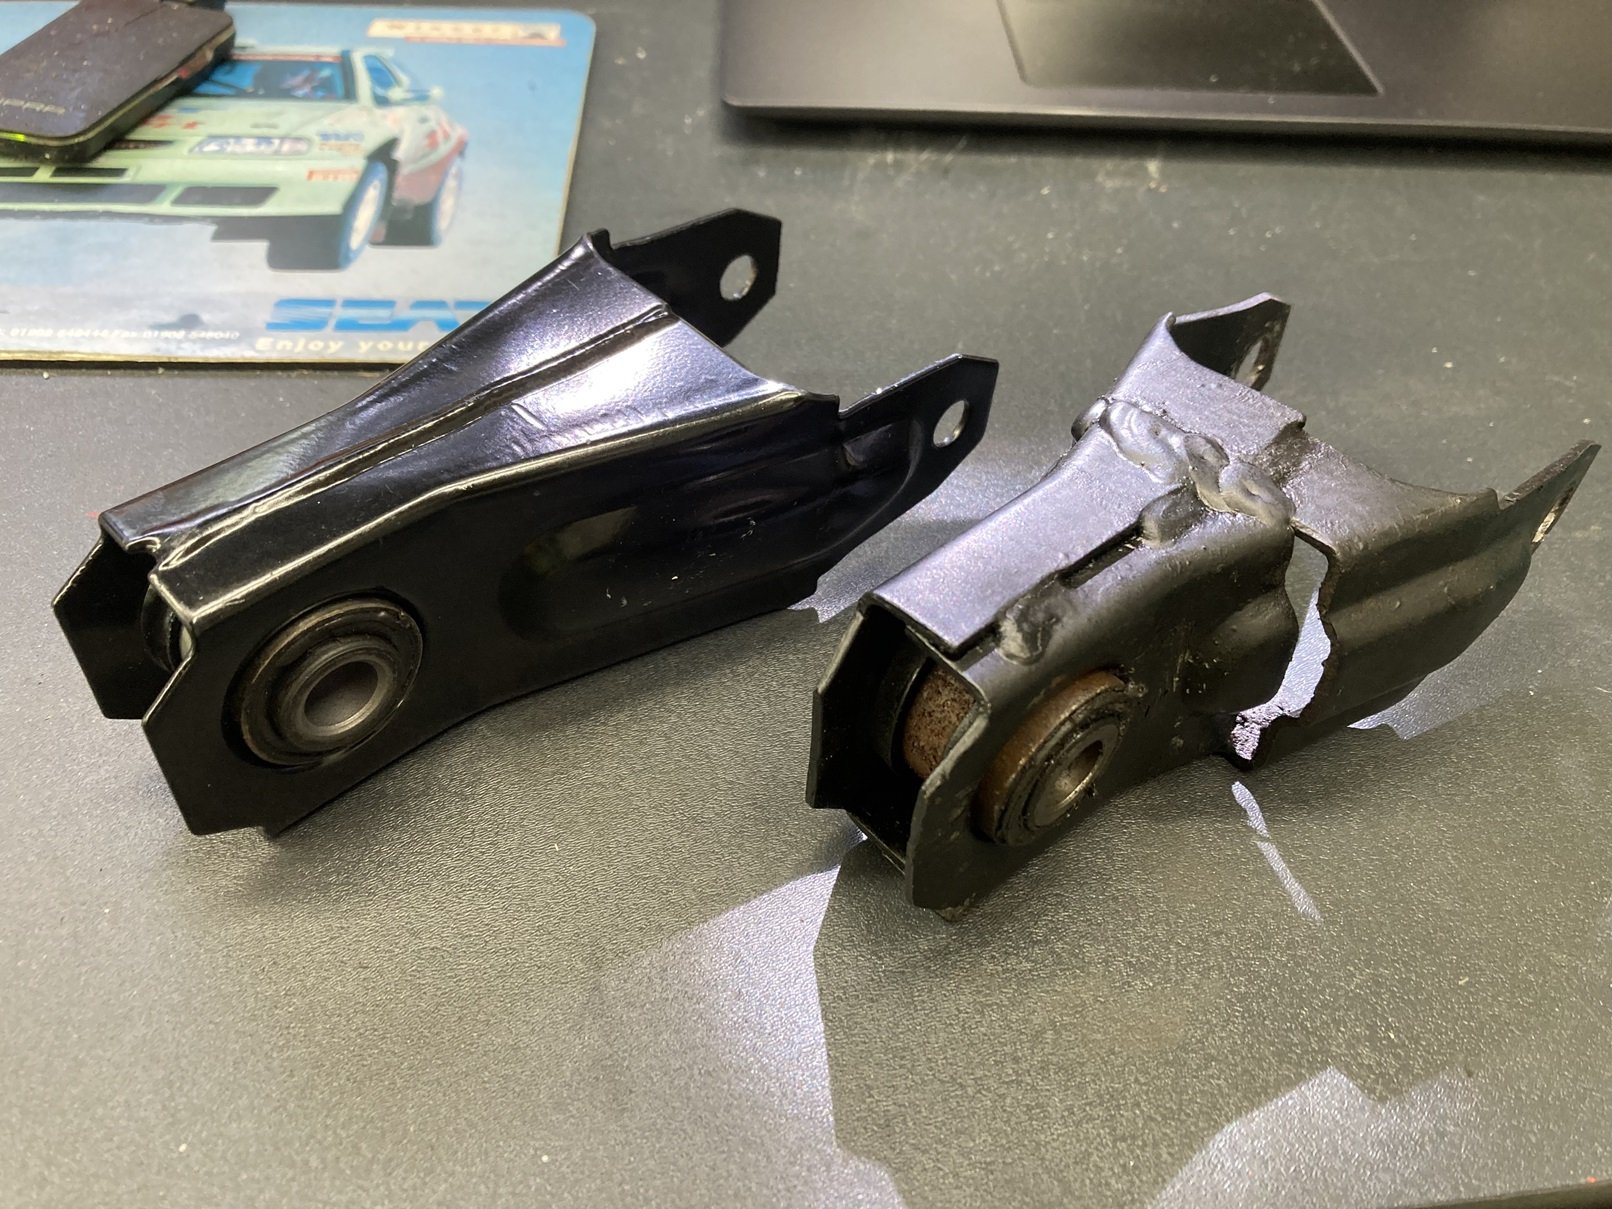
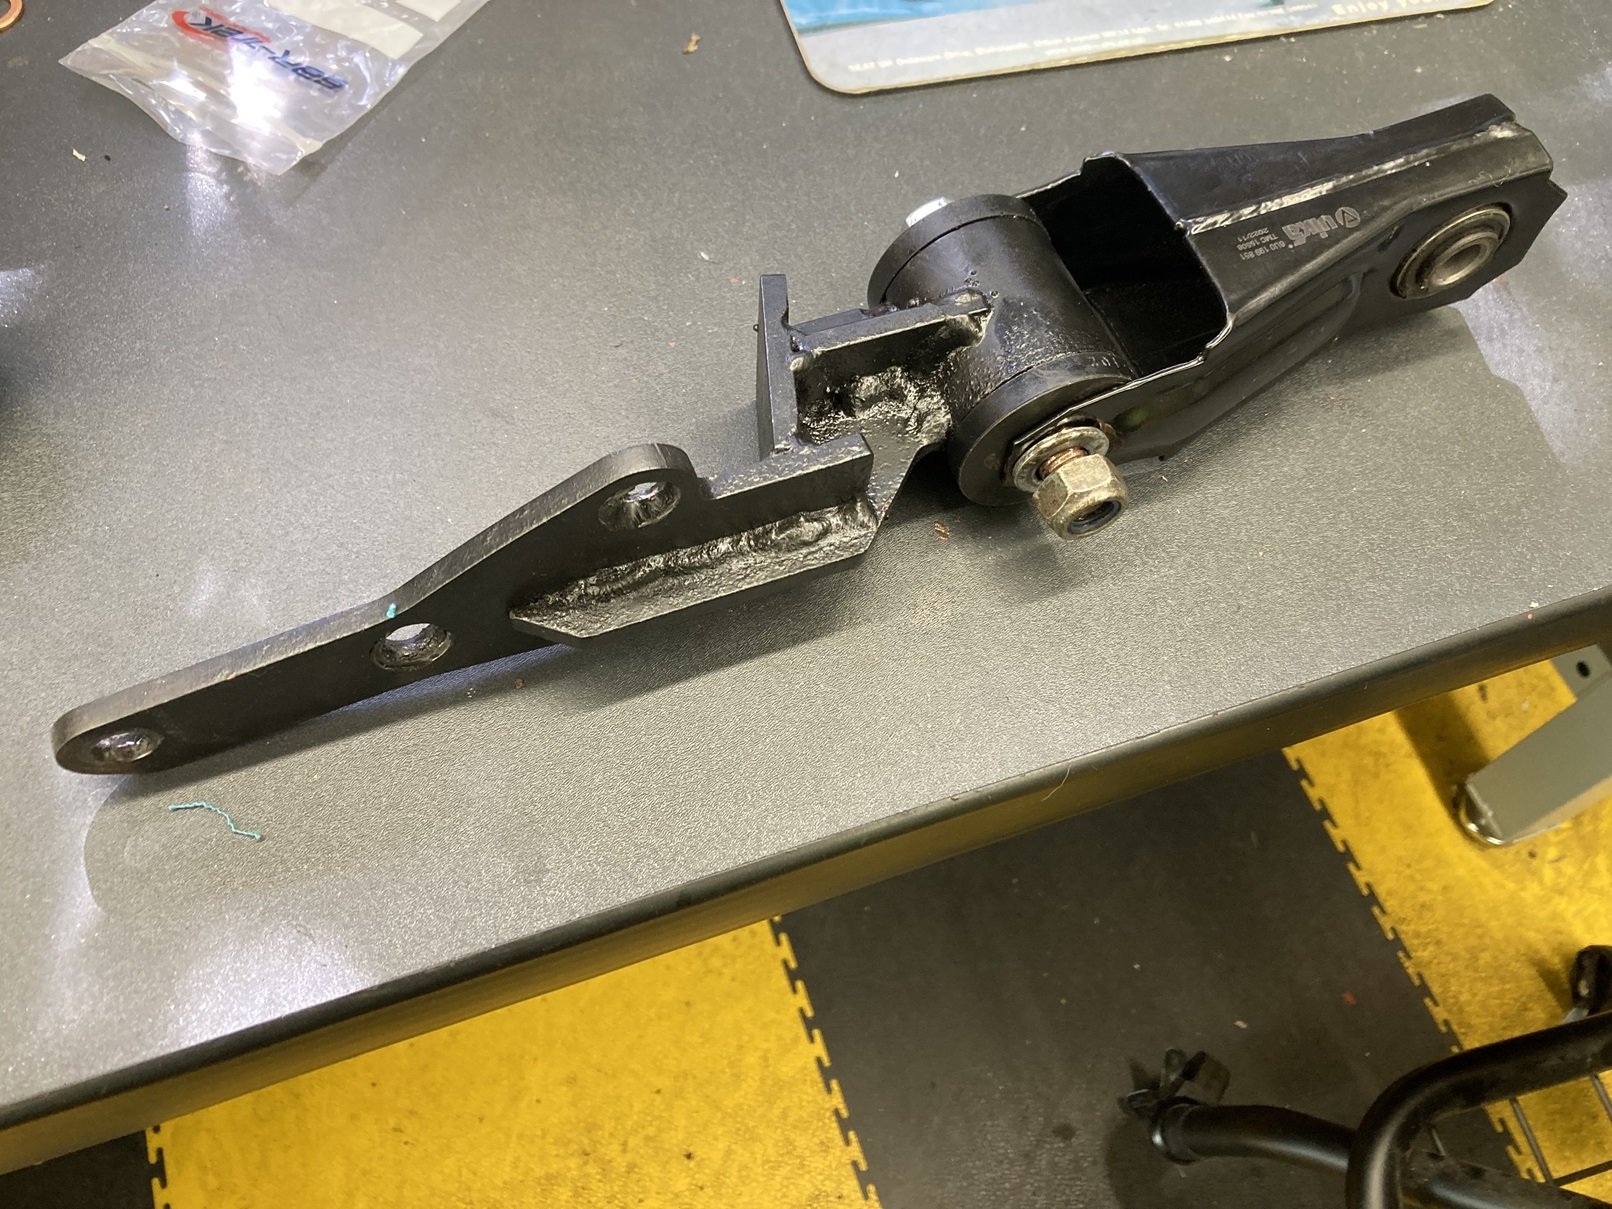
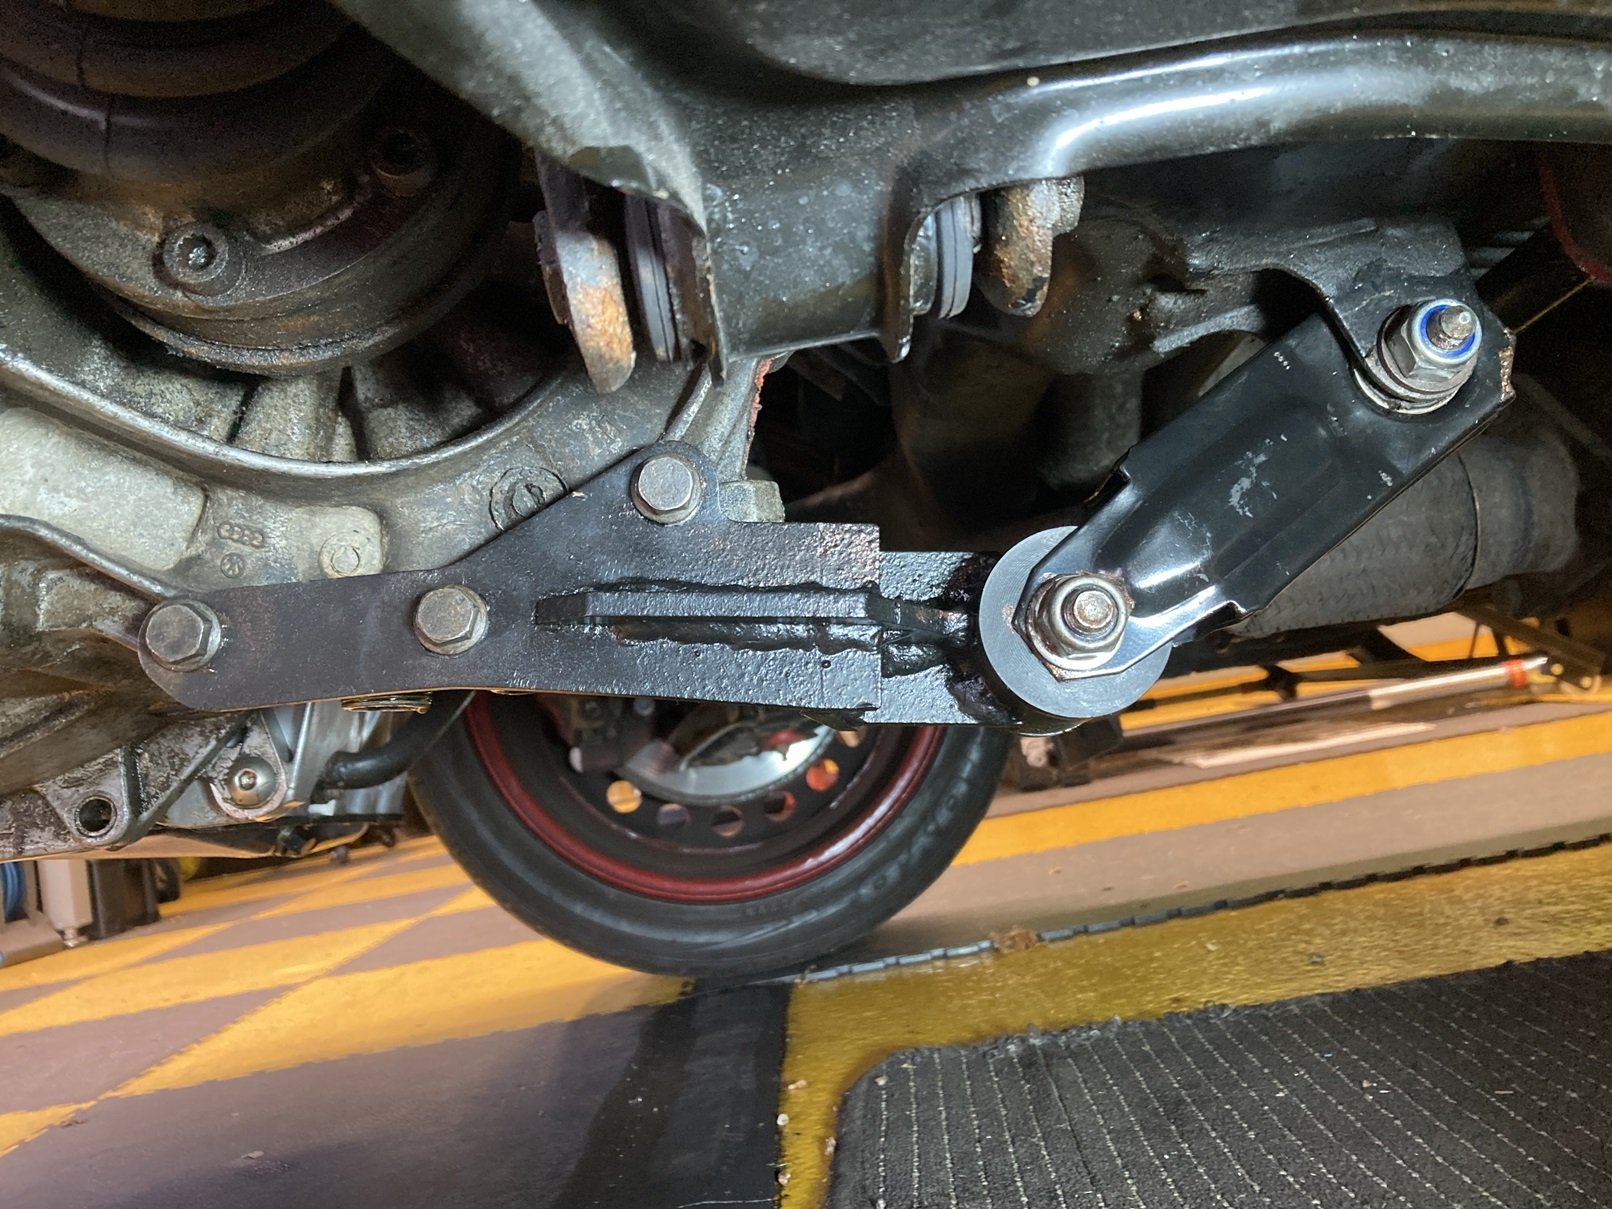
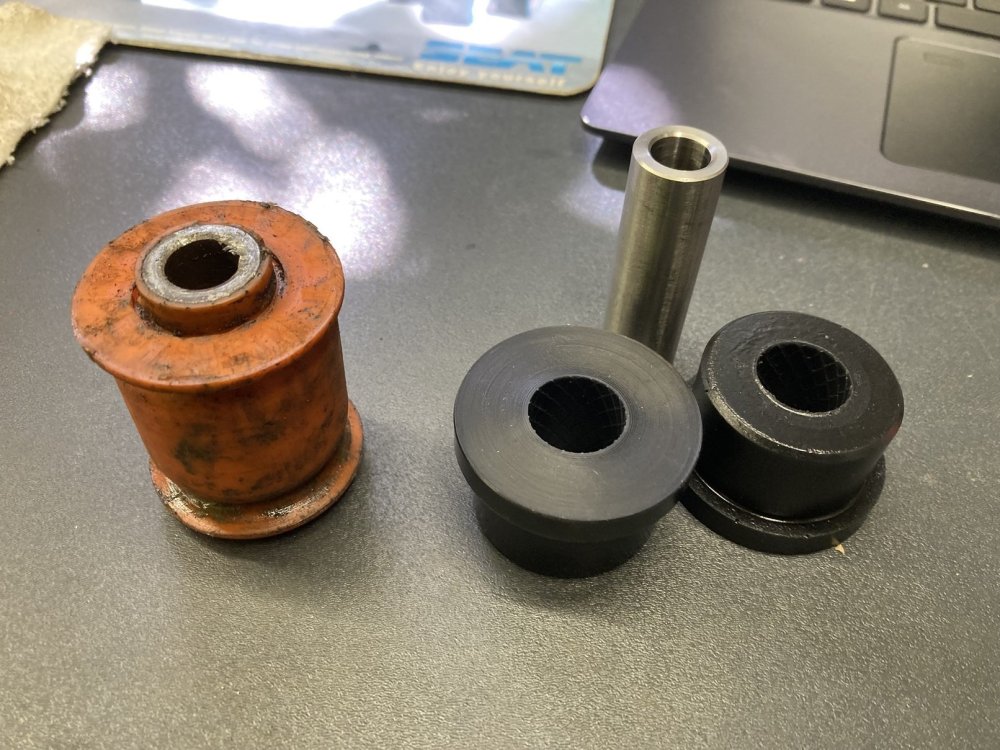
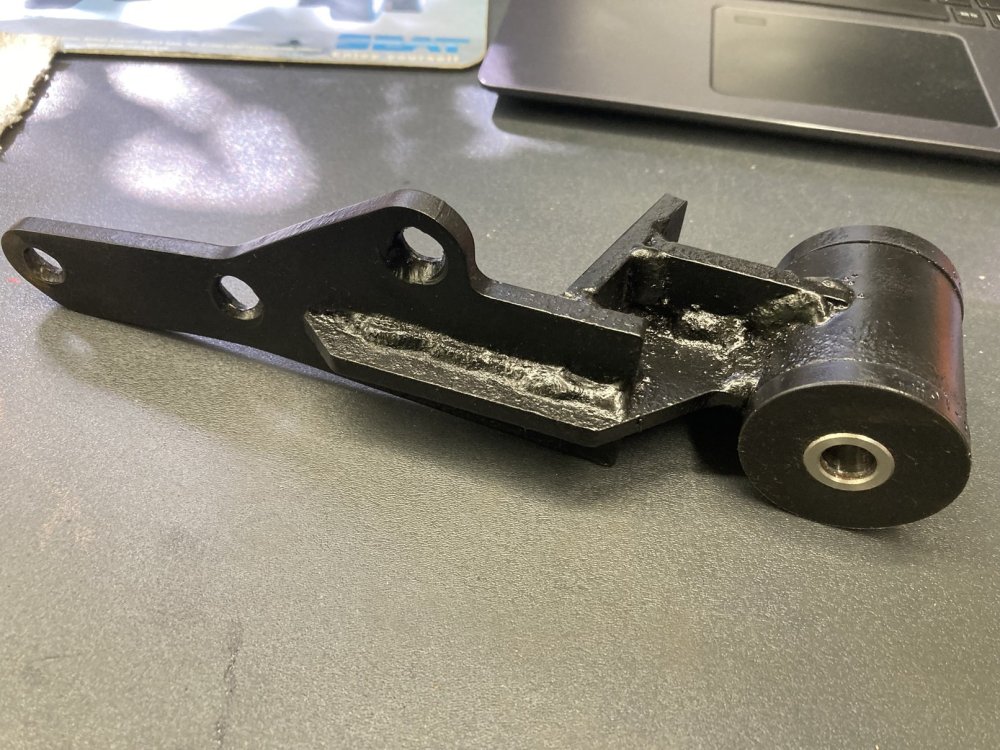
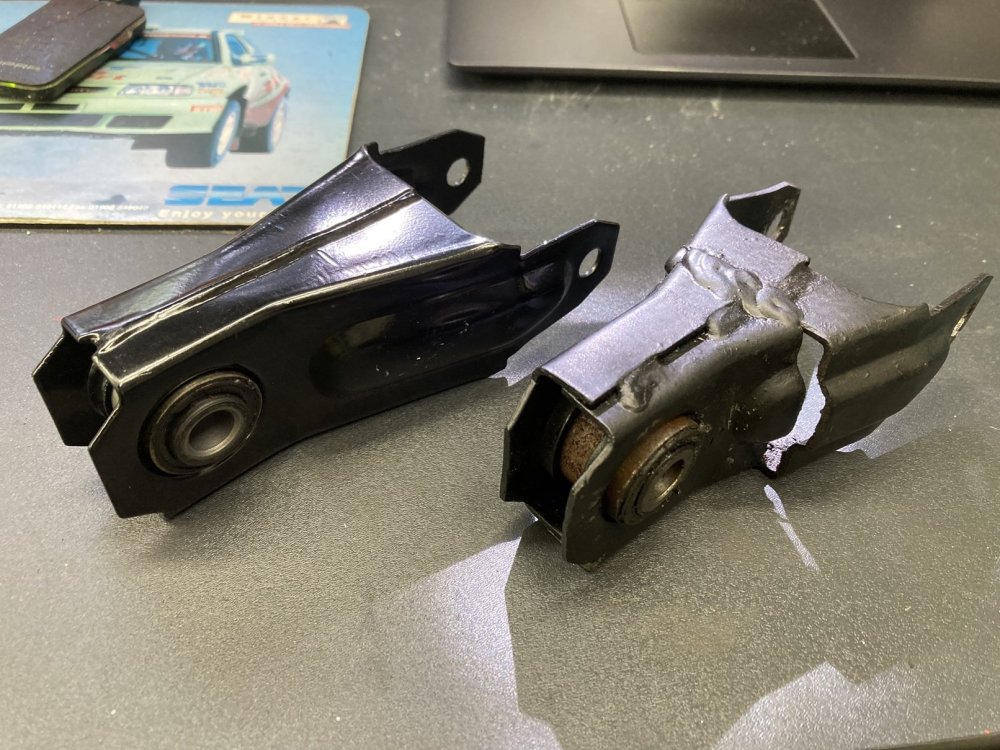
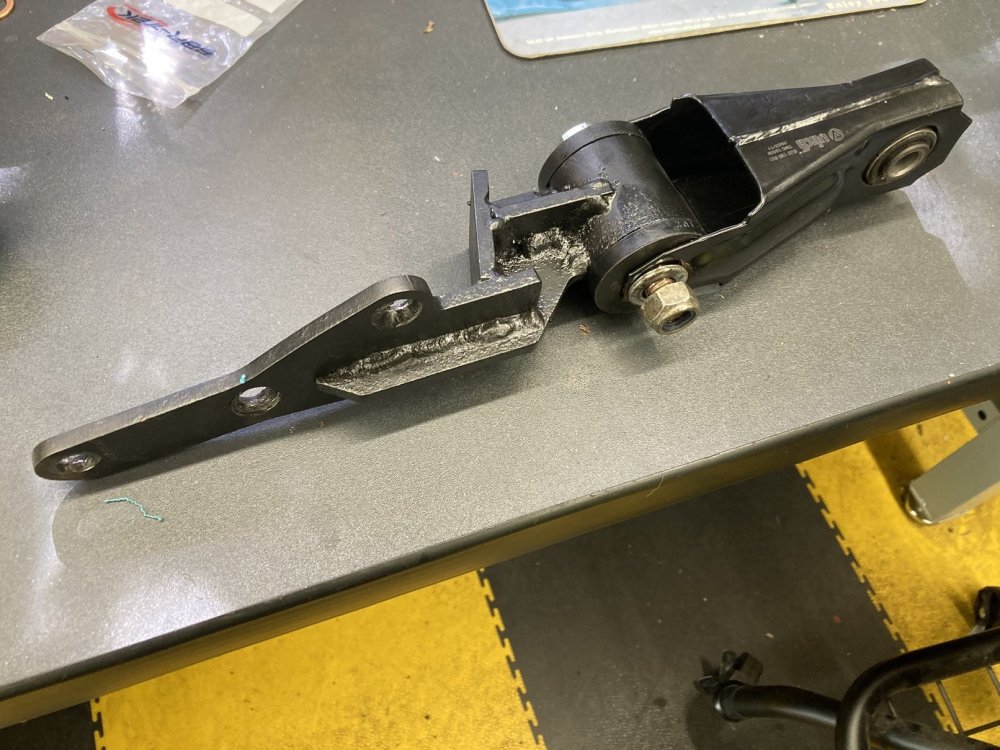
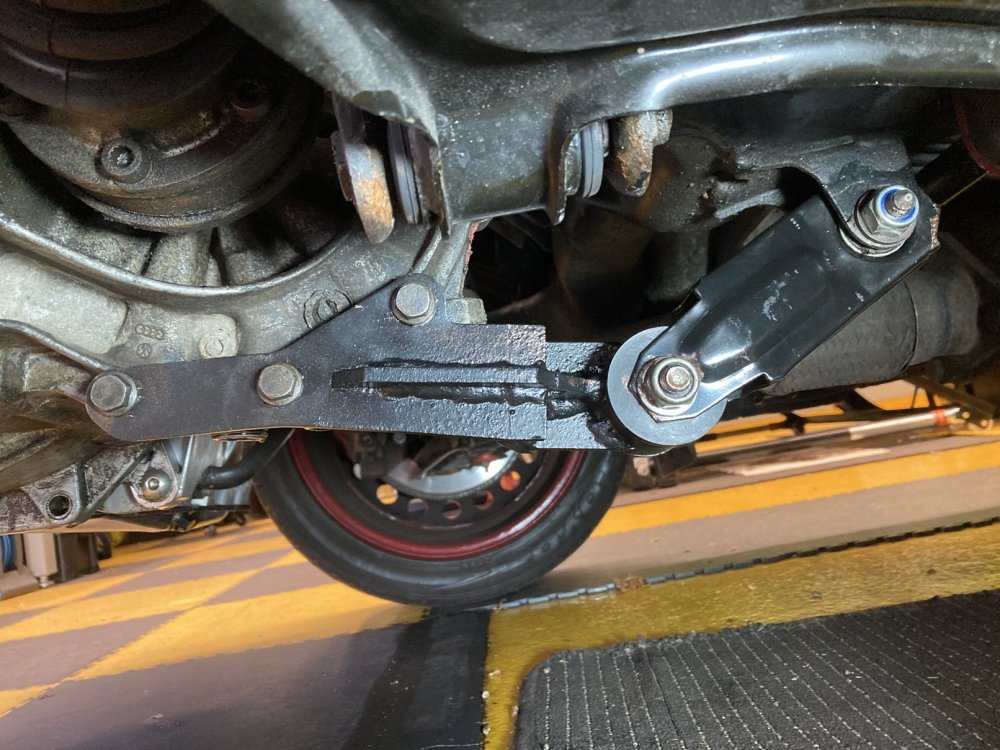
The engine mountings for the Caddy have never been brilliant. Either side it has Vibra-Technics mounts which I believe to be mk4 Golf parts, and they are fine, but the third mounting has always been a bit ineffective, and it had apparently been deteriorating. When the transplant was originally done, into the Felicia, a custom rear mounting was fabricated. This bolts onto the bottom edge of the bellhousing and to a modified Felicia subframe mounting through what was described as a Mazda MX-5 track control arm bush. This bush is the orange one in the picture, and was under suspicion as it was looking tired and there was a definite clunking noise from the rear of the engine under torque. I ordered a replacement Powerflex bush, but then when I had the mounting off the Caddy it was clear that the new bush was not the right part. Nonetheless I pressed the worn bush out of the mounting, and once I had cleaned it up I could see markings saying Polybush and 27C. This confirmed it as an MX-5 front lower wishbone rear bush, so the corresponding Powerflex replacement was ordered. After the bracket had been given a lick of paint and the new bush was pressed into place, the front half of the mounting was looking in much better shape. The rear half of the mounting was a modified Felicia part, which had been cut and re-welded to leave it shorter than standard. I assume this was done to make the two halves of the mounting line-up straighter when fitted. I tried and failed to source a replacement bush to fit the modified bracket, so instead I bought the whole thing. I reasoned that I would fit the standard length part to see how it looked, and I would shorten it only if I could see for myself that it needed doing. All assembled and ready to bolt into place. It was much easier to line-up all the bolts to fit the re-bushed mounting than it ever had been to do so for the shorter version, but whether that is a good thing I am not sure. One issue I spotted when I fitted it was that that rearmost bolt, through the mounting on the subframe, was not metric. This meant that it was not as snug a fit as it should be. I found a metric bolt to replace it and it felt much more solid than it had. The road test convinced me that the engine mounting is now in a much better state than it was before.
 1 point
 -
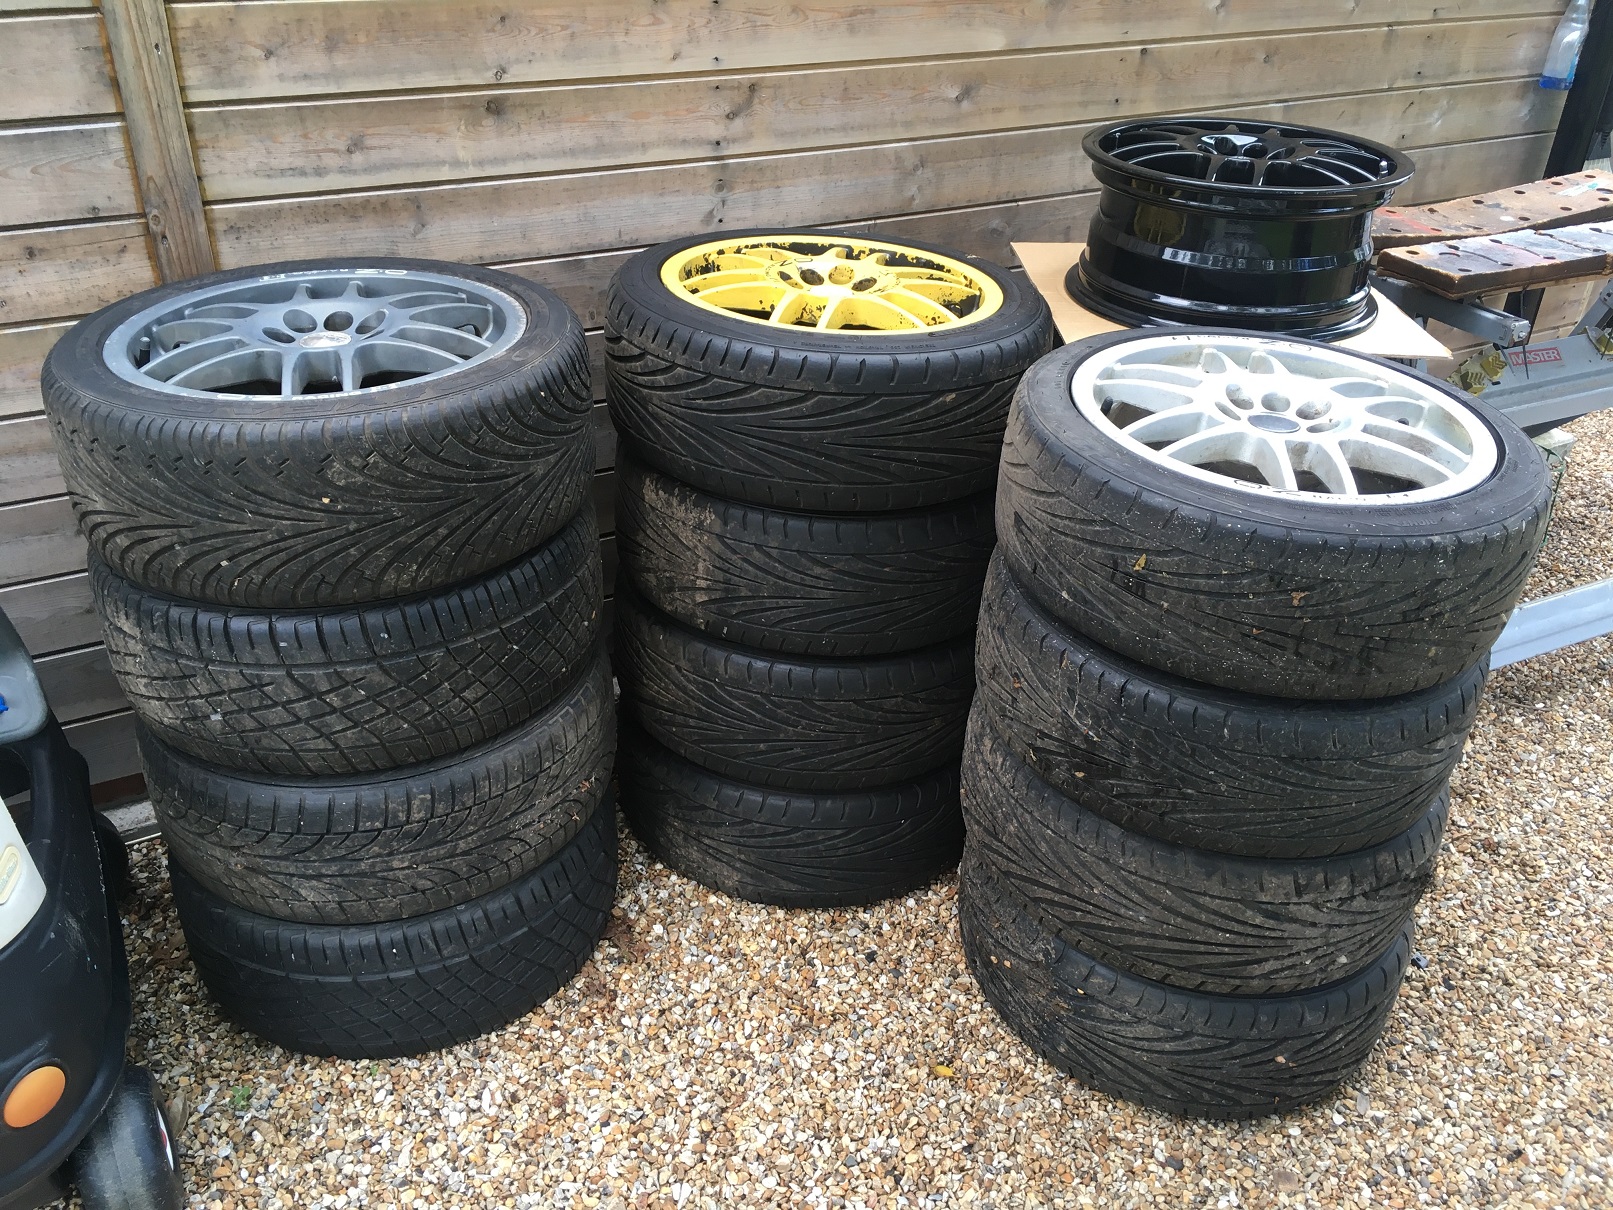
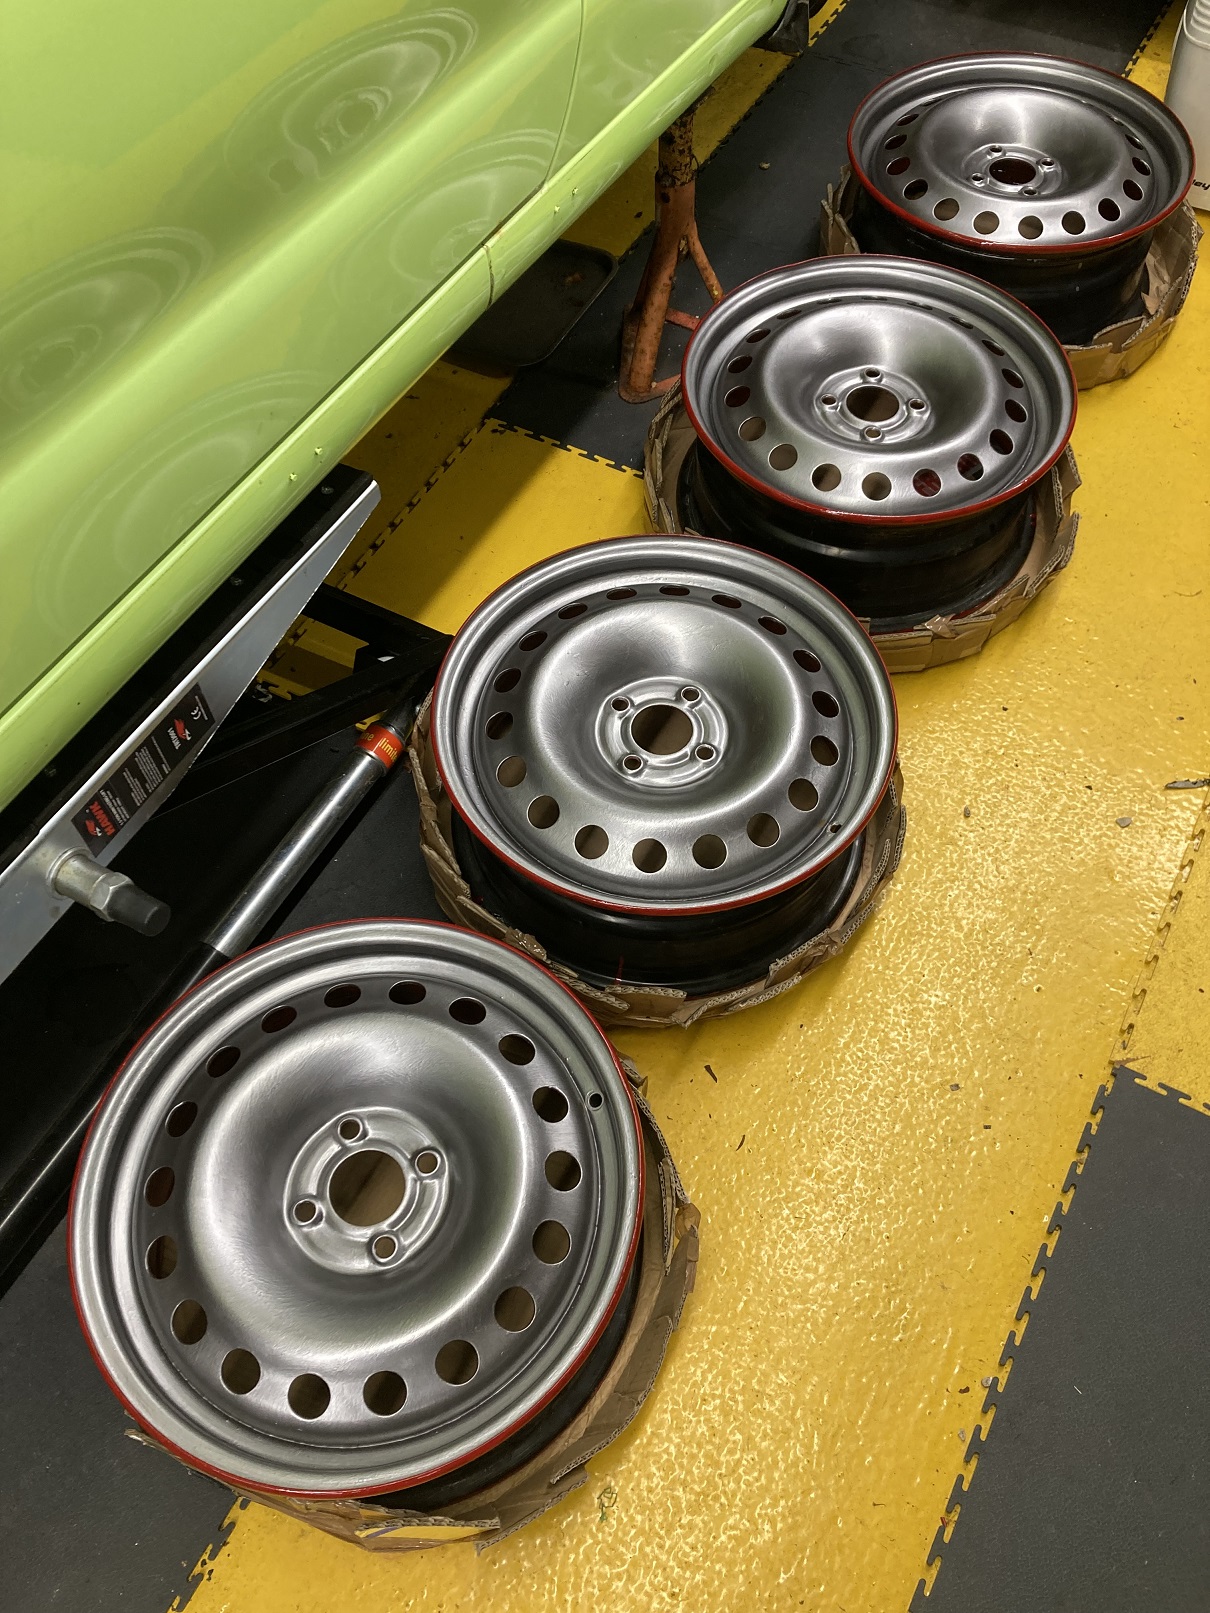
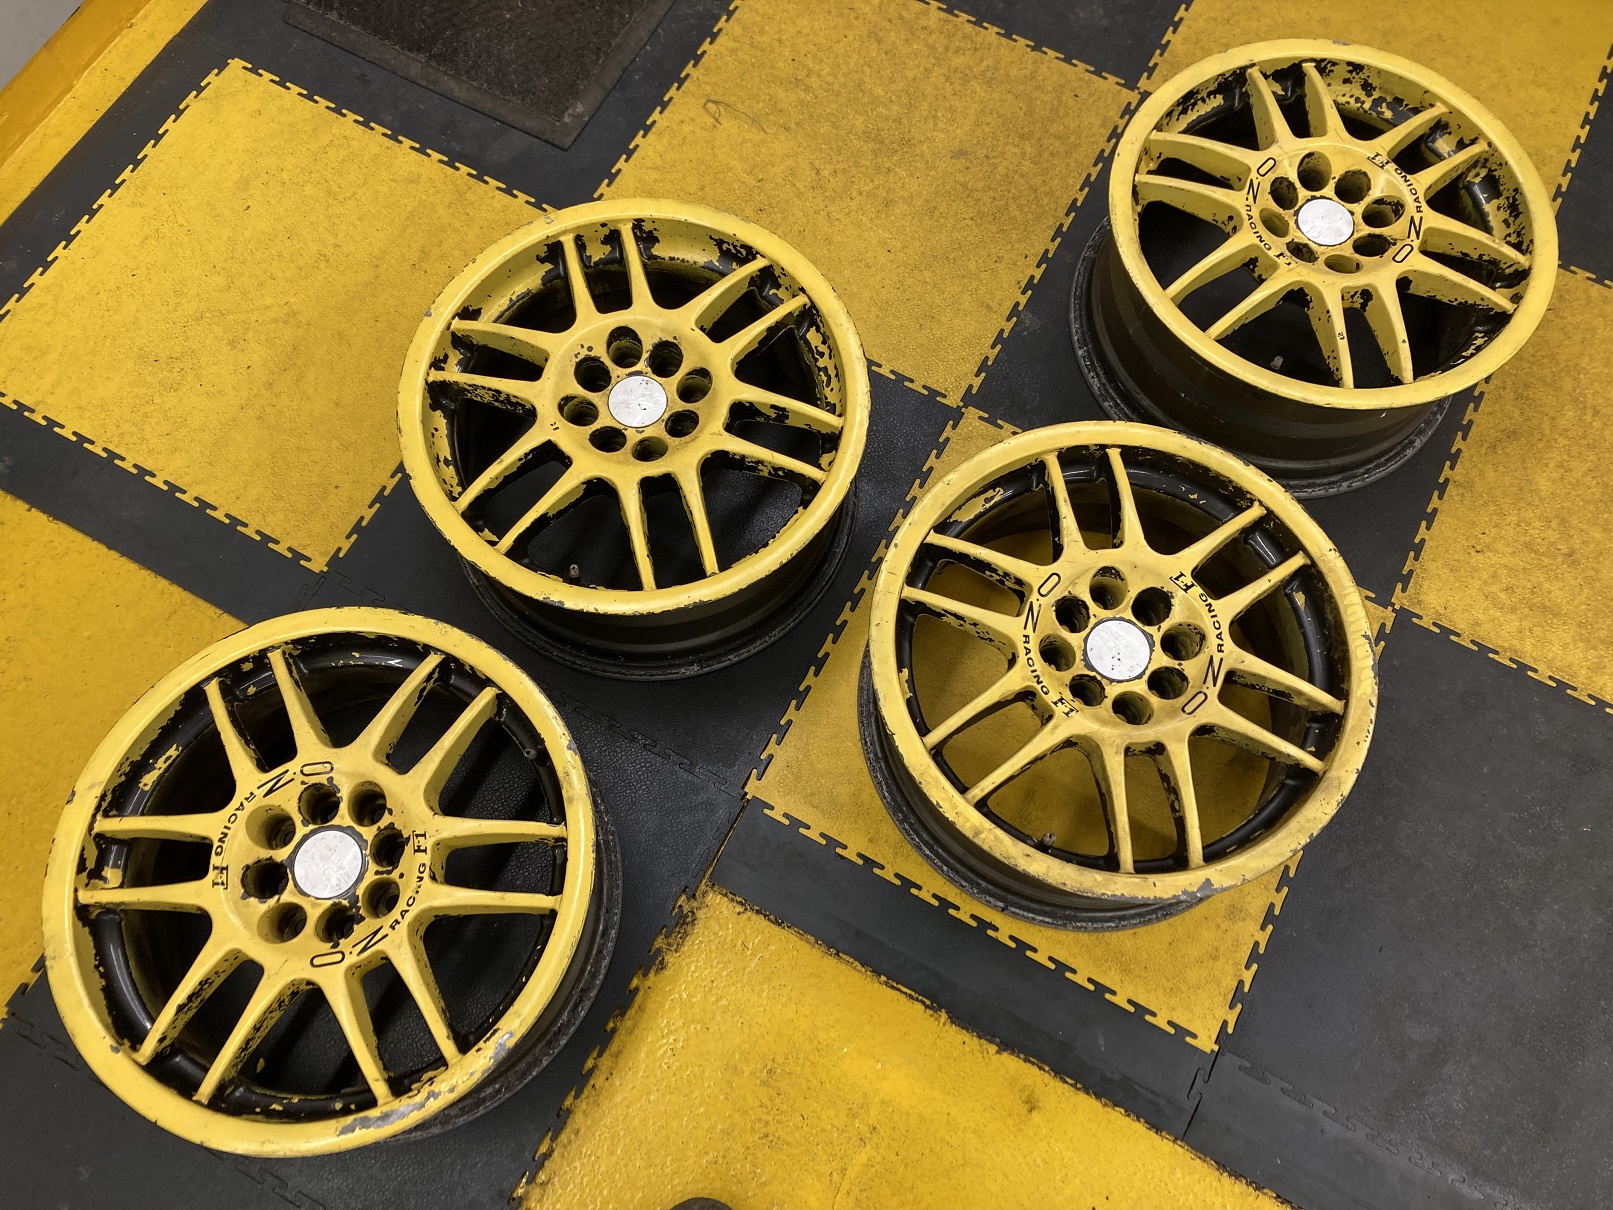
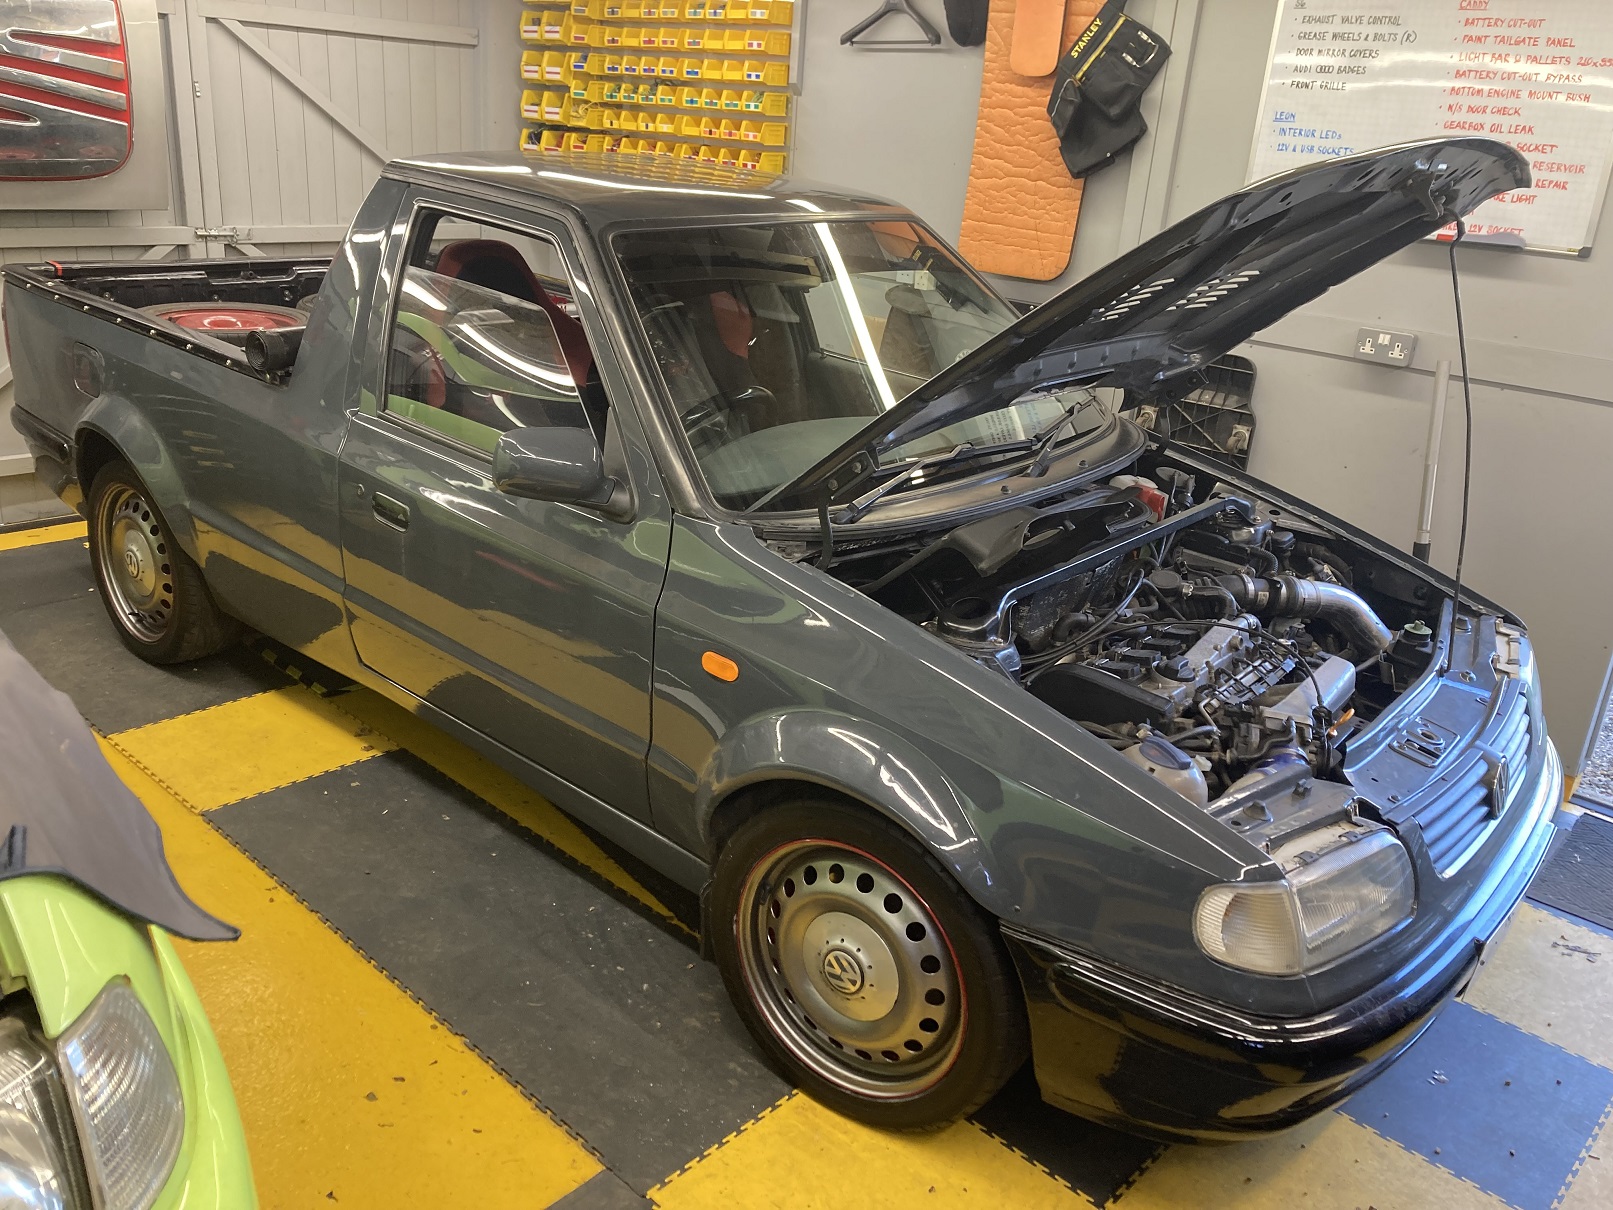
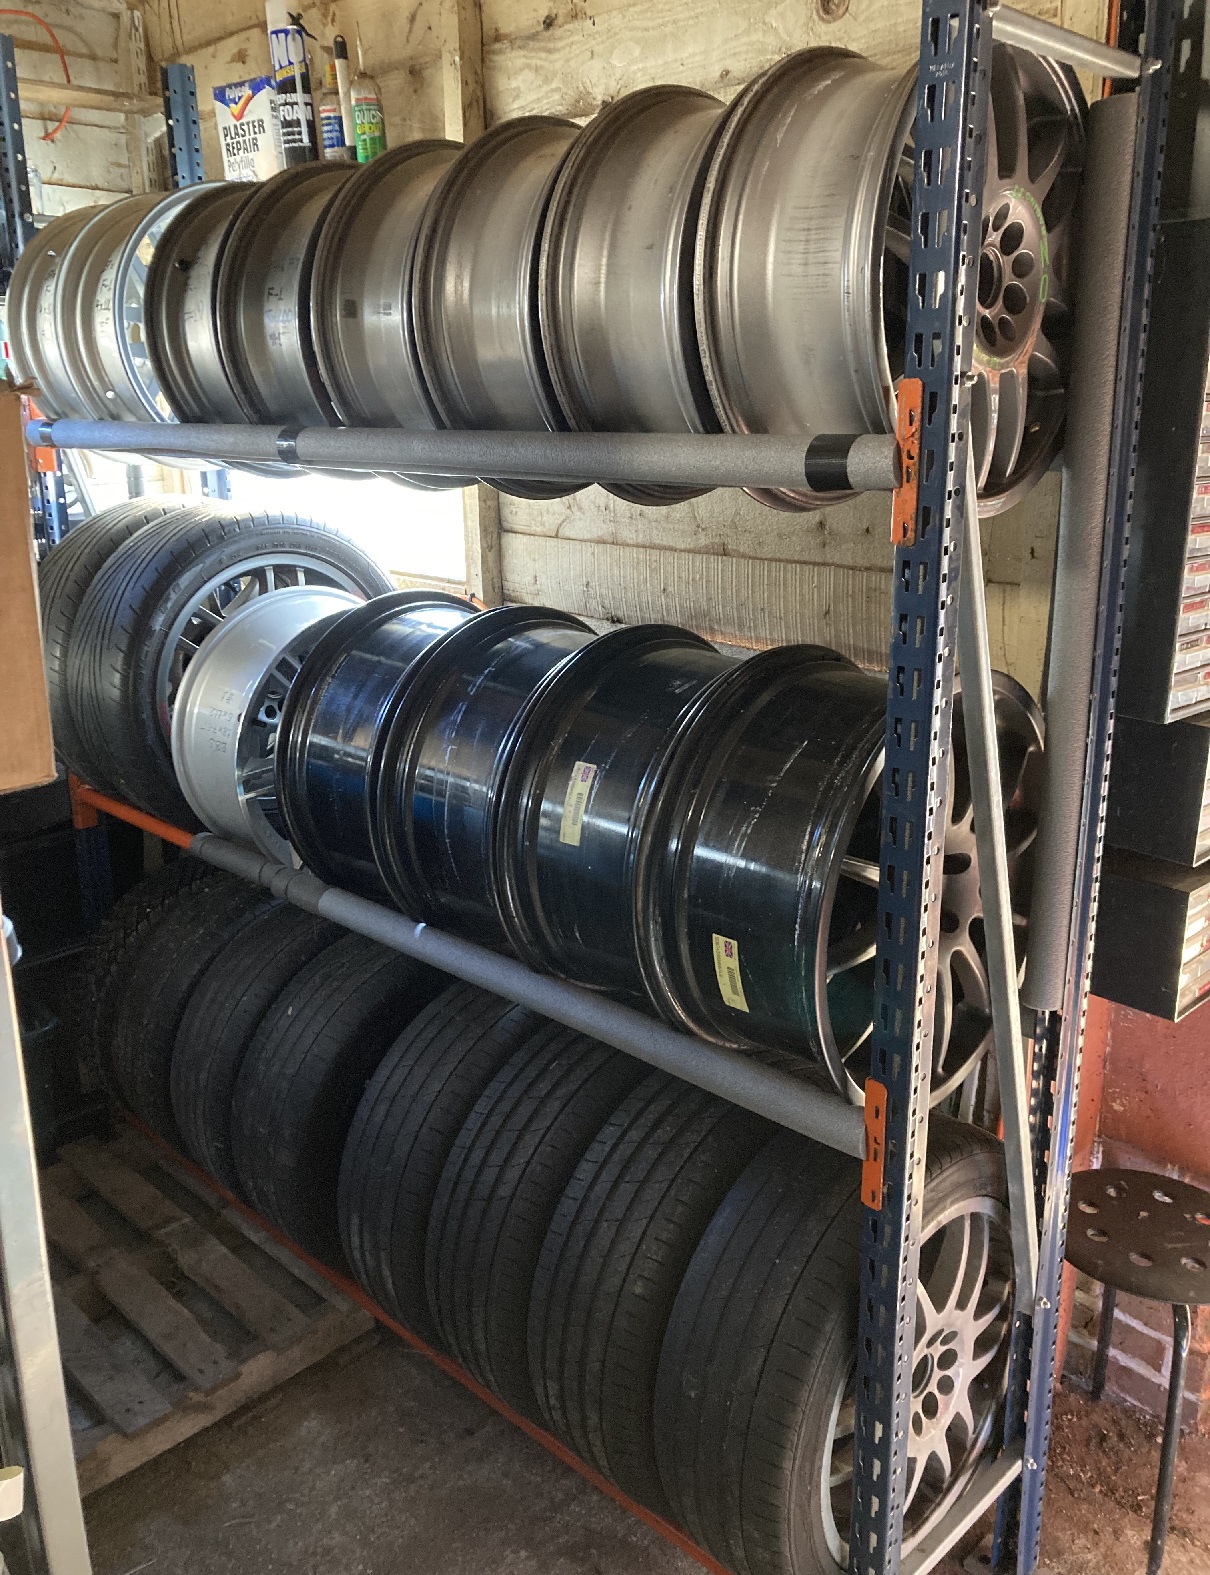
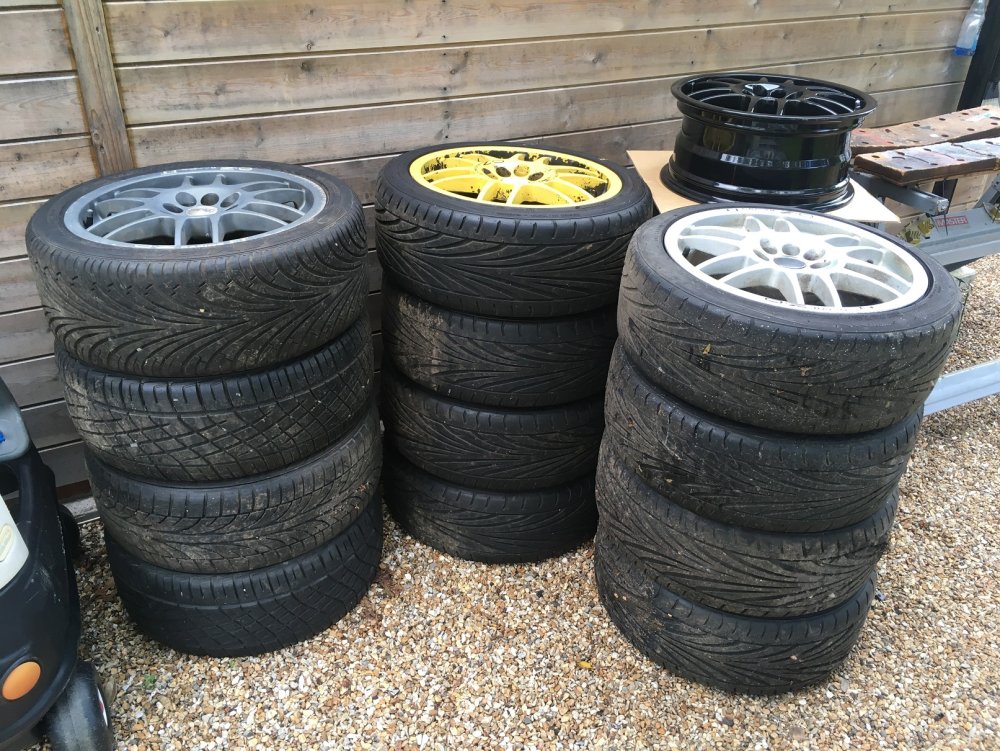
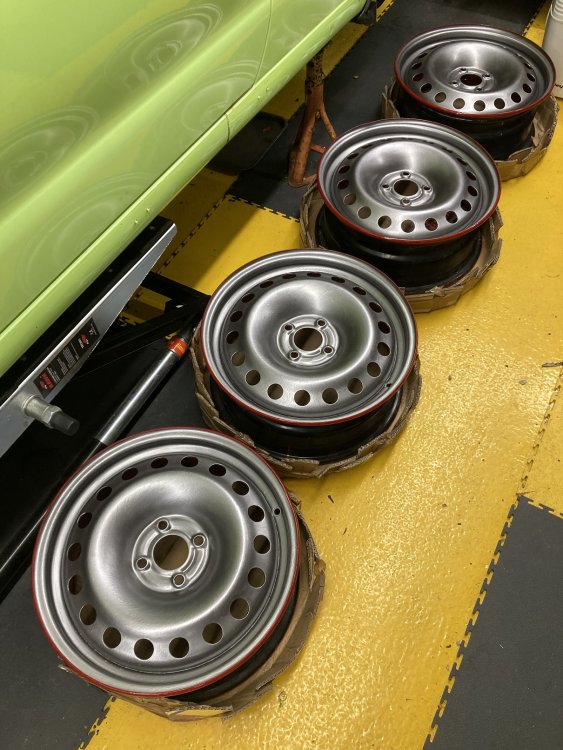
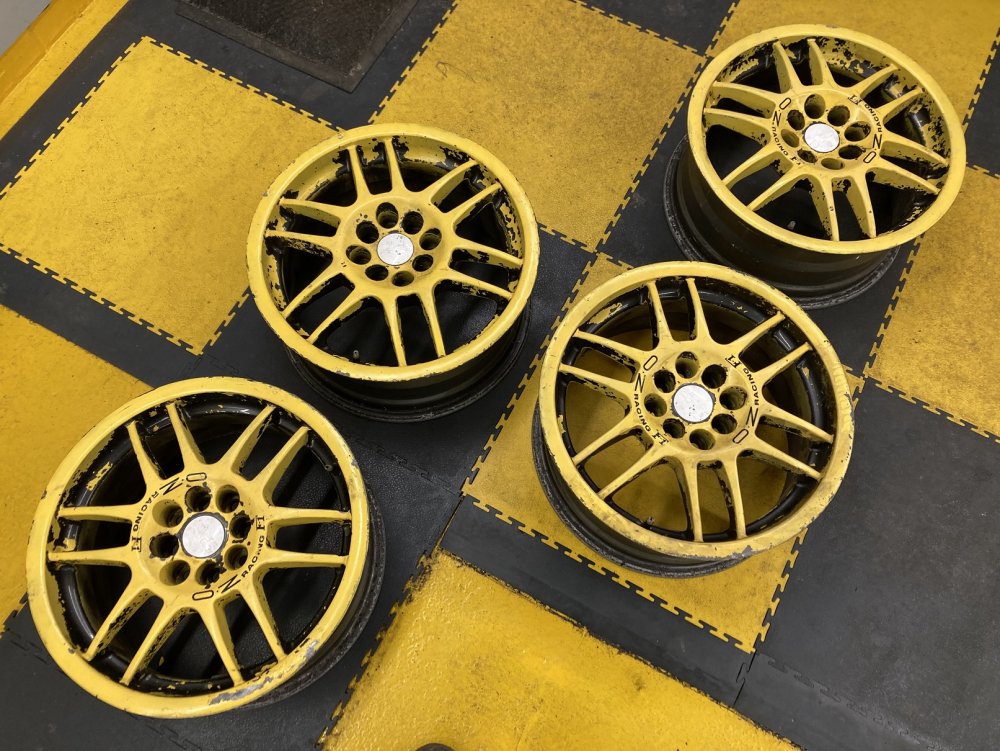
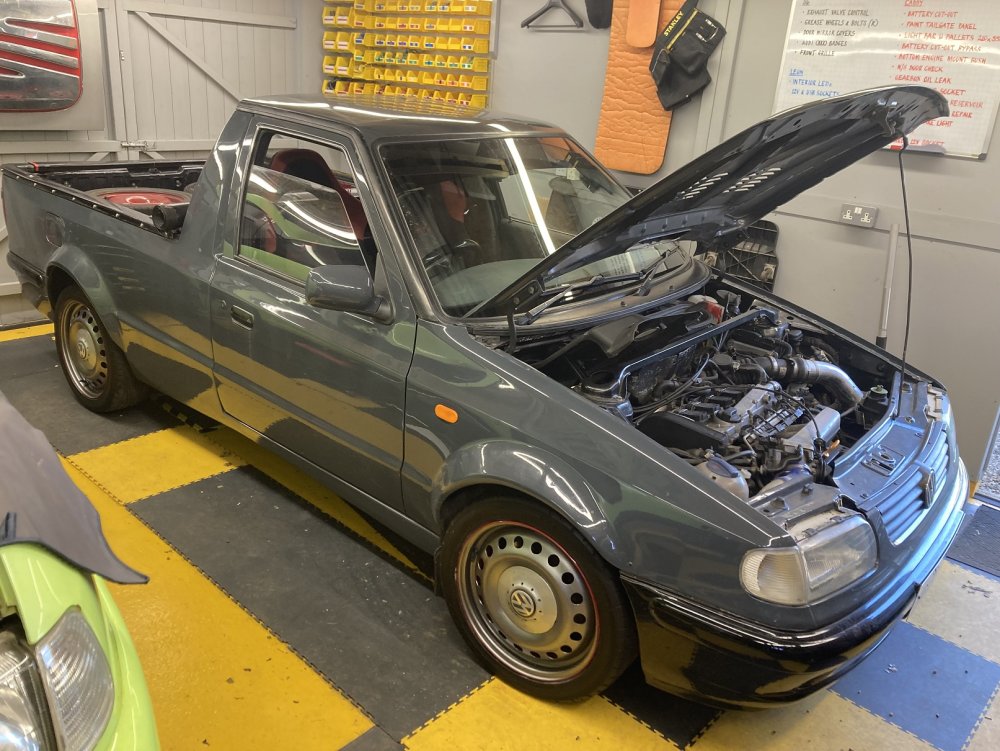
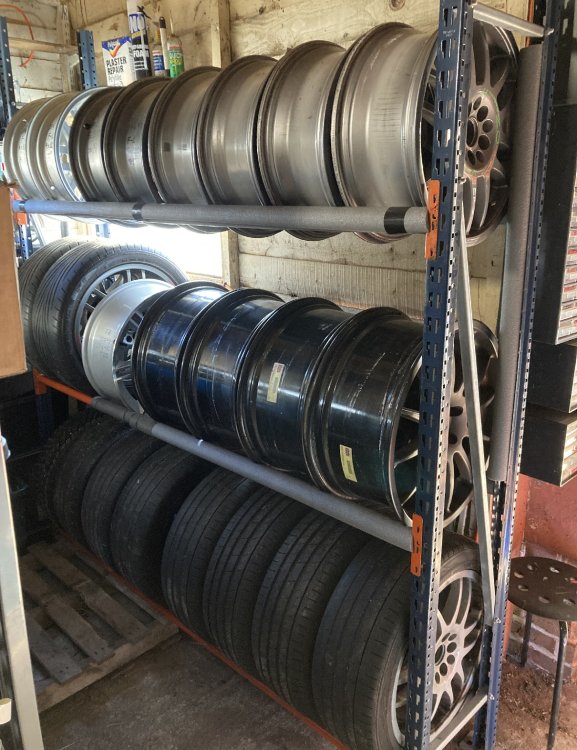
I own a lot of wheels. Even considering that I have three viable cars and the same number of projects, I have sufficient wheels that I have avoided keeping them all in the same place for fear that my partner might notice how many there are. Once I finally accepted I had thirteen Oz F-1s in 16” that I was unlikely ever to have a use for I reluctantly advertised them for sale. Two sets (the grey and the silver ones in the picture) had tyres which were worn or perished or both, and I sold those quickly and cheaply to people who needed a different size of tyres anyway. The yellow ones had a decent set of Toyo T1-Rs on them so I wanted to see a better price, which was not forthcoming at the time. My solution to this would not be the obvious one to most people, because my plan was to buy another set of wheels. I reasoned that if I found a set of 16” steel wheels for the Caddy, I could fit the Toyos to those, then sell the yellow Oz wheels without tyres, and also sell the black 15” steel wheels which are on the Caddy in earlier posts on this thread. It took a while, but eventually I found a set of Renault Megane Scenic 16” steel wheels which are 4x100 PCD to suit the Caddy. I had been debating whether to paint them in the same grey as the bodywork, but instead I decided on VW LA7Y which is my favoured gunmetal shade for alloy wheels. I wanted to put a red pinstripe on them but I could not work out how to do this neatly until I noticed the lip on the rim. The backs and lips were painted in the same Hammerite ruby red I used on the fronts of the other 15” wheels, and finally after three coats the coverage of the gunmetal looked passable too. Once the T1-Rs (in 205/45 R16) came off the Oz F-1s and onto these Renault wheels, the F-1s went back on eBay. Ironically, they sold for a price that I would happily have accepted for them previously complete with tyres. Happy days indeed. The Renault wheels sat in a stack in the corner of the workshop for a while, but eventually I got them onto the Caddy. They look a bit more ‘scene’ than I was hoping, but I am pretty pleased with them nonetheless. This does now mean I have more Winter-oriented tyres on my 16” wheels and more Summer rubber on the 15” wheels, which is probably the wrong way round, but as part of the object of the exercise was to find a use for the good Toyo tyres this was unavoidable. Meanwhile the black 15” steel wheels were also sold. Having rationalised my wheel collection by selling thirteen Oz F-1s and four steel wheels, I am still not exactly suffering from a wheel shortage!
 1 point
 -
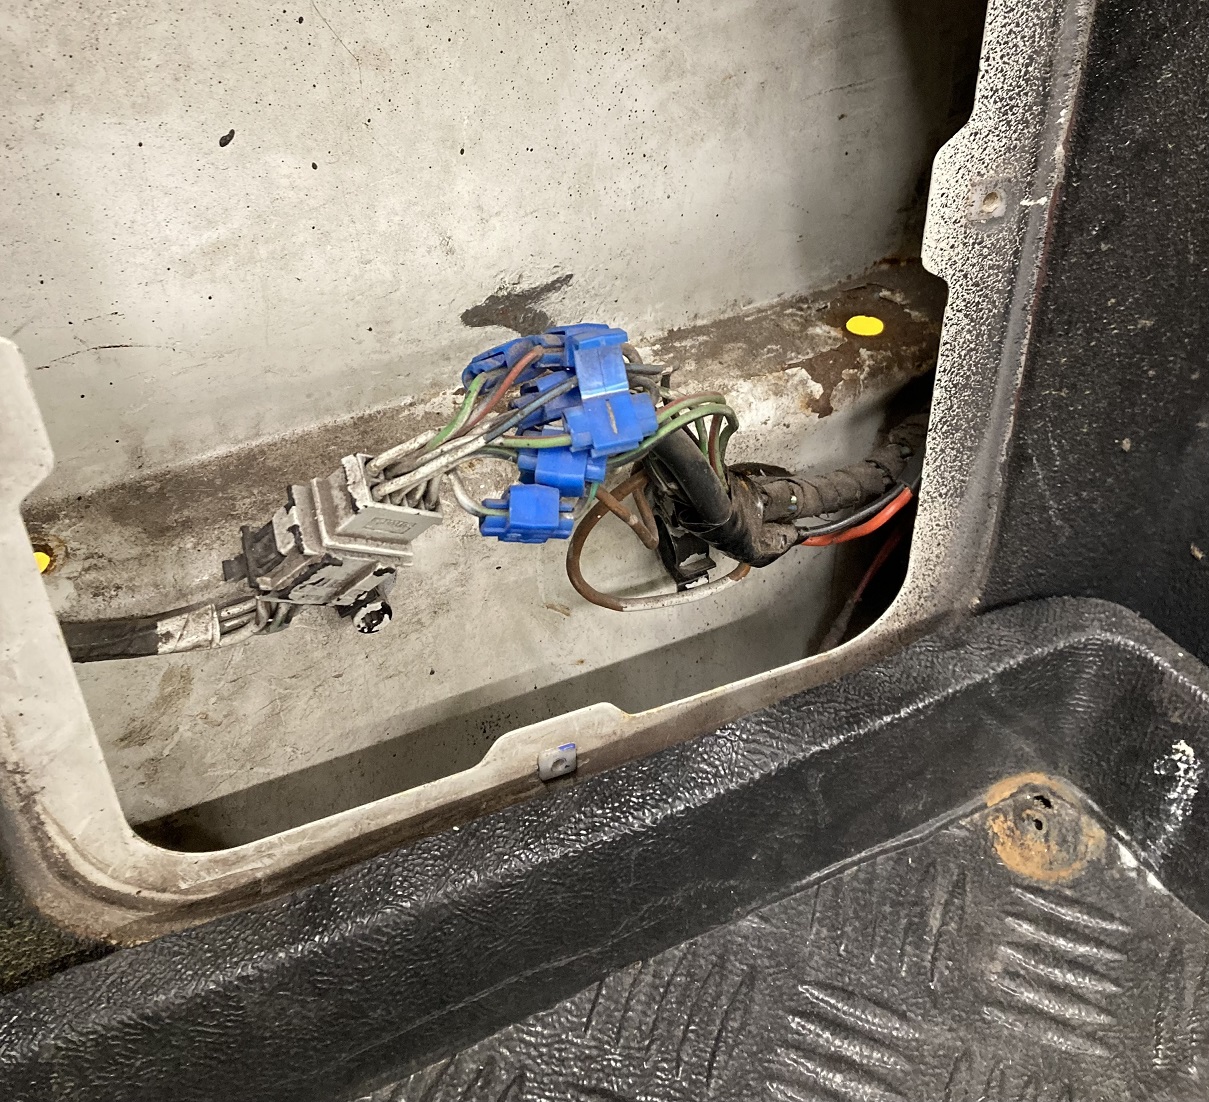
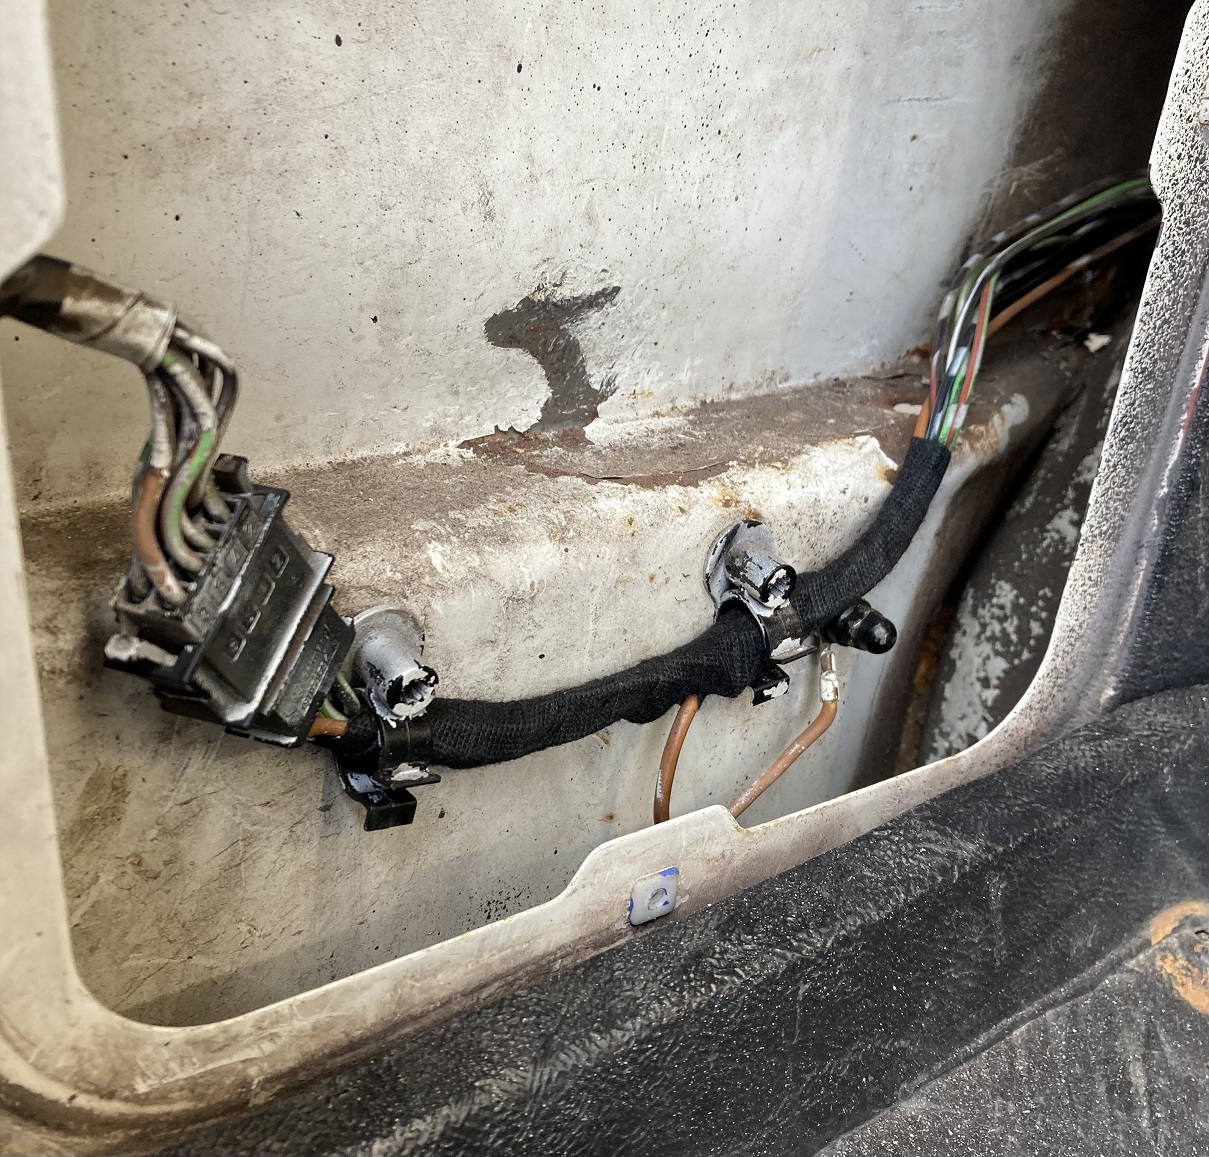
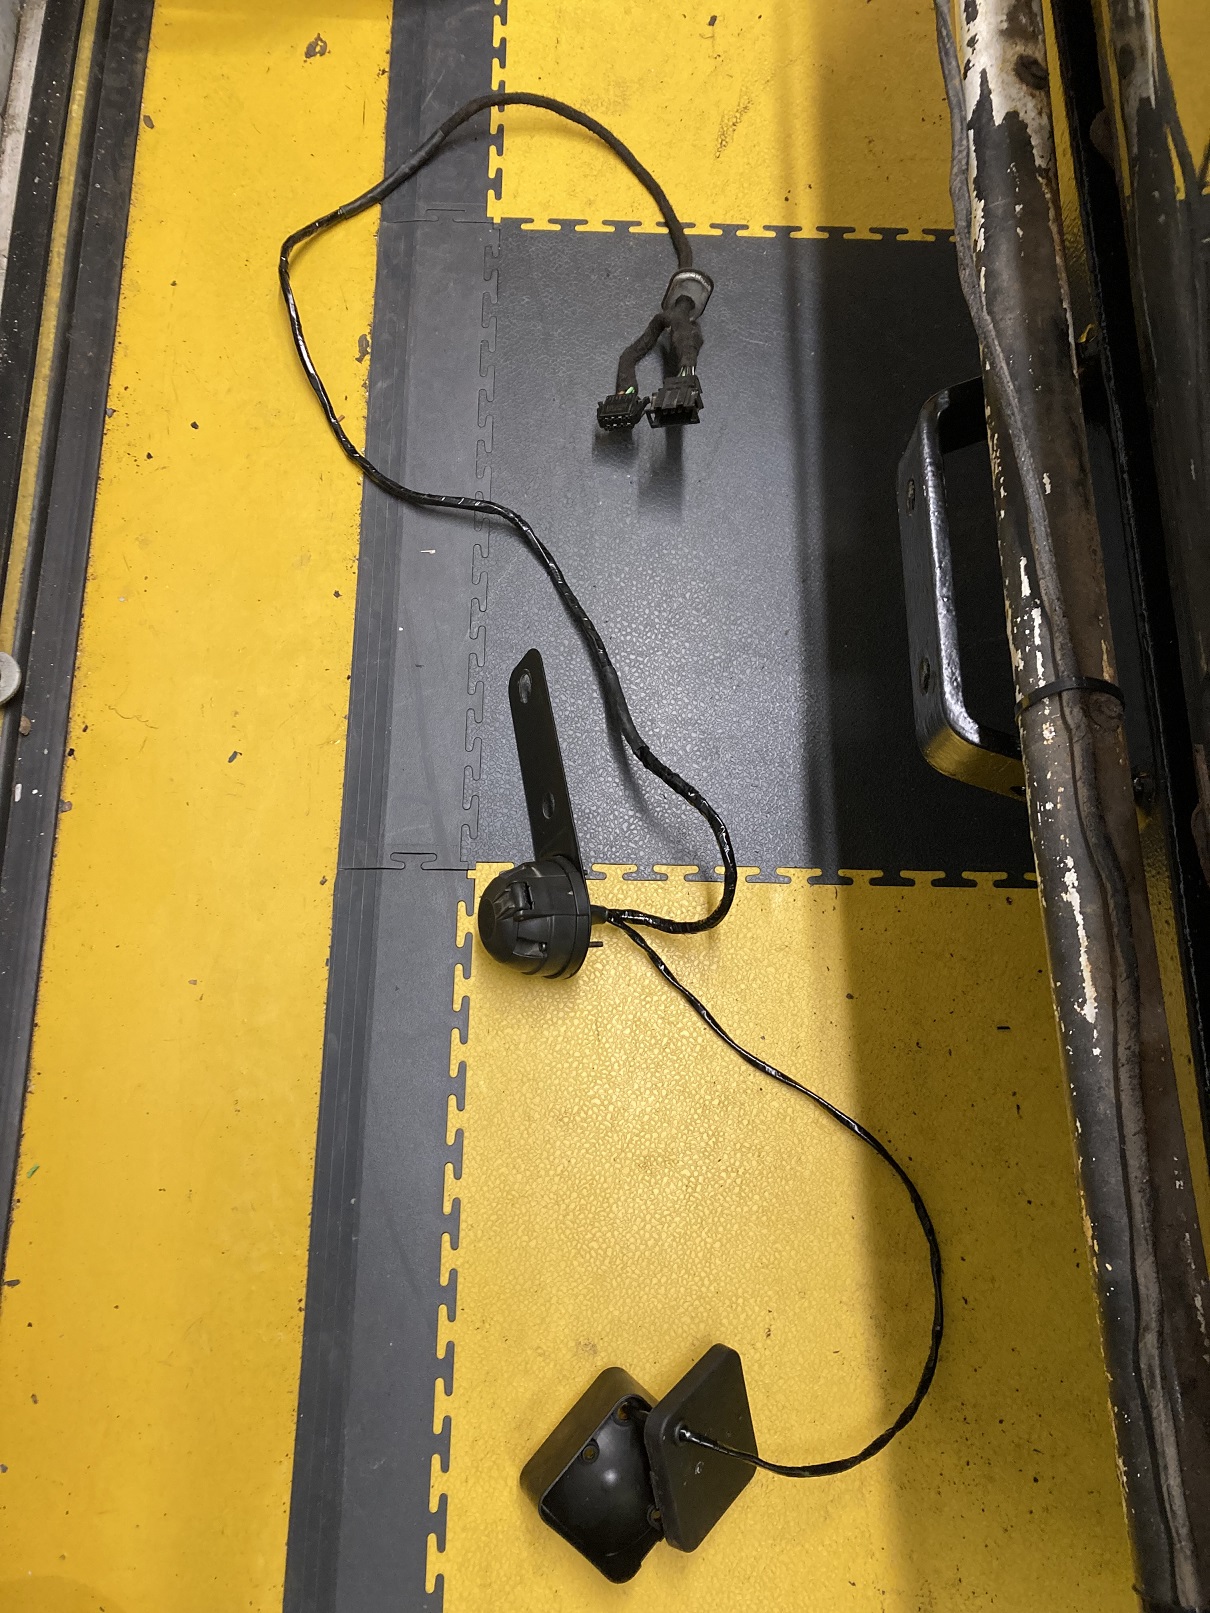
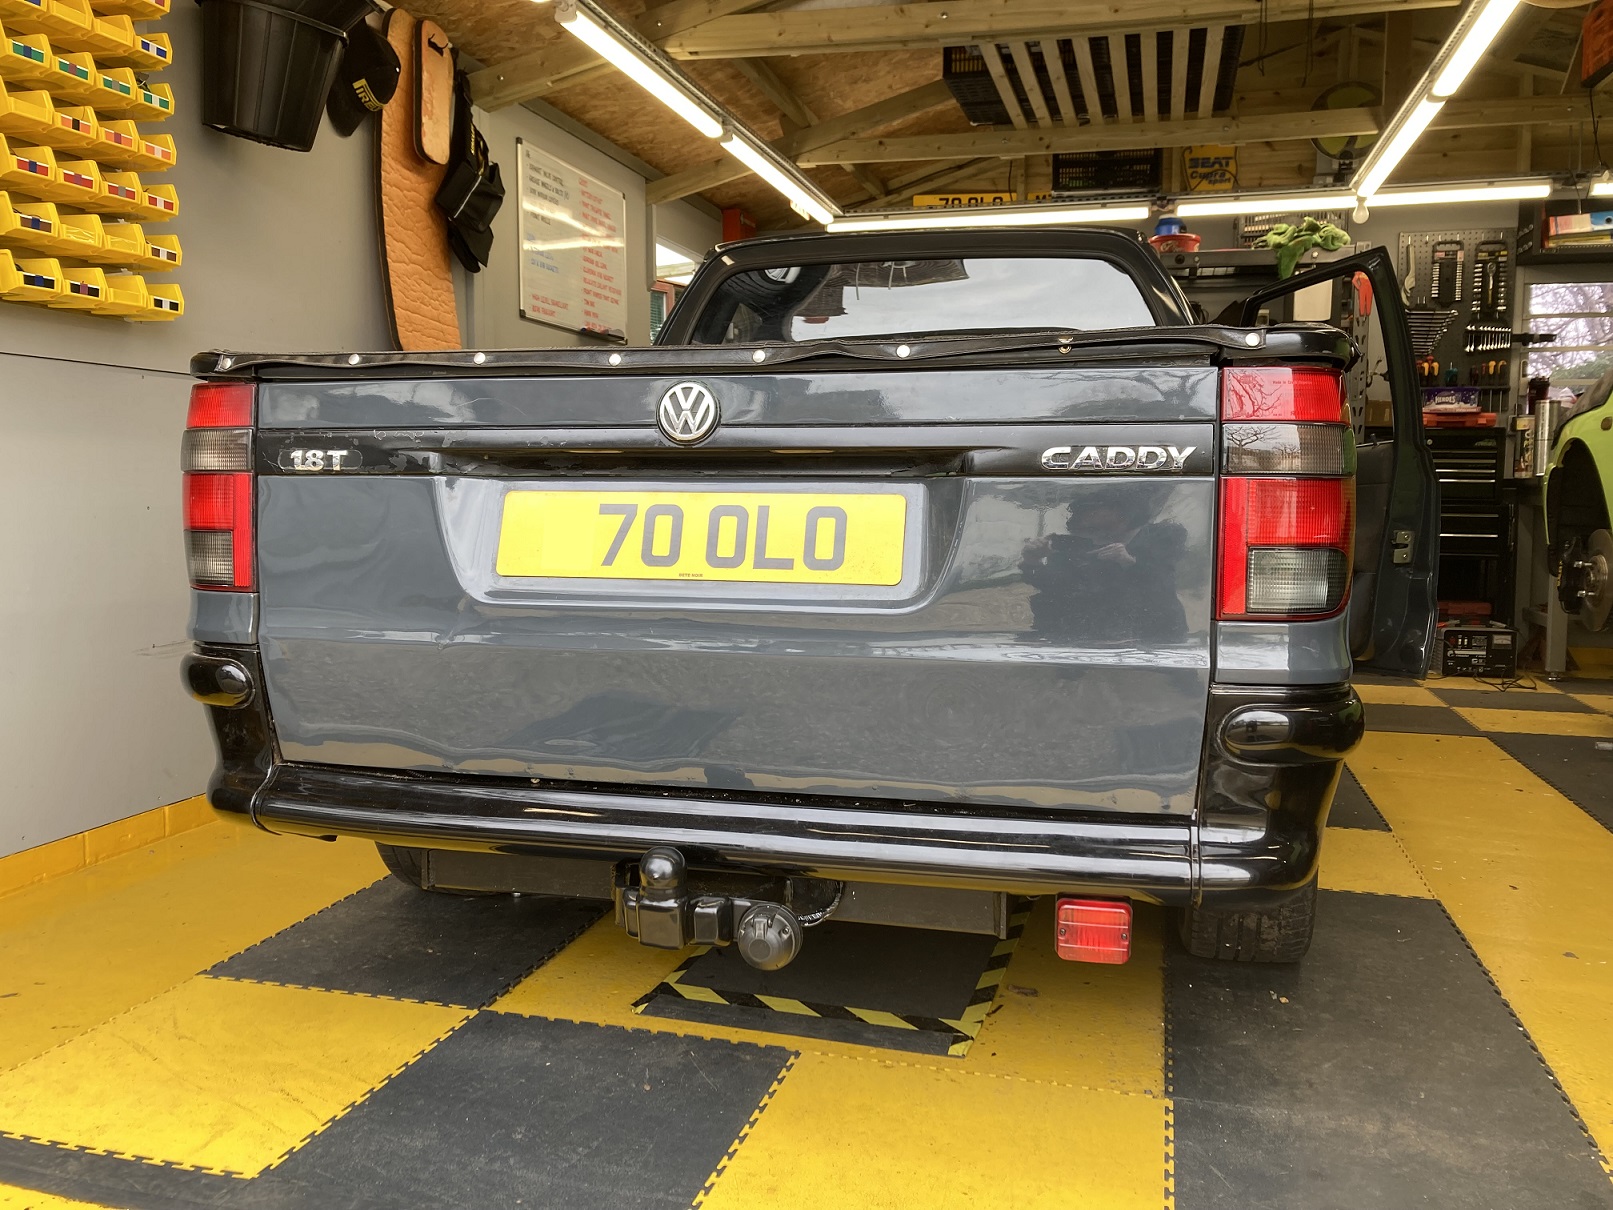
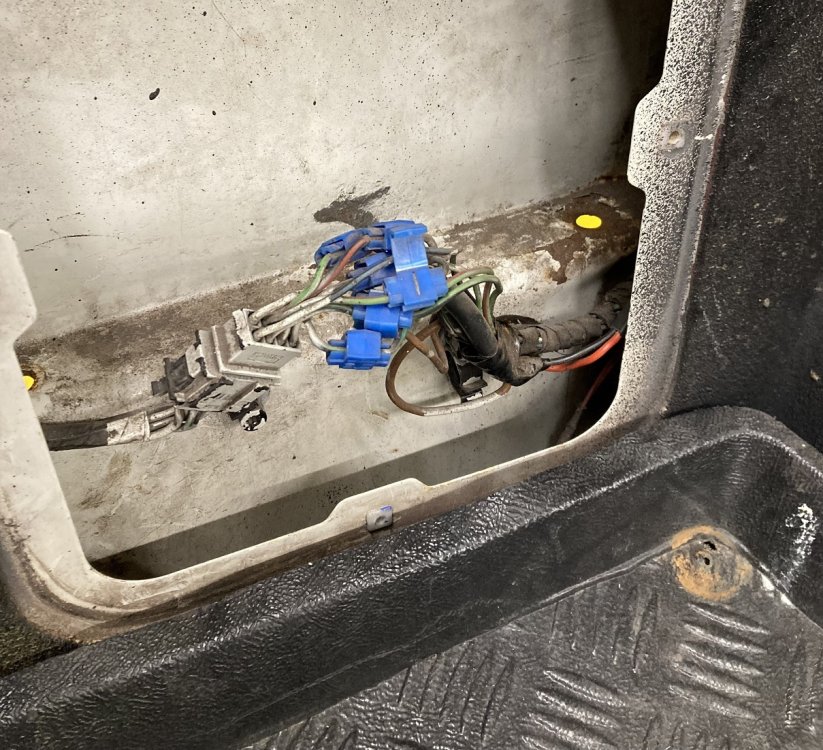
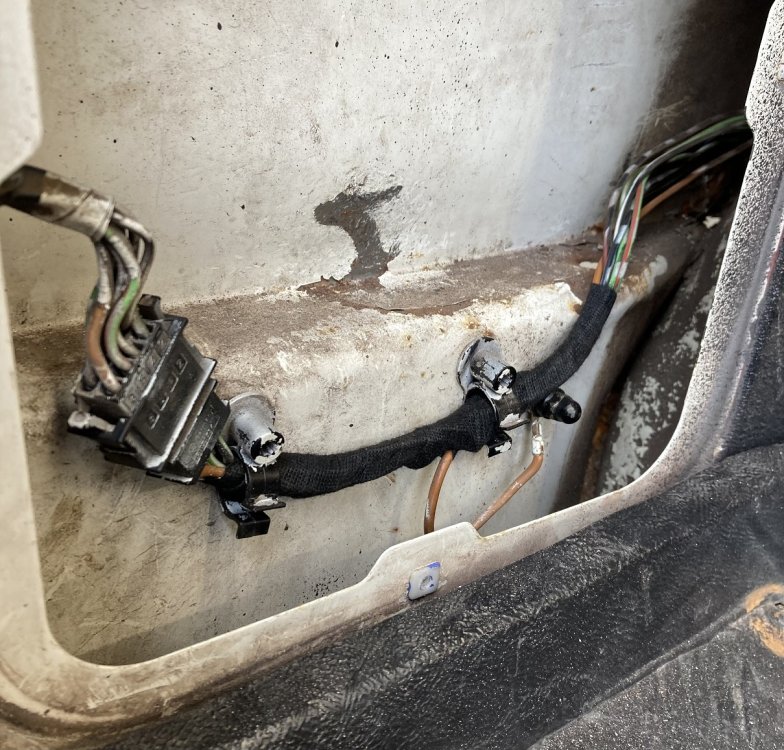
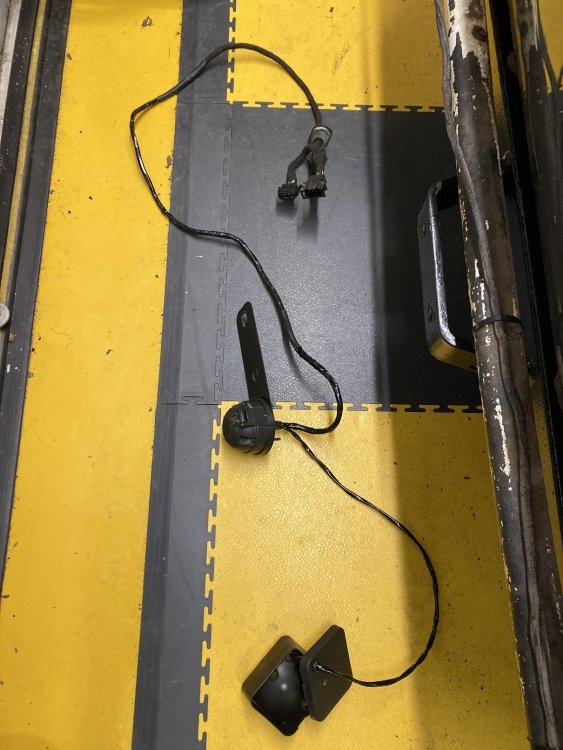
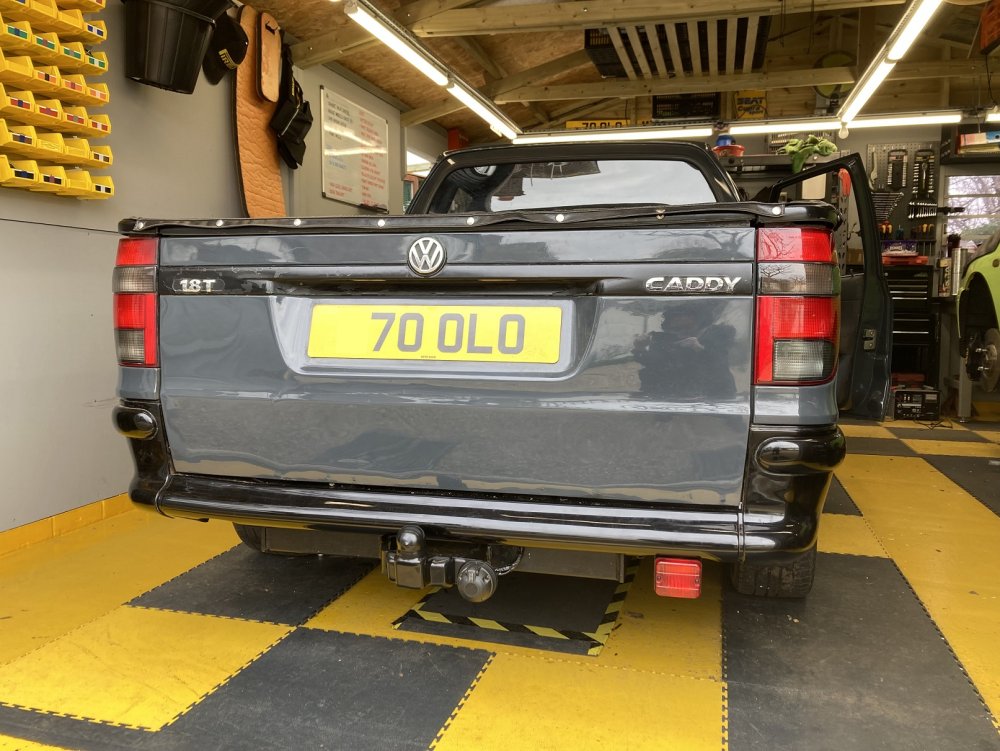
There was a Caddy towbar in my lock-up for years. I cannot even remember where I got it from, but I guess I must have spotted it for sale locally and thought I might as well get it ‘just in case’. After I retrieved it from the lock-up it did sterling service as a doorstop for my workshop for another couple of years, before I figured I may as well fit it to my Caddy. When I removed the NSR access panel inside the load area, I found evidence that it had previously had a towbar fitted, but sadly that evidence was in the form of Scotchlok connectors still attached to the wiring harness. The previous owner had compounded the mess by attaching cables to feed his high level brake light (see post #1). This had to go. After I had prised the dreaded Scotchloks off the cables, I was able to remove the pins one at a time from the 8-way connector and slip some heatshrink over them to repair the damage to the cable insulation. With the pins then replaced I wrapped the loom in coroplast tape. I got quite a bit of the white overspray off the connectors whilst I was there. Now the standard wiring was looking more like it should, and it was ready to have the towing connector wiring added. The approach I decided to take was to make up a splitter loom to connect between this plug and socket, with another branch going to the towing connector. I suspect this may have been how it was done if the towbar was fitted as a factory option, judging by the blanking grommet I found adjacent to where the standard wiring goes through to the NSR light unit. It was only once I had made up this additional loom and connected it for testing that I realised the OSR light unit must have been from a LHD car, as it had a reversing light rather than foglight lens. This gave me the idea of wiring this as a reversing light, and adding a foglight below the bumper. The wiring for this was achieved by using the wire already in place across the rear for the OS reversing light, and running cables from the towing connector to the new foglight. Once I had confirmed that everything was working OK with the splitter loom connected, I removed it to wrap it. When it was then re-fitted, a problem revealed itself, with the offside tail light no longer working. Even with the original wiring configuration restored and the splitter loom out of circuit, the tail light stubbornly refused to illuminate. When I unplugged the relevant light unit, I could measure 12v at the plug, but this disappeared as soon as a load (bulb, even LED) was connected. All the signs said I had a high impedance connection somewhere. This was traced to between the fusebox and the 8-pin connector behind the NSR access panel. Immediately I decided this was most likely to be where the Scotchlok had previously been attached. Maybe the Scotchlok blade had cut through part of the cable core. I cut out the offending section of cable and checked the impedance from the cut end back to the fusebox, which was fine. I took that to mean that I had identified the cause I soldered in a new length of wire where the Scotchlok had been located, but it made no difference. This was a nasty surprise, but then it probably was not the smartest thinking anyway. To preserve the cable colour code at the 8-pin connector I had replaced the damaged section of cable but retained the original terminal pin. There was no visible sign of damage or corrosion to the connector, but now I did what I should have done in the first place, and replaced the whole section including the terminal. Finally it was solved and I was able to refit the rear light units and bumper.
 1 point